🚨 In a DIY emergency or rush?
Skip the details and jump straight to our 30-second cheat sheet for the most crucial info.
A toilet that leaks at the base is often the wax ring waving a white flag. A toilet that rocks is usually an uneven floor, loose flange, or old shims and bolts, but that rocking can destroy the wax ring and turn into a leak. The good news is that replacing the ring is totally doable for a careful DIYer with basic tools. The key is prep, cleanliness, and getting the height right so the bowl compresses the seal evenly.
I have replaced more wax rings than I care to admit during our 1970s ranch renovation. My most common mistake early on was rushing the reset and smearing wax everywhere, then wondering why the toilet still felt wobbly. This guide keeps you out of that loop.

When it is the wax ring
People often search “leaking toilet base” and end up chasing the wrong thing. If the leak is coming from under the toilet, the wax ring and the flange connection are the first places to focus.
Clear signs
- Water appears around the base after flushing (not just after a shower).
- Sewer odor that comes and goes, especially after flushing.
- The toilet rocks or feels loose. Rocking is often the cause, and the wax ring is the casualty.
- Stains on the ceiling below (second floor bathroom) after flushing.
- You recently pulled the toilet for flooring, painting, or drain work. Wax rings are typically one-and-done.
When it might be something else
- Condensation on the tank or bowl dripping down (common in humid summers).
- Water running down from the tank due to a loose supply connection, tank bolts, or a failing tank-to-bowl gasket.
- Water only after showers, which can be a tub or shower splash issue, or a nearby drain leak.
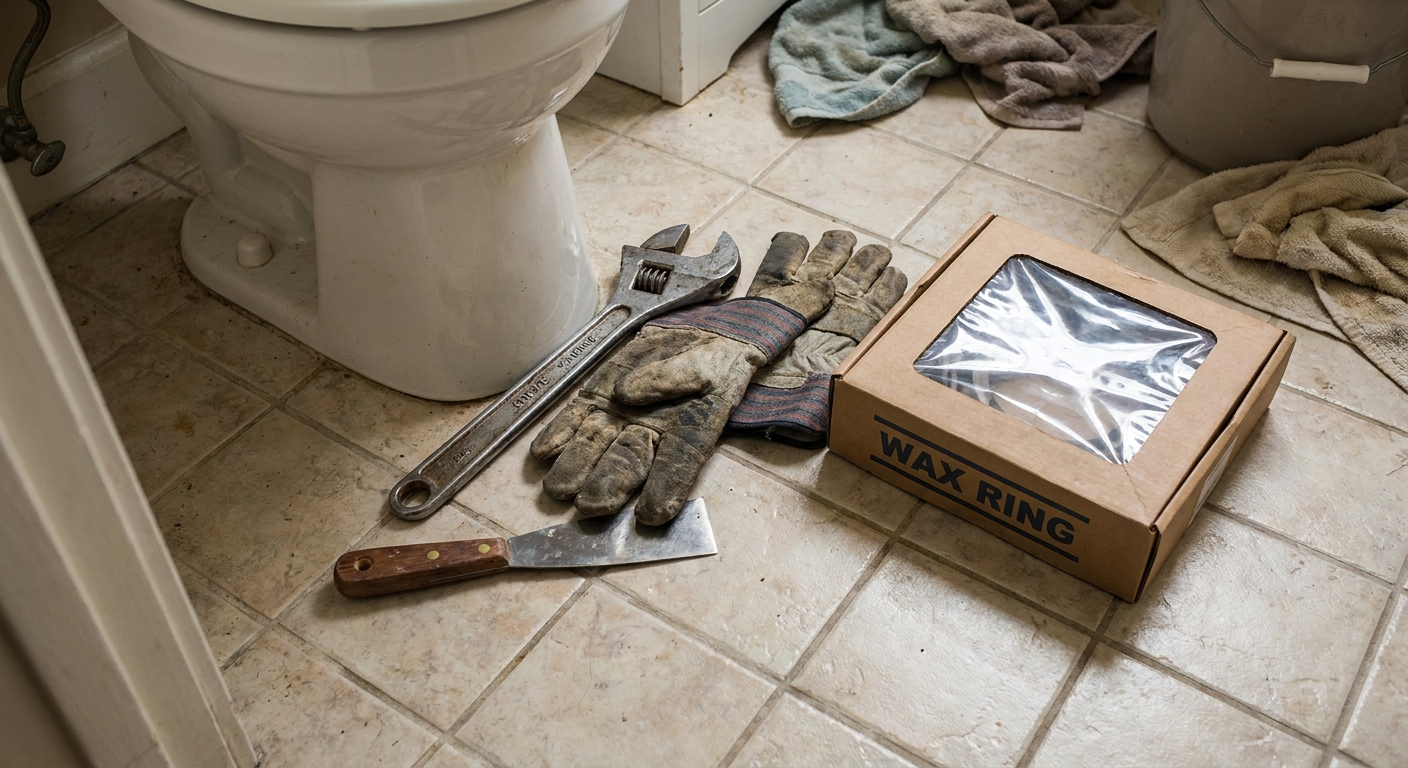
Tools and supplies
You can do this with minimal gear, but having the right little items makes the job cleaner and the reset more reliable.
Must-haves
- Adjustable wrench or deep socket (usually 1/2 inch or 9/16 inch) for closet nuts
- Small bucket or shallow pan
- Old towels or rags
- Putty knife or plastic scraper
- New wax ring (or wax-free seal)
- New closet bolts and nuts (highly recommended)
- Disposable gloves
Nice-to-haves
- Shop vac or sponge for leftover bowl and tank water
- Utility knife for stubborn caulk
- Painter’s tape to protect flooring edges
- Plastic shims for leveling
- Replacement supply line (cheap insurance if yours is old)
Ring type and height
The wax ring is a crush gasket. It seals the toilet horn to the closet flange and blocks sewer gases. For it to work, the toilet needs to sit firmly on the floor while the wax compresses enough to seal.
Ring options
- Standard wax ring: Best when the flange sits about flush with the finished floor.
- Extra-thick wax ring or wax ring with horn: Helpful when the flange is a bit low. Horns are common and usually fine when they fit your flange and drain opening, but they can complicate the fit in tight or odd setups.
- Wax-free rubber seals: Cleaner and repositionable. Great for beginners and for toilets that may need to be pulled again soon.
Flange height rule
Ideally, the top of the closet flange sits on top of the finished floor (or up to about 1/4 inch above). If your flange is below the finished floor, you are more likely to need an extra-thick ring, a flange extender, or a flange repair solution. The exact tipping point depends on the ring and toilet outlet, so use that 1/4 inch number as a practical rule of thumb, not a law of physics.
Important: Stacking two wax rings is generally discouraged. It can work in a pinch, but a flange extender or the correct-height seal is the more reliable long-term fix.
Step-by-step
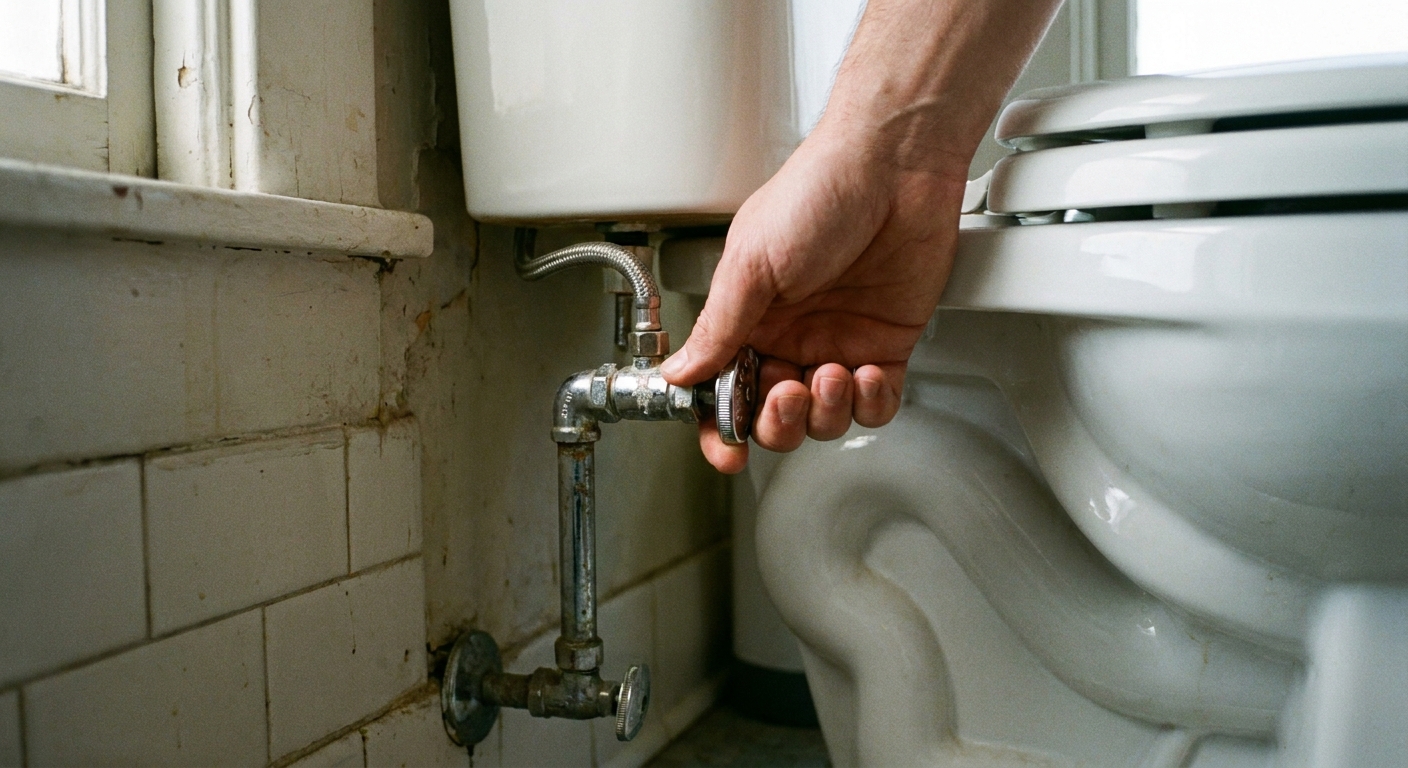
1) Shut off water and drain
- Turn the shutoff valve (behind the toilet) clockwise until it stops.
- Flush and hold the handle down to drain as much tank water as possible. If your flapper will not stay open, hold the flapper up by hand for a few seconds.
- Sponge or shop-vac the remaining water from the tank and bowl so you do not spill it when lifting.
2) Disconnect the supply line
Place a small bucket under the connection, then loosen the nut where the supply line connects to the fill valve shank under the tank. If it is easier on your setup, you can also disconnect at the shutoff valve first. If your supply line is stiff, corroded, or ancient, replace it now.
3) Remove the nuts and cut caulk
- Pry off the bolt caps.
- Remove the nuts and washers from the closet bolts.
- If the toilet is caulked to the floor, cut the caulk bead with a utility knife.
My tip: If a nut is rusted and will not budge, do not fight it for 20 minutes. A small hacksaw blade or oscillating tool can cut the bolt. Just protect the porcelain and flooring.
4) Lift the toilet safely
Rock the bowl gently to break the wax seal, then lift straight up. Toilets are heavier than they look. If you can, get a second set of hands.
- Set the toilet on an old towel or cardboard.
- Carry it as level as you can to avoid sloshing leftover water.
- Do not lay it on finished hardwood without protection.

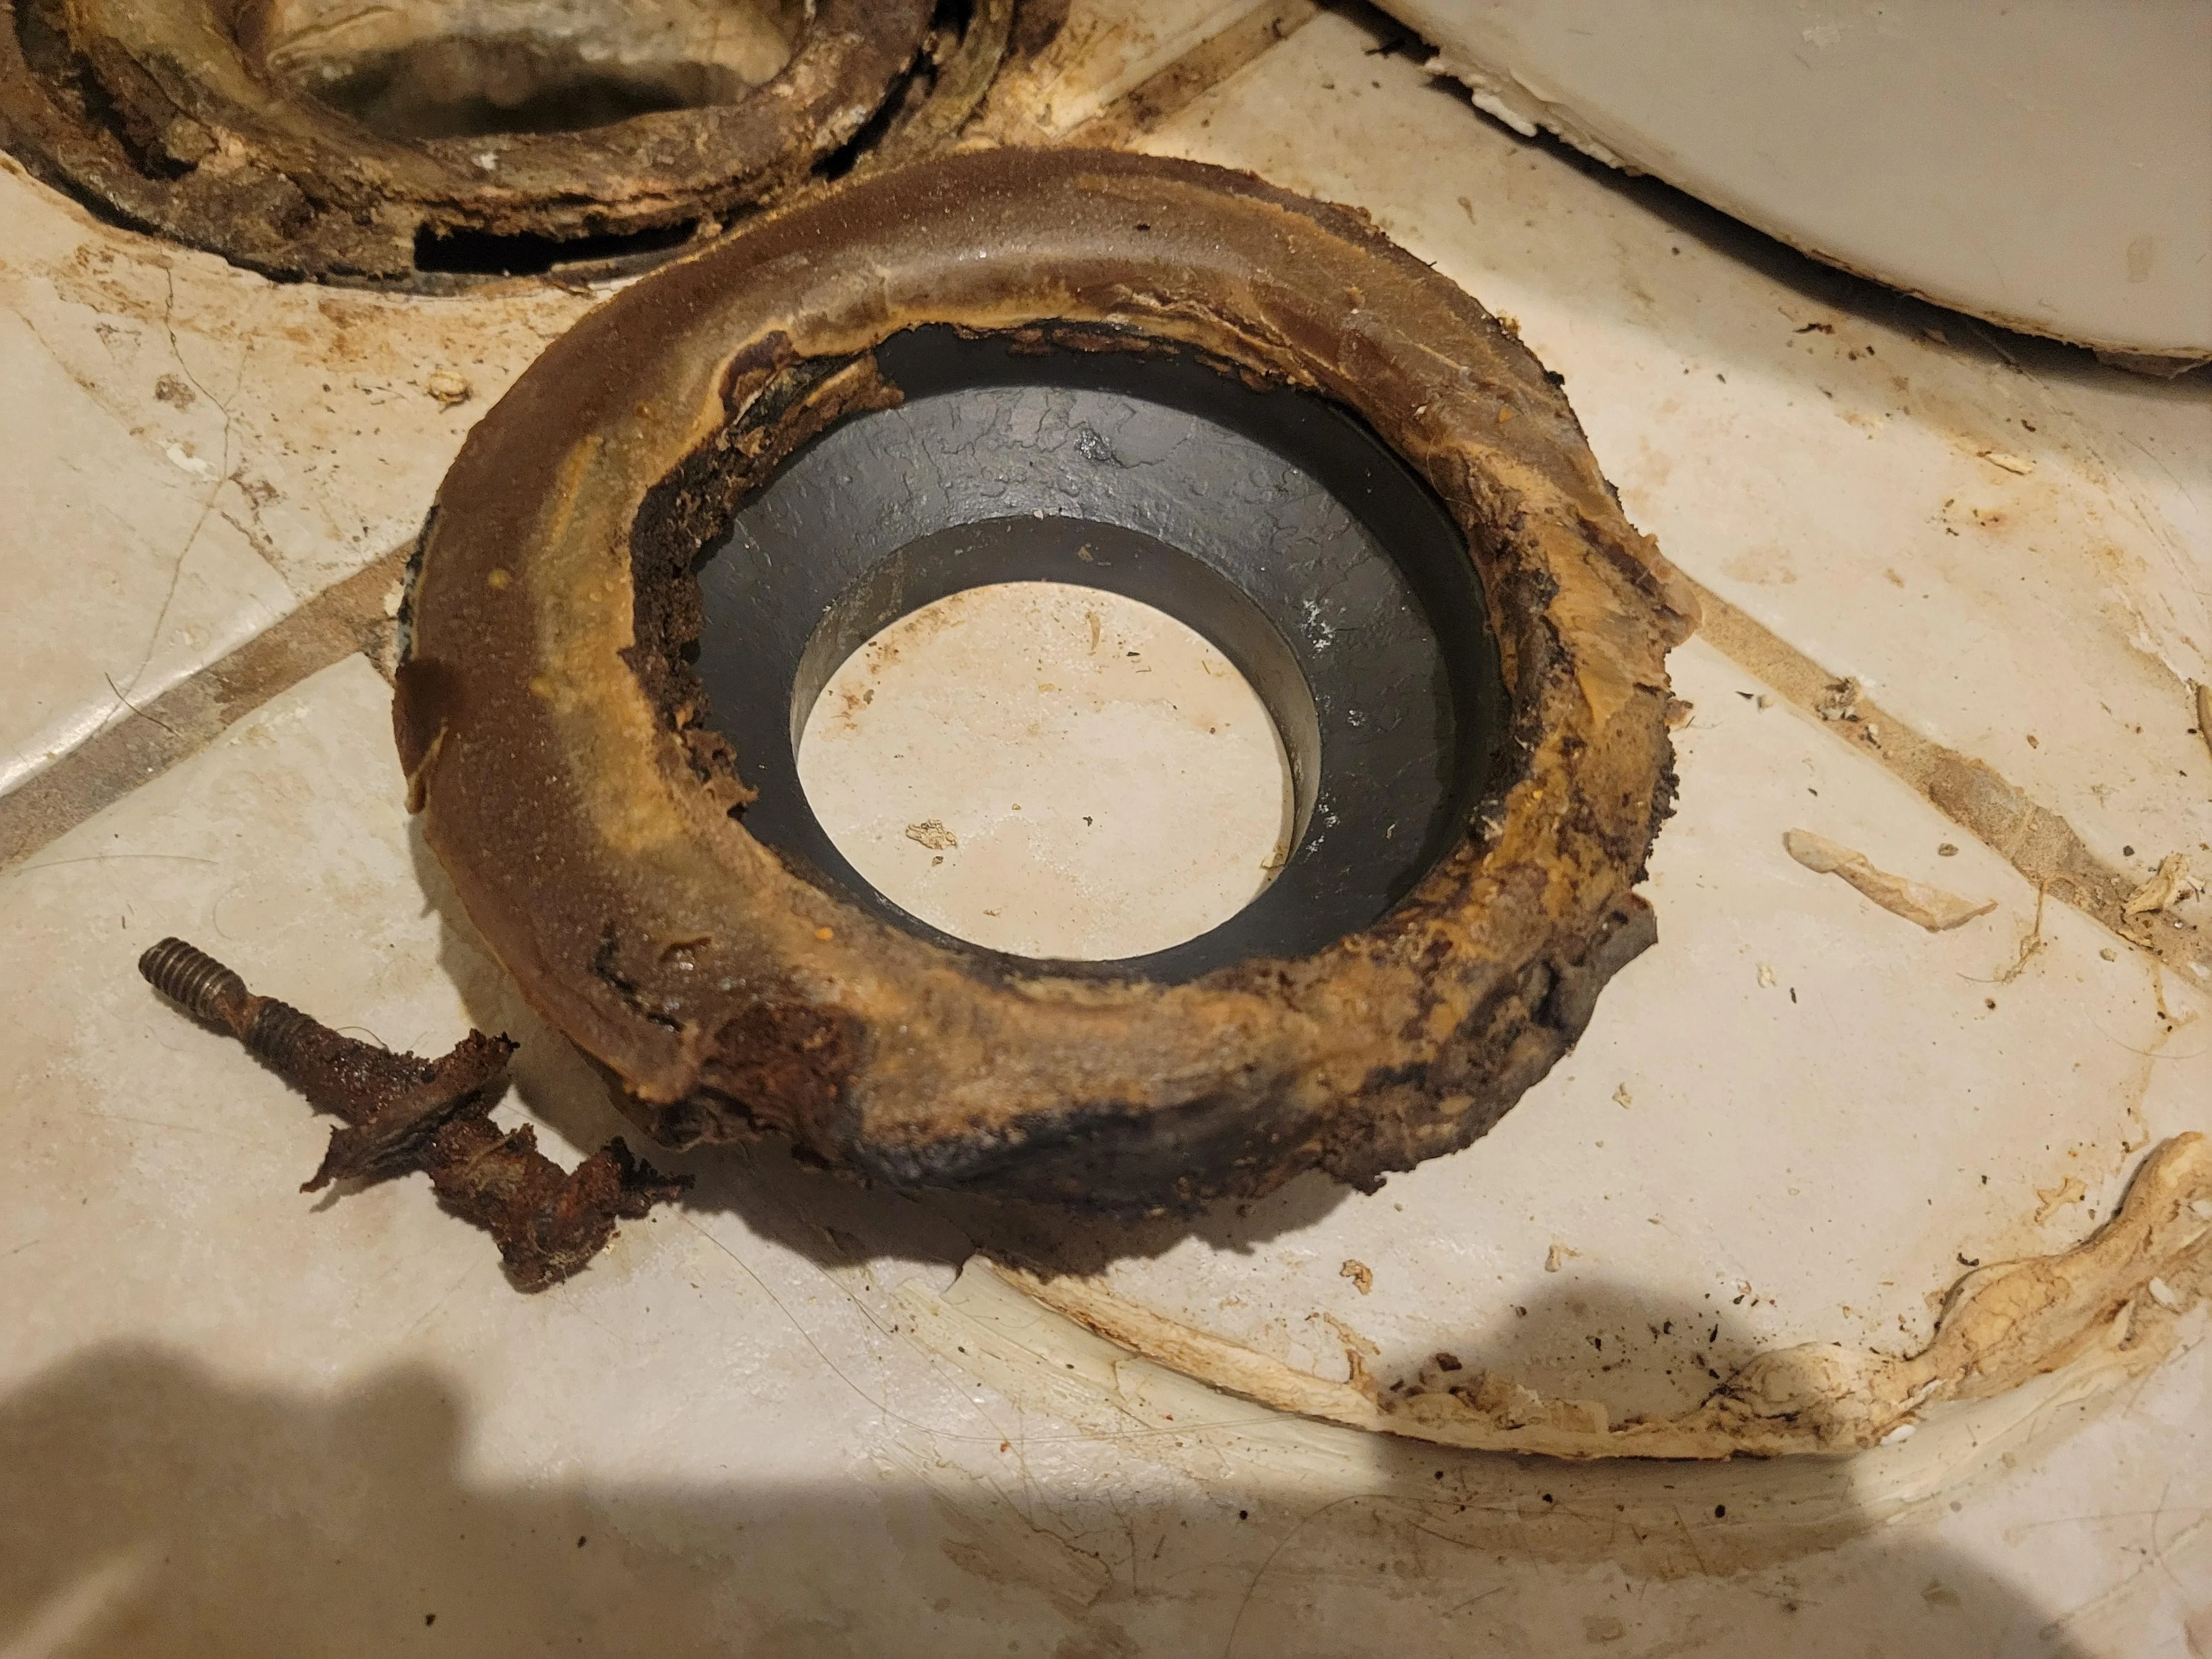
5) Plug the drain and remove old wax
Stuff a rag into the drain opening to block sewer gas and stop hardware from falling in. Then scrape the wax off:
- Scrape the wax off the flange and the underside of the toilet outlet.
- Wipe everything clean so the new seal sits on a smooth surface.
Cleanup note: Old wax goes in the trash. I usually wrap it in a grocery bag or paper towel first so it does not smear through the can liner.
Do not use harsh solvents that can damage PVC or ABS. A putty knife, gloves, and patience get it done.
6) Inspect the flange and floor
If the flange is cracked, loose, or sitting too low, a perfect wax ring install can still leak. Also take 10 seconds to check the floor around the flange. If it feels soft or spongy, you may be dealing with subfloor rot.
- Check for cracks around the slots where the bolts lock in.
- Check it is solid: it should be anchored firmly to the subfloor.
- Check height relative to the finished floor.
If you find damage, look into a flange repair ring (metal reinforcement) or a full flange replacement if it is broken beyond repair. If the flange is low, a flange extender kit is often the right fix.
7) Install new closet bolts
Slide the new bolts into the flange slots and position them at roughly 3 o’clock and 9 o’clock. Many kits include little plastic washers to hold the bolts upright. Use them.
8) Set the new ring or seal
Follow the package directions, but here is the practical approach that avoids headaches:
- If using a wax ring, many DIYers prefer placing it on the toilet outlet so it moves with the toilet and is easier to align.
- If using a wax-free seal, you will often install the base portion on the flange first.
Temperature note: Wax is easier to work with at room temperature. If it is cold, let the ring sit indoors for a bit before installing.
9) Re-seat the toilet
This is the make-or-break moment. Once wax compresses, lifting the toilet back up usually means using a new ring.
- Remove the rag from the drain. Double-check it, because it is an easy thing to forget.
- Hover the toilet over the bolts and align carefully.
- Lower straight down without twisting.
- Press down evenly around the bowl base to compress the wax. Do not stand on the toilet.
If the toilet hits the floor but still rocks, do not keep tightening the bolts to “force it.” Level it with shims first.
10) Tighten evenly and shim
- Install washers and nuts.
- Tighten a little on each side, alternating back and forth.
- Stop when snug. Over-tightening can crack the toilet base.
- Add plastic shims where needed until the bowl is rock-solid.
Trim shims with a utility knife.
11) Reconnect, fill, and test
- Reconnect the supply line.
- Turn the shutoff valve back on slowly.
- Let the tank fill, then flush several times.
- Check around the base with a dry paper towel.
- Check the supply connection for drips.
If you have a bathroom below, keep an eye on the ceiling area underneath for the next day. A slow seep is still a leak.
12) Trim bolts and reinstall caps
If the closet bolts are too tall for the caps, trim them with a hacksaw or bolt cutters, then snap the caps back on.
13) Caulk, if you want
Many pros caulk around the base for a cleaner look and to prevent mop water from getting under the toilet. Use bathroom-grade silicone, and do not caulk until the toilet is shimmed and the shims are trimmed. Local code and inspection preferences can vary, so if you are in a jurisdiction that cares, do a quick check.
If you caulk, leave a small gap at the back uncaulked so a future leak shows itself instead of hiding under the toilet.
Questions and fixes
It still rocks. Now what?
- Shim it: Most rocking is an uneven floor, not a bad wax ring.
- Check the flange: If it is loose, the toilet can move and break the seal over time.
- Check the floor: Soft spots around the flange can let everything flex and fail again.
How do I know the flange is too low?
If the top of the flange is below the finished floor, especially more than about 1/4 inch, plan for an extra-thick ring or, better, a flange extender. Extenders are often the best long-term fix because they bring the flange up to the right plane. The exact threshold depends on the ring or seal you use, so treat this as guidance, not a hard line.
Should I use a wax ring with a horn?
Horns are common and usually work well when matched to the flange and drain opening. They can be helpful when alignment is a little off, but in some setups they can complicate the fit. If you have good flange height and a standard toilet outlet, a standard ring is usually fine. When in doubt, a quality wax-free seal is beginner-friendly and forgiving.
Do I need new bolts and a new supply line?
Bolts are cheap and rust-prone, so I replace them almost every time. For the supply line, replace it if it is stiff, corroded, or worn. It is one of those small parts that can prevent a big mess.
When to call a plumber
Wax rings are DIY-friendly. Flanges and subfloors are where things can get serious. Consider calling a pro if:
- The flange is broken and you are not comfortable working on drain pipe connections.
- The subfloor around the toilet is soft or spongy, which can signal rot.
- You see repeated leaks after a correct reinstall, which can point to a flange, drain, or venting issue.
- You have a wall-hung toilet or a specialty setup you do not want to risk.
My do it once checklist
- Floor and flange are clean and dry before the new seal goes down.
- Flange is solid and at the right height, or corrected with an extender or repair ring.
- New bolts are straight and held upright.
- Rag is removed from the drain before the toilet goes back down.
- Toilet is lowered straight down, then compressed evenly.
- Toilet is shimmed level before final tightening.
- Closet bolts are trimmed and caps are back on.
- Multiple flush tests, plus a paper towel check at the base.
If you follow those bullets, you are doing the job the same way I do it now, after learning the hard way.
The 30-Second Cheat Sheet
Essential takeaways for: How to Replace a Toilet Wax Ring
What you’re fixing
Leak at the base, sewer smell, or a rocking toilet often points to a failed wax ring seal. A toilet that rocks is frequently caused by an uneven floor or a loose flange, and that movement can break a perfectly good seal over time.
Tools and parts
- New wax ring (standard or extra-thick) or wax-free seal
- New closet bolts, nuts, washers
- Adjustable wrench or deep socket
- Putty knife or plastic scraper, gloves, rags
- Plastic shims
30-second steps
- Shut off water, flush, then sponge or shop-vac out tank and bowl.
- Disconnect supply line, remove bolt caps and nuts, cut any caulk.
- Lift toilet straight up and set on a towel.
- Plug drain with a rag, scrape all old wax off flange and toilet outlet.
- Inspect flange and floor: cracked, loose, too low, or soft subfloor means repair ring, extender, or replacement.
- Install new bolts at 3 and 9 o’clock.
- Set new ring or seal (often easiest to place wax on the toilet outlet).
- Lower toilet straight down, press evenly to compress, then shim until no rocking.
- Tighten bolts evenly until snug. Do not over-tighten.
- Reconnect water, turn on, flush several times, check base and supply for leaks.
Height rule
Best case: flange sits on top of finished floor (or up to about 1/4 inch above). If the flange is below the floor, use an extra-thick ring or, better yet, a flange extender. The exact cutoff varies by seal type, so treat 1/4 inch as a rule of thumb.
Two common mistakes
- Twisting or lifting the toilet after wax touches down. This ruins the seal.
- Trying to stop rocking by over-tightening bolts. Shim first, then snug.
When to call a pro
If the subfloor feels soft, the flange is broken beyond a simple repair ring, or leaks keep returning after a correct reset.
💡 Tip: Scroll up to read the full article for detailed, step-by-step instructions.
⬆️ Back to topAbout Marcus Vance
Content Creator @ Grit & Home
Marcus Vance is a lifelong DIY enthusiast and self-taught home renovator who has spent the last decade transforming a dilapidated 1970s ranch into his family's dream home. He specializes in budget-friendly carpentry, room-by-room renovations, and demystifying power tools for beginners. Through his writing, Marcus shares practical tutorials and hard-learned lessons to help homeowners tackle their own projects with confidence.