🚨 In a DIY emergency or rush?
Skip the details and jump straight to our 30-second cheat sheet for the most crucial info.
Grout is the part of tile that takes the most abuse and gets the least love. Most cement-based grout is porous like a tiny sponge, which means water, soap scum, cooking grease, and plain old dirt can soak in and discolor it over time. (Epoxy grout is a different story, more on that below.)
Sealing grout is not complicated, but it is fussy. The results come down to prep, dry time, and using the right product for the location. I have rushed it before and ended up with sticky haze on tile and grout that still stained. Let’s save you that weekend.
Do you even need to seal this grout?
This is the step people skip, then wonder why the “sealer” did nothing.
- Cement-based grout (sanded or unsanded): usually benefits from sealing.
- Epoxy grout: typically does not need sealing because it is far less porous.
- Pre-mixed urethane and other “ready-to-use” grouts: often do not need sealing, or they require a very specific product. Follow the grout manufacturer.
- “Stain resistant” or “sealed” cement grouts: may still benefit from a compatible sealer, but do not assume. Check the bag or technical data sheet.
If you are not sure what you have, check leftover packaging or test an inconspicuous spot. Cement grout will usually darken quickly when water hits it.
Sealing vs cleaning: what sealer actually does
This is the most important expectation to set.
Sealing helps with
- Stain resistance: slows down how fast grout absorbs spills and grime.
- Easier routine cleaning: dirt stays closer to the surface so it wipes away faster.
- Less water absorption: helps limit that always-damp feeling that mildew loves.
Sealing does not fix
- Existing stains or mold in the grout: sealing over it can lock discoloration in place.
- Cracked or missing grout: that needs repair first.
- Failed caulk at corners and changes of plane (corners, where walls meet floors): use silicone bathroom caulk there, not grout sealer.
- Waterproofing: grout sealer is not a substitute for proper shower waterproofing behind the tile.
If your goal is “make dirty grout look new,” you want a dedicated deep clean first. Then seal once it is truly clean and dry.
Pick the right sealer: penetrating vs topical
You will usually see two families of grout sealer on the shelf. Here is how to choose without getting lost in marketing words.
Penetrating (impregnating) sealer
This is my go-to for most homes, especially bathrooms.
- How it works: soaks into the grout pores and leaves water and stain repellents behind.
- Best for: showers, bathroom floors, kitchen floors, high-traffic areas.
- Pros: natural look, less slippery, holds up well with repeated wet and dry cycles.
- Cons: often needs reapplication sooner than a heavy topical coating.
Topical (membrane) sealer
This forms a coating on top of the grout.
- How it works: creates a film that resists water and stains at the surface.
- Best for: some low-moisture floors or decorative applications where a sheen is desired.
- Pros: can provide strong stain resistance initially.
- Cons: can wear unevenly, peel, or turn cloudy in wet zones like showers. Some can add slip risk if they get on tile.
Rule of thumb: For showers and most tile floors, choose a penetrating sealer unless the grout manufacturer or tile pro has a specific reason to use a topical product.
Before you seal: prep that makes it last
Sealer cannot perform well if soap scum, mop residue, or moisture is in the way. Prep is where most “sealing failed” stories begin.
1) Confirm the grout is ready
- New grout: wait until it has cured per the grout instructions. Many cement-based grouts are ready in 48 to 72+ hours, but some manufacturers call for longer (sometimes several days) depending on product and conditions. If the grout color is still shifting, wait.
- Existing grout: deep clean first, then let it dry fully.
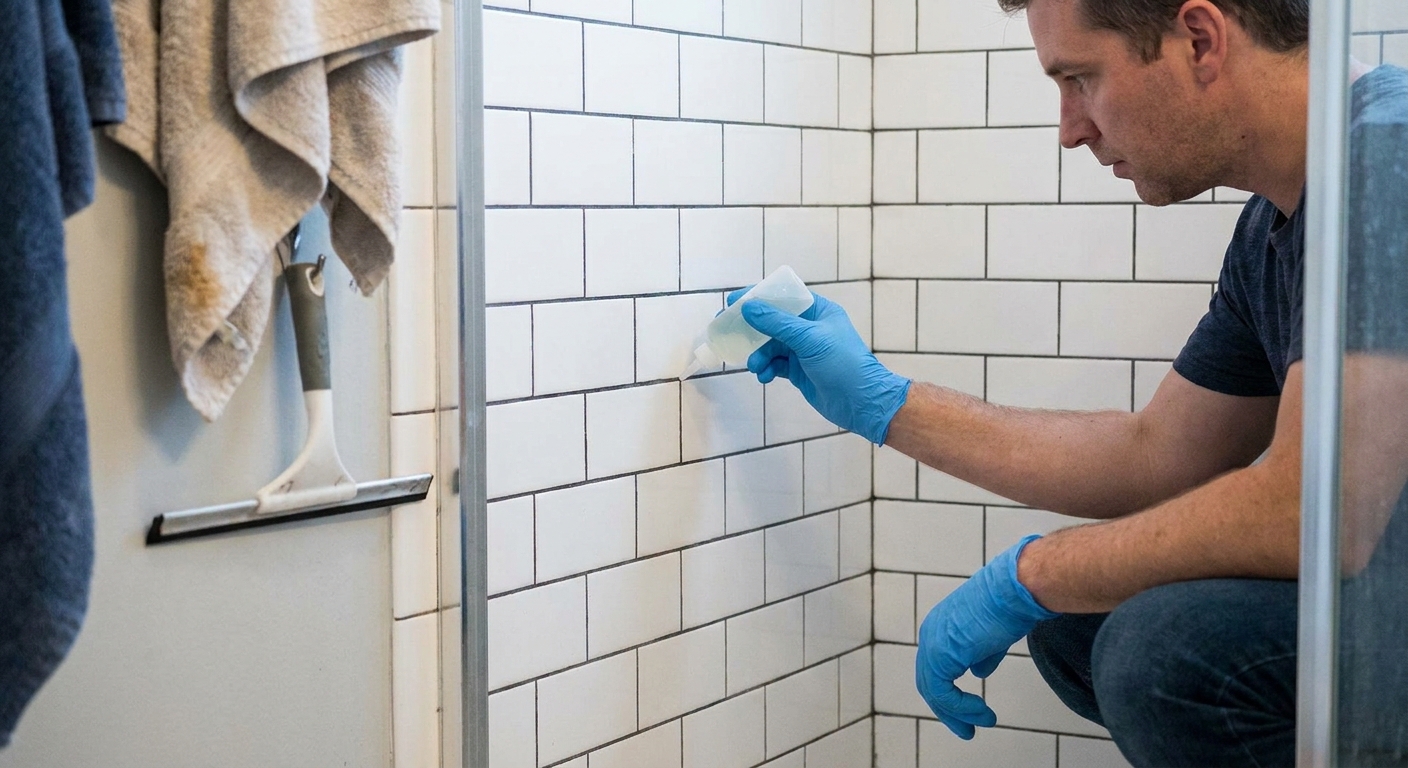
2) Deep clean (existing grout)
Use a grout-safe cleaner and a stiff nylon brush. Rinse well. The goal is to remove anything that would block absorption. If you are dealing with mildew, treat it and rinse thoroughly so you are not sealing in residues.
Important: Avoid leaving soapy film behind. Any cleaner that leaves a shine can interfere with penetration.
Also: skip acidic cleaners right before sealing if you can. If you used an acid-based product, rinse extremely well and follow the product directions so nothing is left behind in the grout.
3) Let it dry longer than you think
Grout can look dry and still hold moisture below the surface.
- Floors: after cleaning, I aim for at least 24 hours of dry time with normal indoor conditions.
- Showers: I aim for 48 hours whenever possible, with the bathroom fan running and the door cracked.
If the bathroom is humid or cool, add time. A small fan blowing across the tile helps a lot.
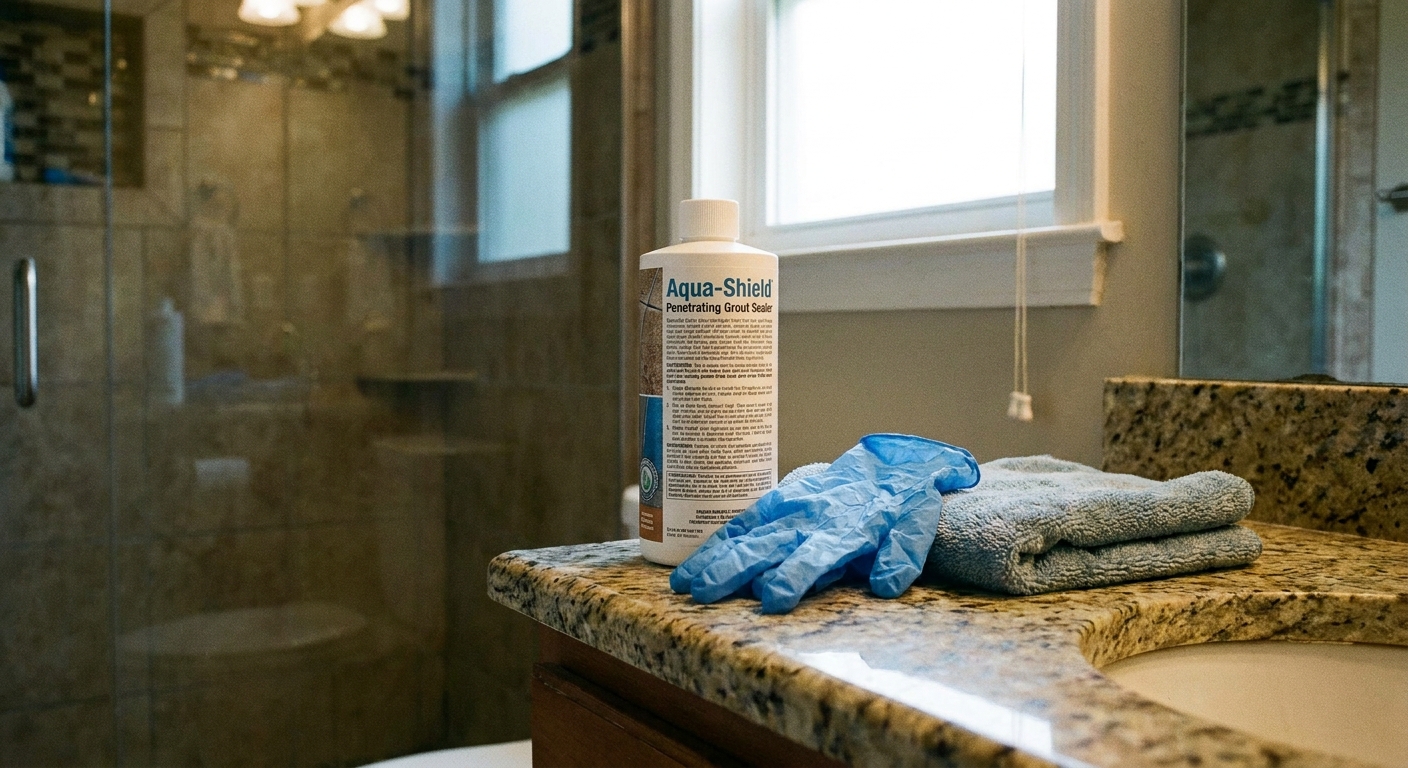
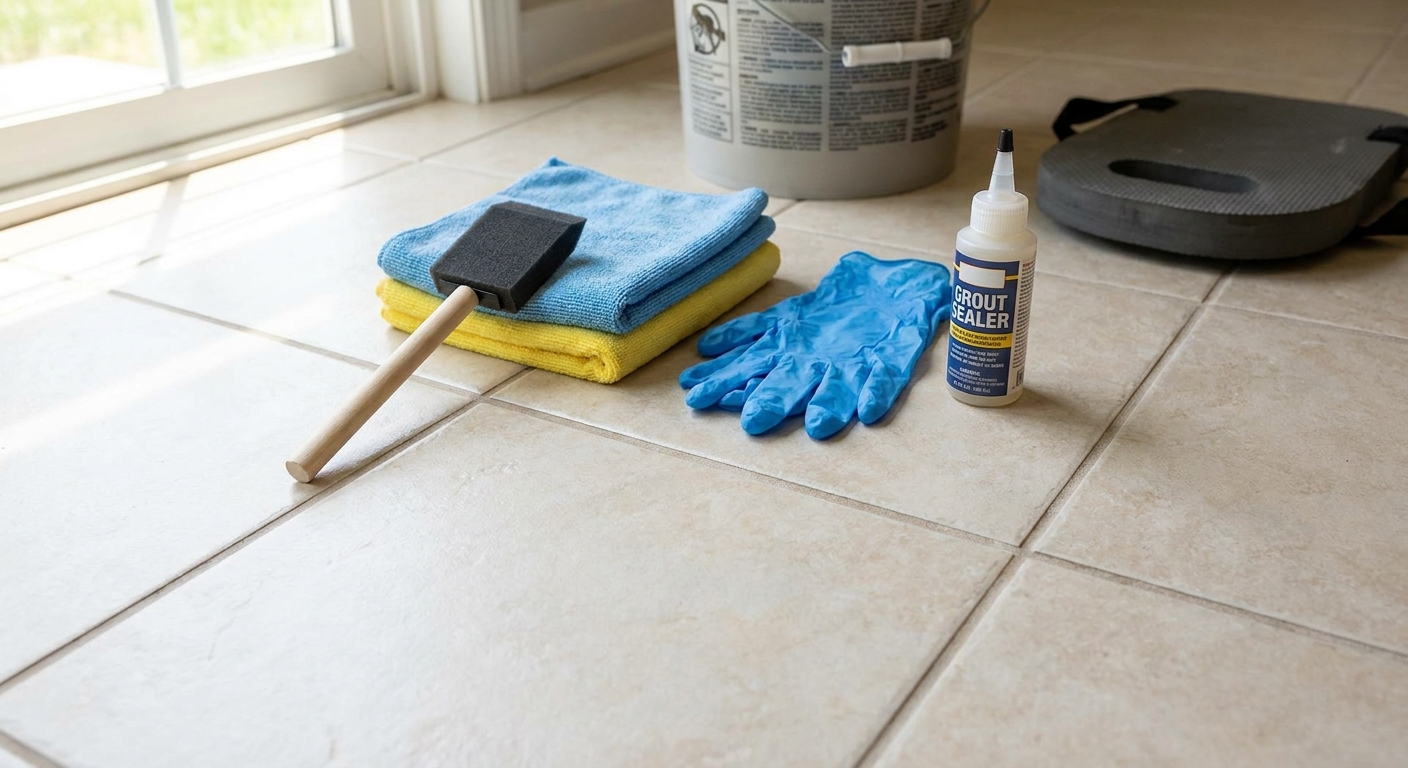
Tools and materials
- Penetrating grout sealer (check label for “impregnating”)
- Applicator: small foam brush, sealer bottle with roller tip, or small paint brush
- Microfiber cloths or cotton rags (several)
- Nitrile gloves
- Masking tape (optional, for protecting porous stone or tricky tile edges)
- Knee pads for floors
Heads up on appearance: Some sealers are “natural look,” and others are color-enhancing. If you do not want any change, make sure the label says natural look and test a small hidden spot first.
If your tile is natural stone: read the sealer label carefully. Some stones need compatible stone and grout sealers. When in doubt, test in a hidden corner first.
How to seal grout on tile floors
On floors, the biggest trick is working in small sections so the sealer does not dry on the tile face.
Step 1: Ventilate and protect
Open windows if you have them, run fans, and keep kids and pets out of the room until everything is dry.
Step 2: Apply sealer to the grout lines
- Work in sections of about 10 to 20 square feet.
- Apply enough sealer to wet the grout line evenly. Do not flood it to the point it puddles on the tile.
- Keep moving. The goal is consistent coverage, not thickness.
Step 3: Let it dwell, then wipe the tile
Most penetrating sealers need a short dwell time to soak in, often 3 to 10 minutes. Follow your product label. Once the time is up, wipe the tile surface thoroughly with a clean cloth.
Do not skip wiping. If sealer dries on the tile, it can leave a haze that is annoying to remove later.
Step 4: Apply a second coat if needed
Many cement grouts absorb a first coat quickly. If the label allows it, apply a second coat while the first is still within the recommended window, then wipe again.
Step 5: Keep the floor dry during cure time
“Dry to the touch” is not the same as “ready for mopping.” Many products allow light foot traffic after a few hours, but need 24 to 72 hours before exposure to water or cleaners. Read the label and plan around it.
How to seal grout in showers
Showers are less forgiving than floors because you have more moisture, more soap residue, and more corners. Take your time.
Step 1: Fix corners first
All changes of plane (corners and where walls meet the floor) should be caulked with a quality silicone, not sealed grout. If your corners are cracking, fix that first. Sealer will not stop corner cracking.
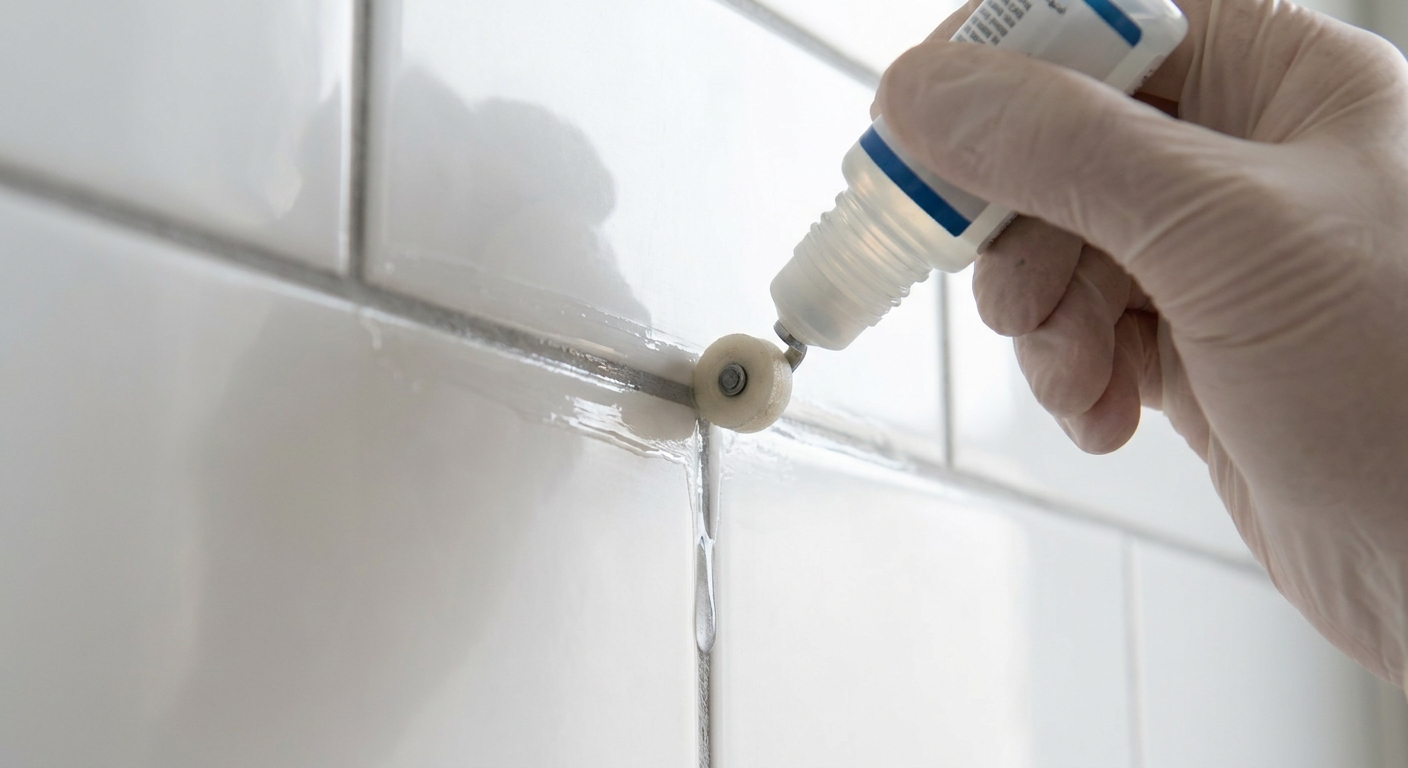
Step 2: Seal wall grout lines first
- Start at the top so drips do not run onto finished areas.
- Use a roller-tip bottle or small foam brush for control.
- Keep a dry cloth in your other hand to catch runs.
Step 3: Respect dwell time and wipe tile faces
Even if your tile looks glossy and “sealed,” wipe it anyway. In showers, leftover residue becomes a soap scum magnet.
Step 4: Seal the shower floor last
Shower floors see the most water and the most aggressive cleaners. A penetrating sealer is usually the best choice here. Apply, dwell, wipe, and repeat coat if needed.
Step 5: Let it cure before the first shower
This is the hardest part because nobody wants to wait. Most sealers need at least 24 hours before water exposure, and some call for 48 to 72 hours. If you shower too soon, you can weaken the protection and create blotchy performance.
Drying time vs cure time
Sealer has a few time concepts that get mixed up:
- Dry time between coats: how long to wait before applying the next coat.
- Dry to touch: surface feels dry, but protection may not be fully formed.
- Full cure: when it can handle water, steam, and cleaners.
Always follow the product label. As a practical planning guide, plan to keep sealed grout away from water and cleaners for 24 to 72 hours, and longer in humid bathrooms.
How to tell if grout needs resealing
The simplest test is the water drop test.
The water drop test
- Put a few drops of water on clean, dry grout.
- Wait 5 to 10 minutes.
- If the water beads up and sits on top, the sealer is likely still doing its job.
- If the grout darkens quickly and absorbs the water, it is time to reseal.
Do this in a few spots, especially high-use zones like in front of the vanity, at shower entry, and on the shower floor.
How often to reseal
There is no single schedule because it depends on grout type, traffic, cleaners, and sealer quality. Think of these as broad averages, and let the water drop test be the final word.
- Shower walls: about every 1 to 2 years.
- Shower floors: about every 6 to 12 months in busy showers, or up to 1 to 2 years with gentle cleaning and good ventilation.
- Bathroom floors: about every 1 to 3 years.
- Kitchen floors: about every 1 to 2 years because of grease and frequent mopping.
If you use harsh acidic cleaners or bleach frequently, you may shorten that timeline. If you use a pH-neutral tile and grout cleaner and keep moisture under control, you can stretch it.
Sealer haze rescue tip
If you missed a spot and sealer dried on the tile, do not panic.
- First try: buff with a clean, dry microfiber cloth.
- If it has cured: use the sealer manufacturer’s recommended haze remover or sealer stripper, and test in a hidden spot first.
The best strategy is still prevention: work small and wipe thoroughly.
Safety and ventilation
Even “low odor” sealers can irritate lungs and skin.
- Ventilate: run the bathroom fan, open windows, and use a small fan to move air out of the room.
- Gloves: nitrile gloves keep your hands from drying out or reacting.
- Eye protection: smart when working overhead on shower walls.
- Fire safety: some solvent-based sealers are flammable. Keep them away from pilot lights and follow the label.
- Rag disposal: follow label disposal guidance. Some solvent-based products and dirty rags can be a fire hazard if stored improperly.
Common mistakes
Sealing before the grout is fully dry
What happens: weak protection, uneven absorption, sometimes a cloudy look.
Do instead: add dry time and use airflow. When in doubt, wait one more day.
Letting sealer dry on the tile
What happens: haze, streaks, sticky spots that attract dirt.
Do instead: work small, wipe thoroughly, and change cloths often.
Using topical sealer in a wet shower
What happens: peeling or blotchy wear patterns.
Do instead: choose a penetrating sealer unless your specific system calls for topical.
Thinking sealer will stop mold forever
What happens: disappointment.
Do instead: seal to reduce absorption, then manage moisture with ventilation, squeegee habits, and regular cleaning.
Maintenance tips
- Use a squeegee in showers: 30 seconds after a shower does more than most products.
- Run the fan: let it run at least 20 to 30 minutes after bathing.
- Choose the right cleaner: pH-neutral tile and grout cleaners are usually safest for sealed grout.
- Skip harsh acids for routine cleaning: they can degrade grout and some sealers over time.
- Address caulk problems early: corner gaps invite water into places you do not want it.
Sealing is a great layer of defense, but good moisture habits are what really keep a shower from turning into a science experiment.
When to call a pro
If any of these are true, it may be smarter to bring in help:
- You have loose tiles, spongy floors, or signs of water damage outside the shower.
- Grout is crumbling or missing in large areas.
- Mold keeps returning quickly even after cleaning and improving ventilation.
- You are dealing with natural stone and are unsure about product compatibility.
Sealer is maintenance, not a bandage for structural moisture issues.
The 30-Second Cheat Sheet
Essential takeaways for: How to Seal Grout on Tile Floors and in Showers
What grout sealer does (and does not do)
- Does: reduces staining and water absorption so grout stays cleaner and is easier to maintain.
- Does not: remove existing stains or mold, fix cracked grout, or replace shower waterproofing.
Before you buy sealer: check your grout type
- Most cement-based grout: usually benefits from sealing.
- Epoxy grout: typically does not need sealing.
- Pre-mixed urethane and “ready-to-use” grouts: often do not need sealing. Follow the grout maker.
Best sealer type for most homes
- Choose: penetrating (impregnating) sealer for showers and most tile floors.
- Avoid in wet showers: many topical (membrane) sealers can haze, peel, or wear unevenly.
Prep rules that make it last
- Clean first: remove soap scum and residues so sealer can soak in evenly.
- Let grout dry fully: floors about 24 hours after cleaning, showers often 48 hours if you can.
Fast application steps
- Ventilate, glove up.
- Apply sealer to grout lines in small sections.
- Let dwell per label (often 3 to 10 minutes).
- Wipe tile faces completely to prevent haze.
- Add a second coat if grout absorbs quickly (if label allows).
Cure time
- Keep surfaces dry until fully cured per label, commonly 24 to 72 hours.
- In showers, wait before the first use or you can weaken the seal.
How often to reseal
- Shower floor: about 6 to 12 months (busy showers) up to 1 to 2 years with gentle maintenance.
- Shower walls: about 1 to 2 years.
- Tile floors: about 1 to 3 years depending on traffic and cleaners.
Reseal test
- Do a water drop test: if grout darkens fast, it is time to reseal.
💡 Tip: Scroll up to read the full article for detailed, step-by-step instructions.
⬆️ Back to topAbout Marcus Vance
Content Creator @ Grit & Home
Marcus Vance is a lifelong DIY enthusiast and self-taught home renovator who has spent the last decade transforming a dilapidated 1970s ranch into his family's dream home. He specializes in budget-friendly carpentry, room-by-room renovations, and demystifying power tools for beginners. Through his writing, Marcus shares practical tutorials and hard-learned lessons to help homeowners tackle their own projects with confidence.