
🚨 In a DIY emergency or rush?
Skip the details and jump straight to our 30-second cheat sheet for the most crucial info.
I still remember my first run with a “new to me” dishwasher after we bought our 1970s ranch. I loaded it like a game of Tetris, tossed in soap, hit Start, and walked away feeling pretty proud. The next morning, I opened the door to gritty glasses and a pod half-melted onto the bottom rack.
Good news: using a dishwasher is simple once you understand where the water comes from, where the detergent needs to go, and how the spray arms move. This guide walks you through the basics without turning into a repair manual.
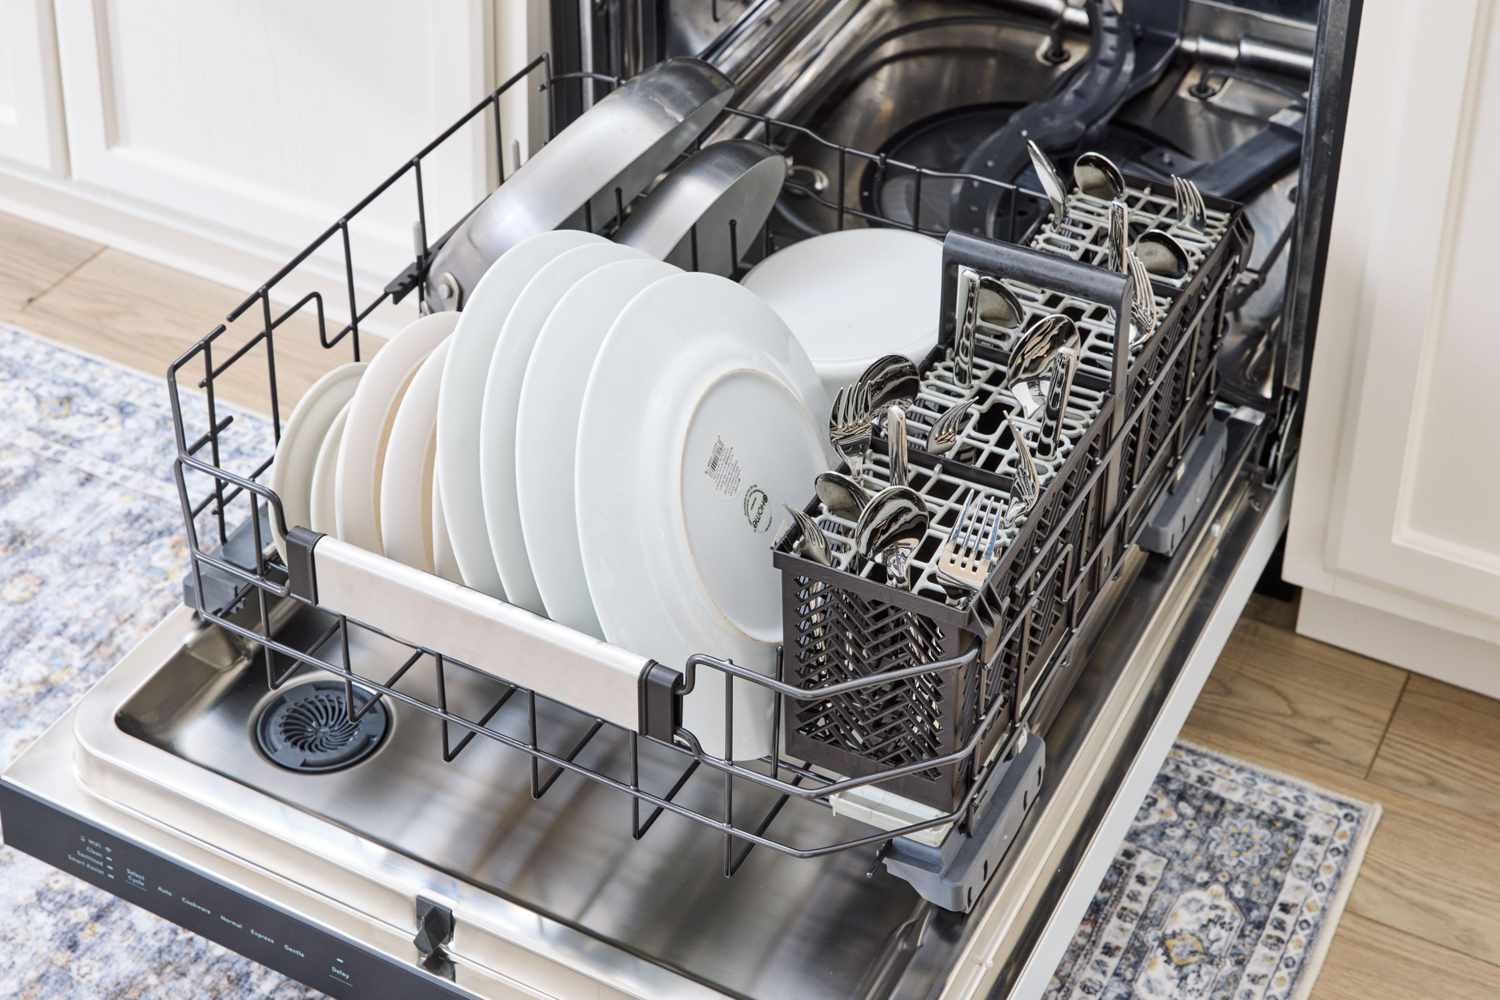
First-time setup
1) Find the dispenser and rinse aid cap
Open the dishwasher door and look at the inside of the door. You will usually see:
- Detergent dispenser: a small lidded cup that flips shut.
- Rinse aid reservoir: a round cap or small flip cap, often near the dispenser.
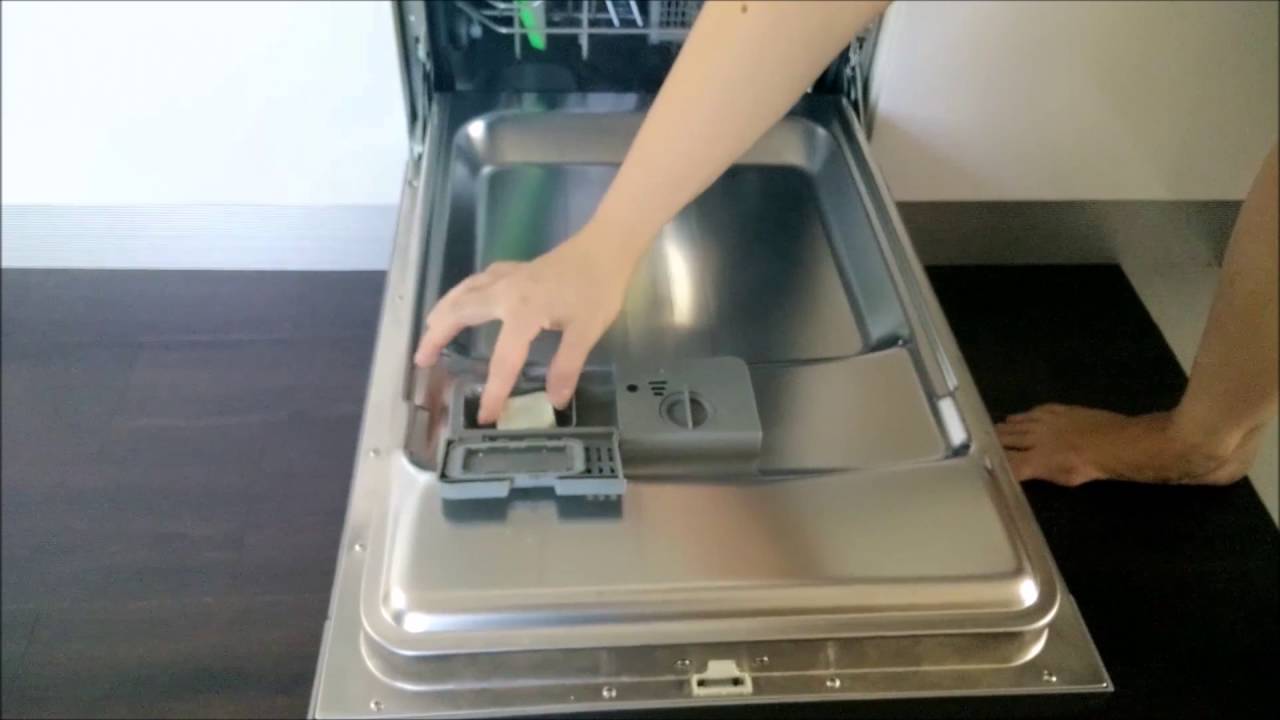
2) Fill rinse aid
Rinse aid helps water sheet off dishes so they dry with fewer spots, especially on glasses and plastic. It also helps drying performance on many models.
- Unscrew or flip open the rinse aid cap.
- Pour rinse aid in slowly until it reaches the “full” line or stops taking more.
- Wipe drips, close the cap snugly.
Tip: Most dishwashers let you adjust rinse aid dosage. If you see streaks or a slippery feel on glassware, turn the setting down a notch. If you see water spots, turn it up.
3) Run an empty cycle (optional)
If the dishwasher is brand new or new to you, run an empty hot cycle first. This flushes out dust, shipping residues, or stale water from sitting.
Detergent basics
Powder, gel, or liquid
These go in the main detergent dispenser cup on the door. Close the dispenser lid so it opens at the right time in the wash.
- Use the amount recommended on the detergent label, then adjust based on results.
- If your dishes feel gritty, you may be using too much detergent or washing on a cycle that is too short for the soil level.
Pods and tablets
For most dishwashers, the best move is simple: put one pod in the main detergent dispenser cup and close the lid.
- Only use one pod per load (more does not mean cleaner).
- Make sure the dispenser is dry before dropping the pod in. If it is damp, give it a quick wipe with a towel so the pod does not stick.
When would you not use the dispenser? A handful of manufacturers say to place certain tabs in the bottom of the tub. If your manual says that, follow it. If you do not have a manual, the dispenser is the safest default.
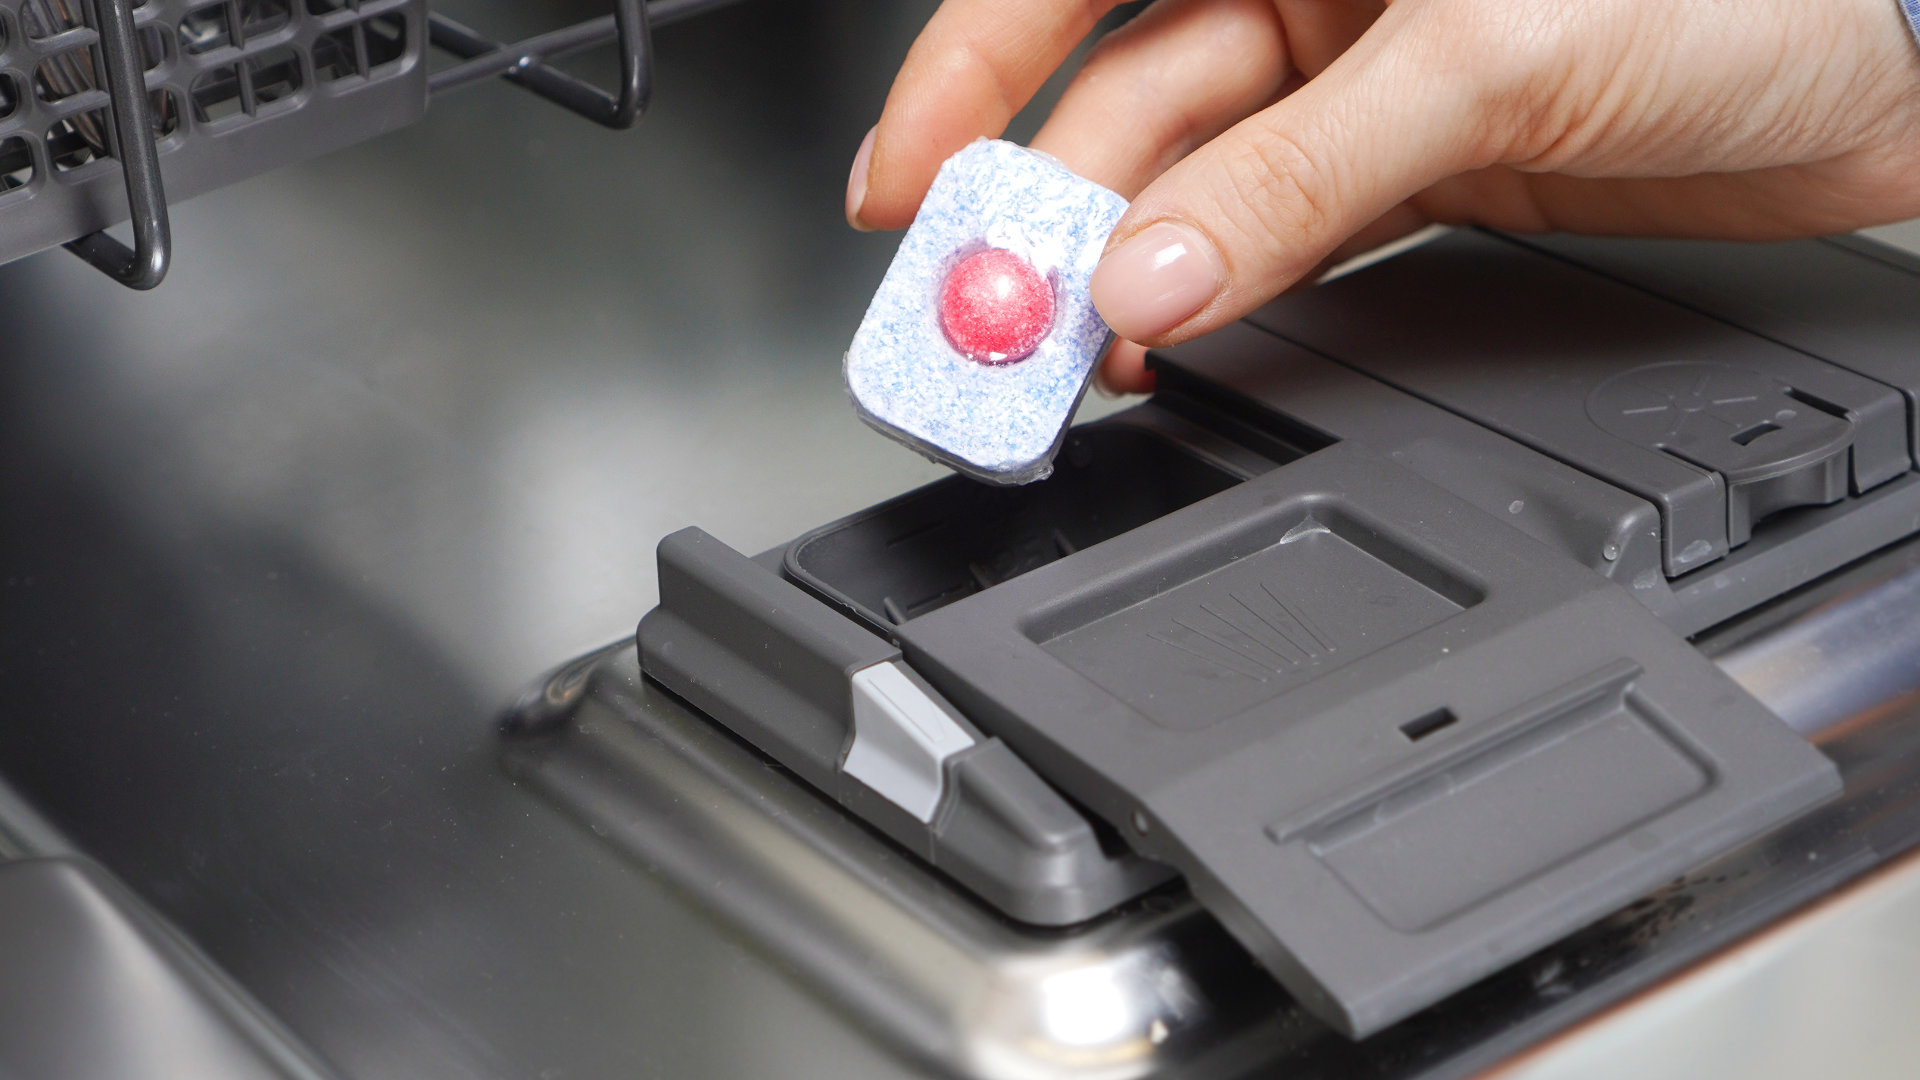
Do you need the pre-wash spot?
Some dispensers have a smaller pre-wash area. Use it when you run a heavy cycle on truly nasty loads (baked-on casserole, greasy pans) or when your machine’s manual recommends it. Otherwise, the main cup is enough for everyday loads.
Scrape vs rinse
Here is the sweet spot for most modern dishwashers: scrape, do not rinse.
- Do scrape: bones, pits, toothpicks, big clumps of rice, noodles, and thick sauces.
- Do not pre-rinse to squeaky clean: leaving a little soil can help some detergents and sensor based cycles do their job. (Heavy chunks still need to go in the trash.)
- Do a quick rinse only when needed: if the dishwasher will sit for a day or two and you want to prevent odor or hard, dried-on food. Older machines can sometimes do better with a light rinse, too.
My thrifty rule: if you can knock it off with a rubber spatula or a quick scrape, do that. Save the hot water for the dishwasher to use where it counts.
How to load the racks
Think of your dishwasher like a rotating sprinkler system. If something blocks the spray arms, water and detergent cannot do their job.
Bottom rack
- Face plates and bowls toward the center where the spray is strongest.
- Do not stack bowls tightly like cereal bowl nesting dolls. Water needs gaps.
- Place pots and pans angled downward when possible so they drain.
- Keep tall items (cookie sheets, cutting boards) to the sides or back so they do not wall off the spray.
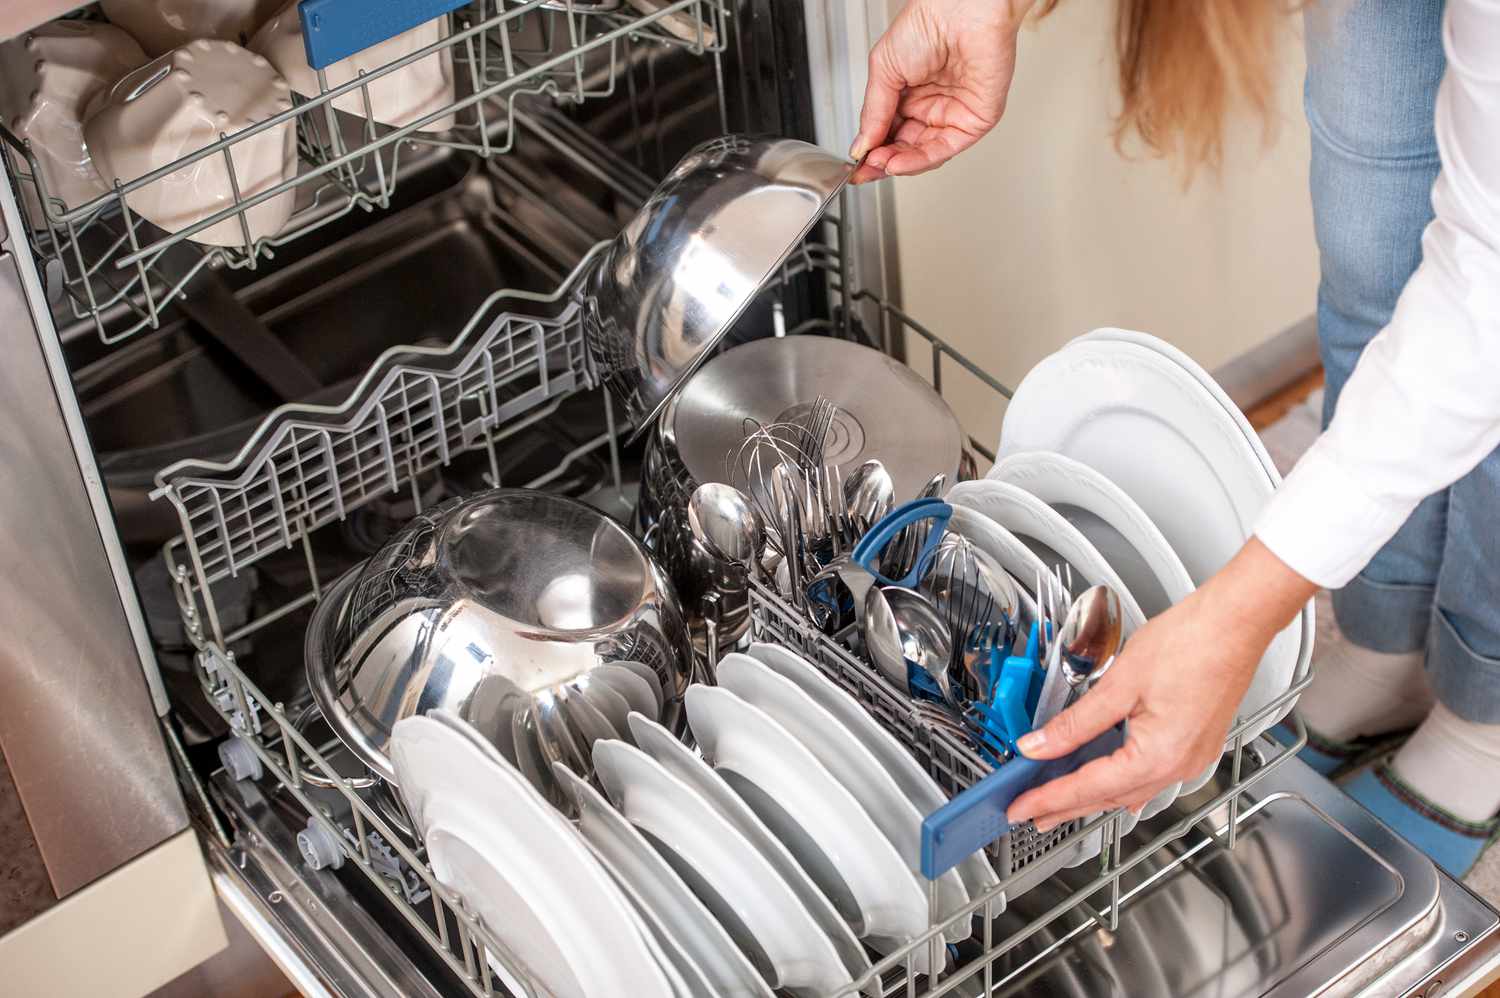
Top rack
- Angle cups and glasses downward so they do not collect water.
- Keep plastics on the top rack unless the manufacturer says otherwise. Lower rack heat can warp them.
- Do not let items touch the ceiling spray arm (if your model has one).
Silverware basket or third rack
- Mix it up: alternate forks and spoons so they do not spoon each other and block spray.
- Place knives according to your manual. Many people point sharp knives down for safety, but some baskets and third racks are designed for blades to lay flat.
- If you have a third rack, it is great for spatulas, ladles, and measuring spoons. Keep them low so they do not interfere with the upper spray arm.
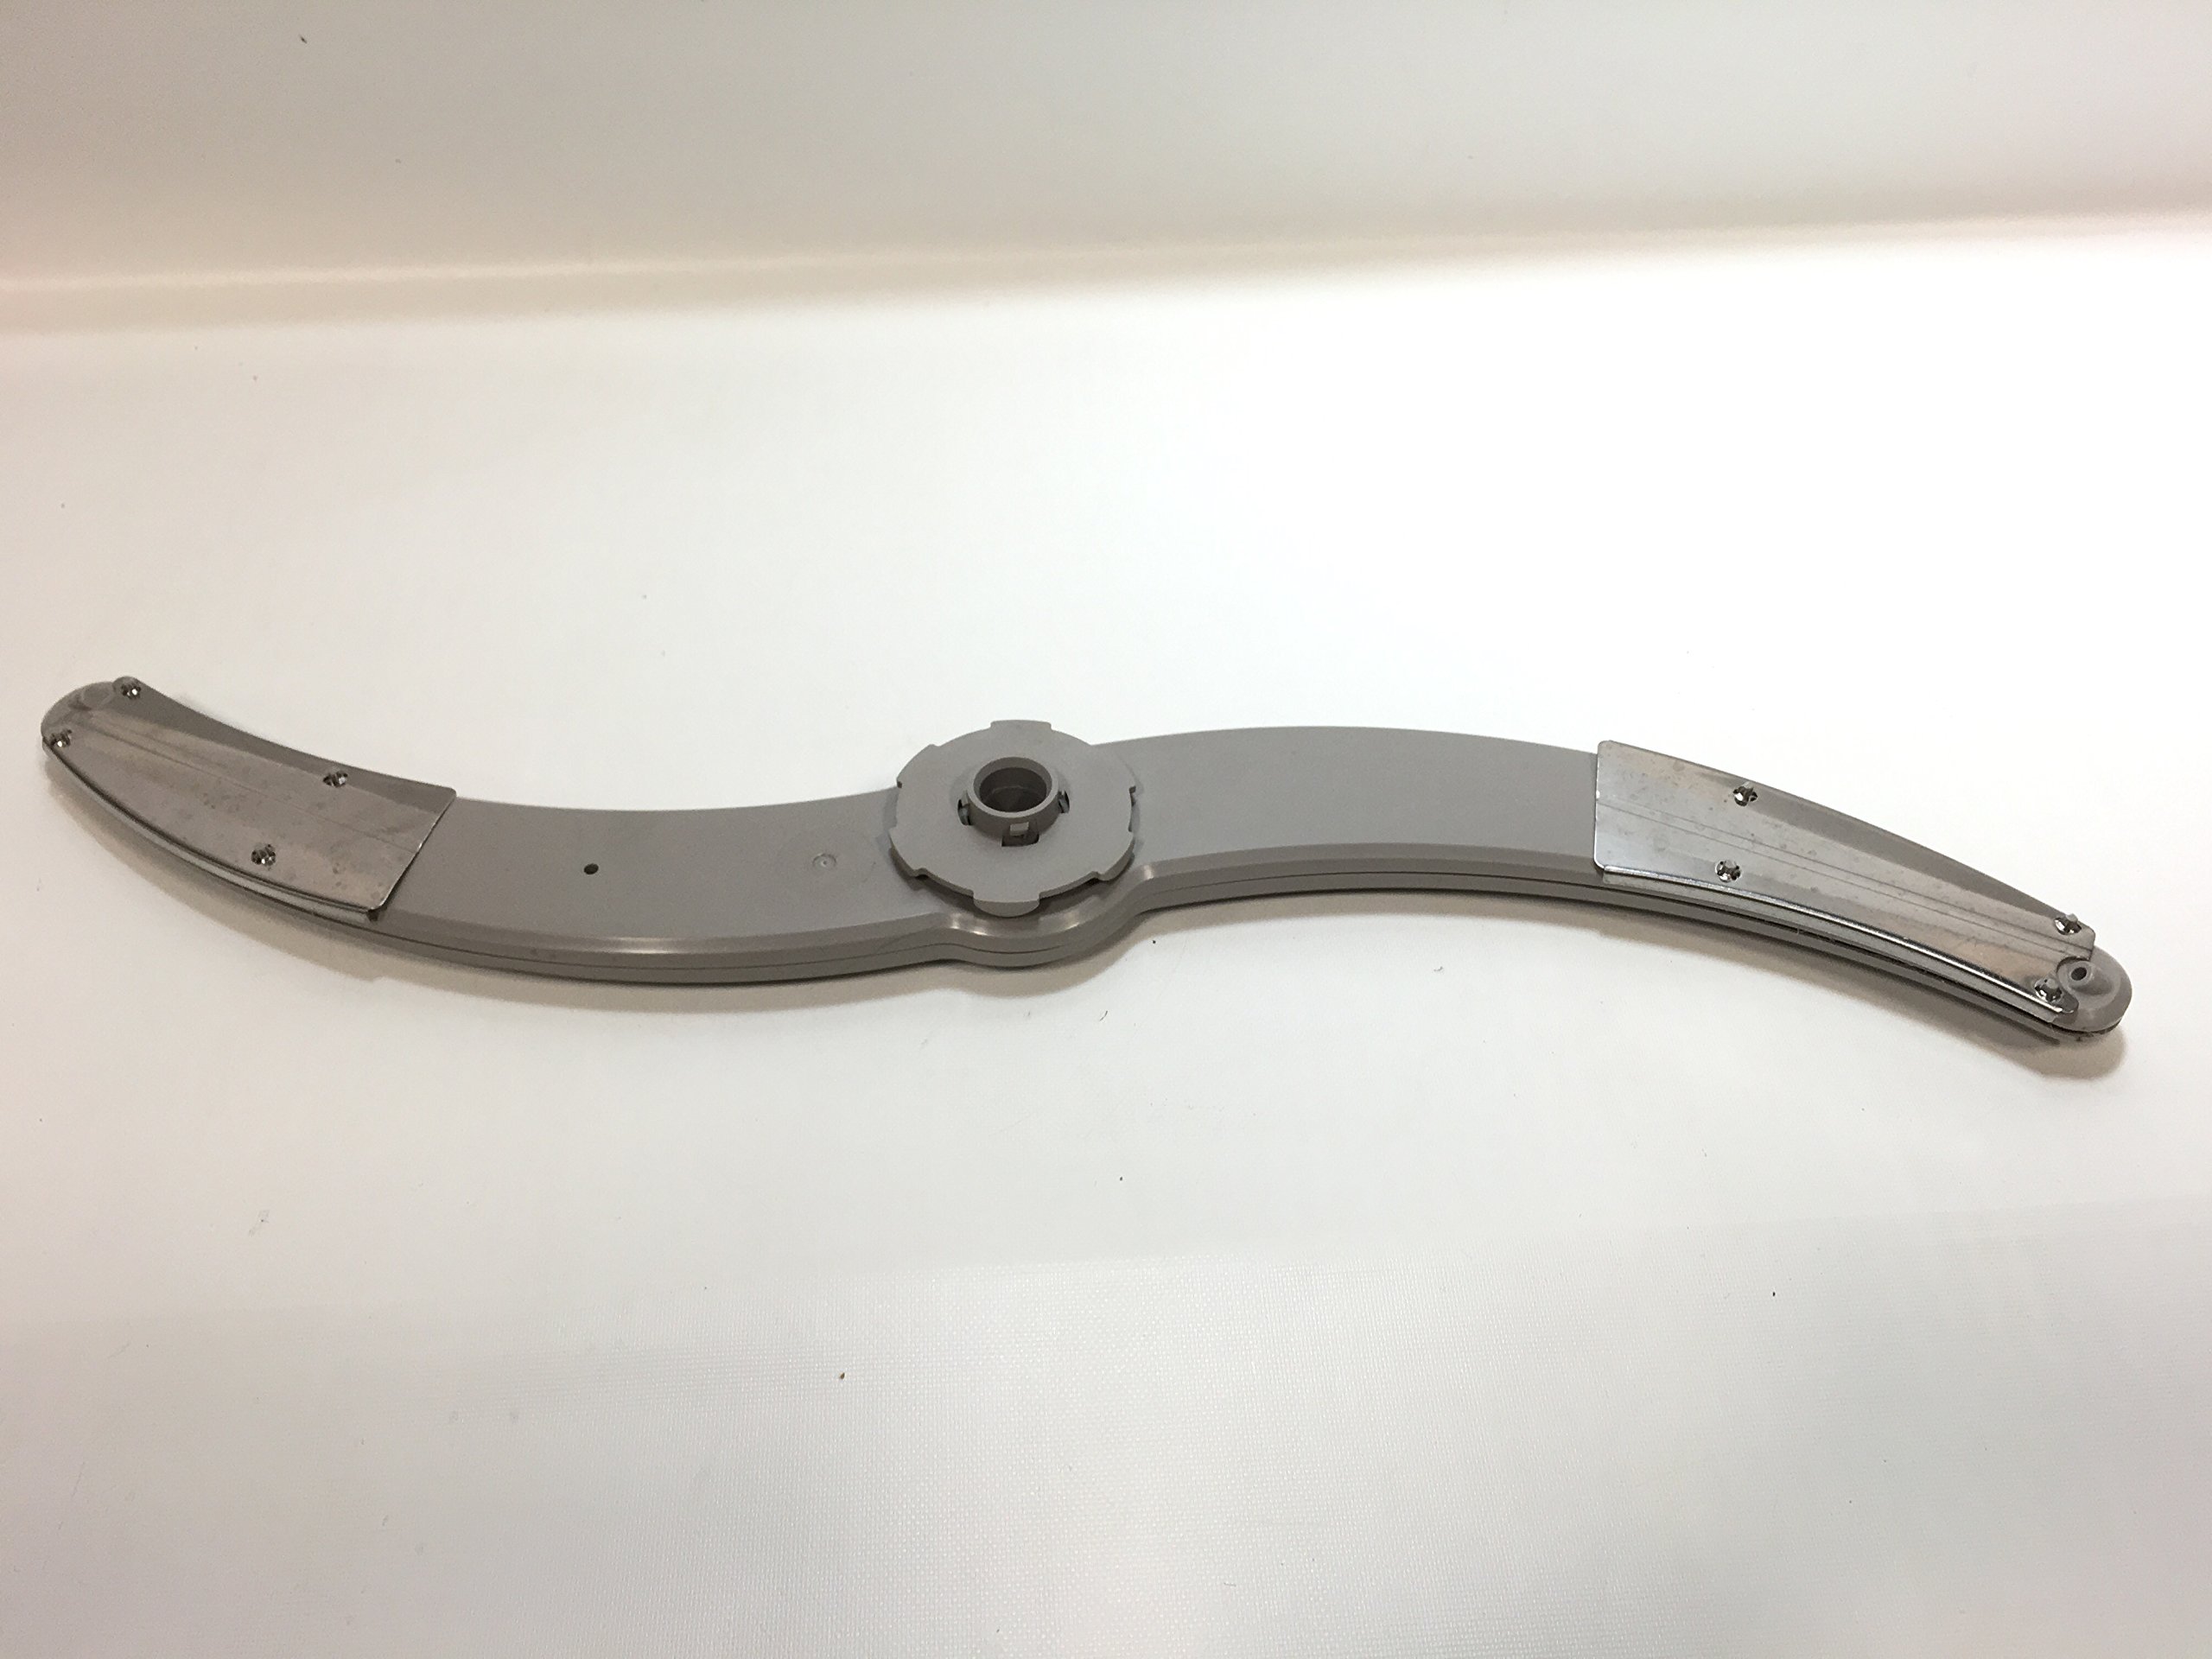
The one loading check
Before you close the door, give the spray arms a gentle spin by hand. If they hit a pan handle or tall plate, reposition that item. This simple habit prevents half-clean loads.
Pick a cycle
Dishwashers vary, but the cycles below are common. When in doubt, start with Normal and adjust based on results.
Normal
Your everyday cycle for typical loads. If you are learning your machine, this is the best baseline.
Auto or Sensor
The dishwasher checks how dirty the water gets and adjusts time and water use. Great for mixed loads when you are not sure what to pick.
Heavy
For baked-on food, greasy cookware, and big dinner-party loads. It uses more water and typically runs longer.
Quick
Best for lightly soiled dishes. Quick cycles can also leave pods partially dissolved when the water is not hot enough or when the dispenser is blocked by a large pan or utensil. If you are seeing half-melted pods, jump to the troubleshooting section below.
Eco
Saves energy and water, usually by washing longer at lower temperatures. Great for normal soil if you do not need dishes fast.
Heated Dry, Air Dry, Sanitize
- Heated Dry: dries better, uses more energy.
- Air Dry: saves energy but plastics may stay wet. Crack the door after the cycle if your model allows it.
- Sanitize: higher heat for hygiene, good for baby items and cutting boards (if dishwasher-safe).
Water temperature
Most dishwashers perform best with hot water. If your kitchen tap takes a while to get hot, running it until it is hot can help, especially on Quick or 1 hour cycles. Some dishwashers heat water internally and may not need this step, but it rarely hurts performance.
Start a load
- Scrape large food bits into the trash or compost.
- Load bottom rack, then top rack, then silverware.
- Spin the spray arms to confirm nothing blocks them.
- Add detergent (pod or measured detergent) to the dispenser and close it.
- Check rinse aid when the indicator light comes on (or monthly if you do not have a light).
- Pick a cycle (Normal or Auto is fine for most loads).
- Press Start and make sure the door fully latches.
Drying tip: When the cycle ends, let the dishes sit 5 to 10 minutes before unloading. You get less dripping, less steam in your face, and plastics dry a bit better.
Filter and drain check
If you take one “not a repair manual” step from this guide, make it this one: learn where your filter is. A clogged filter is a common reason for gritty dishes, funky smells, and poor cleaning.
- Most filters live on the bottom of the tub under the lower spray arm, often a twist-lock cylinder with a mesh screen.
- Check it every couple of weeks at first. If you cook a lot, you may need to clean it more often.
- Rinse the filter under hot water and use a soft brush if needed. Put it back snugly so it seals.
Note: Some older dishwashers have self-cleaning filters and a hard food disposer instead. If you do not see a removable filter, check your manual or model number.
What not to wash
When in doubt, check the item for a dishwasher-safe label, but these are the usual troublemakers:
- Cast iron and carbon steel (strips seasoning, can rust)
- Wood cutting boards and utensils (warping and cracking)
- Nonstick pans that are not dishwasher rated (coatings can dull faster)
- Crystal or delicate fine china (can etch or chip)
- Sharp high carbon knives (can spot, dull, and knock against other items)
- Insulated tumblers and travel mugs unless labeled dishwasher-safe (water can get trapped)
- Anything with paper labels you care about (they will turn into confetti)
Common mistakes
These are the operator errors I see most often. If you fix them, you solve a lot of day-one dishwasher frustration.
Pod not dissolving
- Make sure the pod is in the main dispenser and the dispenser is dry.
- Avoid blocking the dispenser with a big pan, cutting board, or utensil that can keep the door from popping open.
- Try a longer cycle if you are using Quick and the load is dirty.
- If it keeps happening, check the filter and confirm the spray arms spin freely. Weak circulation can also leave detergent behind.
Cloudy glasses or gritty residue
- Use rinse aid and consider increasing the rinse aid setting slightly.
- Cut back detergent a bit if you are overdosing, especially with soft water.
- Do not pack the rack so tightly that water cannot rinse everything away.
Dishes still dirty
- Check that the spray arms can spin freely and the jets are not blocked by a tall item.
- Load so dirty surfaces face inward and downward.
- Switch from Quick to Normal, Auto, or Heavy for tougher loads.
- Peek at the filter. If it is full of gunk, cleaning will suffer.
Everything is wet at the end
- Rinse aid helps drying, even if your detergent claims it is included.
- Use Heated Dry if you need it, or crack the door open after the cycle to vent steam.
- Let the load sit 5 to 10 minutes before unloading. Plastics still may need a quick towel dry.
Bad smell
- Scrape food well and do not leave heavy food piles in the filter area.
- Run a hot cycle and check that you are not trapping a spoon or small item under the rack.
- If smells persist, check and clean the filter. It is often the culprit.
Hard water note
Water hardness changes everything. If you have hard water, you may need a bit more detergent and rinse aid to prevent spots and film. If you have soft water, you may need less detergent to avoid residue. When you see consistent spotting or cloudiness, adjust one thing at a time and rerun a Normal cycle.
Quick FAQ
Should I rinse dishes first?
Scrape solids, but do not fully rinse unless the dishes will sit for a long time or the food is extremely sticky. A light amount of soil can help some detergents and sensor cycles work as intended.
Where does the pod go?
In the main detergent dispenser cup on the door, unless your dishwasher manual specifically says otherwise.
Can I run it half full?
You can, but it is usually most efficient to wait for a fuller load. If you must run it, avoid stacking and keep spray paths open.
What is the best everyday cycle?
Normal or Auto is best for most households. Use Heavy when you have baked-on or greasy loads.
The 30-Second Cheat Sheet
Essential takeaways for: How to Use a Dishwasher
- Setup: Find the detergent dispenser and fill the rinse aid reservoir. It helps drying and prevents spots.
- Detergent placement: Put one pod (or measured detergent) in the main dispenser cup and close the lid. Keep the dispenser dry (wipe it if needed) so pods do not stick.
- Pre-rinse habit: Scrape, do not rinse. Remove big food chunks, but do not wash dishes clean in the sink first.
- Load smart: Bottom rack for plates and pots (dirty sides facing inward). Top rack for glasses and plastics (angled down). Do not block the detergent door.
- One key check: Spin the spray arms by hand before closing the door. If they hit something, reposition.
- Cycle pick: Use Normal or Auto most days. Use Heavy for baked-on food. Use Quick only for lightly soiled loads.
- If pods do not dissolve: Dry dispenser, do not block the dispenser with a pan, and avoid Quick cycles for dirty loads.
- If dishes are wet: Use rinse aid, try Heated Dry, let the load sit 5 to 10 minutes, and crack the door after the cycle (if allowed). Plastics often stay wet.
💡 Tip: Scroll up to read the full article for detailed, step-by-step instructions.
⬆️ Back to top
About Marcus Vance
Content Creator @ Grit & Home
Marcus Vance is a lifelong DIY enthusiast and self-taught home renovator who has spent the last decade transforming a dilapidated 1970s ranch into his family's dream home. He specializes in budget-friendly carpentry, room-by-room renovations, and demystifying power tools for beginners. Through his writing, Marcus shares practical tutorials and hard-learned lessons to help homeowners tackle their own projects with confidence.