Why weatherstripping is worth your weekend
If you have a room that feels chilly even when the heat is running, you are probably paying to warm the outdoors. Weatherstripping is one of the cheapest DIY upgrades that can make a house feel tighter, quieter, and more comfortable almost immediately.
It is also forgiving work. You can start with one drafty door, learn the basics, and then work your way around the house.
Find the draft first
Before you buy materials, locate the leaks. It is easy to miss the real culprit if you seal by guesswork.
The flashlight test
- Wait until it is dark outside.
- Have a helper shine a bright flashlight along the perimeter seam of the closed door or window from the outside.
- Stand inside and look for light sneaking through the edges.
- Mark leaky spots with painter's tape so you know exactly where to seal.
The dollar bill test
- Close the door on a dollar bill (or a strip of paper) near the latch side, hinge side, and top.
- If it slides out with almost no resistance, the seal is not doing its job in that area.
The incense or tissue test
- On a calm day, hold a stick of incense or a thin tissue near the frame.
- If smoke drifts or tissue flutters, you found moving air.
Safety note: Incense is not an open flame, but it is still a hot ember and an ignition source. Keep it away from curtains, solvents, and dusty work areas, and extinguish it fully when you are done. If anyone in your home is sensitive to smoke (asthma, allergies), skip incense and use the flashlight test instead.
Know what you are sealing
Weatherstripping seals moving gaps between a door or window and its frame. It does not fix rotted wood, broken latches, failed window glazing, or big cracks in trim. For those, you may need caulk, repairs, or hardware adjustment first.
Weatherstripping vs. caulk
- Use weatherstripping: Where parts move. Door jambs, window sashes, sliding door meeting edges.
- Use caulk: Where nothing moves. Trim to wall, trim to siding, gaps in exterior casing, small cracks in stationary joints.
- Rule of thumb: If it needs to open, close, slide, or lock, do not caulk it.
Quick pre-checks
- Door wonky or rubbing? Tighten hinge screws and check that the strike plate pulls the door snug.
- Window hard to lock? A window that will not lock fully will not seal fully.
- Paint and grime buildup? Old sticky paint can keep weatherstripping from sitting flat. A quick scrape and wipe can help.
Weatherstripping types
There is no single “best” weatherstripping. The right choice depends on the size of the gap, how often the door or window moves, and how perfect you want it to look.
V-strip

Best for: Sides and tops of doors and windows where the gap is small and consistent.
- Pros: Durable, low profile, good for smooth sliding surfaces, works well in cold weather.
- Cons: Needs clean, straight surfaces; can be fussy on wavy or beat-up frames; adhesive versions can loosen on dusty paint.
- Typical cost: $5 to $20 per roll depending on material (vinyl vs. bronze) and length.
Foam tape
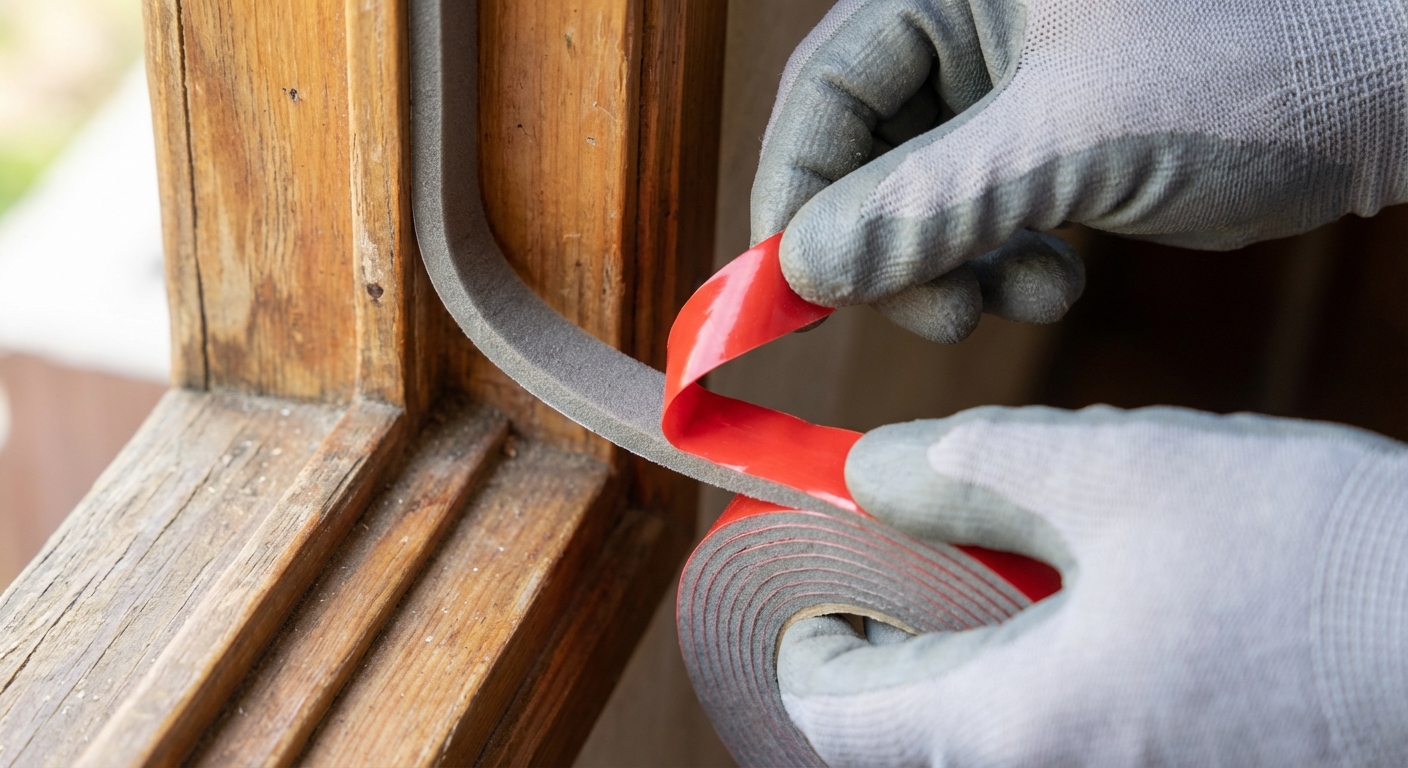
Best for: Doors and windows with slightly uneven gaps that need a forgiving seal.
- Pros: Cheapest and easiest for beginners; fills imperfect gaps; quick to install.
- Cons: Shorter lifespan; can tear or compress permanently; adhesive may fail in humid or dusty spots.
- Typical cost: $3 to $12 per roll.
Felt
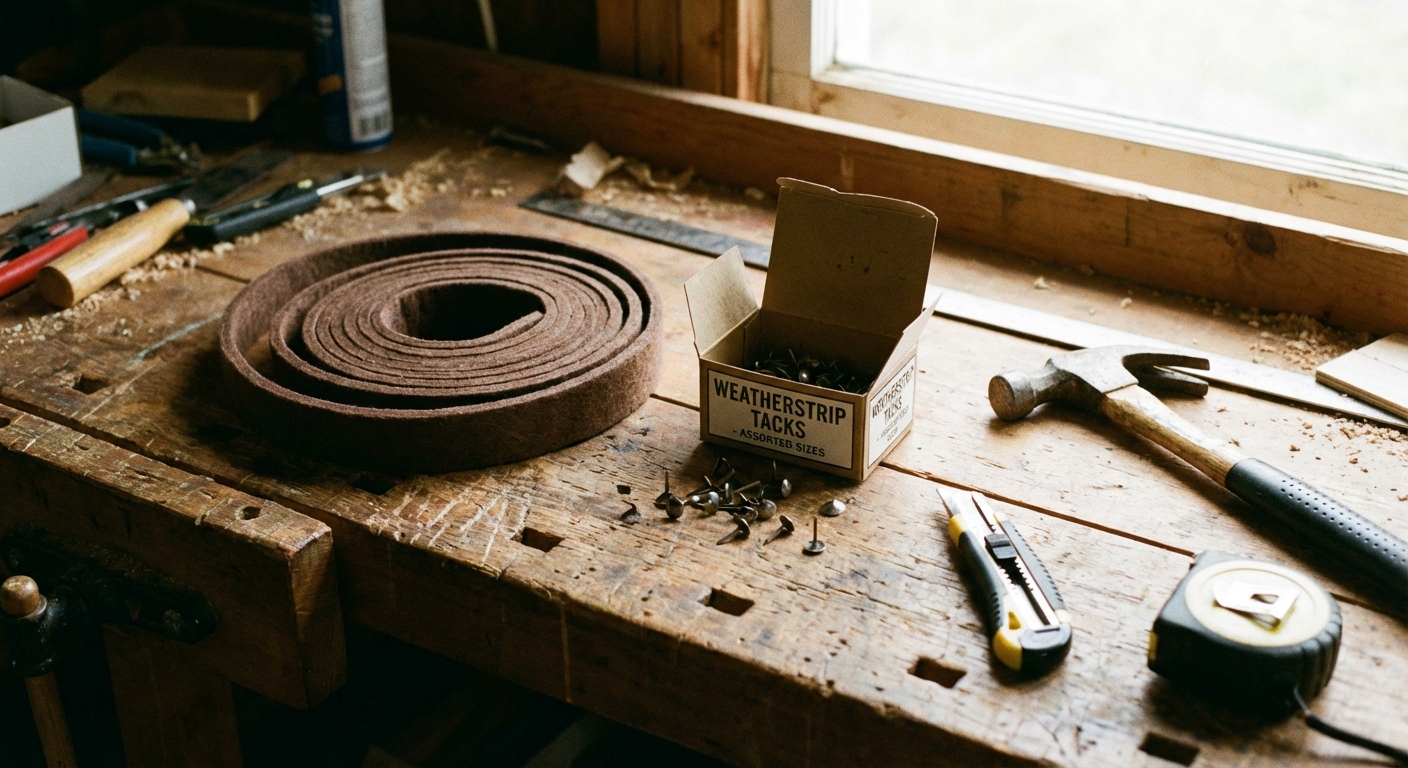
Best for: Light-duty draft control on low-traffic doors, older windows, and temporary fixes.
- Pros: Very inexpensive; easy to cut; can be tacked in place on older wood frames.
- Cons: Wears out quickly; absorbs moisture; not great for high exposure exterior conditions.
- Typical cost: $2 to $8 per roll.
Door sweep

Best for: The gap between the bottom of the door and the threshold.
- Pros: Stops the biggest draft source on many exterior doors; also blocks dust and bugs; noticeable comfort boost.
- Cons: Needs careful sizing; can scrape on rugs or uneven floors; cheap sweeps can curl or crack.
- Typical cost: $8 to $35 depending on style (basic sweep vs. heavy-duty or adjustable).
Kerf-in bulb seal
Best for: Many modern exterior door frames that have a narrow groove (kerf) in the jamb.
- Pros: Clean look, solid seal, replaces the factory-style gasket on many prehung doors.
- Cons: You need the right profile to match your frame; not every jamb has a kerf; cheap replacements can tear at the corners.
- Typical cost: $15 to $45 for a full door kit depending on quality and brand.
Quick picker
- Small, even gap on sides/top: V-strip or quality foam tape.
- Uneven or larger gap: Thicker foam tape or a door jamb kit with a compressible bulb seal.
- Draft at the bottom of the door: Door sweep, then check the threshold height and gasket.
- Temporary, low-budget: Felt, especially for older, rarely used openings.
Tools and materials
- Tape measure
- Scissors or utility knife with fresh blade
- Rubbing alcohol or mild cleaner and a rag
- Pencil and painter's tape (for marking leaks)
- For door sweeps: drill/driver, bits, and the right screws
- Optional but helpful: putty knife or scraper, small square, and a straightedge
My tip: Adhesive weatherstripping fails most often because the surface was dusty or slightly greasy. Clean first, then install. It is boring. It works.
Weatherstrip an exterior door
Most exterior doors need three sealing zones: the sides and top (jamb), and the bottom (sweep and threshold).
Step 1: Clean and prep
- Open the door and wipe the jamb where the new strip will stick.
- Scrape off loose paint or old adhesive bumps.
- Finish with rubbing alcohol and let it dry.
Step 2: Choose the thickness
For foam tape, do not automatically buy the thickest roll. You want the door to close snugly, not slam or bounce open. If you are between sizes, start smaller. You can always upgrade later.
Step 3: Seal the sides and top
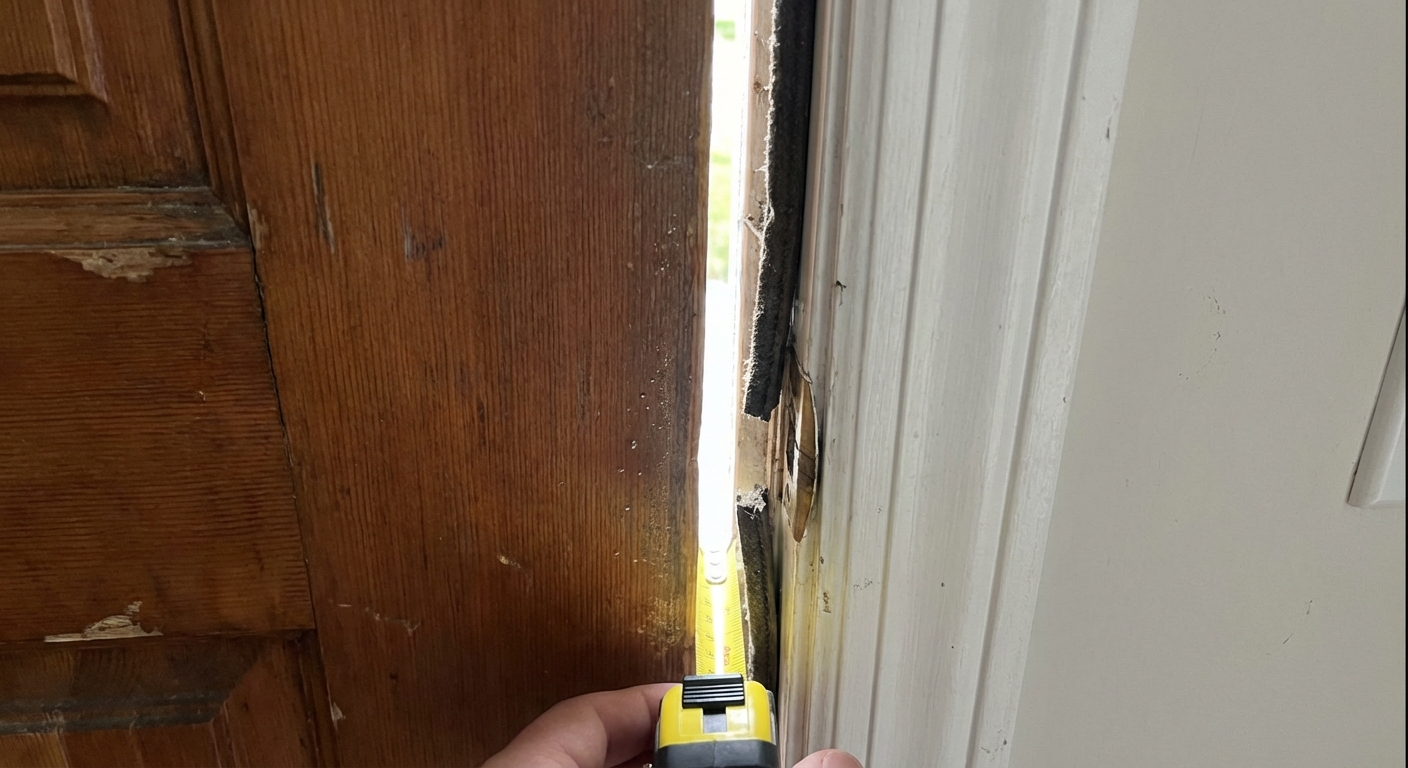
- Measure each run (hinge side, latch side, then the header).
- Cut each piece slightly long, test-fit, then trim to perfect length.
- Start at the top corner and work down, pressing firmly as you go.
- Do not stretch foam tape as you apply it. Stretched foam shrinks back later and opens gaps.
- Close the door slowly to check contact. Adjust before the adhesive fully sets.
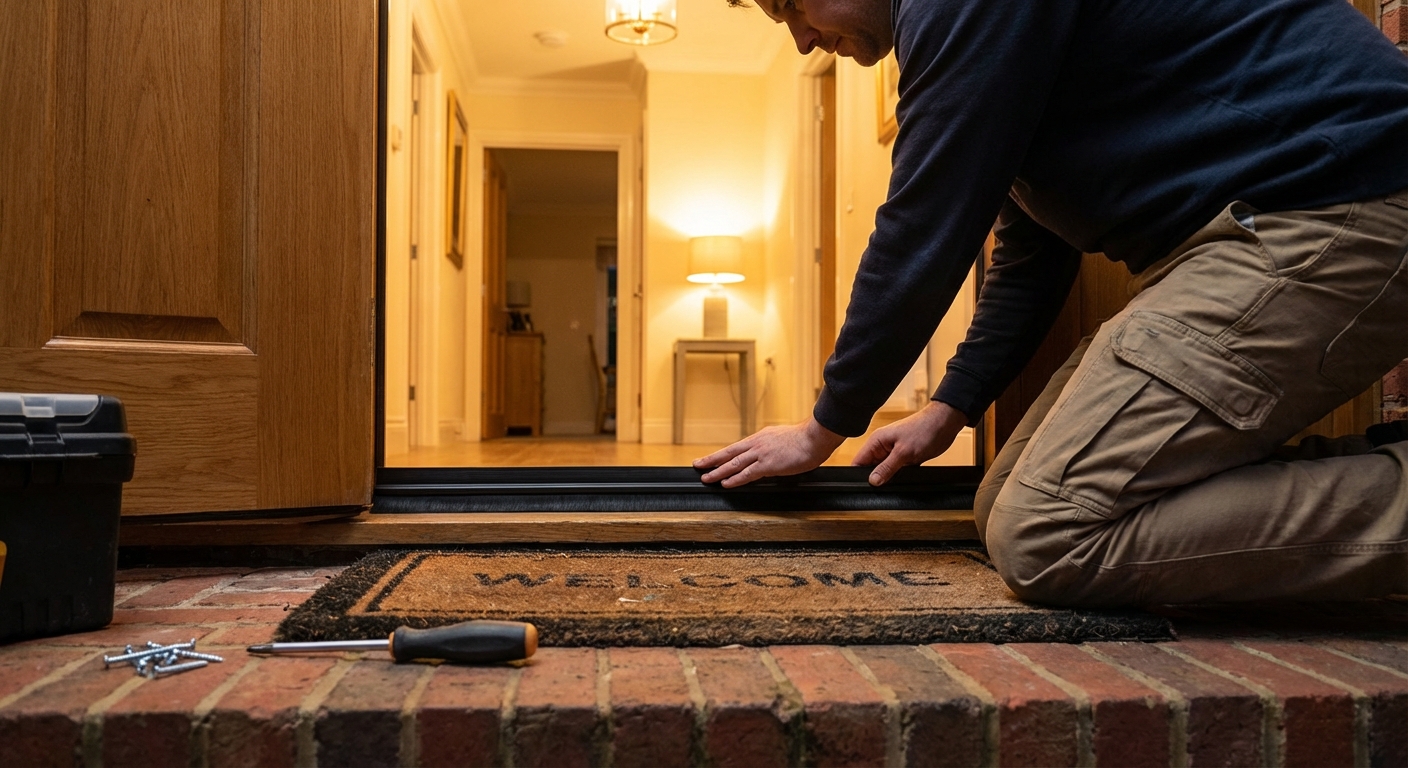
Step 4: Seal the bottom
- Check the bottom clearance at a few spots because thresholds and floors can be uneven. Look for daylight, or measure from inside with a small ruler.
- For a screw-on sweep, hold it against the door so the rubber just touches the threshold. You want contact, not heavy drag.
- Mark screw holes, pre-drill if needed, then fasten.
- Open and close the door a few times and fine-tune.
Step 5: Do not ignore the threshold
A sweep can only do so much if the threshold is low, damaged, or missing its gasket. If your threshold is adjustable, raise it slightly until it meets the sweep without causing drag. If the gasket is worn out, replacing that insert can be as important as the sweep.
Step 6: Re-test for drafts
Repeat the flashlight test. If you still see light, your door may need an adjustment at the latch or hinges. Weatherstripping can only do so much if the door is not pulled tight.
My honest mistake from early on: I once piled on thick foam everywhere because “more seal must be better,” right? Wrong. The door stopped latching, and my kids started yanking it hard enough to loosen hinges. A snug, consistent seal beats a bulky one every time.
Weatherstrip windows
Windows are all about preserving smooth operation. If you add material that binds, you will stop using the window and you will hate the project. Ask me how I know.
Double-hung windows
- Where leaks happen: Along the side tracks, at the meeting rail (where sashes meet), and at the bottom sill.
- Good options: V-strip in the channels, thin foam where the sash meets the stop, or felt for light-duty spots.
- Install approach: Clean the channel, apply a narrow strip, then test the window movement before committing to the whole length.
Sliding windows and patio doors
- Where leaks happen: Vertical meeting edges and the bottom track.
- Good options: V-strip for the meeting edge; avoid thick foam in tracks that need to glide.
- Extra win: Vacuum the track and wipe it down. A dirty track can mimic a draft because it prevents full closure.
Common problems
The door will not latch
- Weatherstripping is too thick or placed where it is over-compressing.
- Swap to thinner foam or reposition it slightly closer to the stop so it compresses less.
- Check the strike plate. Sometimes a tiny adjustment is all it takes.
Adhesive keeps peeling
- Clean better. Seriously. Alcohol wipe, dry, then install.
- Warm the surface with a hair dryer on low in cold weather before sticking.
- Upgrade to a better brand or a mechanically fastened option.
Window sticks after sealing
- Use a lower-profile product like V-strip.
- Only seal where there is a clear air path, not every friction surface.
How much can you save?
Exact savings depend on your climate, energy prices, and how leaky the house is. But sealing obvious drafts is one of the fastest payback DIY tasks because materials are cheap and the comfort improvement is immediate.
- Typical DIY cost: $15 to $60 to weatherstrip one exterior door well (jamb seal plus sweep). Windows can be as low as $5 to $20 per window for basic foam or V-strip.
- Potential savings: In drafty homes, air sealing and weatherstripping can reduce heating and cooling costs by around 10% to 20%, according to guidance commonly cited by the U.S. Department of Energy (Energy Saver).
Back-of-napkin example: If you spend $200 per month during peak winter heating, a 10% improvement is about $20 per month. A $40 weatherstripping run can pay for itself in a couple of months in the right conditions.
Reality check: If your home already feels tight and modern, savings may be smaller. If you can feel air moving around the door, you are the perfect candidate.
Checklist
- Find leaks with a flashlight test and mark them.
- Fix alignment first (hinges, latch, locks).
- Pick the right product for the gap and movement.
- Clean the surface like you mean it.
- Install in short runs, test operation, then finish.
- Re-test for light and air movement.
When to upgrade
If you have done the basics and still feel major drafts, it might be time for a bigger fix.
- Door threshold is too low or damaged: Replace or adjust the threshold so the sweep can seal properly. If there is a gasket insert, replace that too.
- Door is warped: You can only compress weatherstripping so much before the latch fights you.
- Window seals are failing: Some windows need track weatherstripping replacement or sash repair, not foam tape.
- Gaps between trim and siding or trim and drywall: That is usually a caulk job, not weatherstripping.
Quick FAQs
Should I weatherstrip in cold weather?
You can, but adhesive sticks best when surfaces are clean, dry, and not freezing. If it is cold, warm the jamb slightly with a hair dryer and press firmly.
Can I layer new over old?
I do not recommend it. Old material is often compressed or peeling, which makes the new layer fail faster. Remove the old strip and start fresh.
What is the most common draft spot?
The bottom of exterior doors. A solid door sweep plus a decent threshold seals a surprising amount of moving air.
Your next move
Pick the draftiest exterior door in the house, do the flashlight test tonight, and buy exactly what you need tomorrow. One tight door is enough to convince you this project is worth it.
If you are already working through seasonal upkeep, this pairs nicely with a fall maintenance day. Seal the drafts now, and your furnace will thank you later.
About Marcus Vance
Content Creator @ Grit & Home
Marcus Vance is a lifelong DIY enthusiast and self-taught home renovator who has spent the last decade transforming a dilapidated 1970s ranch into his family's dream home. He specializes in budget-friendly carpentry, room-by-room renovations, and demystifying power tools for beginners. Through his writing, Marcus shares practical tutorials and hard-learned lessons to help homeowners tackle their own projects with confidence.