If your ice maker is packed with frost, the ejector is stuck mid-cycle, or you have a solid glacier where cubes should be, the temptation is to pry and yank until something gives. I get it. I have been there with a butter knife in my hand, thinking I was being careful. That is how plastic cracks and gears strip.
This guide is for ice makers that are frozen up or jammed with ice , not dispenser-only issues and not “my ice maker makes no ice at all.” We will thaw it safely first, then fix the root cause so it does not happen again.
Quick safety note: work with dry hands, keep electrical tools away from drips, and keep a towel underneath so runoff does not refreeze somewhere new.
Before you start: what not to do
- Do not chip ice with a screwdriver, knife, or chisel. Ice maker molds and housings are easy to crack.
- Do not pour boiling water into the ice maker. Fast temperature swings can warp plastic parts and stress seams.
- Do not force the ejector fingers or sweep arm. If it is jammed, something is frozen or binding.
- Do not use an open flame. Hair dryer is fine. Heat gun is risky. Torch is a hard no.
Tools that help: towel, a bowl, a hair dryer (low), handheld clothing steamer, plastic spatula, turkey baster with warm water, flashlight, and a small mirror.
Quick diagnosis: where is the ice building up?
- Ice plug at the fill tube (little tube that aims water into the mold): often linked to valve seepage or airflow hitting the tube, but it can also be caused by a misrouted tube, missing insulation, or an air leak near the fill area.
- Solid sheet of ice in the mold or cubes fused together: commonly overfilling, a leaking valve, or the fridge not sitting level.
- Ejector fingers stuck or stalled mid-rotation: jammed cubes, a frozen mold, or a struggling motor module.
- Heavy frost all around the ice maker area: warm-air leak from a door gasket, a door left slightly open, or an ice room flap not sealing.
Where to go next: fill tube plug equals Fix 1. Stalled ejector equals Fix 2. Snow-cave frost equals Fix 3. Overfilled slabs and fused cubes equals Fix 4.
Safe thawing steps (no cracked plastic)
Step 1: Power down the ice maker
Turn the ice maker OFF using the switch (if it has one). If you cannot access the switch or you are working near wiring, unplug the fridge or turn off the breaker.
If you unplug the fridge, work efficiently and keep the freezer door closed as much as possible between steps to protect food.
Step 2: Protect the freezer
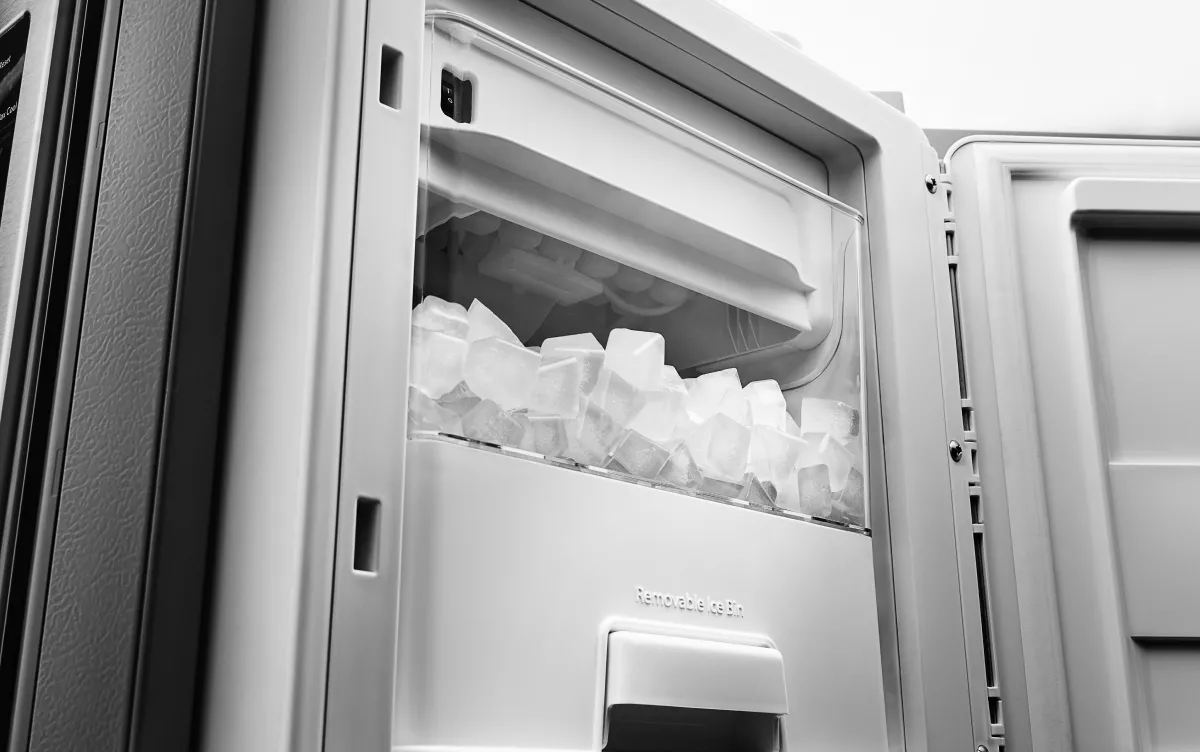
Pull the ice bin out and lay towels underneath the ice maker area. Keep a bowl handy for slush and drips.
Step 3: Thaw slowly with warm air or steam
Option A: Hair dryer on low heat, low fan, held 8 to 12 inches away. Keep it moving. Your goal is to soften ice, not cook plastic. Keep the dryer well away from any standing water.
Option B: Handheld clothing steamer can be even safer for plastics if you already own one. Use short bursts and keep a towel under the work area to catch runoff.
- Warm the mold area and around the ejector fingers.
- Then warm the fill tube opening if you see an ice plug.
- Stop frequently and test movement gently.
Step 4: Speed up fill tube thawing (optional)
If the fill tube is plugged, use a turkey baster with warm water (not hot) to gently flush the tube opening. Use small amounts and catch runoff with a towel or bowl so you do not create a new ice patch underneath.
Step 5: Clear loosened ice with plastic only
Once ice is slushy, lift it out with a plastic spatula or your fingers. If it does not come easily, apply more warm air or steam.
Step 6: Dry everything
Wipe the area dry so you are not starting the next freeze cycle with a bunch of water sitting where it should not be.
Fix 1: Fill tube icing (common repeat offender)
The fill tube is that small tube that pours water into the ice mold. When it freezes, the ice maker may cycle but cannot refill, or it can partially fill and create weird half-cubes that jam the ejector.
What causes it
- Water inlet valve seeping : a tiny leak sends a slow trickle that freezes into a plug.
- Freezer set colder than recommended: temps much below the manufacturer target, plus strong airflow, can increase freeze-ups in the fill area. Check your manual, but many units are happiest around 0°F to 5°F.
- Low water pressure or restricted flow: slow fill can dribble and freeze at the tube tip (a clogged filter can contribute).
- Fill tube insulation or routing issues: missing insulation, gaps, or a tube that is not seated correctly can make the tip freeze easily.
- Air leaks near the ice maker corner: humid air plus cold plastic equals frost that turns into a blockage.
What to check
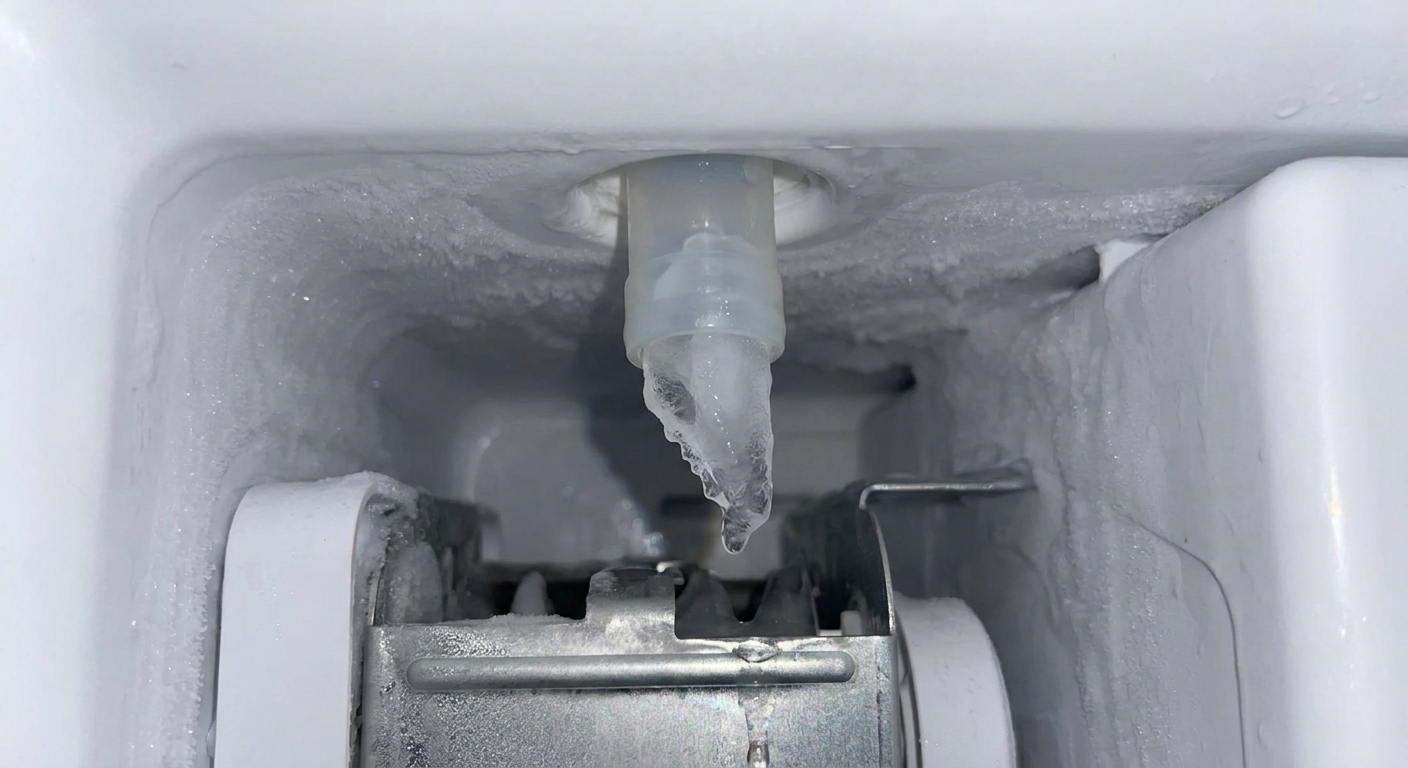
- Look for a hollow ice “stalactite” under the fill tube area. That is a big hint of seepage.
- Confirm freezer temp: aim for the setting in your manual. If you do not have it handy, 0°F to 5°F is a common target range.
- Inspect the water line behind the fridge for kinks and make sure the shutoff valve is fully open.
- Check vents and airflow: if a vent is blocked by food, cold air can blast the fill area and create odd freeze patterns. Give the vents some breathing room.
Likely fix
If the tube freezes again within a week or two after thawing, the usual long-term fix is often the water inlet valve (the electric valve where the house water line enters the fridge), especially if you see signs of seepage or overfill. That said, it is not universal. Some models use fill tube heaters, insulation kits, dual valves, or have control timing issues that can mimic valve problems.
DIY note: This is typically a 30 to 60 minute job with basic tools, but always match the part number to your fridge model and shut off the water before disconnecting anything. After replacement, check carefully for leaks.
Fix 2: Stuck ejector fingers or jammed cycle
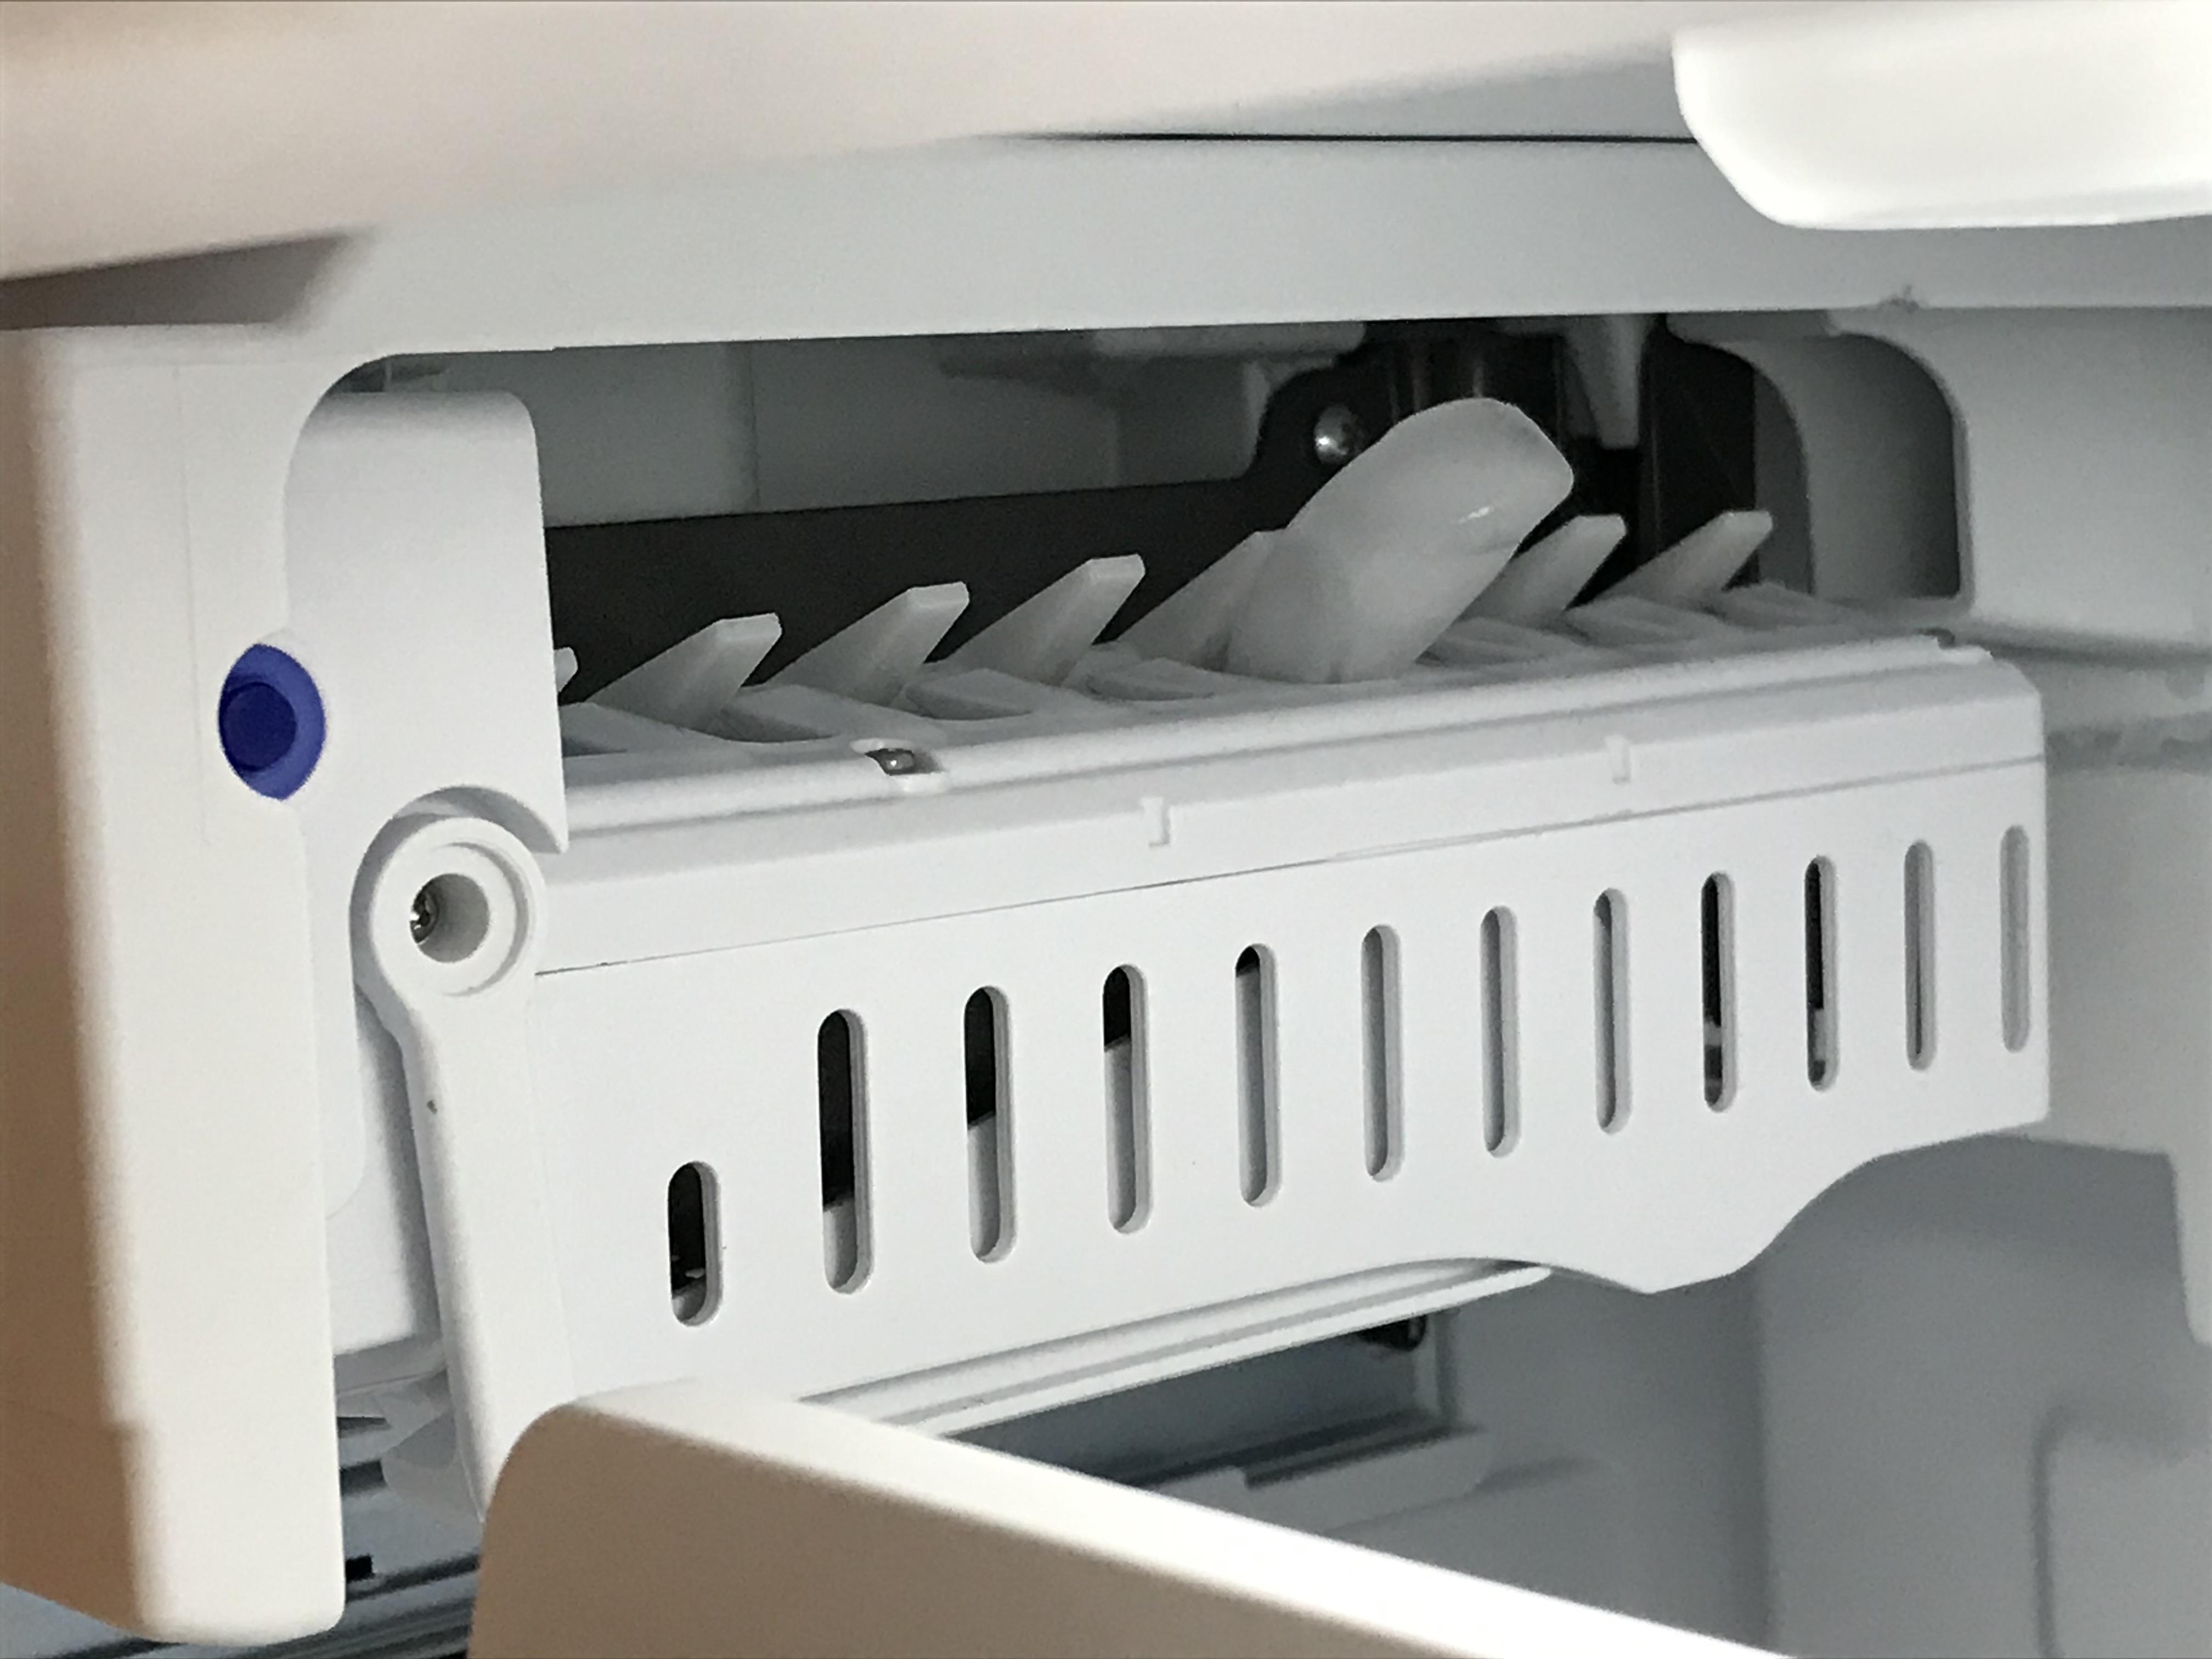
When the ejector fingers cannot rotate, the ice maker will often stall mid-cycle, click repeatedly, or stop producing entirely until it warms up.
Common reasons
- Cubes fused together because of overfilling or a melt-and-refreeze situation.
- Ice mold not releasing because it is overfrozen, the surface is damaged, or the cube thermostat is out of whack.
- Mechanical wear in the module or motor (less common, but it happens on older units).
What to do after thawing
- Inspect the mold for cracks, heavy mineral scale, or rough spots that could hold cubes.
- Check for overfill signs: a big slab of ice, “mushroom” cubes, or water frozen up and over the mold edges.
- Restart and observe one cycle if possible. If it fills too much water, skip ahead to Fix 4.
If it continues to stall even with normal cube size and no visible ice jam, you may be looking at an aging ice maker module assembly. At that point, replacement is often more cost-effective than chasing intermittent mechanical failures.
Fix 3: Warm-air leaks and heavy frost
If the entire ice maker corner looks like a snow cave, you may have a warm-air leak. That moist air hits cold surfaces, turns to frost, and eventually interferes with moving parts.
Door gasket check
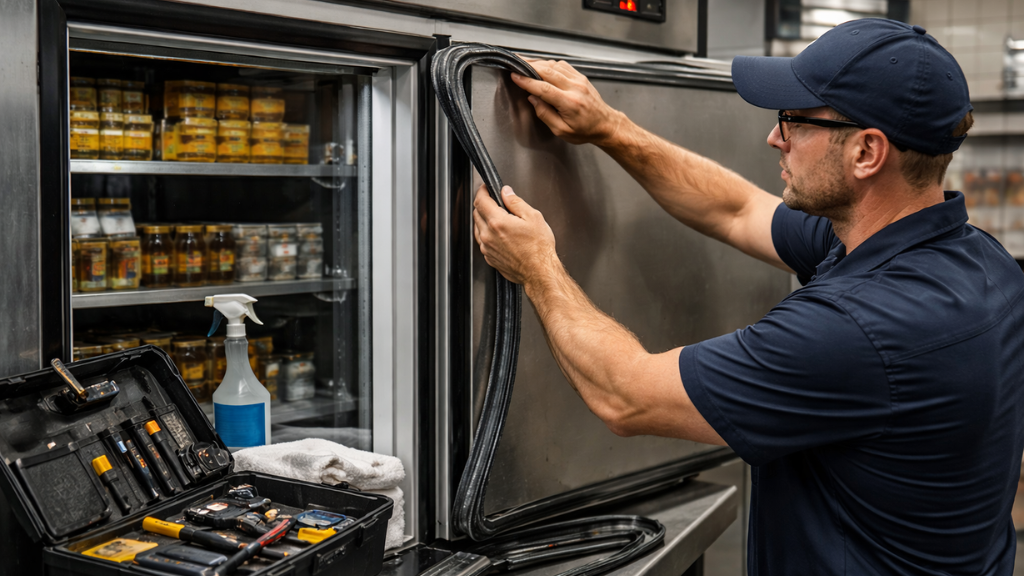
- Visual scan: look for rips, hardened sections, or spots where the gasket is pulled away.
- Paper test: close the door on a strip of paper. If it slides out easily in one area, you likely have a sealing problem.
- Clean first: warm soapy water can restore grip if the gasket is just greasy or dusty.
Other warm-air culprits
- Door not closing fully because of a bin, bag of fries, or a shelf shifted forward.
- Frequent door openings or kids lingering with the door open (ask me how I know).
- Ice room flap not sealing on models that route ice through the door.
Quick ice flap test (dispenser models)
- Listen and feel: dispense ice, then listen for the flap to close. You can often feel it seat by placing a hand near the chute (door closed).
- Inspect the opening: open the freezer door and look for ice chunks preventing the flap from closing fully.
- Clear and dry: remove any ice and wipe moisture. A flap that cannot seal will keep pulling humid air into that area.
Airflow and defrost checks
- Do not block vents: an overpacked freezer can create weird frost patterns and extra icing near the ice maker.
- Look at the freezer back wall : if it is coated in heavy frost, you may have a defrost system issue (not just an ice maker issue). That can reduce airflow and contribute to repeated icing problems.
- Listen for the evaporator fan: if the freezer fan is not running consistently, temperatures can swing and moisture can settle where it should not.
Fix 4: Water inlet problems (overfill and ice blocks)
Water problems show up in a few different ways: a big slab in the bin, fused cubes, or a mold that looks like it overflowed and froze into the mechanism.
What to check
- Overfill symptoms: cubes connected together, ice sheet, ice frozen up the sides of the mold.
- Fill tube drip marks: a little icicle or ice buildup right under the tube can point to a valve that is not closing fully.
- Water pressure: very low pressure can cause weak, slow fills that freeze in odd places. Many fridges specify something like 20 to 120 psi, 30 to 120 psi, or 40 to 120 psi. Check your manual for your exact range.
Adjusting fill amount (only if your model allows it)
Some ice makers have a small adjustment screw for water fill. If your cubes are consistently too big, that adjustment can help. If you do not see an obvious adjustment point in your manual or on the module, do not guess. Many newer units are not meant to be adjusted manually.
When the inlet valve is the best bet
If you have repeated fill tube icing or overfilling and your freezer temp and door seals check out, the water inlet valve is a prime suspect. Just try to confirm seepage or overfill behavior first, since some models need a fill tube heater or insulation fix instead of (or in addition to) a valve.
Put it back together and test
- Make sure the ice maker area is dry and free of loose ice chips.
- Reinstall the bin and turn the ice maker ON.
- Use Test or Reset if you have it : many modern ice makers (often Samsung and LG) include a Test, Reset, or small button you press and hold to force a cycle. This is the fastest way to confirm the ejector runs and the mold refills correctly. Follow your manual for the exact button and hold time.
- Give it time. Many units need 12 to 24 hours to refill a bin after a full thaw and reset, even if the first test cycle looks good.
One helpful observation: check the next batch of cubes. Normal cubes are uniform and separate. If they are fused, hollow, tiny, or slushy, that points you back to fill amount, valve seepage, temperature, airflow, or a restriction like a clogged filter.
When to call a pro
- You see cracked plastic around the mold, housing, or fill tube connection.
- The ice maker repeatedly stalls mid-cycle even after thawing and normal cube production.
- You suspect a hidden water leak behind the unit or under flooring.
- Your model requires removing complex panels to access the valve and you are not comfortable shutting off water and testing for leaks.
- The freezer back wall is heavily frosted and temps are unstable, which can point to a broader defrost or airflow problem.
Prevent it from happening again
- Keep freezer temp in range: follow your manual. If you do not have it, 0°F to 5°F is a common target.
- Keep vents clear: do not pack food tight against vent openings.
- Do a quick gasket wipe-down every few months.
- Level the fridge if doors drift open. A slight tilt back helps many doors self-close.
- Dump old ice occasionally. Stale ice clumps and can start jams.
- Change your water filter on schedule if your fridge uses one, since restricted flow can contribute to odd fills.
If you take nothing else from this page, take this: thaw first, then troubleshoot. Most broken ice makers I have seen were not killed by ice. They were killed by tools used in frustration.
About Marcus Vance
Content Creator @ Grit & Home
Marcus Vance is a lifelong DIY enthusiast and self-taught home renovator who has spent the last decade transforming a dilapidated 1970s ranch into his family's dream home. He specializes in budget-friendly carpentry, room-by-room renovations, and demystifying power tools for beginners. Through his writing, Marcus shares practical tutorials and hard-learned lessons to help homeowners tackle their own projects with confidence.