🚨 In a DIY emergency or rush?
Skip the details and jump straight to our 30-second cheat sheet for the most crucial info.
If your ice maker is still producing ice but it is doing it at a snail’s pace, you are in the right spot. “Slow ice” is a different problem than “no ice at all,” and it usually comes down to two buckets: not enough water getting into the mold or the freezer taking too long to refreeze the mold between cycles.
I’ve chased this exact issue at my own house and at two neighbors’ places, and it is often a simple bottleneck you can spot and fix with a flashlight, a towel, and a little patience. That said, sometimes parts do fail, so I will also flag the signs that it is time to stop guessing.
Quick baseline: what “normal” ice looks like
Ice production is very model-dependent, and manufacturers rate output under specific conditions. As a rough real-world range, many common ice makers land around 2 to 8 pounds per 24 hours.
In day-to-day terms, that often works out to:
- A batch about every 45 to 120 minutes, depending on freezer temperature, ice maker design, and how often the door is opened
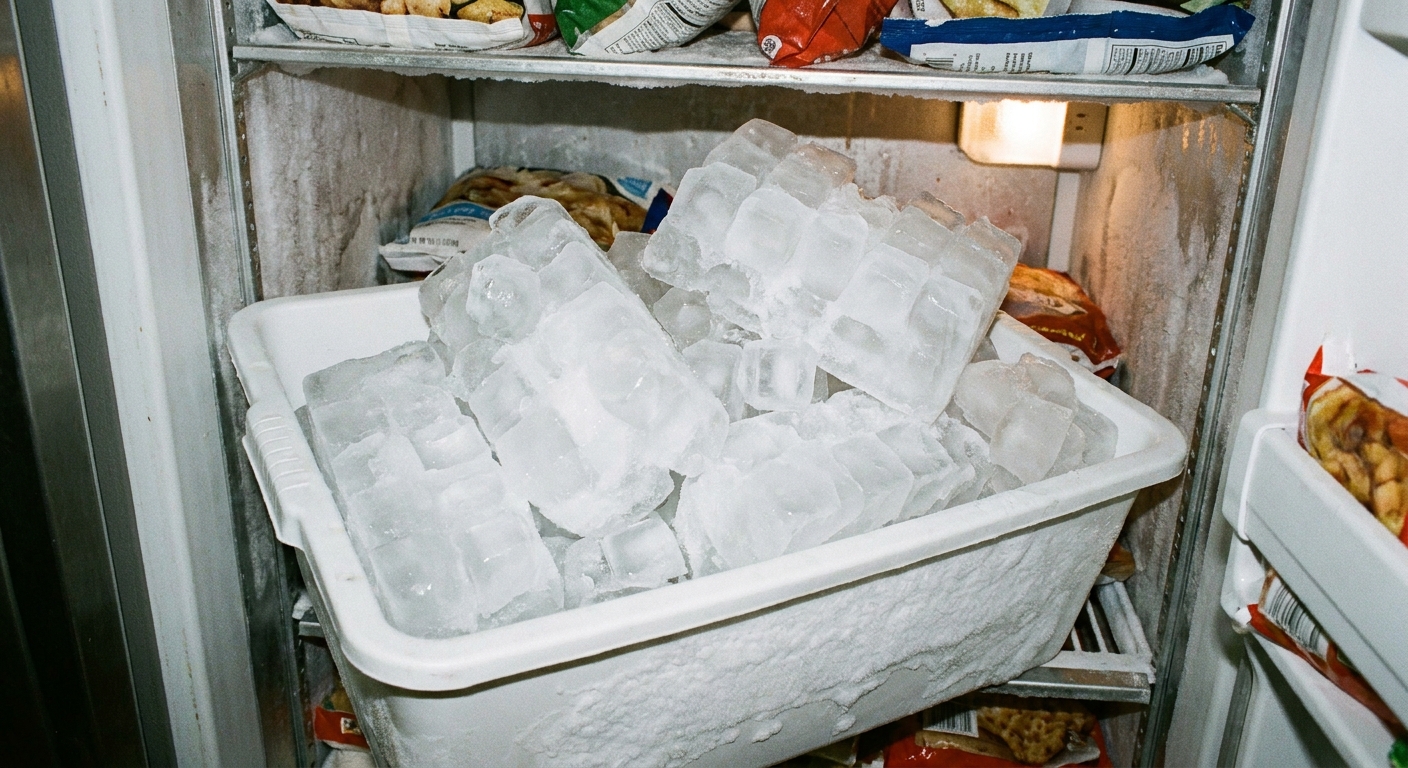
- Half a bin to a full bin over 24 hours for many typical setups
Production slows down when the door is opened a lot, the freezer is warm, the bin is jammed, or incoming water is restricted.
Tip: If you just installed the fridge, replaced a filter, or had the water shut off, give it a fair test window. Many units need 12 to 24 hours to settle in and start producing consistently. It is also common to dump the first bin after a new install or filter change to clear out air and any loose carbon fines, per your manual.
Step 0: Make sure it is turned on
This sounds obvious, but it gets people all the time.
- Confirm the ice maker switch is ON (or the shutoff arm is down).
- Check for Vacation mode or Sabbath mode. Depending on brand, these can disable the ice maker or the dispenser.
- If the bin was removed recently, make sure it is seated correctly so the unit does not think it is “missing” or “full.”
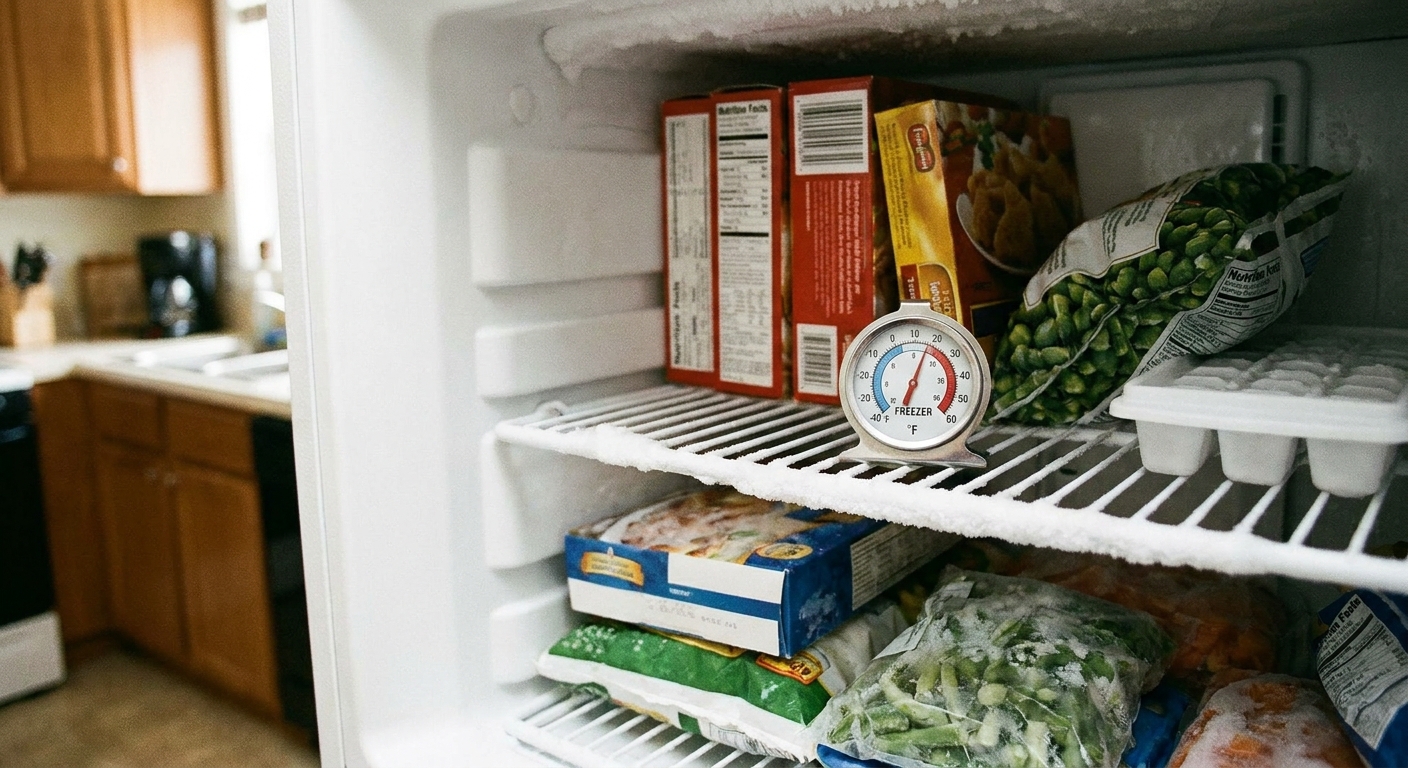
Step 1: Check freezer temperature
I always start here because it is the simplest big lever. If the mold water does not freeze quickly, the ice maker cannot cycle quickly.
Target temperatures
- Freezer: 0°F (-18°C) is the sweet spot for ice makers
- If you are at 5°F to 10°F, ice will still happen, but cycles often slow down noticeably
How to check
- Use a standalone freezer thermometer (the built-in display can be averaged or simply inaccurate).
- Let it sit for a few hours without heavy door opening to get a true reading.
Common reasons the freezer is warm
- Overpacked freezer blocking vents
- Door gasket not sealing (paper test: close the door on a sheet of paper, it should tug firmly)
- Condenser coils clogged with dust (especially with pets)
- Frequent door opening, high room temperature, or the freezer set too warm
- Airflow or defrost issues (if frost buildup is heavy or vents are iced over)
Step 2: Confirm water supply pressure and flow
An ice maker does not need a firehose, but it does need steady pressure. If fill time runs long or the mold only fills partway, you get smaller cubes and fewer batches per day.
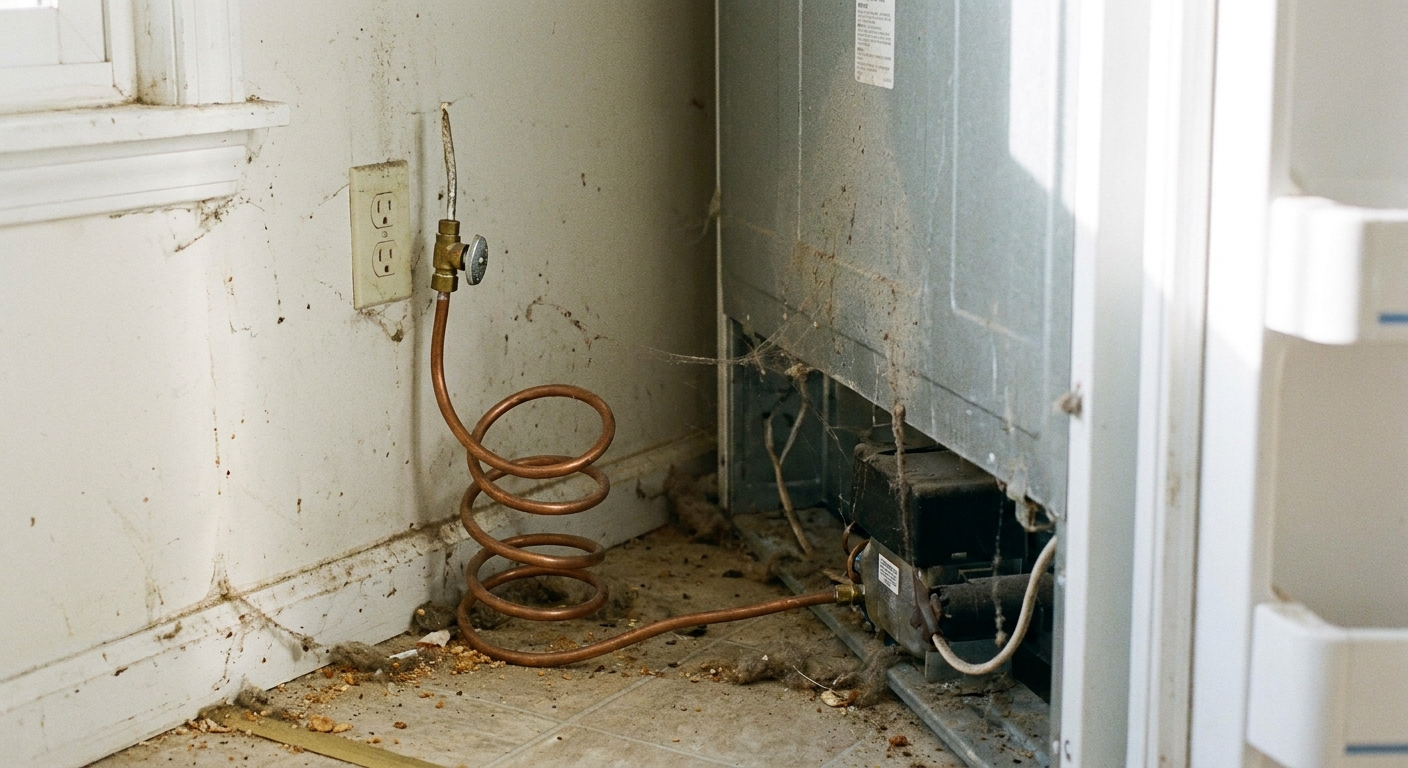
Check the shutoff valve type
If your fridge is tapped into a copper pipe with a little clamp-on valve, that is a saddle valve. They are common in older installs and they clog easily with mineral buildup and debris. They also do not always open fully.
- If you have a saddle valve and slow ice, it is a prime suspect.
- The best long-term fix is swapping to a proper 1/4-turn shutoff valve and a clean supply line.
Look for the simple stuff behind the fridge
- Kinked water line after pushing the fridge back
- Crushed plastic tubing (especially older brittle lines)
- Drips or mineral crust at fittings that can reduce pressure and make performance inconsistent
DIY note from my own mistakes: I once “fixed” slow ice by adjusting freezer temp, only to find I had pinched the line when I slid the fridge back in. The line looked fine from the side, but it was flattened right where it met the wall.
A quick flow test you can do
If your fridge has a water dispenser, test it:
- Fill a measuring cup for 10 seconds.
- You are looking for a strong, steady stream. If it is a trickle, sputters constantly, or takes forever to fill a cup, suspect supply, valve, or filter restriction.
No dispenser? You can still test by pulling the fridge out, shutting off water, disconnecting the supply line at the fridge inlet, aiming into a bucket, then briefly opening the valve. If flow is weak there, the issue is upstream.
Safety: Shut off the valve before disconnecting anything and keep towels ready.
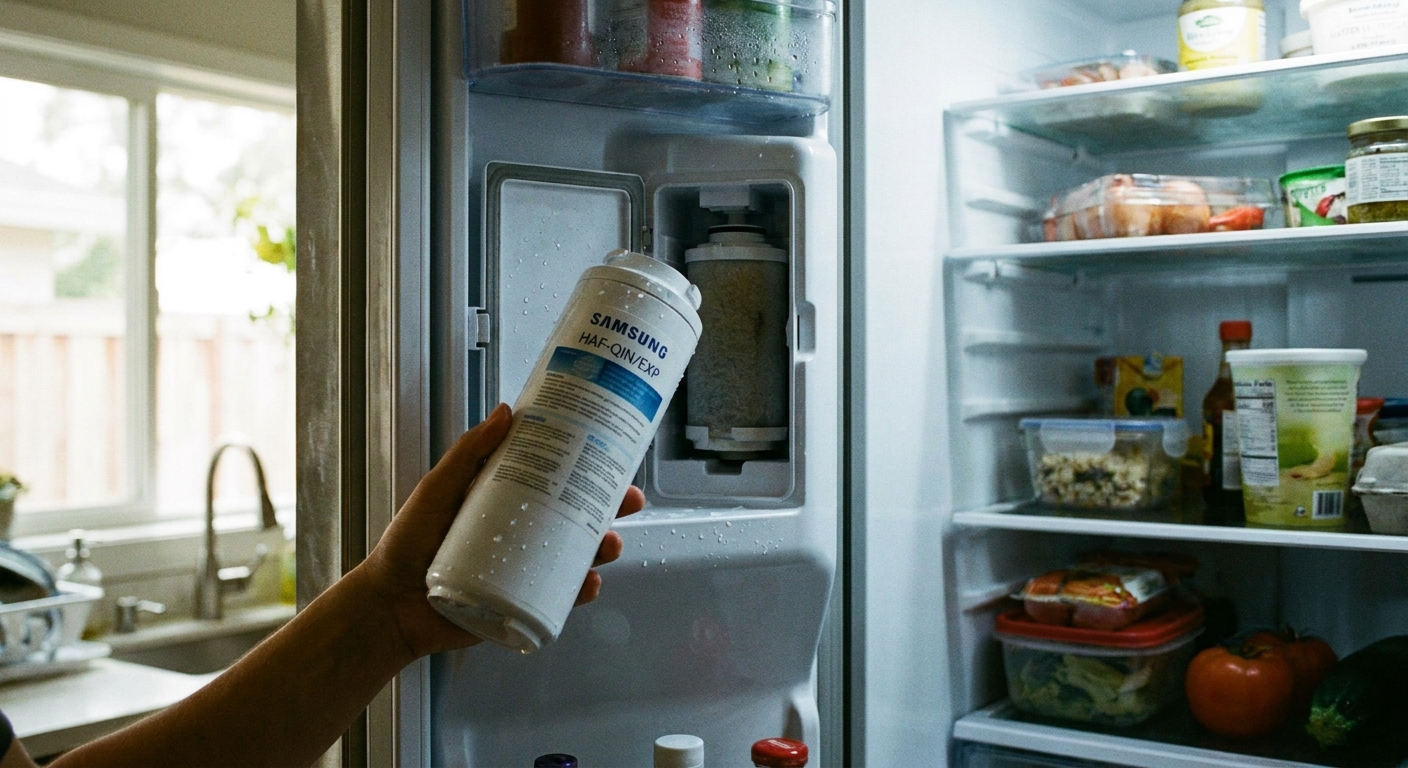
Step 3: Eliminate filter restrictions
A partially clogged refrigerator water filter is one of the most common causes of slow ice production. The ice maker fill valve opens for a set time, so restricted flow means less water per cycle.
Signs the filter is the bottleneck
- Ice cubes are smaller, hollow, or misshapen
- Water dispenser runs slow
- Slow ice started right after a filter change (air in the line or an incorrectly seated filter)
What to do
- Replace the filter if it is near the end of its life.
- Reseat the filter: remove it, check O-rings, reinstall firmly until it clicks or stops.
- Purge air: follow your manual. It is often a few gallons.
About bypass testing
Some models have a filter bypass plug or allow the unit to run without the filter installed. If your manual allows it, a short test without the filter can confirm restriction. If ice production improves quickly, you found your culprit.
Important: Not all fridges are designed to operate without a filter. Follow the manual so you do not create leaks or damage the housing.
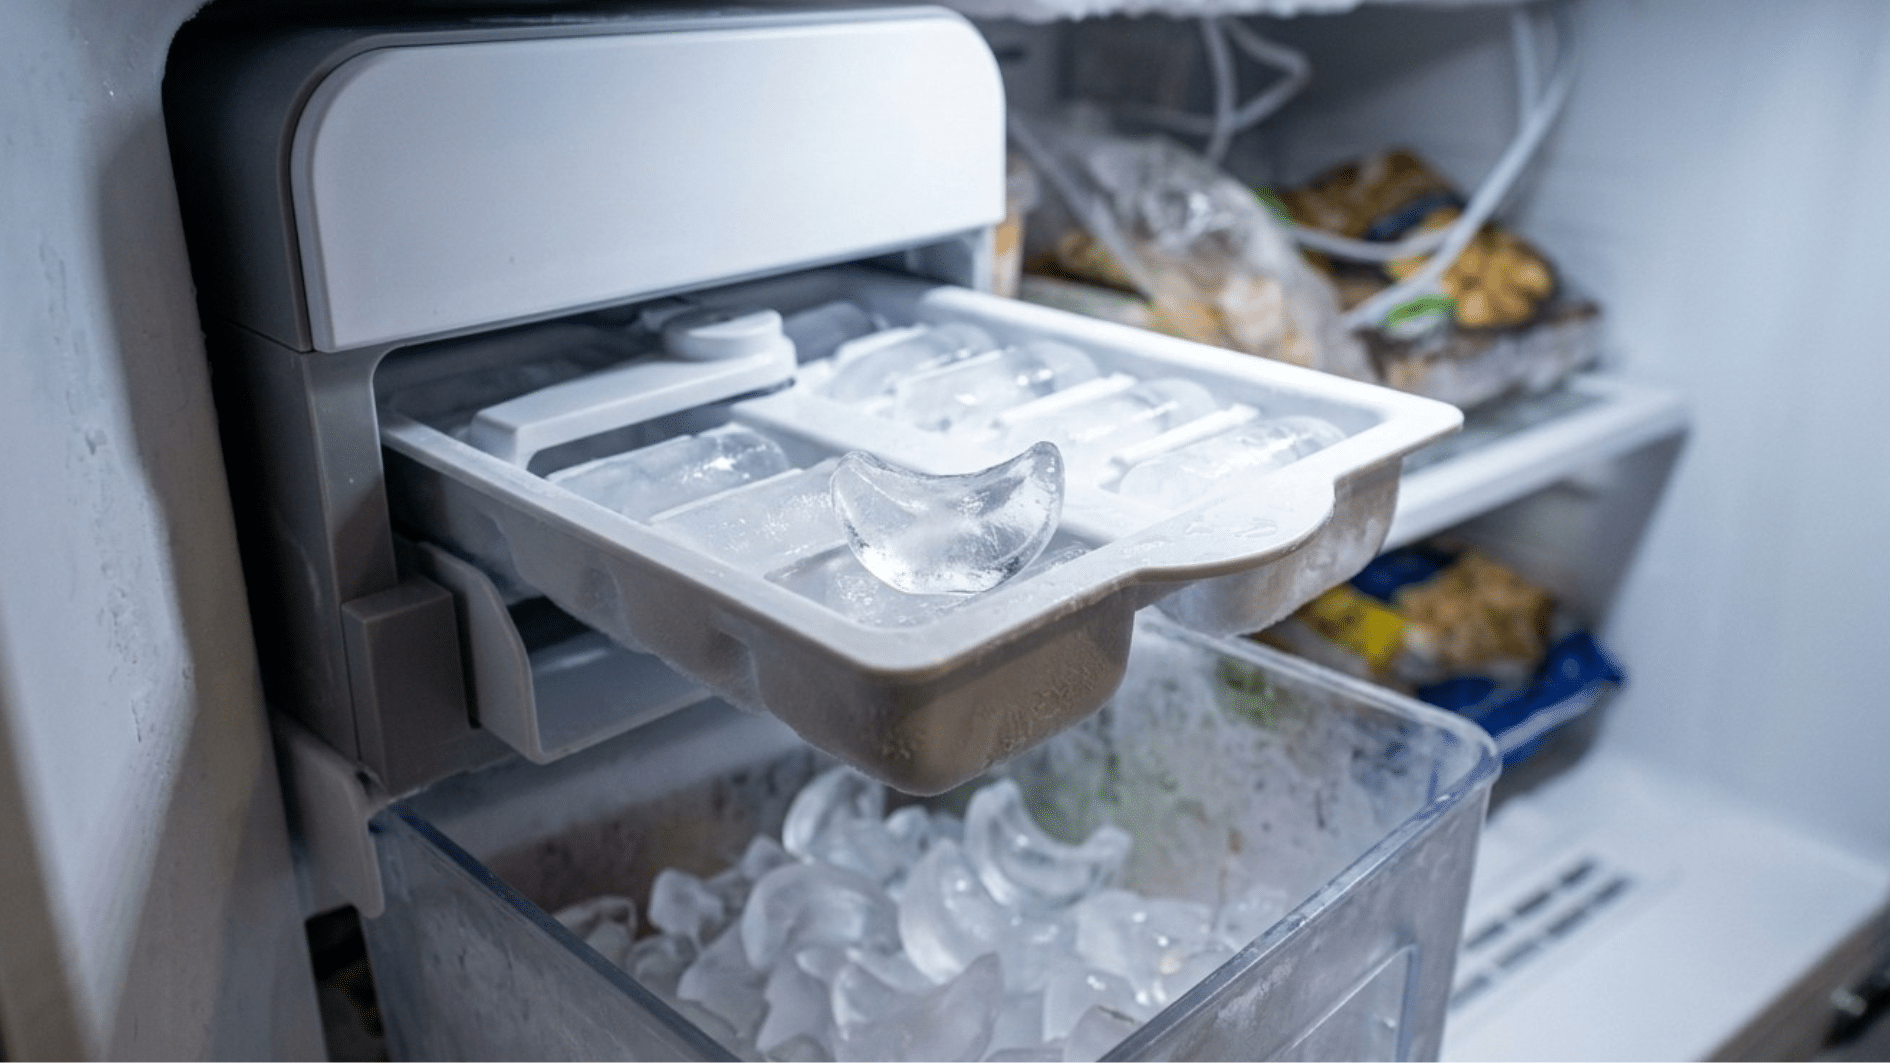
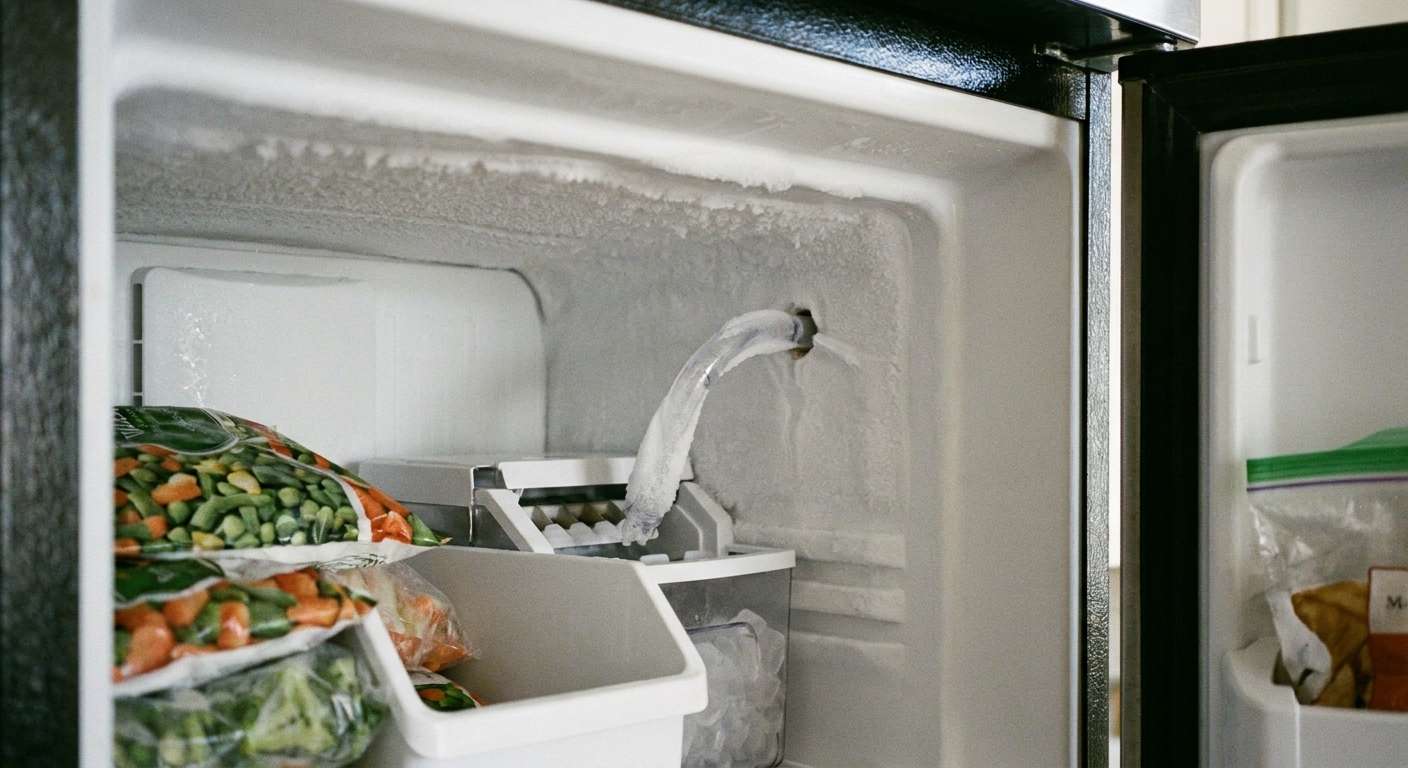
Step 4: Check for a frozen fill tube
Here is the sneaky one. Many ice makers fill through a small tube or spout at the back of the freezer. If that tube is partially frozen, water flow slows or gets diverted, and the mold does not fill fully each cycle.
What you might notice
- Slow production plus tiny or hollow cubes
- Occasional “no fill” cycles
- Ice buildup near the ice maker fill area
How to inspect
- Remove the ice bin.
- Look for the fill tube behind or above the ice maker.
- Feel carefully for ice in the tube opening (do not force anything).
How to thaw it safely
- Turn off the ice maker (or unplug the fridge if your manual recommends it for service).
- Safest method: Use a turkey baster to flush small amounts of hot tap water into the fill tube opening to melt the blockage. Keep towels handy.
- Or use a warm towel held against the area and give it time.
Hair dryer note: People do this, but I treat it as a last resort. Even on low, heat can warp the freezer liner or plastic parts if you linger in one spot. If you use one, keep it moving, use short bursts, and keep it away from standing water.
Avoid: Poking with sharp tools. That tube can crack, and then you are dealing with a leak inside the freezer wall.
Why it freezes in the first place
- Leaky inlet valve allowing slow drips that freeze
- Air leaks around the ice maker area
- Freezer running very cold plus low usage
If the tube refreezes quickly after thawing, the water inlet valve may be seeping and may need replacement.
Step 5: Know what the cycle is doing
Home ice makers are not “smart” in the way people assume. Many cycle based on a combination of:
- A mold thermostat that waits until the cubes reach a certain temperature
- A timed motor cycle that harvests the cubes and refills
That means slow ice can happen even when everything technically works.
- If the freezer is warm, the thermostat takes longer to trigger harvest.
- If the mold fills with less water due to low flow, the cubes often freeze faster, but you still end up with less ice per day because each batch is underfilled.
- Some models have an “ice boost” or “max ice” setting that temporarily increases production. It does not fix underlying problems, but it can help during parties after you correct the root cause.
What to watch for
- Is the mold filling fully each cycle?
- Is it harvesting cleanly (cubes eject into the bin) or does it hang up?
- Do you see a consistent cycle pattern or long pauses?
If it fills correctly and the freezer is truly at 0°F, but harvest takes forever or is inconsistent, you may be looking at a weak mold thermostat or ice maker module issue. That is usually a repair or replacement decision.
Step 6: Airflow and bin shutoff issues
Slow ice is sometimes self-inflicted by the way the freezer is loaded or by the bin thinking it is full.
Airflow basics
- Do not block freezer vents with pizza boxes or bulk packages.
- Make sure the ice maker area has clear air circulation.
Bin and shutoff checks
- Mechanical shutoff arm: confirm it moves freely and is not stuck in the “up” position.
- Optical sensor models: make sure nothing is blocking the sensor window and the bin is seated correctly.
- Ice clumps can wedge the mechanism and make it act full. Break clumps and dump old ice if it smells like freezer.
When to call for service
If you have confirmed 0°F freezer temp, a healthy water supply, a good filter, and no frozen fill tube, but production is still unusually slow, it may be time for a pro or a targeted part replacement.
- Repeated fill tube freeze-ups can point to a seeping inlet valve.
- Inconsistent harvest timing can point to the ice maker module or thermostat.
- If you sometimes get no fill at all (not just slow), the inlet valve can also fail electrically, or you may have a control or wiring issue.
- Low freezer cooling performance beyond ice issues may indicate a broader refrigeration problem.
Take a quick video of the ice maker cycling and note your freezer temp reading. That information helps a tech diagnose faster.
The 30-Second Cheat Sheet
Essential takeaways for: Ice Maker Making Ice Too Slowly? Fix Water Flow and Freezer Temp
Fast diagnosis order (do this first)
- Ice maker ON and modes: Confirm the ice maker switch is ON and you are not in Vacation or Sabbath mode (common ice killers).
- Freezer temp: Aim for 0°F (-18°C). Warmer than 5°F to 10°F often slows cycling.
- Water supply: Check the shutoff valve is fully open, the line is not kinked or crushed, and flow is strong at the dispenser (if you have one).
- Filter: A clogged or poorly seated filter is a top cause. Reseat it, then purge per the manual (often a few gallons). Replace if near end of life.
- Fill tube: Inspect for a partial freeze. Safest thaw is warm water with a turkey baster or a warm towel. If it refreezes, suspect a seeping inlet valve.
What “slow ice” usually means
- Low water pressure or restriction means the mold fills short, leading to small or hollow cubes and lower daily output.
- Warm freezer means the mold takes longer to freeze, so harvest happens less often.
- Saddle valves (clamp-on pipe taps) clog easily and commonly cause weak flow.
Good targets
- Freezer: 0°F
- Door seal: Should grip a sheet of paper when closed
Call for service if
- Freezer is at 0°F and water flow is strong, but harvest timing is still erratic
- Fill tube keeps freezing after thawing (often an inlet valve seep)
- You suspect broader cooling issues beyond the ice maker
💡 Tip: Scroll up to read the full article for detailed, step-by-step instructions.
⬆️ Back to topAbout Marcus Vance
Content Creator @ Grit & Home
Marcus Vance is a lifelong DIY enthusiast and self-taught home renovator who has spent the last decade transforming a dilapidated 1970s ranch into his family's dream home. He specializes in budget-friendly carpentry, room-by-room renovations, and demystifying power tools for beginners. Through his writing, Marcus shares practical tutorials and hard-learned lessons to help homeowners tackle their own projects with confidence.