Blackout beehive blinds, also called blackout cellular (honeycomb) shades, are one of my favorite upgrades because they feel high-end but install like a basic bracket-and-click job. The secret is not power tools or fancy hardware. It is measuring correctly, mounting square, and doing a couple small tweaks so light does not sneak around the edges.
What you are installing
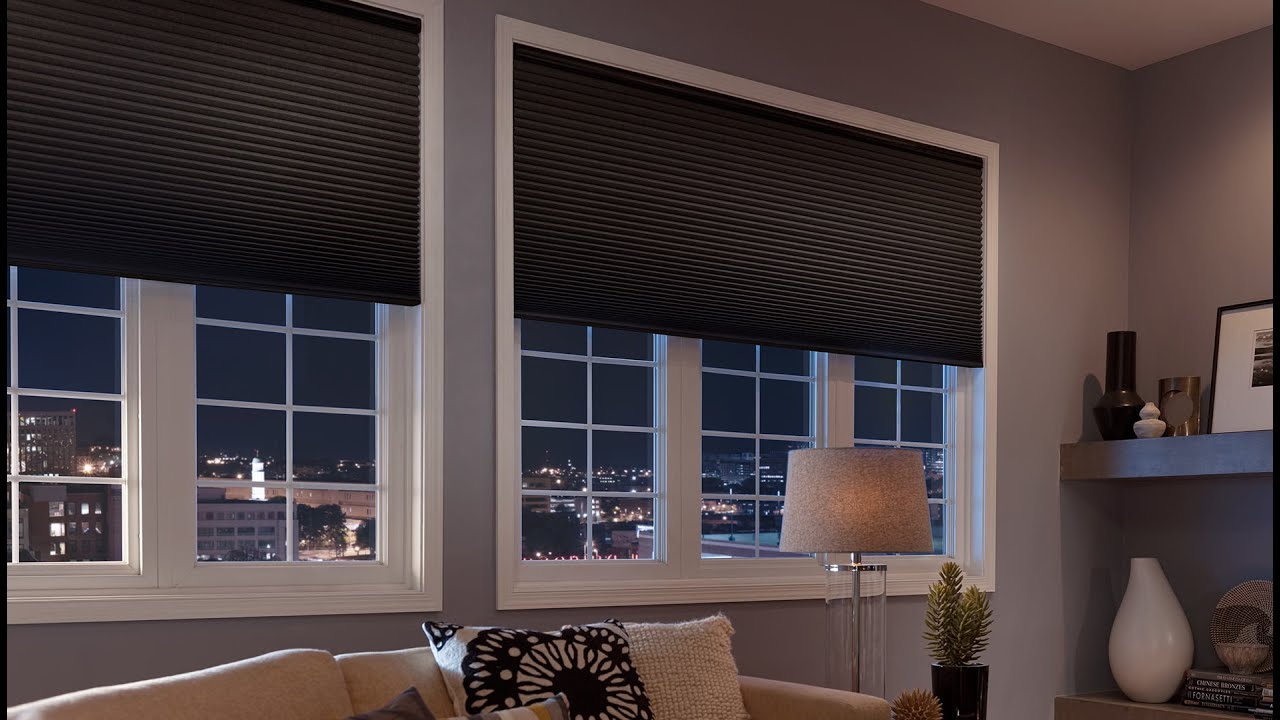
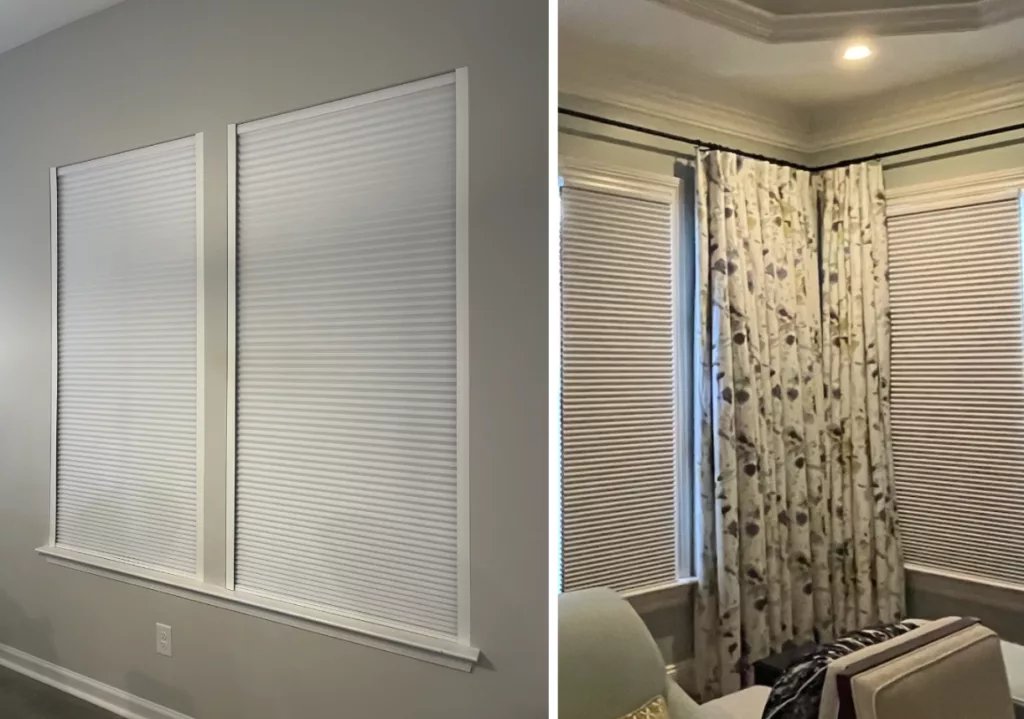
Beehive shades are made from a honeycomb fabric that traps air. Blackout versions often include a blackout liner, film, or multi-layer construction that blocks most light, which is why they are popular for bedrooms, nurseries, and media rooms.
- Inside mount: the shade sits inside the window frame for a clean, built-in look.
- Outside mount: the shade mounts above or on the trim and overlaps the window opening for better light control.
If your main goal is “as dark as possible,” outside mount usually wins because it covers more of the window perimeter.
Tools and materials
- Tape measure
- Pencil
- Level (a small torpedo level is perfect)
- Drill and bits
- Phillips bit or screwdriver
- Stud finder (helpful for outside mounts above trim)
- Step stool
- Hardware included with your shade (brackets, screws, end caps if provided)
- Optional: 1/8 inch drill bit for pilot holes, painter’s tape, wood shims, longer screws, wall anchors rated for the shade weight
Thrifty tip: I almost always drill pilot holes, even in soft wood. It prevents split trim and helps the brackets pull tight and straight.
Safety basics
- Use a steady step stool and keep your hips between the rails.
- Wear eye protection when drilling, especially near glass.
- If your shade has any cords, keep them out of reach of kids and pets and use the included safety hardware.
Inside vs outside mount
Pick inside mount if
- Your window frame is deep enough for the shade depth listed by the manufacturer (flush and recessed depth requirements can be different).
- You want a clean, minimal look.
- Your frame is reasonably square.
Pick outside mount if
- You are chasing maximum blackout.
- The window frame is shallow.
- The opening is out of square, chipped, or not pretty.
- There are obstructions inside the frame (cranks, alarms, locks) that the shade would hit.
When I install for a light-sensitive sleeper in my own house, I default to outside mount unless I really want that built-in inside-mount look.
Measure carefully
Most shade headaches come from measurements that were “close enough.” Blackout shades are less forgiving because you notice every little light gap.
Before you measure: read your brand’s measuring chart. This is the real-world gotcha. Many brands will auto-deduct width for inside mounts, while others want you to provide the exact inside-frame measurement (or even deduct a specific amount yourself). Always follow the manufacturer’s instructions first.
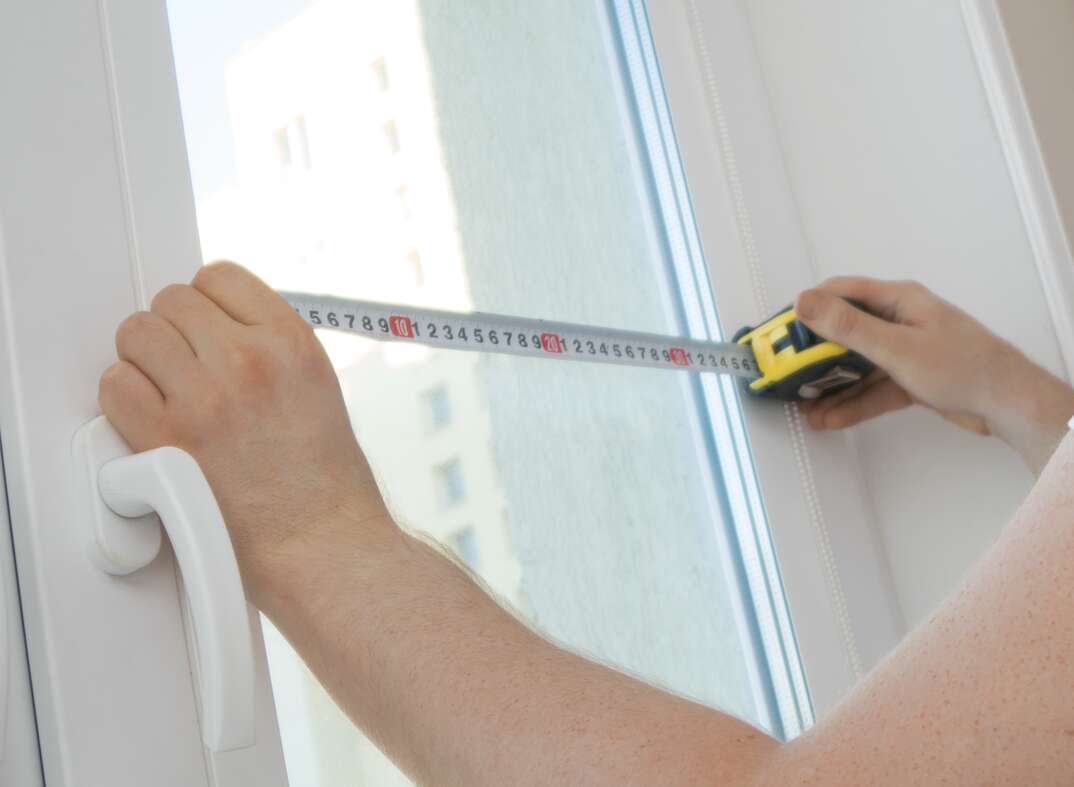
Inside mount measuring
- Measure width at the top, middle, and bottom of the inside frame.
- Use the smallest width. That keeps the shade from scraping.
- Measure height at the left, middle, and right.
- In most cases, using the largest height is safest because extra length just stacks. That said, some styles (especially top-down/bottom-up) and some brands want an exact height. Follow the brand chart if it says “exact” or gives stack-clearance limits.
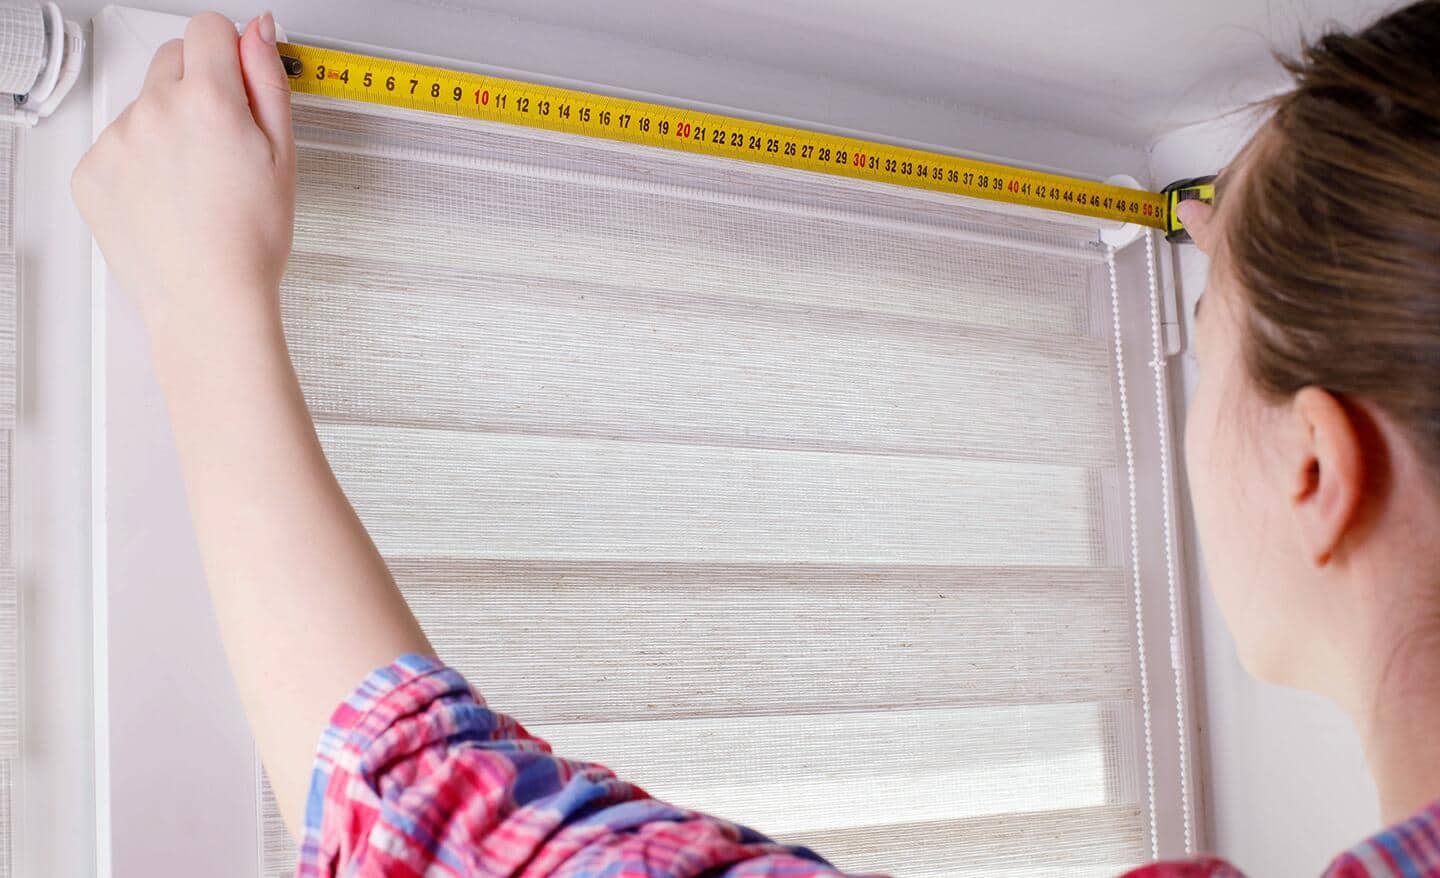
Outside mount measuring
- Decide how much overlap you want. A common starting point is 2 to 3 inches past the opening on each side, and 2 to 4 inches above.
- If you are very light-sensitive or you get harsh morning sun angles, increase overlap if your wall space allows.
- Measure the window opening width and add your overlap.
- Measure height from where the headrail will sit down to where you want the shade to end (sill, below sill, or floor for patio doors).
Note on “blackout” expectations: even blackout shades can leak light at the edges. If you need true cave-dark, plan to add side channels or wraparound curtains later.
Mark the brackets
Take your time here. If the brackets are not level and square to each other, the shade can feel stiff, drift crooked, or rub.
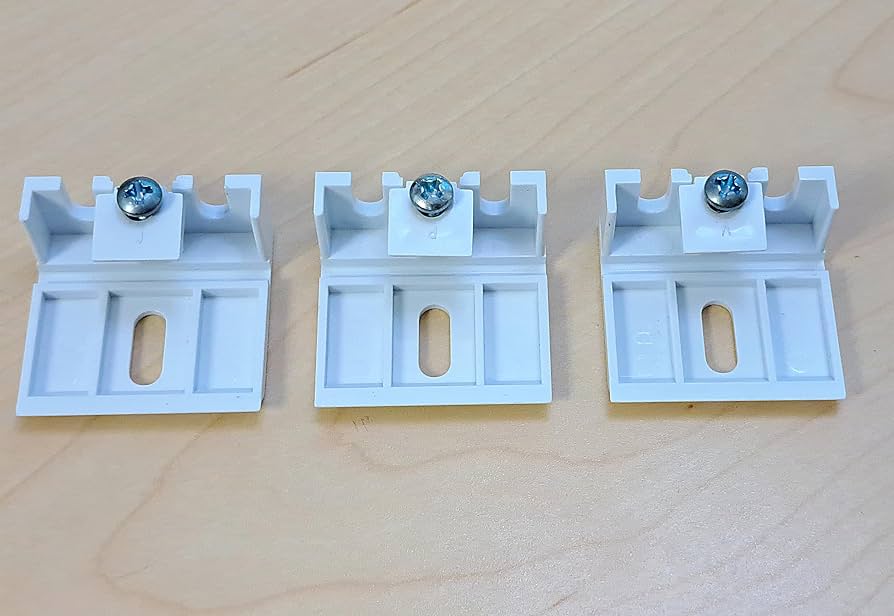
Bracket basics
- Most shades use two main brackets placed near the ends. Leave a little space from the edge if the manufacturer calls for it.
- If your shade includes a center support bracket, use it. Wider shades need it to keep the headrail from bowing.
- For inside mount, brackets go on the top inside of the frame or sometimes the side jamb, depending on bracket style.
- For outside mount, brackets go on the wall or trim above the opening.
My usual spacing: I set the brackets about 2 to 3 inches in from each end unless the instructions specify differently, then I confirm the headrail will clear any trim details.
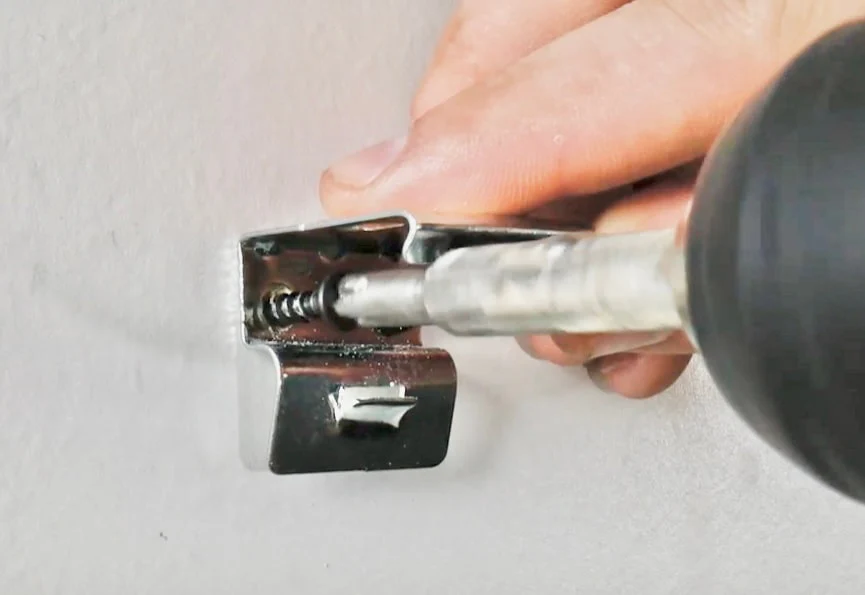
Install the brackets
Step 1: Pre-drill
Hold each bracket in place, mark the screw holes, then pre-drill. In painted trim, I like to put a small square of painter’s tape where I drill to reduce paint chipping.
Step 2: Fasten firmly
- Drive screws snug, but do not crank so hard you strip the hole.
- If you feel a screw spin without tightening, you stripped the wood. Move the bracket slightly, use a longer screw, or fill the hole and re-drill.
- For drywall outside mounts, use anchors rated for the shade weight, or better yet catch wood framing.
Step 3: Confirm level
Put a level across the two brackets. If they are off, fix it now. A two-minute adjustment here saves an hour of annoyance later.
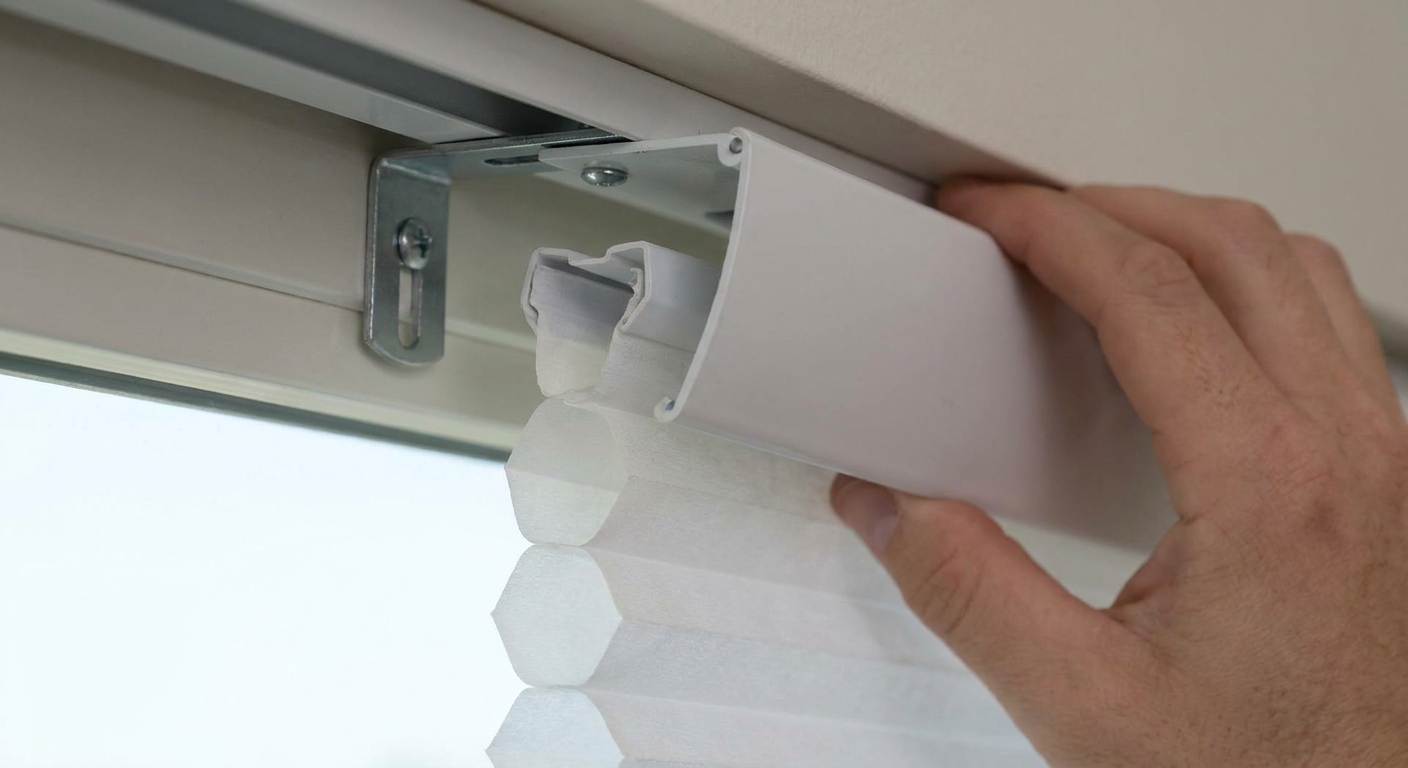
Hang and test
Most blackout cellular shades install by hooking the front lip of the headrail into the bracket, then pressing the back up until it clicks. Some do the reverse. Follow your brand’s bracket style, but the goal is the same: a firm click with no wobble.
- Lower the shade slowly the first time and make sure it moves smoothly.
- Raise it back up and confirm it stacks evenly.
- If it rubs one side, your brackets are not level or the window opening is out of square.
If it is slightly crooked: loosen one bracket, slip a thin shim behind it, re-tighten, and retest. A scrap of cardboard or a paint stir stick shaving works great.
Bottom rail hold-downs
Some blackout cellular shades include hold-down brackets for doors or for windows that get bumped. If your kit includes them, install them. They keep the bottom rail from swinging and can reduce light leaks at the bottom corners.
- Lower the shade fully.
- Position the hold-down brackets where the bottom rail pins line up naturally.
- Pre-drill and screw them in place.

Better blackout
This is where “installed” becomes “installed well.” Even premium shades can leak light if the overlap is minimal or the fit is not square.
Cut side light gaps
- Increase outside-mount overlap: if you are ordering new shades, add more overlap next time. It is the easiest win.
- Add light-blocking side channels: these are U-shaped tracks that mount to the jamb and reduce side glow. Check compatibility first, because some shades need manufacturer-specific channel systems.
- Use curtains as a helper: a simple wraparound curtain rod with blackout panels can eliminate the last bit of glow around the perimeter.
Cut top light leaks
- Make sure the headrail is seated fully in the brackets.
- For outside mount, mount the headrail higher so the shade overlaps the top trim.
- If your shade has a valance, install it. It is not just decorative, it blocks the top gap.
Hard-learned lesson: I once blamed a “bad shade” for light leaks. The real issue was my outside-mount overlap was too stingy on the hinge side of a door. Another inch of overlap would have fixed it.
Common problems
It will not click in
- Check that the brackets are facing the correct direction.
- Make sure the bracket latches are open if your model has them.
- Confirm you did not mount brackets too close together for the headrail width.
It drifts to one side
- Brackets are slightly out of level. Shim one bracket and retest.
- The window opening may be out of square. Use the smallest inside-width measurement and consider outside mount if ordering again.
It feels stiff or uneven
- Look for the fabric catching on a bracket screw head. Screws should sit flat.
- Confirm the headrail is not bowed from missing a center bracket on wide shades.
It still leaks more light than expected
- Confirm you truly have a blackout fabric, not “room darkening.”
- Consider outside mount, compatible side channels, or pairing with blackout curtains.
Care and upkeep
- Dust with a microfiber cloth or use a vacuum with a brush attachment on low suction.
- Spot clean gently with mild soap and water. Do not soak the cells.
- If the shade starts to hang unevenly, check bracket tightness first. Loose brackets cause a surprising number of “mystery” issues.
Final checklist
- Measurements confirmed and shade size matches the opening (and your brand’s measuring rules)
- Brackets level and securely fastened
- Headrail clicks in firmly with no wiggle
- Shade raises and lowers smoothly
- Hold-downs installed if needed
- Light gaps minimized with overlap, valance, channels, or curtains
If you want, tell me whether you are doing an inside mount or outside mount and your window width. I can suggest a good overlap target and bracket placement so you get the best blackout result the first time.
About Marcus Vance
Content Creator @ Grit & Home
Marcus Vance is a lifelong DIY enthusiast and self-taught home renovator who has spent the last decade transforming a dilapidated 1970s ranch into his family's dream home. He specializes in budget-friendly carpentry, room-by-room renovations, and demystifying power tools for beginners. Through his writing, Marcus shares practical tutorials and hard-learned lessons to help homeowners tackle their own projects with confidence.