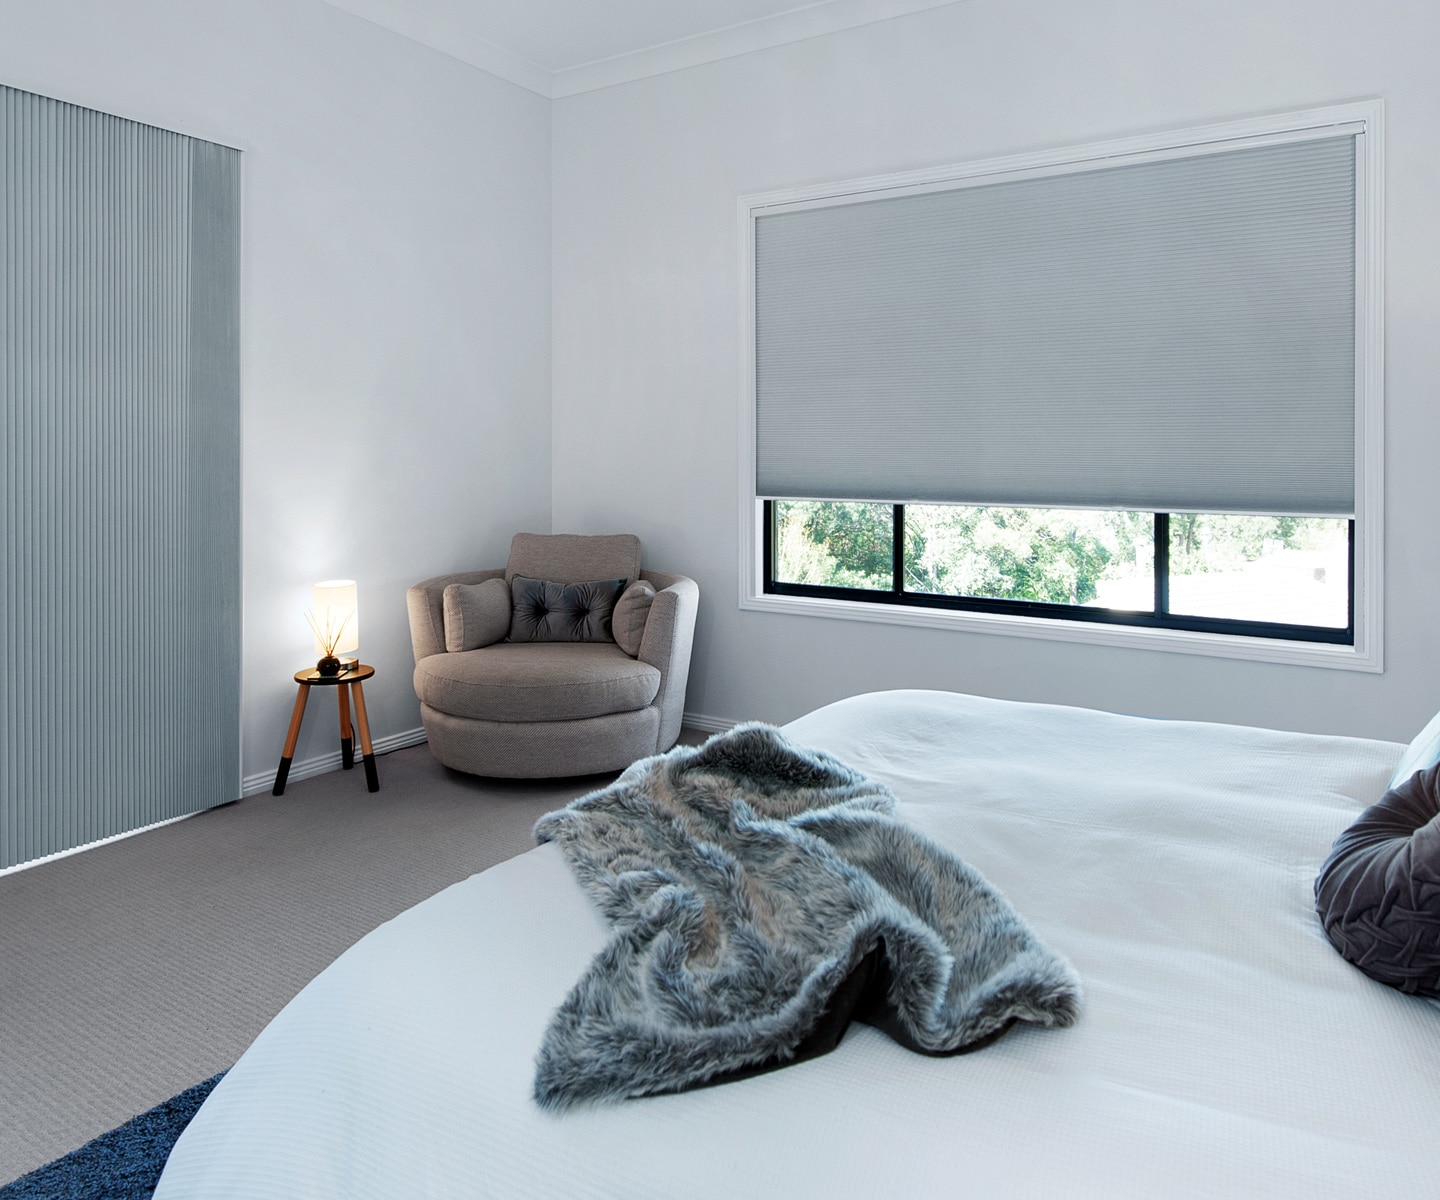
Blackout beehive blinds, often called blackout cellular (honeycomb) shades, are one of my favorite “big impact, low drama” upgrades. They can make a bedroom feel like a cave at noon, help with temperature swings, and they look clean without screaming for attention.
Time: 30 to 60 minutes per window
Difficulty: Beginner-friendly (a drill helps)
This guide walks you through measuring, picking the right mount, and installing them so they actually block light instead of leaving that glowing halo around the edges.
What you need
Tools
- Tape measure (a steel one is best)
- Pencil
- Level (torpedo level works great)
- Drill and driver bit
- Small drill bits for pilot holes (match the bit to the screw’s core or “root” diameter)
- Stud finder (helpful for outside mount)
- Step stool
Materials
- Blackout beehive blinds sized for your window
- Mounting brackets and screws (usually included)
- Wall anchors (only if needed, for outside mount into drywall)
- Optional: hold-down brackets (for doors), light-blocking side channels, or a valance
Before you buy: inside or outside mount
If you want the most blackout performance, this decision matters as much as the fabric.
Inside mount
- Best for: a clean, built-in look
- Watch out for: light gaps on the sides when the window frame or jambs are not perfectly square
- Depth: check the specs for minimum depth and flush mount depth. Many need roughly 1 1/2 to 2 inches for a flush fit, but it varies a lot by headrail and options like top-down/bottom-up.
Outside mount
- Best for: maximum light blocking and shallow window frames
- Why it blocks more: the shade can overlap the opening
- Watch out for: hitting studs, avoiding trim details, and keeping it level on drywall or plaster
If your goal is true blackout in a bedroom or nursery and you do not mind seeing a little more hardware, outside mount is often the winner.
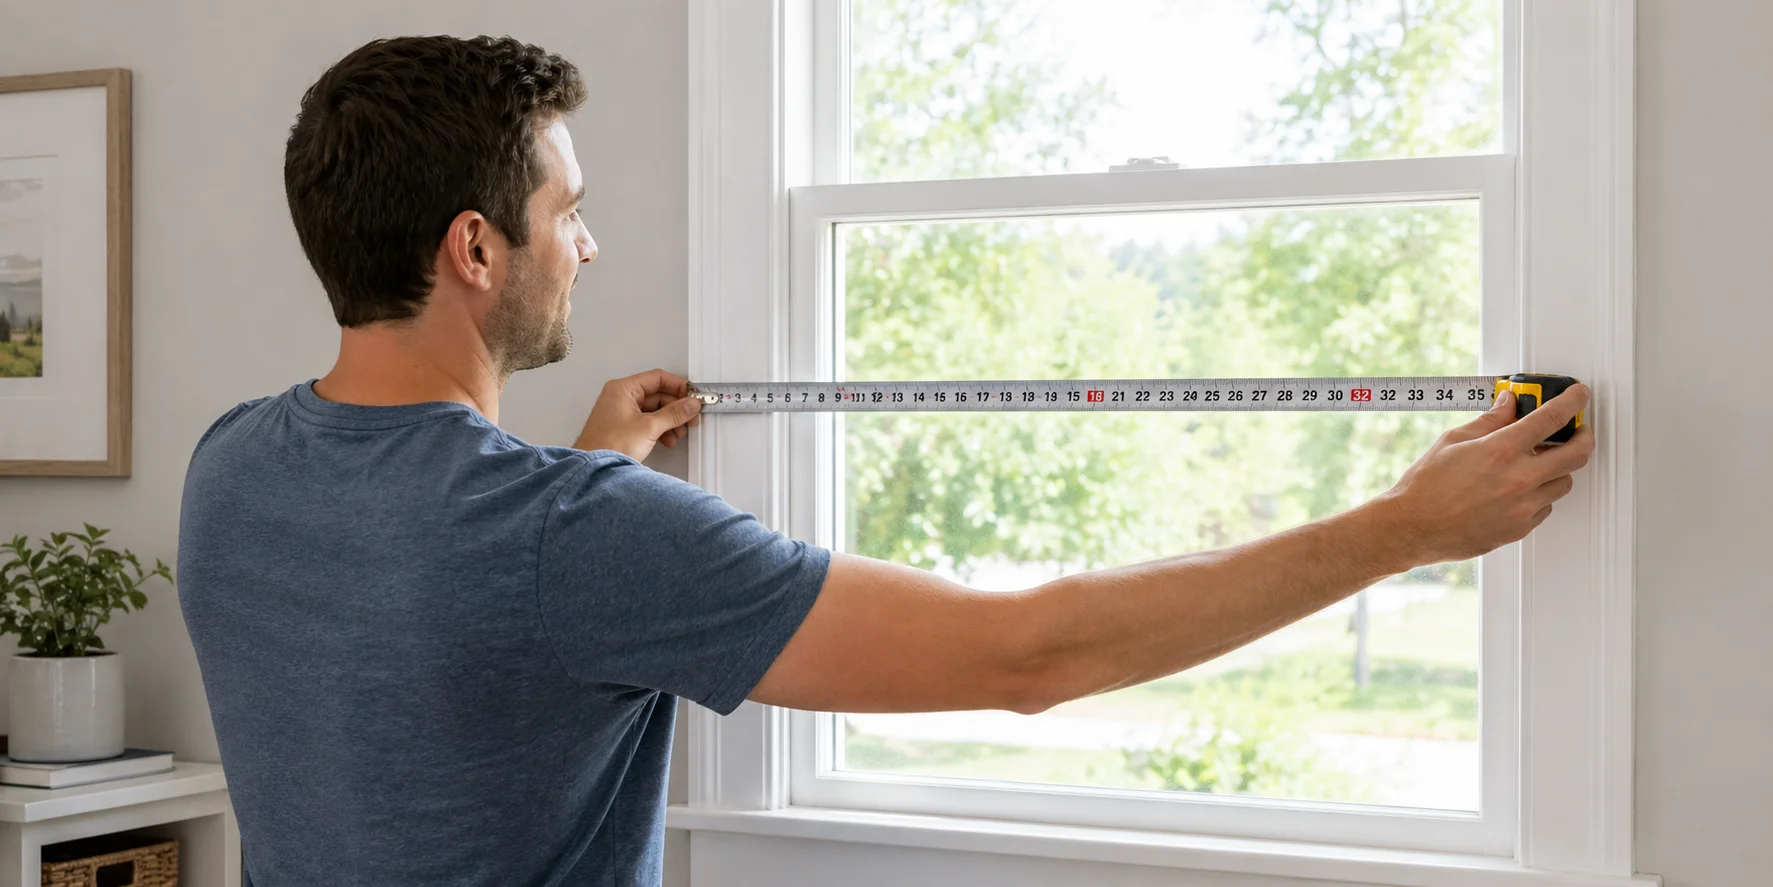
Measure like the shade companies expect
This is where most first-timers get burned. Not because measuring is hard, but because different brands want the numbers different ways. Always read the measurement instructions for your exact shade, but these rules keep you out of trouble.
Inside mount measuring
- Width: measure at the top, middle, and bottom inside the frame. Use the smallest number.
- Height: measure at the left, center, and right. In most cases, use the tallest number for coverage unless your manufacturer tells you to use the exact opening height (some will add or deduct automatically).
Also important: many inside-mount shades are width-deducted by the manufacturer so they can fit inside the frame. Do not subtract anything unless the ordering instructions explicitly tell you to.
Outside mount measuring
- Width: measure the window opening and add overlap. Aim for at least 2 inches per side, and if you are chasing true blackout and you have room, 3 to 4 inches per side is even better.
- Height: measure opening height and add overlap at top and bottom, usually 2 to 3 inches each.
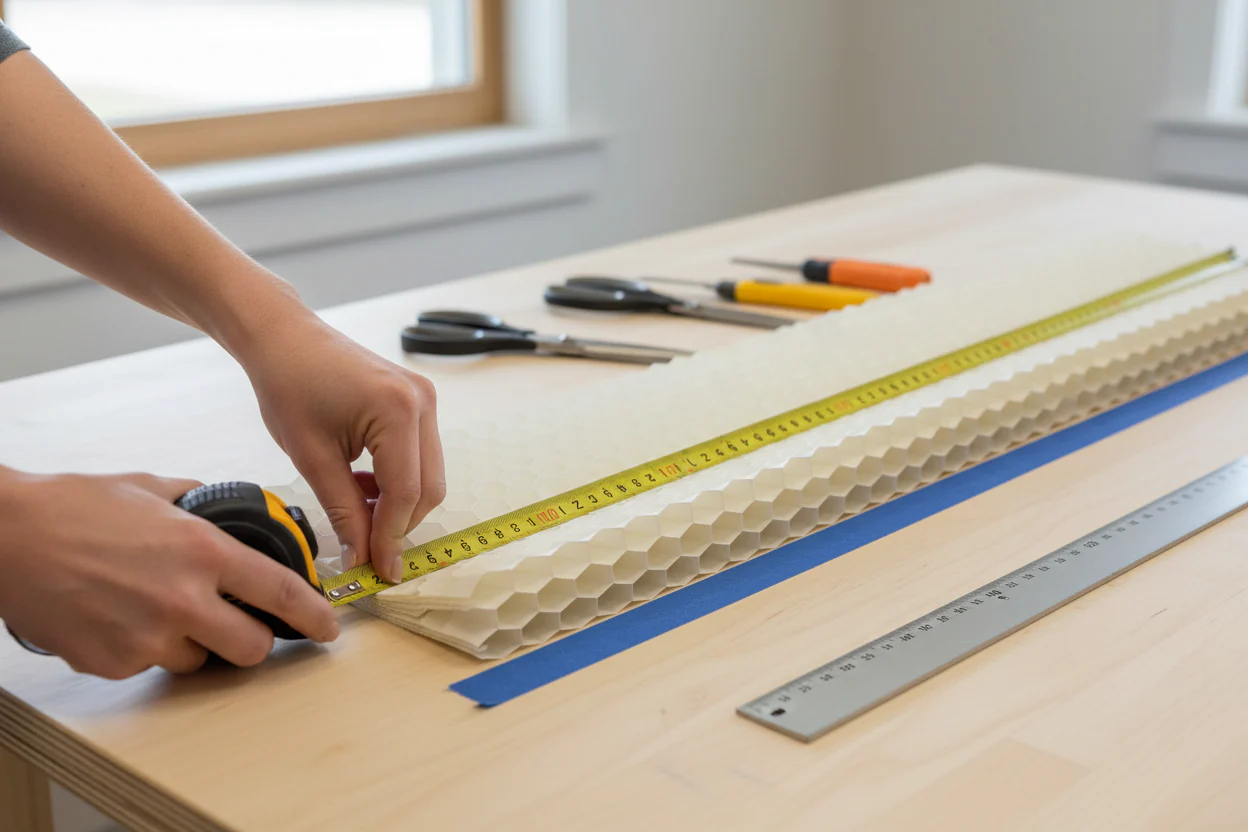
Unbox and dry-fit first
Before drilling anything, take two minutes to confirm what you have.
- Verify the shade width matches your order label.
- Identify the headrail (top piece), brackets, and any spacers.
- Hold the headrail up to the window to visualize bracket placement and clearance.
This is also when you spot obstructions that love to cause problems later: tilt-in latches, sash locks, window cranks, alarm sensors, and chunky trim profiles. If something is in the way, a small spacer or extension bracket can save the day.
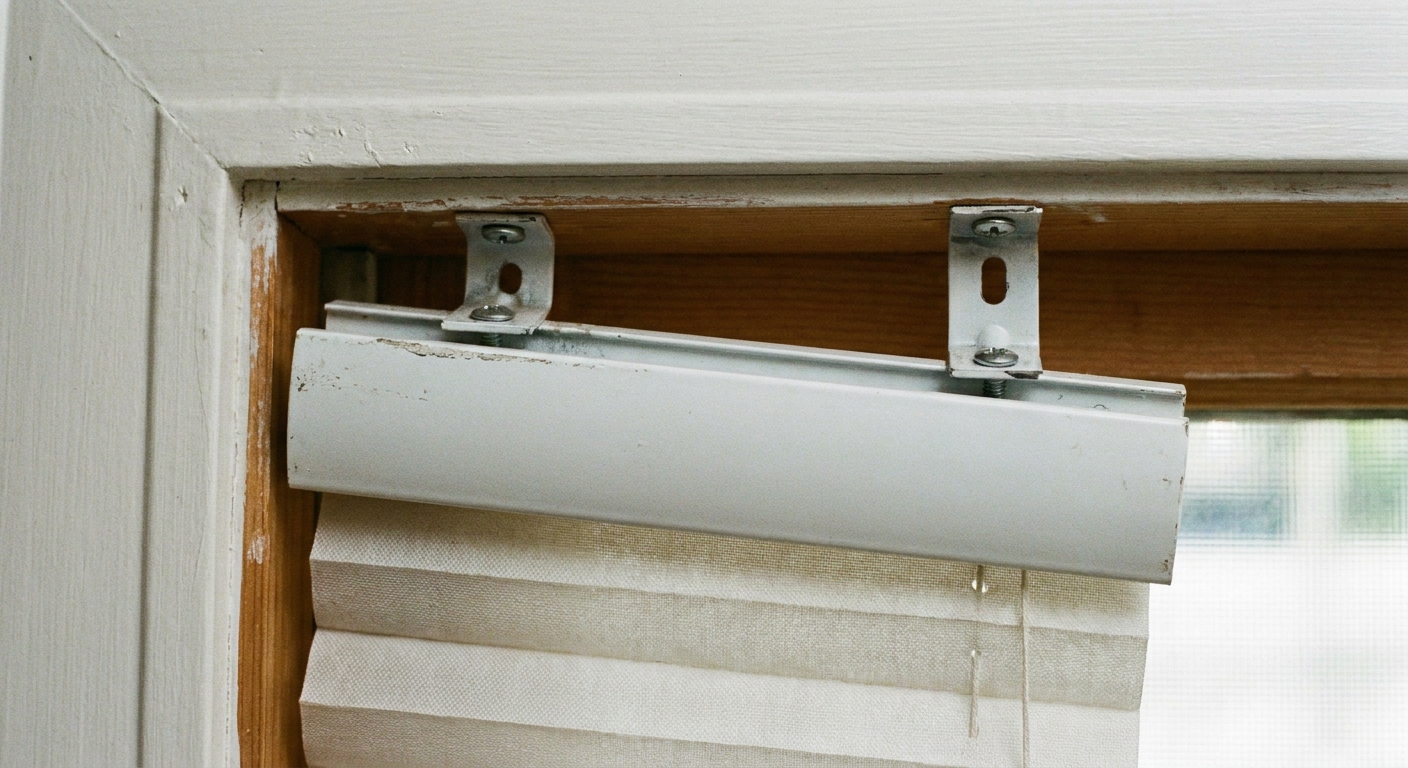
Install: inside mount
Inside mount is the most common install and usually the fastest.
1) Mark bracket locations
- Most shades use two end brackets. Place each bracket about 1 to 3 inches from the ends of the headrail, or follow the manufacturer’s instructions.
- If your shade is wide, you may have a center support bracket. Mark it as directed.
Hold a bracket in place and mark screw holes. I like to mark both sides, then step back and make sure nothing looks crooked.
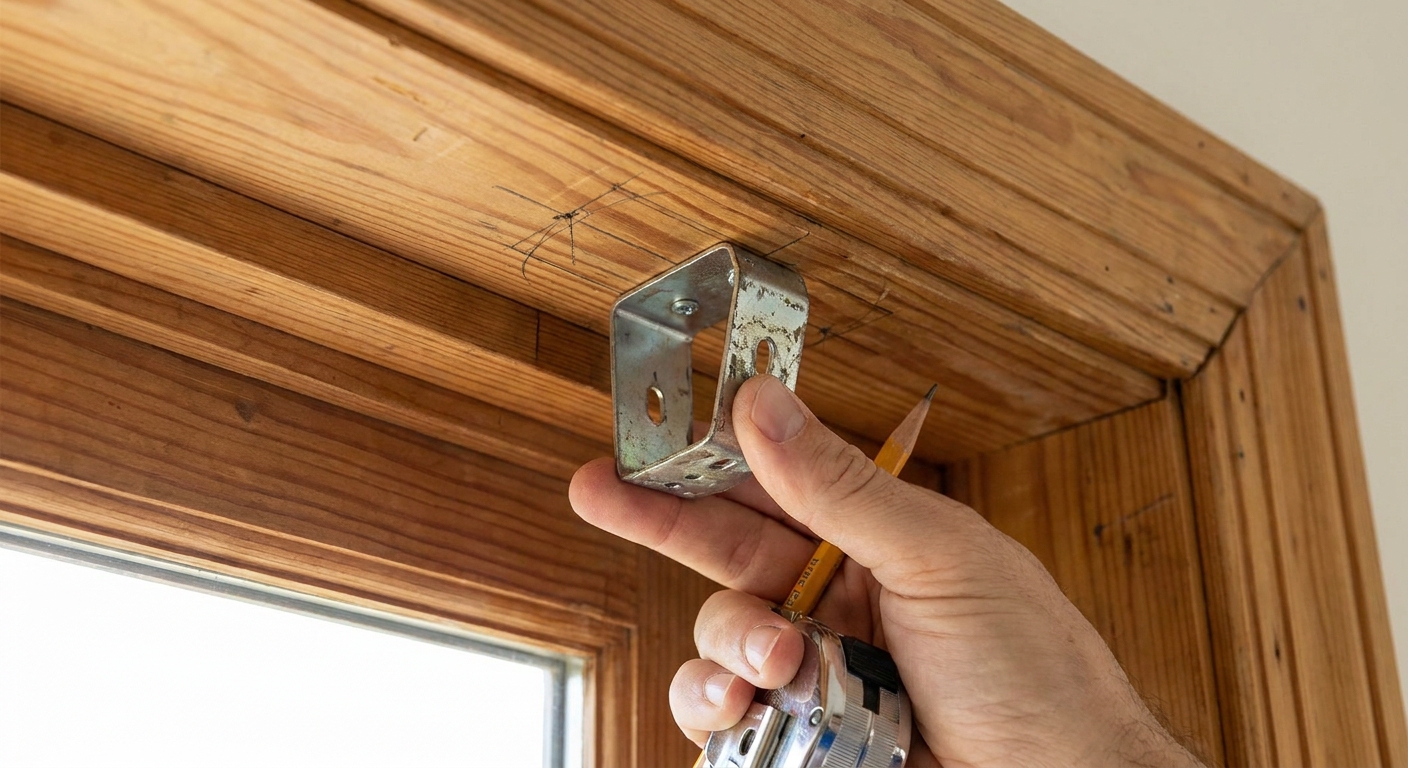
2) Drill pilot holes
Drilling a pilot hole helps prevent splitting, especially in older trim. Use a bit slightly smaller than the screw’s core diameter (the solid shaft between the threads). For the common #6 or #8 bracket screws, that often lands in the small-bit range, but let the screw be your guide.
- Keep the drill straight.
- Do not over-drill. You only need a hole deep enough for the screw length.
3) Screw in the brackets
Install both brackets snug, not gorilla-tight. Over-tightening can twist the bracket and make the headrail fight you during clipping.
4) Clip the headrail into the brackets
This varies by brand, but usually the front lip hooks in first, then you rotate and snap the back into place. Give a gentle tug to confirm it is locked.
5) Test the shade and adjust
- For cordless shades, raise and lower a few times to make sure it glides.
- For top-down/bottom-up, test both functions slowly the first time.
- If there is a leveling adjustment at the bottom rail, use it to correct a slight tilt.
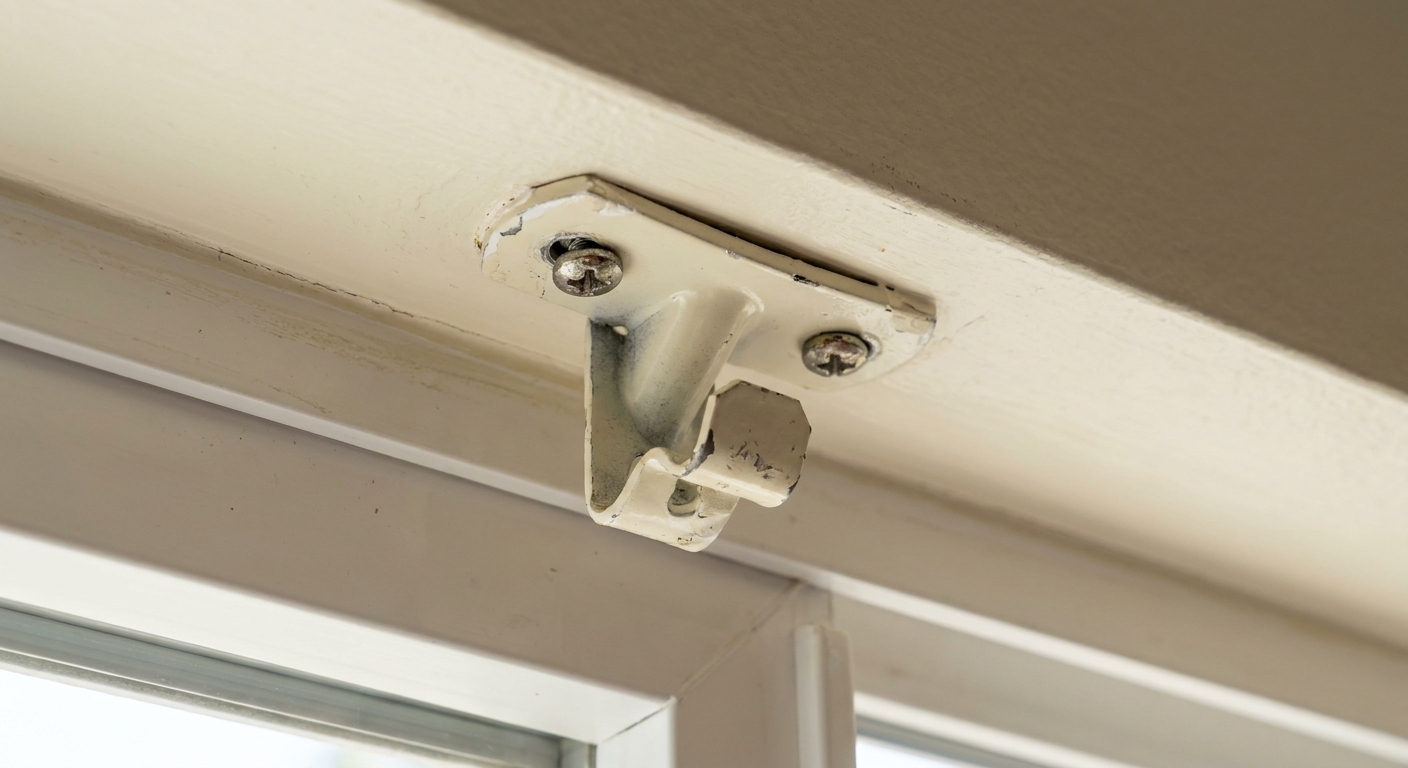
Install: outside mount
Outside mount is great for blackout performance and uneven window frames, but you will do a little more layout work.
1) Mark a level mounting line
- Use a level to draw a light pencil line where the top of the headrail will sit.
- Center the shade over the window opening.
If your ceiling, trim, or floor is out of level, trust your level, not your eyes. My first nursery shade install looked “off” because I eyeballed it to crooked trim. Lesson learned.
2) Pick your mounting surface
- Wood trim: usually easiest. Pre-drill pilot holes and screw directly into the wood.
- Drywall: use the right anchors if you do not hit studs. For heavier shades, toggle-style anchors are more secure than basic plastic sleeves.
- Vinyl or metal frames: follow the manufacturer’s guidance. You may need specialty fasteners and careful pre-drilling to avoid cracking or stripping.
3) Install the brackets, then clip in the headrail
Same basic idea as inside mount, just on the wall or trim face.
4) Check overlap and light gaps
Lower the shade fully and look for light leaking around edges. If you see more glow than expected, consider adding side channels or increasing overlap if your setup allows it.
Reduce light gaps
This is the part nobody tells you until you are standing there at midnight wondering why your “blackout” shade still has a bright outline.
Quick fixes
- Go outside mount: more overlap equals less edge glow.
- Add side channels: these guide the shade and block edge light.
- Use a valance or header strip: reduces light bleeding at the top.
- Mount the headrail tight: gaps at the top rail let in a surprising amount of light.
Also, remember that blackout fabric blocks light through the shade, not necessarily light around it. That edge glow is normal unless you design around it.
Troubleshooting
The shade is crooked
- Confirm both brackets are level and seated flat.
- Check for a leveling wheel or adjustment on the bottom rail.
- Make sure the headrail is fully snapped in on both sides.
It is hard to raise or lower
- Look for brackets that are pinched or twisted from over-tightening screws.
- Check that the shade is not rubbing on a crank, latch, sensor, or trim edge.
- For cordless, use steady upward pressure in the center of the bottom rail.
Brackets keep ripping out
- You are likely in drywall without the right anchor.
- Move the bracket to hit a stud, mount into solid wood trim, or upgrade anchors.
There is a big light gap on one side
- Your window frame might be out of square. Outside mount or side channels help most.
- Make sure the shade is centered and the brackets are evenly spaced.
Safety notes
Most modern beehive shades are cordless, which is my strong recommendation for child safety. If you choose a corded model (including continuous loop) or motorized options, follow the included safety devices and keep cords secured and out of reach. Install steps can vary a bit by lift type, so always scan the manual before you drill.
Care and upkeep
- Dusting: a vacuum with a brush attachment on low works well.
- Spot cleaning: mild soap and water on a barely damp cloth. Do not soak the cells.
- Crushed cells: gentle steam from a distance can help some fabrics bounce back, but test carefully and stop if the material starts to warp.
My thrifty finish checklist
- Confirm your order rules. For inside mount, do not deduct width unless the brand tells you to.
- Start with one window. Install it, live with it for a day, then order the rest if you are happy with light blocking and color.
- Save the box. If something is mis-sized, returns are much easier with the original packaging.
- Do not skip pilot holes. It adds two minutes and saves you from split trim and stripped screws.
- Check obstructions. Latches, sensors, and cranks are the usual suspects. Spacers are cheaper than re-drilling.
About Marcus Vance
Content Creator @ Grit & Home
Marcus Vance is a lifelong DIY enthusiast and self-taught home renovator who has spent the last decade transforming a dilapidated 1970s ranch into his family's dream home. He specializes in budget-friendly carpentry, room-by-room renovations, and demystifying power tools for beginners. Through his writing, Marcus shares practical tutorials and hard-learned lessons to help homeowners tackle their own projects with confidence.