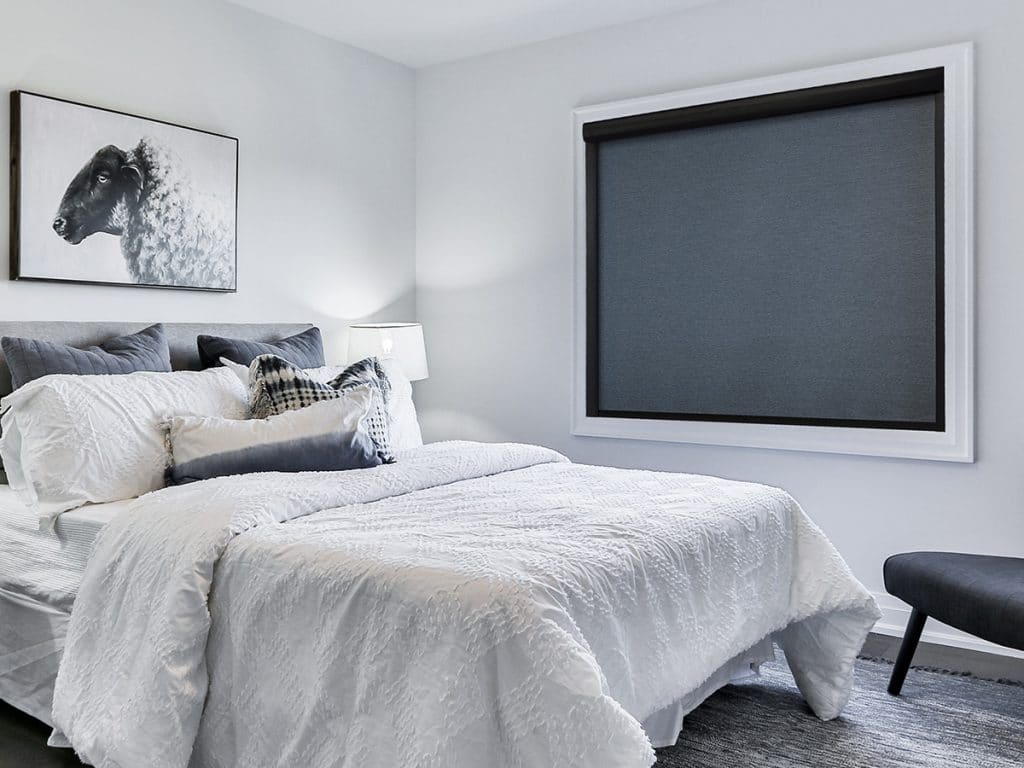
Blackout beehive blinds are one of my favorite “small swap, big payoff” upgrades. They make bedrooms darker, cut down drafts, and look a lot cleaner than bulky curtains. The trick is not the drilling. The trick is the measuring and choosing the right mount so the blind actually blocks light where it matters. Most installs are straightforward once the shade is sized correctly.

What you’re installing
“Beehive blinds” are usually called cellular shades. The fabric forms little honeycomb pockets that trap air. Blackout models typically include an opaque inner layer or film designed to block most light through the fabric, but product lines vary, so it’s worth confirming the manufacturer’s specs before you buy.
- Top-down bottom-up: lets light in from the top while keeping privacy. Slightly more hardware, same basic install.
- Cordless lift: simplest for most DIYers, and generally safer around kids and pets because there are fewer accessible cords.
- Continuous cord loop: common on larger shades, needs a tension device mounted to the wall or trim. Install the tensioner exactly as directed since it’s required for safety and smooth operation.
Real-world expectation: “Blackout” blocks light through the fabric. You can still get thin slivers of light at the sides unless you choose the right mount or add light blockers. I’ll show you both options.
Tools and supplies
Most shade kits include brackets, screws, and sometimes drywall anchors. I still recommend having a few basics on hand so you are not balancing a blind with one hand while hunting for a bit with the other.
Tools
- Tape measure (steel is easiest to read accurately)
- Pencil
- Level (9 to 24 inch works great)
- Drill and driver bits
- Small drill bits for pilot holes (often 1/16 to 1/8 inch depending on screws)
- Stud finder (optional, helpful for outside mounts)
- Step stool
- Safety glasses (quick win, especially when drilling overhead)
Supplies (optional but helpful)
- Painter’s tape (for marking without smudging)
- Wood shims or thin cardboard (for leveling on wonky trim)
- Extra wall anchors (if mounting into drywall and the included ones feel flimsy)
- Light-blocking side channels or light blockers (if you want maximum darkness)
- Masonry bit and masonry anchors or screws (if mounting into brick, concrete, or stone)
Inside vs outside mount
This choice decides how dark the room will get and how forgiving the installation is.
Inside mount
- Best for: a clean built-in look, windows with deep frames
- Watch out for: light gaps on the sides, shallow depth, obstructions like cranks, latches, window stops, or alarms
- Rule of thumb: you need enough depth for the headrail and a little clearance so the shade can move freely. Depth requirements vary by headrail size, so check your shade’s spec sheet for “minimum” and “flush mount” depths.
Outside mount
- Best for: maximum room darkening, shallow window frames, ugly or uneven frames
- Watch out for: you are drilling into trim, drywall, or masonry, so anchors and longer screws matter
- Rule of thumb: order wider and taller so the shade overlaps the opening on all sides. Overlap depends on your trim clearance and how much coverage you want.
If this is a bedroom or nursery and you truly want it dark, I usually steer people toward outside mount or an inside mount with light blockers.
Measure like you mean it
This is the part that decides whether the shade snaps in like it belongs there or fights you forever.
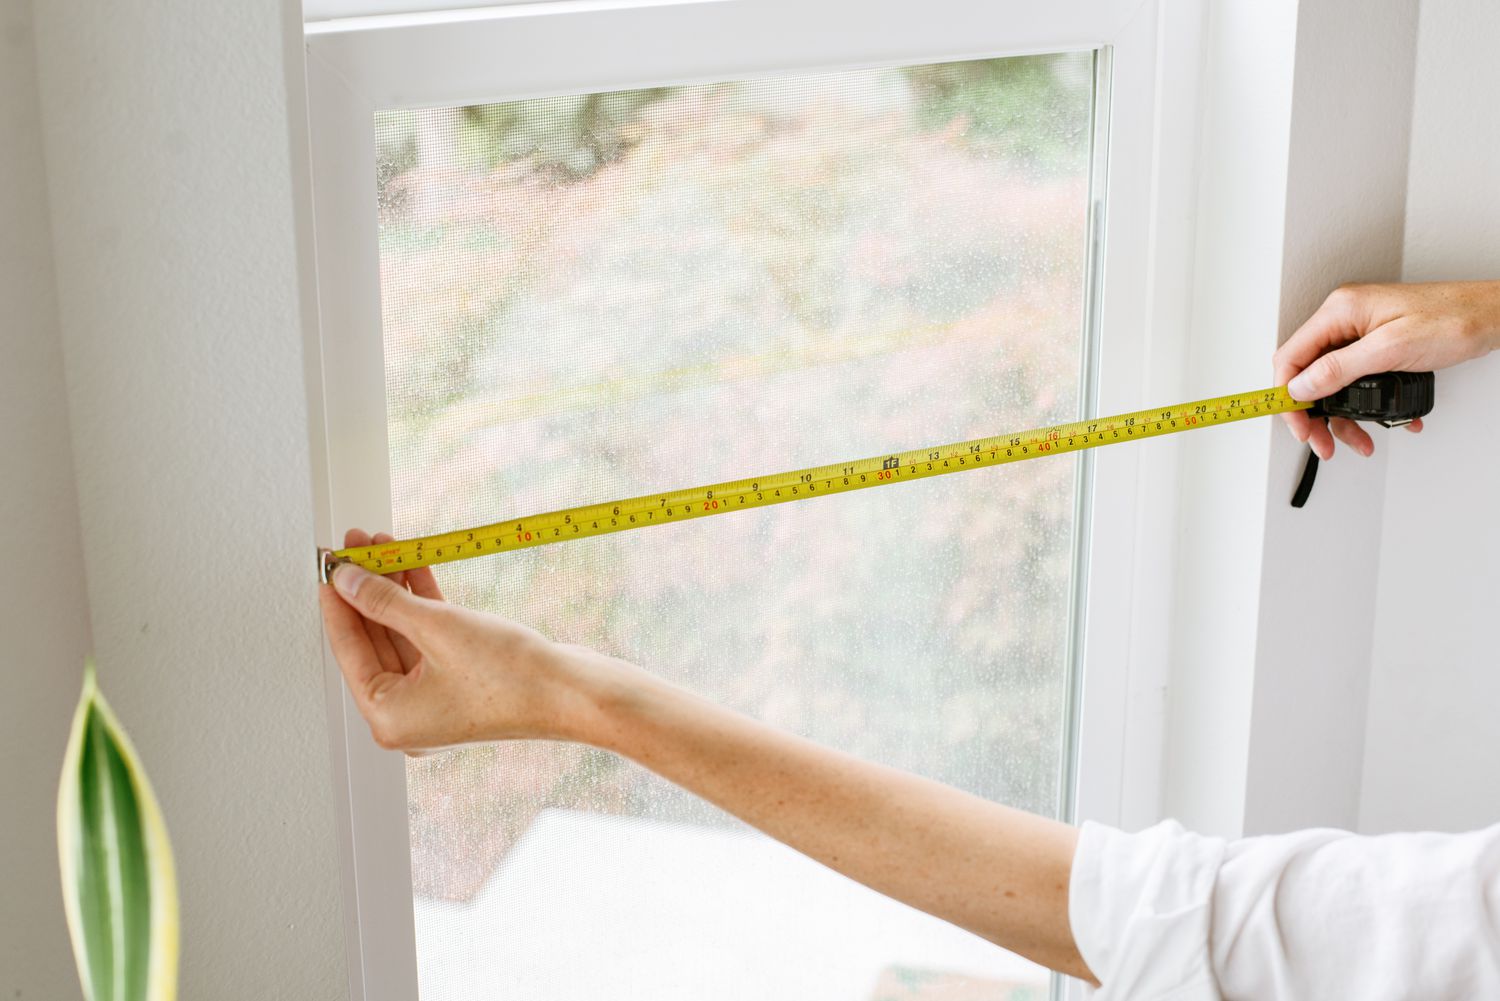
Inside mount measuring
- Width: measure the inside width at top, middle, bottom. Use the smallest number.
- Height: measure the inside height at left, center, right. Many people use the largest number so the shade fully covers the opening, but follow your brand’s ordering instructions since some manufacturers build in allowances.
- Depth: check the inside jamb depth from the front edge of the jamb back to the glass or any obstruction. Common culprits are protruding window stops, latches, and crank handles.
Important ordering note: Do not subtract anything from your measurements unless your retailer or manufacturer specifically tells you to. Many brands automatically undersize the headrail for inside mounts.
My mistake from early on: I measured the top width only. The window was slightly trapezoid, and the shade fit at the top but pinched halfway down. Taking all three widths takes one extra minute and saves a lot of annoyance.
Outside mount measuring
- Width: measure the window opening and add overlap. A common target is 2 to 3 inches extra on each side if you have room, but adjust based on trim, nearby walls, and how dark you want it.
- Height: measure opening height and add overlap above and below. I like at least 2 inches above the top of the opening so the stack sits higher and leaks less light, as long as you have clearance.
Dry fit and bracket planning
Before you drill a single hole, hold the headrail up where it will live and answer two questions:
- Will the brackets clear everything? Watch for window latches, trim returns, and rounded corners.
- Can you actually reach the release tabs? Many headrails have a small latch you need to access later if you ever remove the shade.
Also, take 30 seconds to look at the bracket diagram in your kit. Bracket styles vary and the “hook then snap” direction is not the same on every brand.
Install blackout beehive blinds
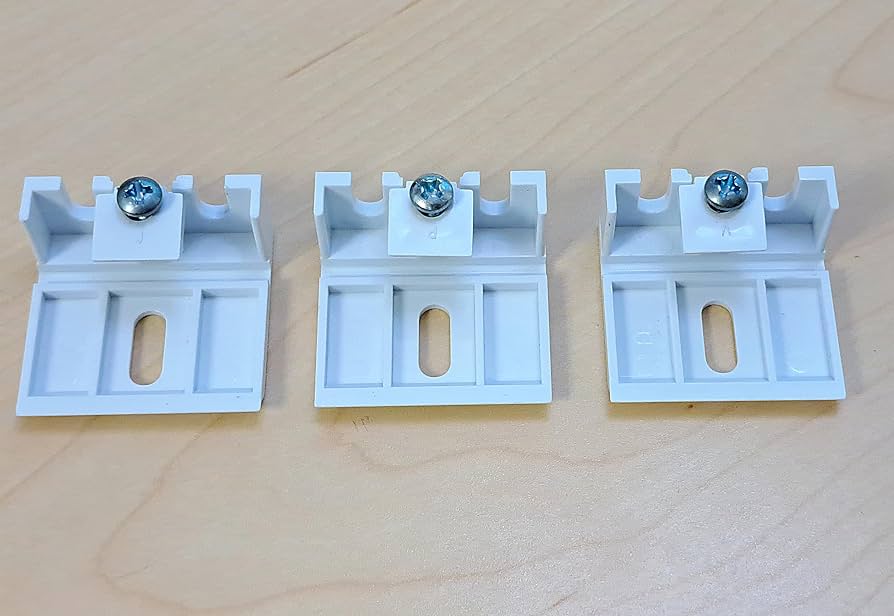
1) Mark bracket locations
Most shades use two end brackets. Wider shades may need a center support bracket. Use the manufacturer’s spacing guidance, but here’s a safe general approach:
- Place end brackets about 2 to 4 inches in from each end.
- Add a center bracket if the instructions call for it, or if the headrail feels long and flexible.
Inside mount: mark on the top inside of the window frame. Outside mount: mark on the wall or trim above the window.
2) Check level, then drill pilot holes
Hold the level across your marks. If your window trim is out of level, you have two choices:
- Follow the trim: it can look more “right” visually in older homes.
- Go perfectly level: it can look better with modern trim and makes the shade operate smoothly.
Drill small pilot holes where you marked. Pilot holes help prevent splitting wood trim and keep screws from wandering.
Quick safety note: If you are drilling near exterior walls, old trim, or anywhere a previous owner got creative, be mindful of hidden wiring. When in doubt, choose a shorter screw or shift your bracket location to known solid wood.
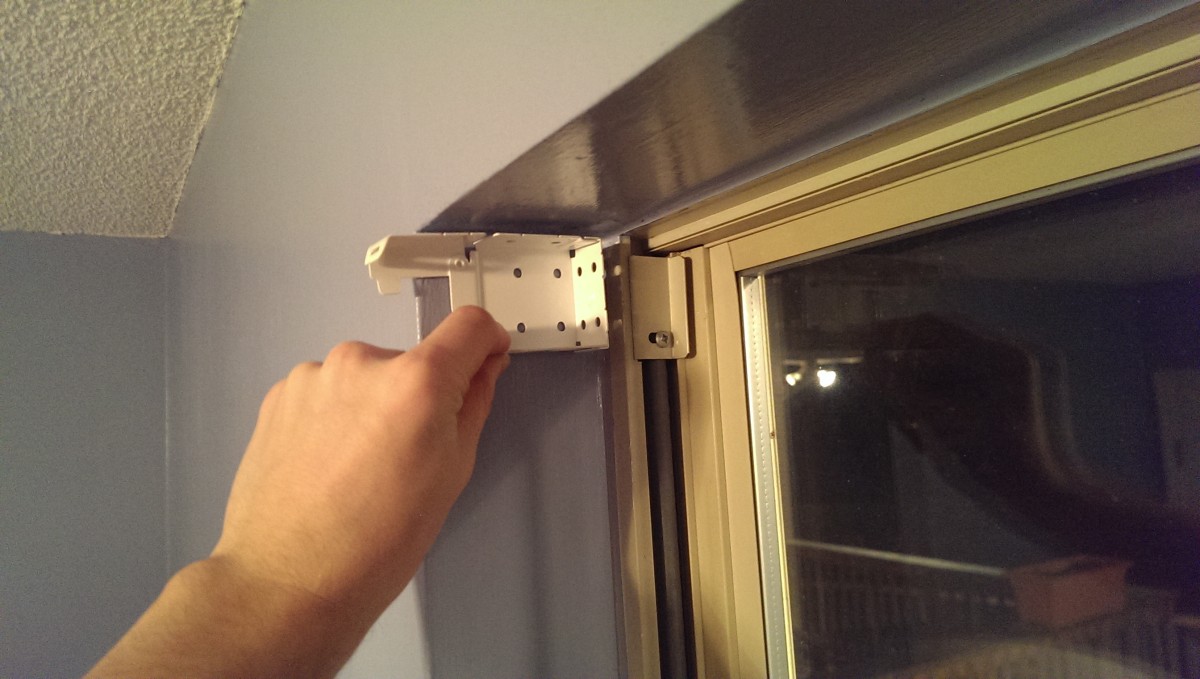
3) Mount the brackets
Screw the brackets in place. For most installs:
- Into wood: screws usually bite fine, no anchors needed.
- Into drywall: use proper anchors, or better yet, move the bracket location to hit wood whenever possible.
- Into masonry: use a masonry bit and masonry anchors or screws rated for brick or concrete.
Do not overtighten. It is easy to strip a screw in soft trim, especially on older pine.
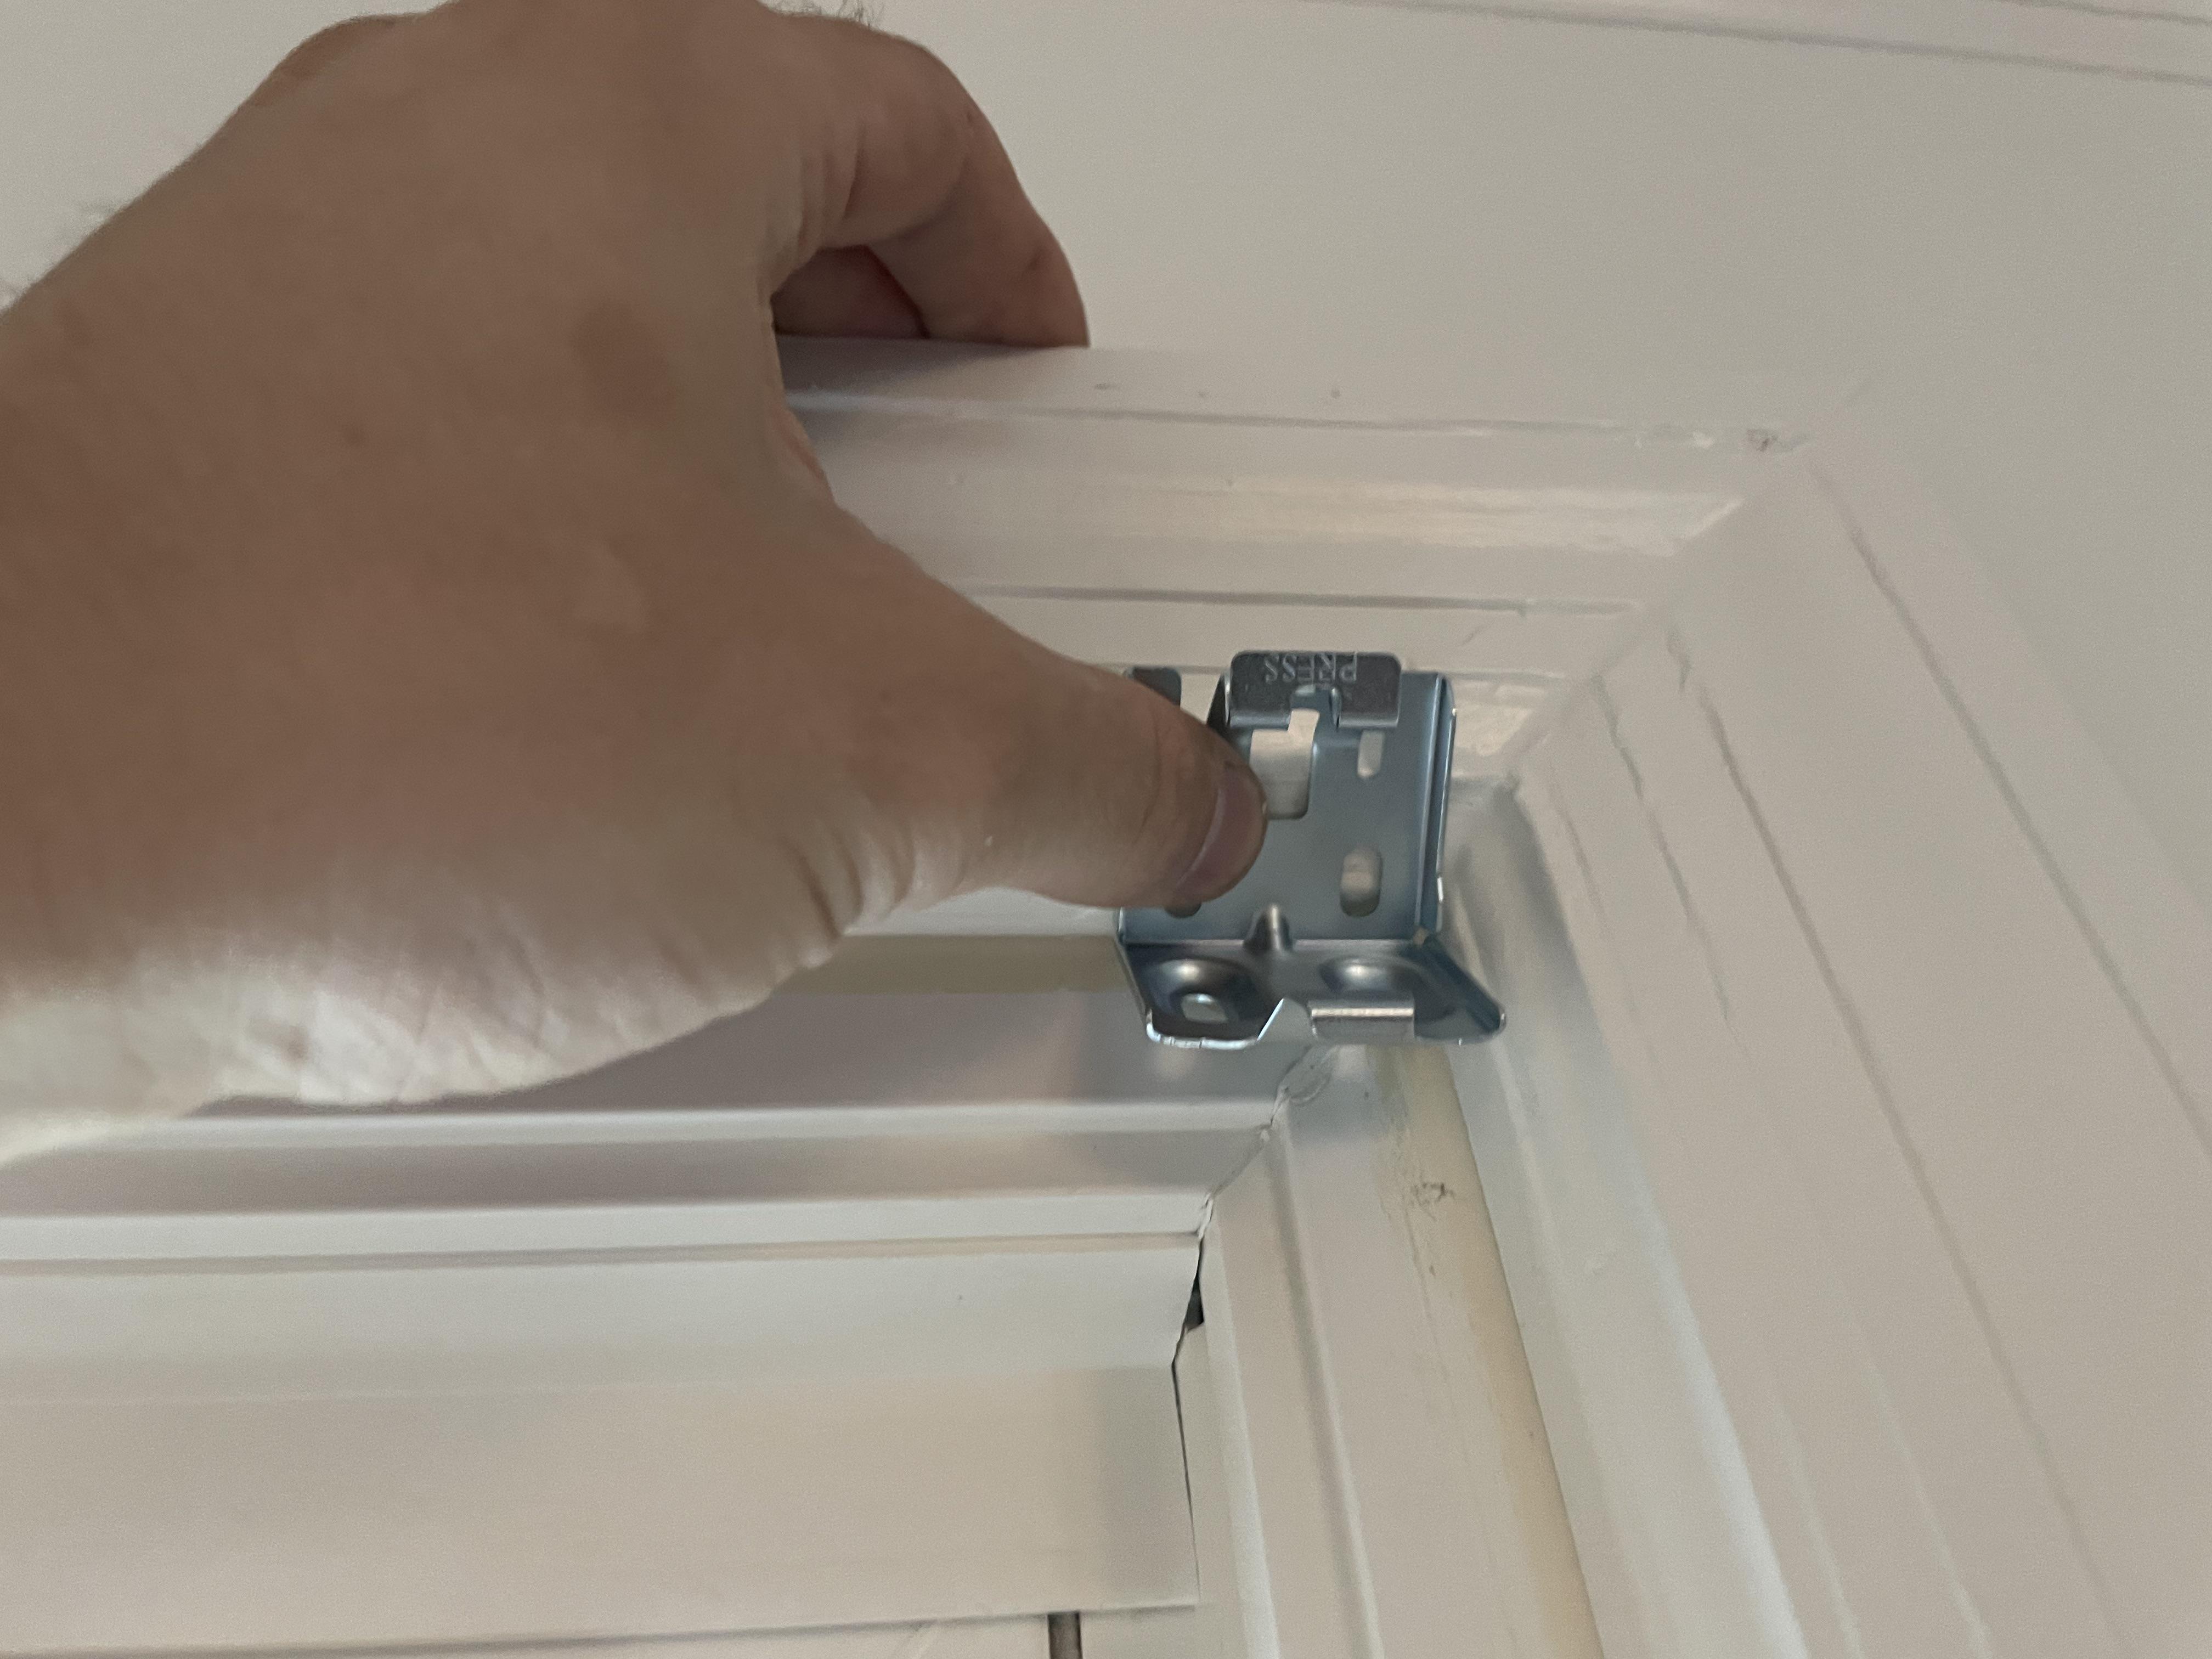
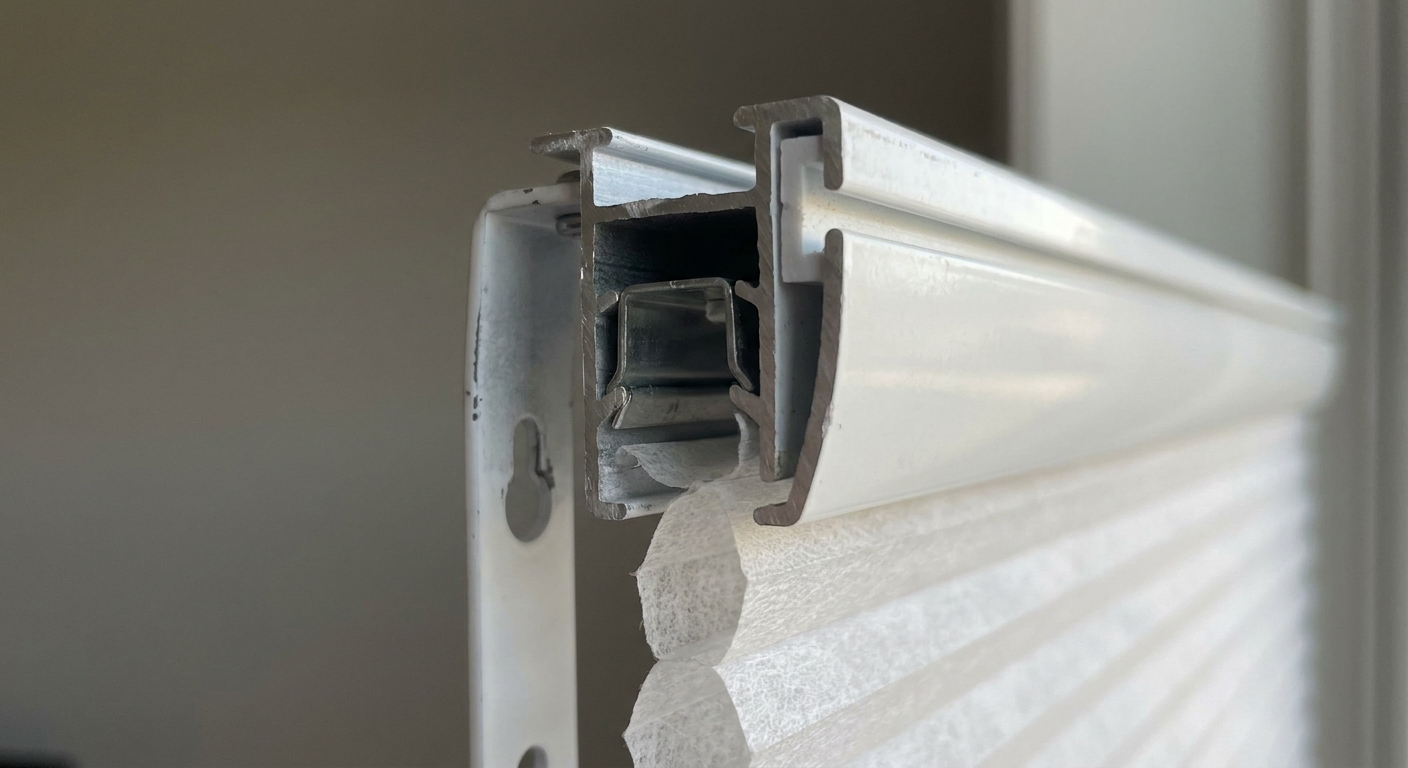
4) Clip the headrail into the brackets
Most cellular shades hook the front lip in first, then rotate up and snap into the back of the bracket. You should hear or feel a solid click.
- If it will not click, one bracket is often slightly twisted. Loosen the screws, straighten, and retighten.
- On long headrails, clip one end first, then the other, then the center support.
5) Install any handles, tension devices, or safety parts
If you have a cord loop, mount the tension device so the cord stays taut. It is not optional. It is a safety requirement and it also helps the shade run smoothly. If you have a cordless shade, attach any pull handles if included, especially for tall windows where you will be reaching up.
6) Test operation and fine-tune
- Raise and lower the shade several times.
- Confirm the bottom rail lands evenly.
- Check that the shade is not rubbing on a latch or trim edge.
If it creeps to one side, the headrail may not be level, or the brackets may not be perfectly aligned front to back.
Get true blackout results
If you install an inside mount and the room is still brighter than you hoped, that’s usually side light, not fabric failure.
Option A: switch to outside mount
Outside mount gives you the best overlap and the least light leak. If you are already committed to inside mount, you may still be able to remount outside using the same shade if the size allows overlap. Often it does not, so check before drilling new holes.
Option B: add light blockers or side channels
Light blockers mount to the trim or wall and create a little “fin” that covers the gap between shade and jamb.
- They are great for bedrooms and media rooms.
- They are a weekend-friendly add-on and do not require replacing the shade.
Problems and quick fixes
The shade will not snap in
- Make sure the bracket orientation matches the instructions. Some are left and right specific.
- Back out the screws slightly and re-seat the bracket so it is not twisted.
- Confirm the headrail is facing the right direction. It sounds obvious, but I’ve done it once.
The shade rubs or binds
- Recheck inside width measurements. A tight fit can bind as the window narrows.
- Look for obstructions like latches, crank handles, and window stops.
- For inside mounts, consider moving the brackets slightly forward so the shade clears the window hardware.
The bottom rail is uneven
- Confirm the headrail is level.
- On some models, the internal cords can be equalized by fully raising the shade and then lowering it slowly.
The room is still not dark
- Address side gaps with outside mount or light blockers.
- Check for light above the headrail. Outside mounts often benefit from a small top overlap or a valance.
Care and long-term tips
- Dusting: a vacuum with a brush attachment on low suction works well.
- Spot cleaning: use mild soap and water, and do not soak the cells.
- Humidity: in bathrooms, make sure the shade can dry out fully. Prolonged moisture can warp rails and stain fabric.
If you are installing multiple shades in one room, measure and mount one window first, then repeat. It’s faster in the long run because you can spot the little gotchas in your trim before you commit to drilling eight more brackets.
Quick checklist
- Correct mount type chosen for your darkness goal
- Measured width three times and used the correct smallest number
- Confirmed ordering rules so you did not subtract unless instructed
- Brackets level and aligned front to back
- Headrail snapped in securely on all brackets
- Shade raises and lowers smoothly without rubbing
- Tension device installed for cord loop shades
- Side light addressed if needed
Once you get the first one installed, the rest go fast. Put on some music, keep your tape measure handy, and remember: the best DIY installs are the ones where you slow down for five minutes at the measuring stage.
About Marcus Vance
Content Creator @ Grit & Home
Marcus Vance is a lifelong DIY enthusiast and self-taught home renovator who has spent the last decade transforming a dilapidated 1970s ranch into his family's dream home. He specializes in budget-friendly carpentry, room-by-room renovations, and demystifying power tools for beginners. Through his writing, Marcus shares practical tutorials and hard-learned lessons to help homeowners tackle their own projects with confidence.