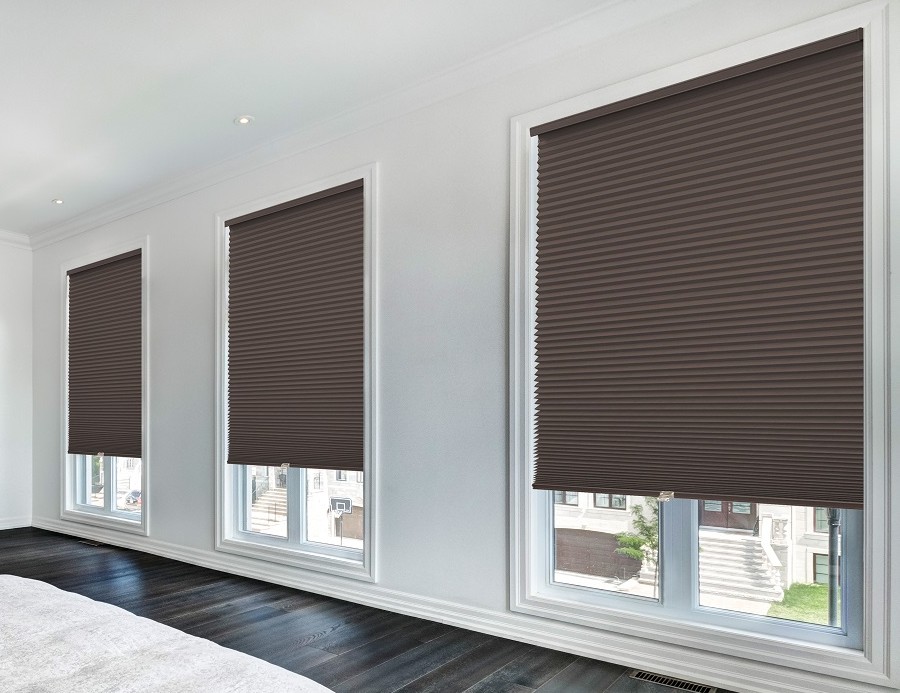
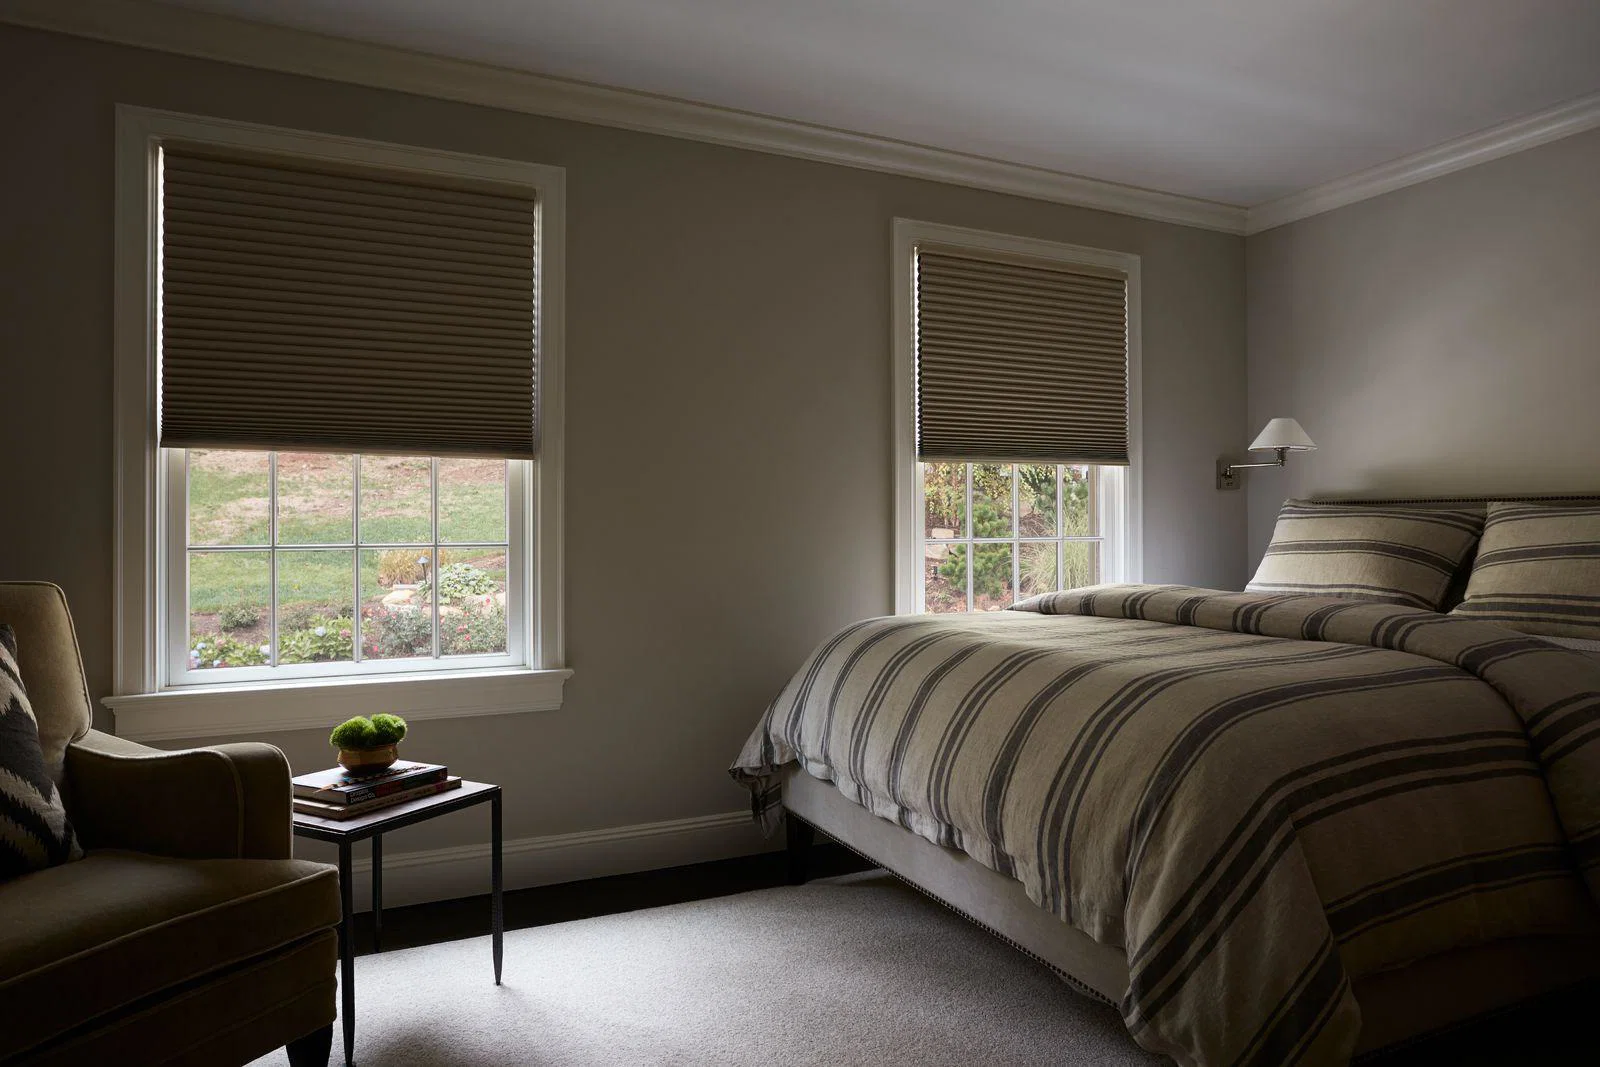
Blackout beehive blinds, also called blackout cellular shades, are one of my favorite “high impact, low drama” upgrades. They make bedrooms darker, help cut drafts, and give a room a finished look without the price tag of custom drapes. The install is totally doable with basic tools, even if you're still getting comfortable with a drill.
Quick note on “Marcus”: I'm Marcus, and I write these DIY guides the way I’d walk a friend through the job, with the little mistakes I’ve made (so you don’t have to).
Before you buy: inside or outside mount
This choice affects everything: how you measure, how much light leaks around the edges, and how easy the install will be.
Inside mount (most common)
- Looks clean and sits flush in the window frame.
- Usually less light control than outside mount because every window has a tiny gap at the sides.
- Requires enough window depth for the headrail and any handles.
Outside mount (best for max blackout)
- Blocks more light because the fabric overlaps the trim or wall.
- Great if your window is shallow, out of square, or has an obstruction.
- Shows a little more hardware unless you add a valance or choose a cleaner headrail.
My rule: If this is a bedroom, nursery, or media room and you really mean “blackout,” I lean outside mount or I plan for add-ons like side channels or curtains.
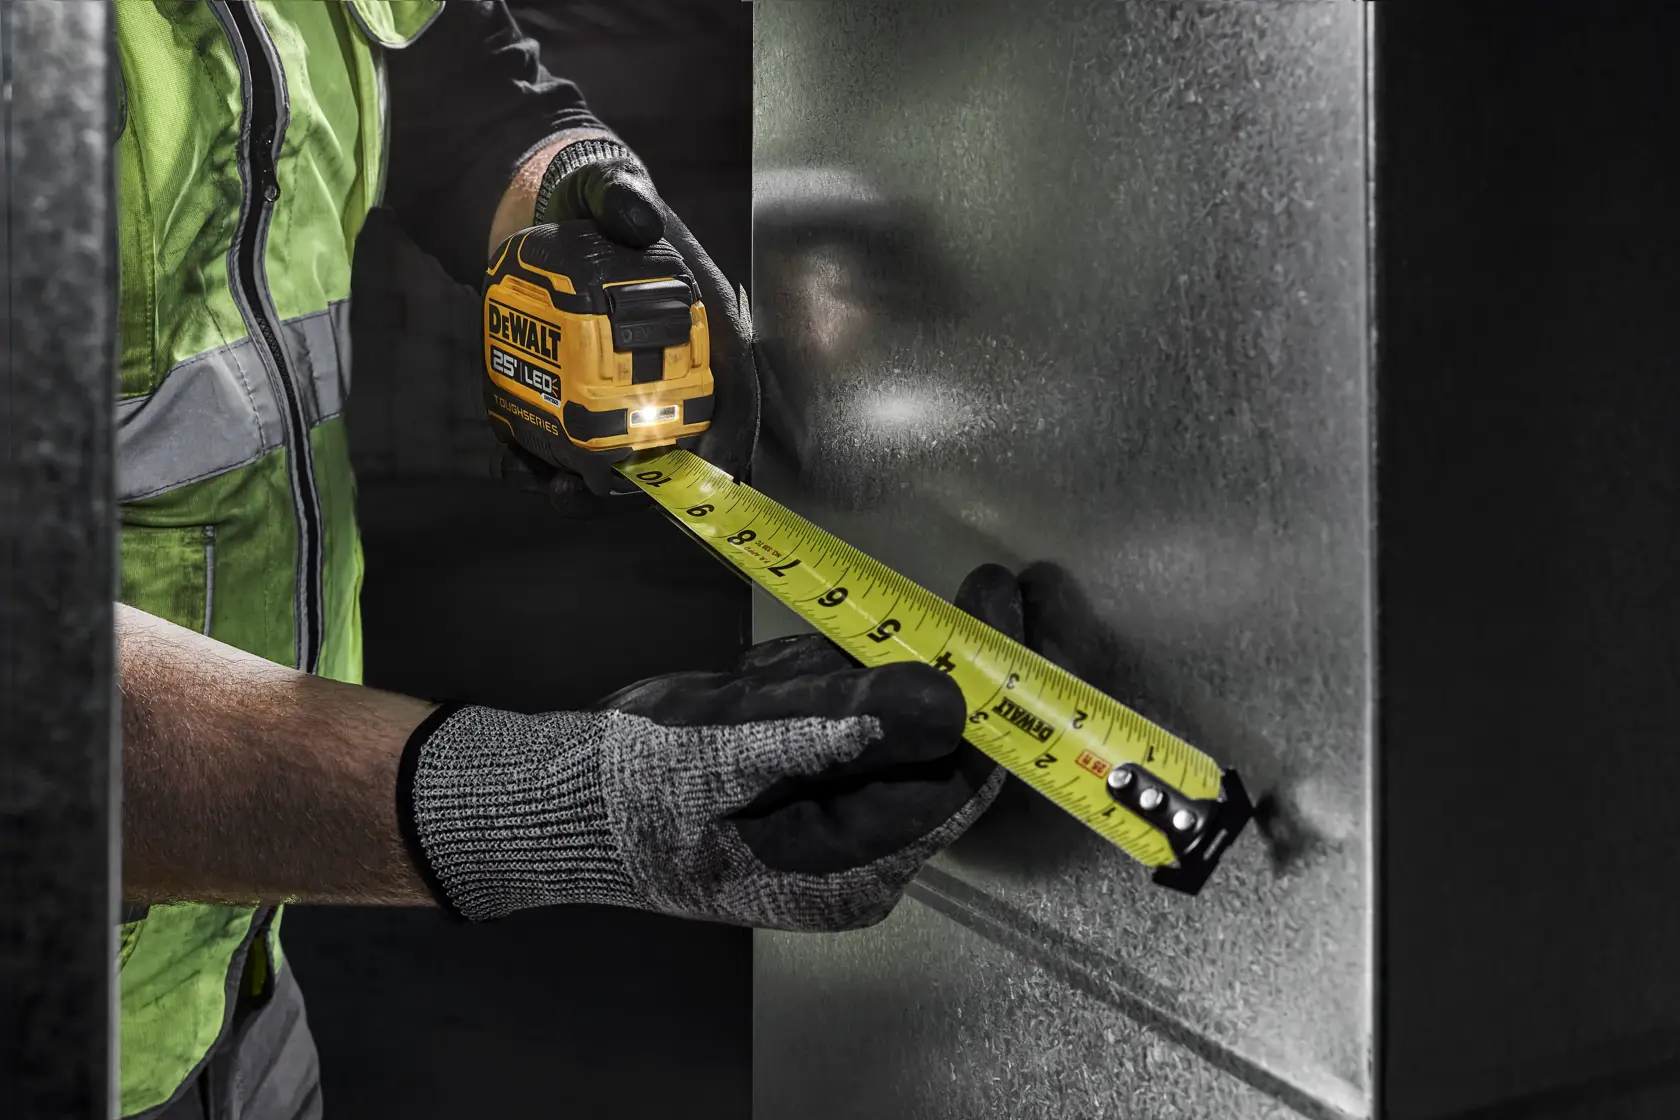
Tools and materials
Most blackout cellular shades come with brackets and screws, but I still like to verify the screw length so I don't poke through trim or hit something I didn't mean to.
Tools
- Tape measure
- Pencil
- Drill or driver with bits (usually Phillips or square drive)
- Small level (a torpedo level is perfect)
- Step stool
- Optional: stud finder for outside mounts, and a 1/16 inch bit for pilot holes
Materials
- Blackout beehive blind (correct size)
- Included mounting brackets and screws
- Optional: wall anchors for drywall (outside mount without studs)
- Optional: light blocking side channels, or curtain panels for edge gaps
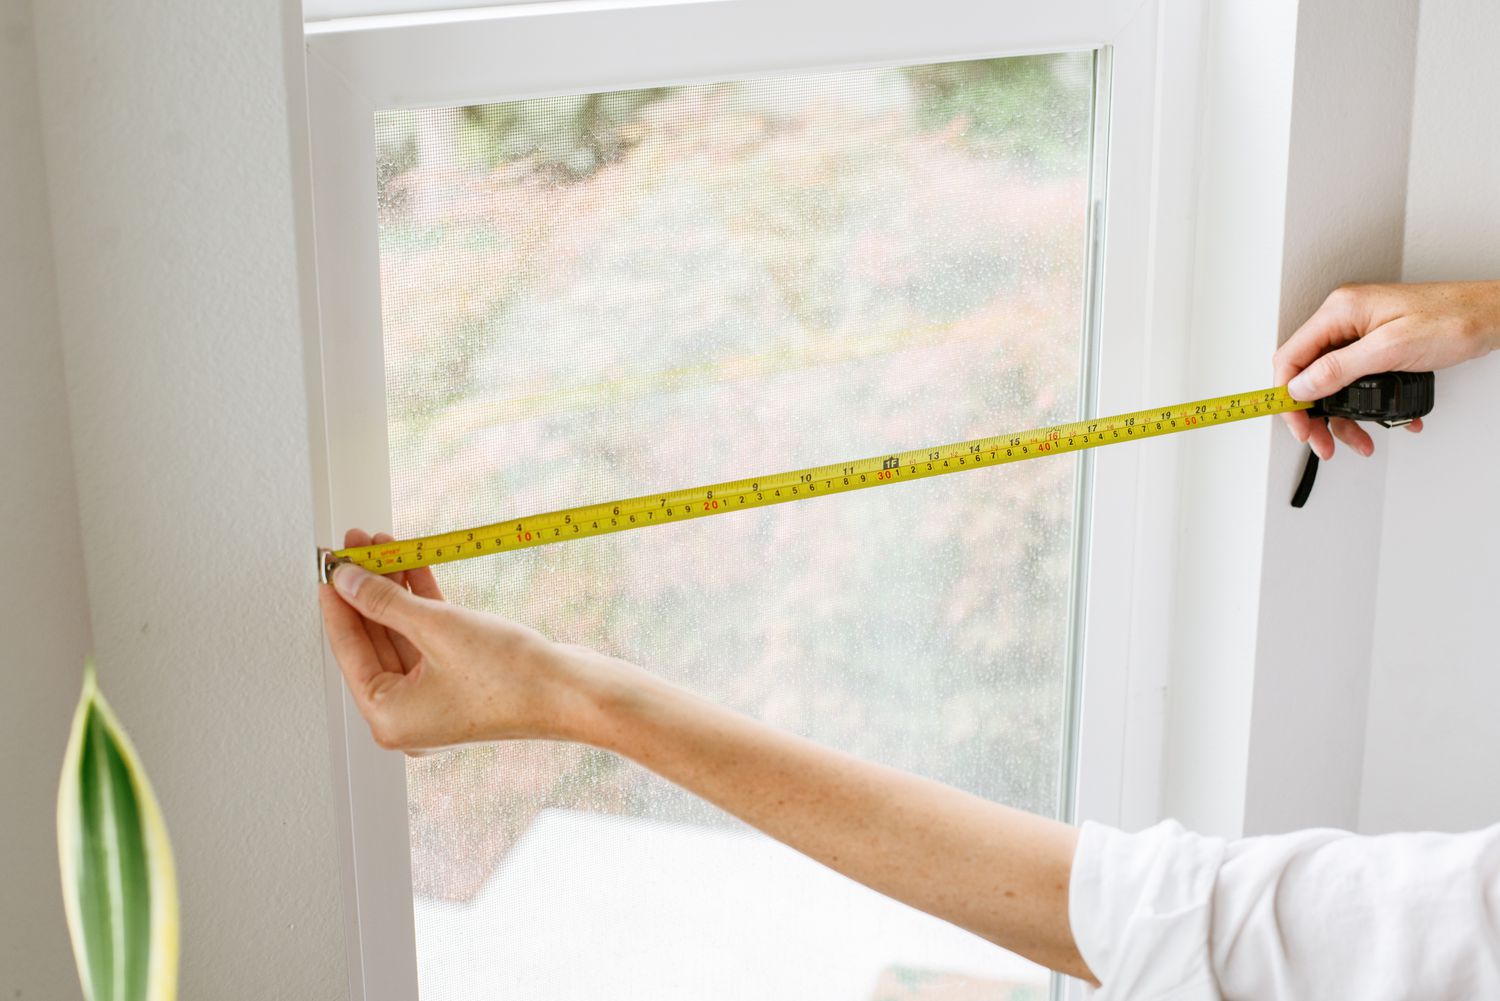
Step 1: Measure the right way
If you've ever installed something that looked perfect on the left and terrible on the right, that's usually a measuring issue, not a “you” issue. Windows often aren't perfectly square, especially in older homes.
Inside mount measuring
- Width: Measure inside the frame at the top, middle, and bottom. Use the smallest number.
- Height: Measure inside the frame at the left, center, and right. Use the largest number.
- Depth: Check your frame depth against the shade’s minimum depth requirement.
Outside mount measuring
- Width: Measure the area you want to cover, then add overlap. A common target is 2 to 3 inches total wider than the window opening, if space allows.
- Height: Measure from where the headrail will sit to where you want the shade to end. Add a little extra if you want it to cover the sill and trim.
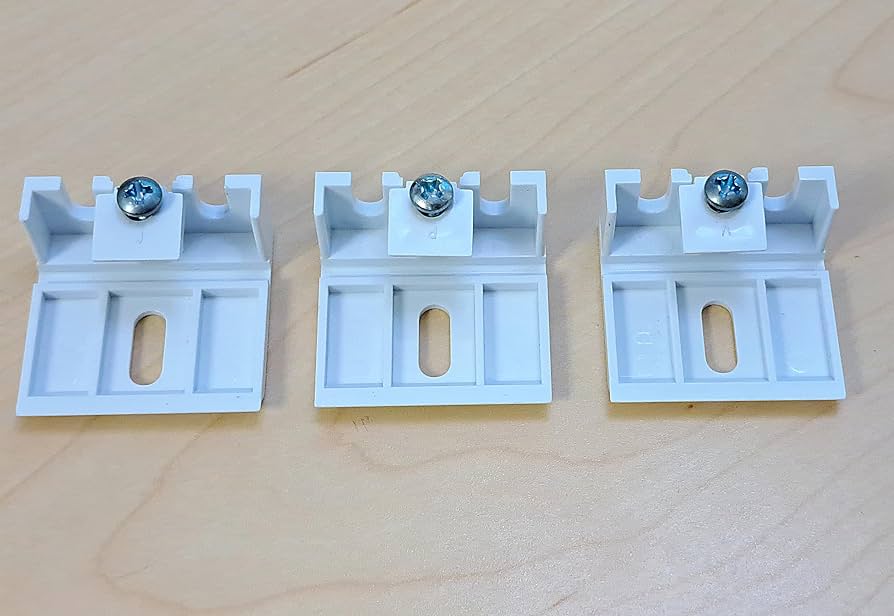
Step 2: Dry fit and mark brackets
Don't drill yet. Hold the headrail up where it'll live and confirm it clears any crank handles, locks, or trim details.
Bracket spacing basics
- Most shades use two end brackets placed about 1 to 3 inches from each end of the headrail.
- Wider shades often require a center support bracket. Follow the manufacturer’s guidance.
- Keep brackets square to the frame or wall so the headrail snaps in smoothly.
Marcus tip: If you're installing inside mount and your window frame is painted wood, pre-drilling a small pilot hole prevents splitting and keeps your screws from wandering.
Step 3: Install the brackets
Inside mount brackets
Brackets typically mount to the top inside of the window frame. Some systems allow side mounting, but top mounting is usually cleaner and stronger.
- Mark bracket screw holes with a pencil.
- Drill pilot holes if needed.
- Screw the brackets in snug, not gorilla tight. Stripped holes in soft wood are a pain to fix.
- Use a level across the bracket faces if you can. If not, measure down from the top frame to match both sides.
Outside mount brackets
Outside mount brackets attach to the wall or trim above the window.
- Find studs if possible. If not, use the correct wall anchors for your wall type.
- Level a light pencil line where the top of the headrail will sit.
- Install brackets along that line.
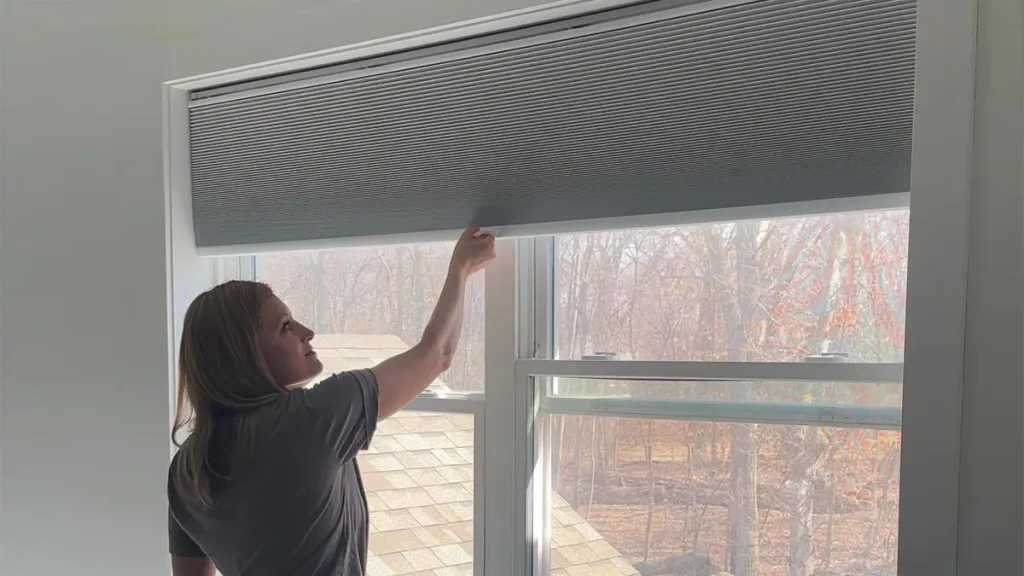
Step 4: Snap in the headrail
This part varies by brand, but most headrails hook into the front lip of the bracket and then rotate up until they click.
- Start on one end and work across.
- Listen and feel for the click or lock.
- Gently tug down to confirm it's seated.
Step 5: Test and adjust
Before you clean up tools, run the shade up and down a few times.
If the shade feels crooked
- Confirm the headrail is fully snapped into both brackets.
- Check bracket alignment. Even being off by 1/8 inch can make the shade rub.
- Loosen a bracket screw slightly, nudge the bracket, and re-tighten.
If it won't stay up or drops
Many cordless shades have a tension mechanism. Follow your brand’s instructions for resetting or equalizing tension. If it's a top-down bottom-up style, double-check that both rails are operating independently and not binding.
Better blackout tips
Here's the honest truth: “blackout fabric” doesn't automatically mean “pitch black room.” Light leaks come from the sides, the top, and sometimes the bottom if the sill is uneven.
Reduce edge light leaks
- Choose outside mount when possible and overlap the opening.
- Add light blocking side channels if your shade system offers them.
- Pair with curtain panels for a budget-friendly upgrade that also looks great.
Stop top leaks
- Make sure the headrail sits tight to the mounting surface.
- For outside mounts, consider a simple valance or headrail wrap if your system has one.
Fix bottom gaps
- Make sure the shade is fully lowered and the bottom rail is level.
- If your sill slopes, outside mount with extra drop often hides the gap better.
Common mistakes
- Measuring only once: Take three width measurements and three height measurements. Pick the correct one for your mount style.
- Skipping the level: Eyeballing looks fine until you raise the shade and it drifts.
- Overtightening screws: This can twist brackets or strip wood, especially in older trim.
- Using the wrong anchors: Cheap anchors in drywall can pull out over time, especially on larger shades.
I've personally done the “tighten it harder until it behaves” approach. It doesn't work. When something binds, it's usually alignment, not force.
Safety and care
- If your shades have cords (some specialty models do), follow current child safety guidance and keep cords out of reach.
- Vacuum lightly with a brush attachment or use compressed air on low for dust.
- Avoid soaking cellular fabric. Spot clean gently per the manufacturer.
FAQ
Are beehive blinds and cellular shades the same?
Yes. “Beehive” is a common nickname for the honeycomb shape. Cellular shades is the more standard product name.
Do I need a center bracket?
If the manufacturer includes one or recommends it based on width, use it. It prevents headrail sag, which causes rubbing and uneven lift.
Can I install these on metal or vinyl windows?
Often yes, but you may need short screws, pre-drilling, or to mount into surrounding wood trim instead. Check what you're fastening into before driving screws.
Printable checklist
- Confirm inside vs outside mount
- Measure width and height correctly (three points each)
- Check depth clearance for inside mount
- Mark bracket locations and level
- Pre-drill pilot holes if needed
- Install brackets snug
- Snap in headrail and confirm it locks
- Test raise/lower and adjust for rubbing
- Address light gaps with overlap, channels, or curtains
About Marcus Vance
Content Creator @ Grit & Home
Marcus Vance is a lifelong DIY enthusiast and self-taught home renovator who has spent the last decade transforming a dilapidated 1970s ranch into his family's dream home. He specializes in budget-friendly carpentry, room-by-room renovations, and demystifying power tools for beginners. Through his writing, Marcus shares practical tutorials and hard-learned lessons to help homeowners tackle their own projects with confidence.