If you just fired up your sprinklers and noticed your backflow preventer leaking, you are not alone. In a lot of neighborhoods, the first warm weekend of the season is also the day backflow problems show up. The tricky part is that a brief weep or spit during pressurization or right after a zone shuts off can happen, while a steady drip or continuous discharge is a big red flag for freeze cracks, debris, or a failing valve.
Let’s walk through what you likely have in your yard, where these devices usually leak, what you can safely check yourself, and when you need a certified backflow test or full replacement because of local code.
Quick safety note
A backflow preventer is there to keep irrigation water from siphoning back into your home’s drinking water. Sprinkler lines can contain soil bacteria, fertilizer, pet waste, and stagnant water. So yes, a leak is annoying, but the bigger issue is that a damaged or malfunctioning backflow device can become a health and code problem.
Common backflow devices
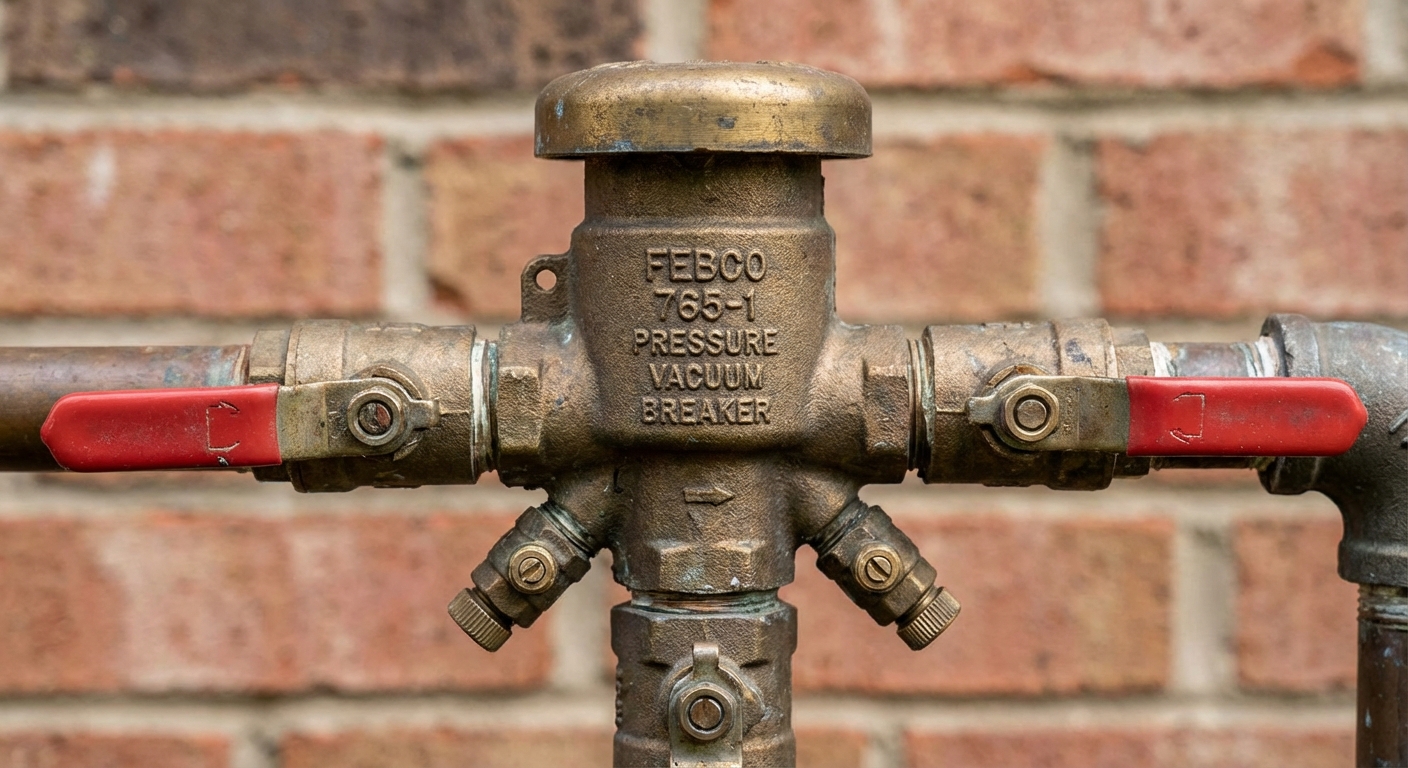
Pressure Vacuum Breaker (PVB)
This is one of the most common sprinkler backflow devices for single-family homes. It is typically a brass body with a bonnet on top and two small test cocks. A PVB is typically installed above ground and must be installed above the highest downstream outlet (often the highest sprinkler head) per manufacturer instructions and local code. Many jurisdictions commonly require about 12 inches of elevation above that highest outlet, but treat the exact number as “check your local rule,” not a universal standard.
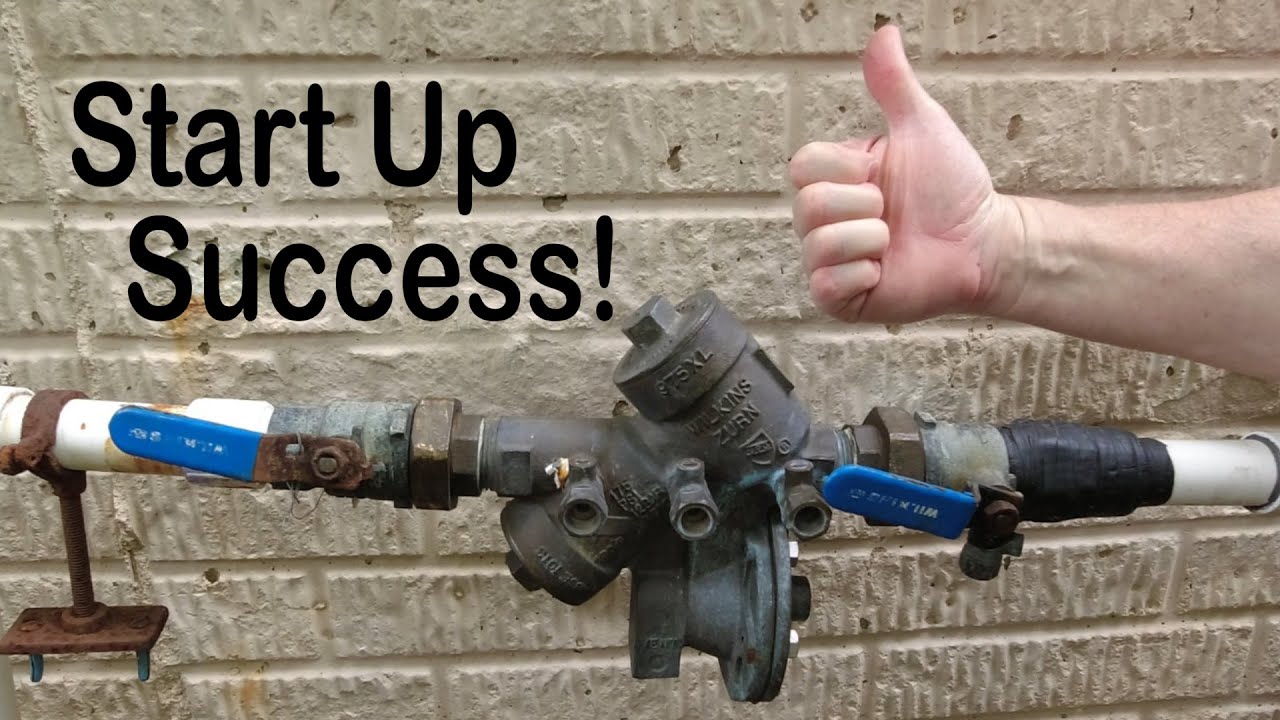
Reduced Pressure Zone (RPZ)
RPZ units are bulkier and have a relief valve assembly in the middle that can discharge water when the device senses a problem. Many commercial properties use these, and some municipalities require them for certain irrigation setups (like systems with fertilizer injection or other higher-hazard classifications).
Double Check Valve Assembly (DCVA)
A double check is used only where local rules allow it for irrigation. In many areas, irrigation is treated as at least a moderate hazard, so a DCVA may be disallowed unless there is no chemical injection, no auxiliary water source, and the water provider approves it. If you are not sure, assume your area may require a PVB or RPZ and verify with the utility or a certified tester.
Quick ID tip: A PVB usually has a bonnet and air inlet on top. An RPZ usually has a relief valve outlet in the middle that can discharge water. A DCVA is typically a more compact body with two checks inside and test ports, and is sometimes installed in a box below grade depending on climate and local practice.
Where leaks come from
Most backflow leaks show up in a few predictable spots. If you can identify where the water is coming from, you are halfway to the fix.
1) The air inlet or vent
On a PVB, the vent is part of the vacuum breaker assembly near the top. On an RPZ, the relief valve outlet is designed to discharge water if it senses a problem.
- Common causes: debris on the check, worn seals, pressure fluctuations, a zone valve stuck open, or freeze damage that prevents the internals from seating.
- What it looks like: water dribbling or spraying out of a vent opening, especially when a zone turns on or shuts off.
- What can be normal: a brief spit or small discharge during slow pressurization or immediately after shutdown.
- What is not normal: continuous venting, steady discharge, or repeated dumping every time any zone runs.
2) Around the test cocks
Those little ports are for a certified tester to hook up gauges. They can seep if they are slightly open or if the tiny seals are failing.
- Common causes: test cock not fully closed after winterizing or testing, stripped threads, worn internal seals.
3) At the shutoff valves or unions
Many assemblies have ball valves on each side and sometimes unions. A slow drip here is often a packing nut or gasket issue, not an internal backflow failure, but it still needs attention.
- Common causes: loose union, degraded O-ring or gasket, valve stem packing leak.
4) A hairline crack in the brass body
This is the classic post-freeze surprise. A crack can be subtle until the system is pressurized.
- Common causes: water left trapped in the device over winter, improper blowout, insulation that hid the problem until spring.
Common reasons it leaks
Freeze damage
If you live anywhere that sees hard freezes, a missed step during winterization can crack the body or deform the internals. The frustrating part is that the crack is not always obvious until you turn the water on.
Worn rubber seals and check springs
Backflow devices have replaceable internal parts that wear out over time, especially in areas with gritty water or mineral buildup. Seals can harden, checks can stick, and springs can weaken.
Debris in the valve
The first pressurization after winter can dislodge scale or dirt. If that debris lands on a sealing surface, the valve may not close fully, and the device can vent, weep, or discharge.
Downstream zone valve leaking by
If a sprinkler valve is not shutting all the way, the system can lose pressure in odd ways. On a PVB, that pressure drop can trigger the air inlet behavior and create venting or spitting. You can service the backflow and still see symptoms because the real problem is a valve downstream.
Overpressure or thermal expansion
In rare cases, a pressure spike or heat expansion in a closed system can force a relief condition. This is more likely if you have a PRV, check valve, or other setup that creates a “closed” plumbing system. RPZ devices are designed to dump water when something is out of spec. That is not a nuisance leak so much as a warning light, even if the root cause ends up being serviceable debris or a worn seal.
First steps
Step 1: Decide if you should shut off now
- Shut off the irrigation supply immediately if water is spraying, the ground is flooding, you see a crack in the brass, or the device is continuously discharging from an RPZ relief valve.
- You can monitor briefly if it is a slow drip from a union or test cock, but do not ignore it for weeks. Slow drips rot wood, stain siding, and can freeze into bigger problems later.
Most irrigation setups have a dedicated shutoff inside the house (often near where the sprinkler line branches from the main) and sometimes another shutoff in a valve box outside. Use whichever you can access safely.
Step 2: Note location and timing
This sounds silly, but it saves time if you end up calling a pro. Jot down:
- Where is the water coming from (vent, test cock, union, valve stem, crack)?
- Does it leak only when a zone runs, only after the zone shuts off, or constantly?
- Did you recently have the system winterized, tested, or repaired?
Step 3: Start up safely
If you are turning the irrigation supply on for the first time this season, open the upstream shutoff slowly. A fast open can cause water hammer and may trigger brief venting or relief discharge that looks worse than it is.
Also, keep your face and hands away from vents, relief outlets, and test cocks during pressurization. Even a small opening can spray unexpectedly.
Step 4: Do the safe, no-tools checks
- Confirm the shutoff handles are fully open when testing. A partially open ball valve can create odd pressure conditions and chatter.
- Check test cocks to make sure they are fully closed (often a quarter-turn style). If you are not sure, stop and call the company that winterized or tested it. Stripping a test cock is an expensive cheap fix.
- Look for visible cracks along the body, bonnet, and around threaded connections.
Step 5: Do not cap a vent or relief outlet
It is tempting to “fix” a vent leak by blocking the opening. Please do not. That vent or relief outlet is part of how the device protects your water supply. If it is leaking, the solution is repair, rebuilding, or replacement, not plugging.

DIY vs pro
DIY-friendly checks
- Tighten a union slightly if it is clearly loose (do not over-tighten).
- Confirm test cocks are fully closed.
- Replace a worn valve stem packing washer on an upstream shutoff (only if you are comfortable shutting off water and depressurizing lines).
- Clean obvious debris from a valve box or area to prevent mud from entering open ports.
Best for a licensed pro or certified tester
- Rebuilding internal check valves or replacing relief valve assemblies.
- Diagnosing repeated venting on an RPZ.
- Any situation where the device must be tested and certified to satisfy local requirements.
- Replacing the backflow device (especially if soldering, pressing, or re-piping is required).
A practical rule of thumb: if the leak is coming from the device’s business end (vent on a PVB, relief on an RPZ) and not from a simple connection point, plan on a pro visit or a rebuild kit plus the proper test afterward.
Testing and replacement rules
Backflow requirements vary by city, county, and water provider, but these are common triggers:
- Annual testing is required in many areas for PVBs and RPZs on irrigation systems.
- Testing after repair is often required if the device was opened, rebuilt, or internal parts were replaced.
- Replacement rules may apply if the body is cracked, the model is no longer approved, or it cannot pass a test even after a rebuild.
- Installation standards (like minimum height above grade, clearances, and drainage) can be enforced during replacement even if the old install was grandfathered.
If your utility sends backflow compliance notices, treat a leak as a do-it-now item. And if you are unsure what your area requires, check with your water provider or a certified tester.
RPZ drainage note
An RPZ relief outlet needs proper drainage and an air gap where required. It should never be hard-piped into a closed drain unless it is specifically approved by local code and installed correctly. Improper piping can create flooding, code violations, or defeat the intent of the relief discharge.
Symptom cheat sheet
Leaking only when a zone is running
- Debris in the check
- Internal seal worn or nicked
- Pressure issue or incorrect installation height (especially for PVBs)
Leaking right after a zone shuts off
- Brief weeping can be normal, but persistent dribble suggests worn seals or debris
- Downstream valve leaking by and causing pressure fluctuations
Constant dripping from a union or threaded joint
- Loose union nut or failed gasket
- Cracked fitting from freeze stress
Constant discharge from an RPZ relief valve
- Debris or failed check valve
- Relief valve diaphragm failure
- Supply pressure issues
- This is a strong candidate for immediate shutoff and a service call
What not to do
- Do not ignore a small leak all season. Water finds its way into siding, crawlspaces, and basements.
- Do not cap vents or relief outlets. That defeats the safety function.
- Do not over-tighten unions. It is easy to crack a fitting or deform a gasket and make the leak worse.
- Do not assume it is just condensation. Backflow devices should not be wet all the time.
Prevent the next leak
Winterize correctly
If you hire a company, ask what their process is for protecting the backflow device specifically. If you DIY, make sure the supply is shut off, the line is drained, and the device is protected according to manufacturer guidance and local practice. In freeze climates, the safest option is often professional blowout plus proper valve positioning afterward.
Schedule testing and maintenance
If your area requires testing, use it as a yearly health check. A good tester will often spot early seal wear before it becomes a full-on leak.
Protect above-ground devices
Insulation helps, but it is not magic. Any insulation strategy should still allow the device to drain properly, and it should not trap water against fittings.
When to call today
Pick up the phone if you see any of the following:
- A visible crack in the brass body or bonnet
- Continuous discharge from an RPZ relief valve
- Water entering the home, garage, crawlspace, or basement
- Your city or water provider requires a certified test and you need documentation
If you want to be extra helpful to the tech, take one clear photo of the whole assembly and one close-up of the exact leak point. That usually speeds up the estimate and helps them bring the right rebuild kit if applicable.
Bottom line
A leaking irrigation backflow preventer is usually telling you one of three things: it froze, it is worn out, or something in the system is creating a pressure condition the device cannot handle. Start by shutting off water if the leak is more than a brief weep, identify where the water is coming from, and resist the temptation to plug vents or muscle fittings tight.
And if your area requires certified testing, treat that as part of the repair, not an optional extra. The goal is not just stopping the leak. It is keeping your drinking water protected and keeping your irrigation system compliant.
About Marcus Vance
Content Creator @ Grit & Home
Marcus Vance is a lifelong DIY enthusiast and self-taught home renovator who has spent the last decade transforming a dilapidated 1970s ranch into his family's dream home. He specializes in budget-friendly carpentry, room-by-room renovations, and demystifying power tools for beginners. Through his writing, Marcus shares practical tutorials and hard-learned lessons to help homeowners tackle their own projects with confidence.