🚨 In a DIY emergency or rush?
Skip the details and jump straight to our 30-second cheat sheet for the most crucial info.
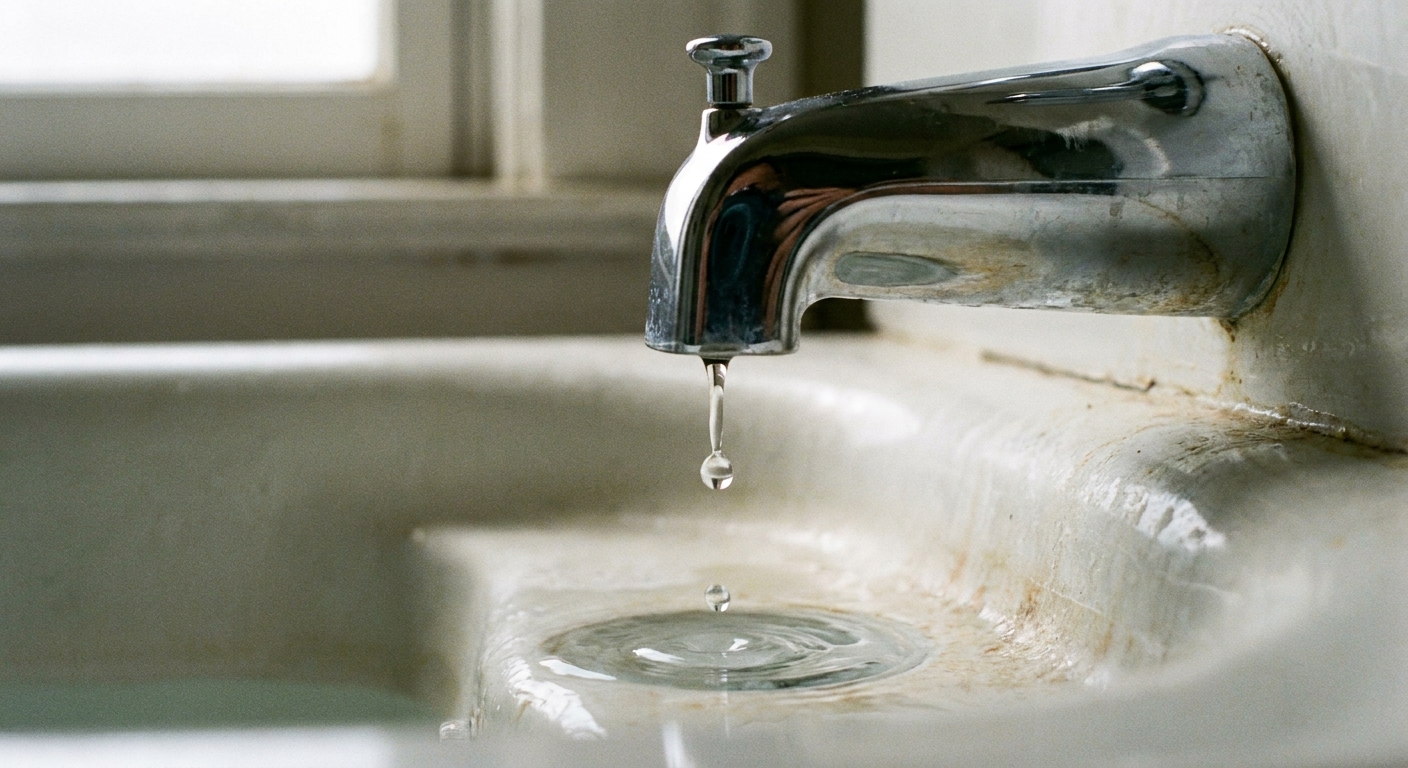
A bathtub spout that drips from the end or seems to leak even when the water is off is one of those problems that looks small until it stains your tub, feeds mildew, or quietly runs up your water bill. The good news is that most tub spout issues are simple: a loose fit, a worn internal seal, mineral buildup, or a diverter that no longer closes all the way.
In my first house, I ignored a “tiny” tub spout drip for months. Turns out the spout was wobbling on the pipe, chewing up a seal every time the kids bumped it. Five minutes of diagnosis would have saved me a lot of scrubbing and a new caulk line.
First: what kind of leak is it?
Use this quick symptom check to avoid replacing parts you do not need.
- Drip from the spout opening after you shut the faucet off: Most common cause: the tub/shower valve is not sealing fully (cartridge, washers, or seats upstream). Less common spout causes: a cracked spout or a blockage that holds water and makes it drain slowly. Residual draining usually stops within a short time, but it varies by piping and slope.
- Water leaking from behind the spout at the wall: Usually a loose spout, incorrect stub-out length, thread sealing issue, or a damaged sealing surface. This is typically a spout connection problem, so re-seat, repair the connection, or replace the spout.
- Water still trickles to the shower head when the diverter is down: Often a worn diverter gate inside the tub spout. One more possibility: a restricted tub spout (debris, heavy scale, or the wrong style spout) can create backpressure and push water up to the shower even if the diverter is decent.
- Leak only happens while the water is running: Usually a poor connection, split spout, or incorrect installation depth. This is also spout territory.
Safety note: If you see water staining, soft drywall, or a musty smell in the wall behind the tub, pause and investigate before you keep using the shower.
Before you start
- Plug the drain so a set screw does not disappear forever.
- Protect the tub with a towel so tools do not chip the finish.
- Use a flashlight to find the set screw and check for gaps at the wall.
- Eye protection helps when you are looking up under the spout and dealing with vinegar, grit, and crusty scale.
Slip-on vs threaded
Everything gets easier once you know which connection you have. There are two common styles, plus a small handful of “look-alikes.” If something does not match what you see, follow the manufacturer instructions for your trim.
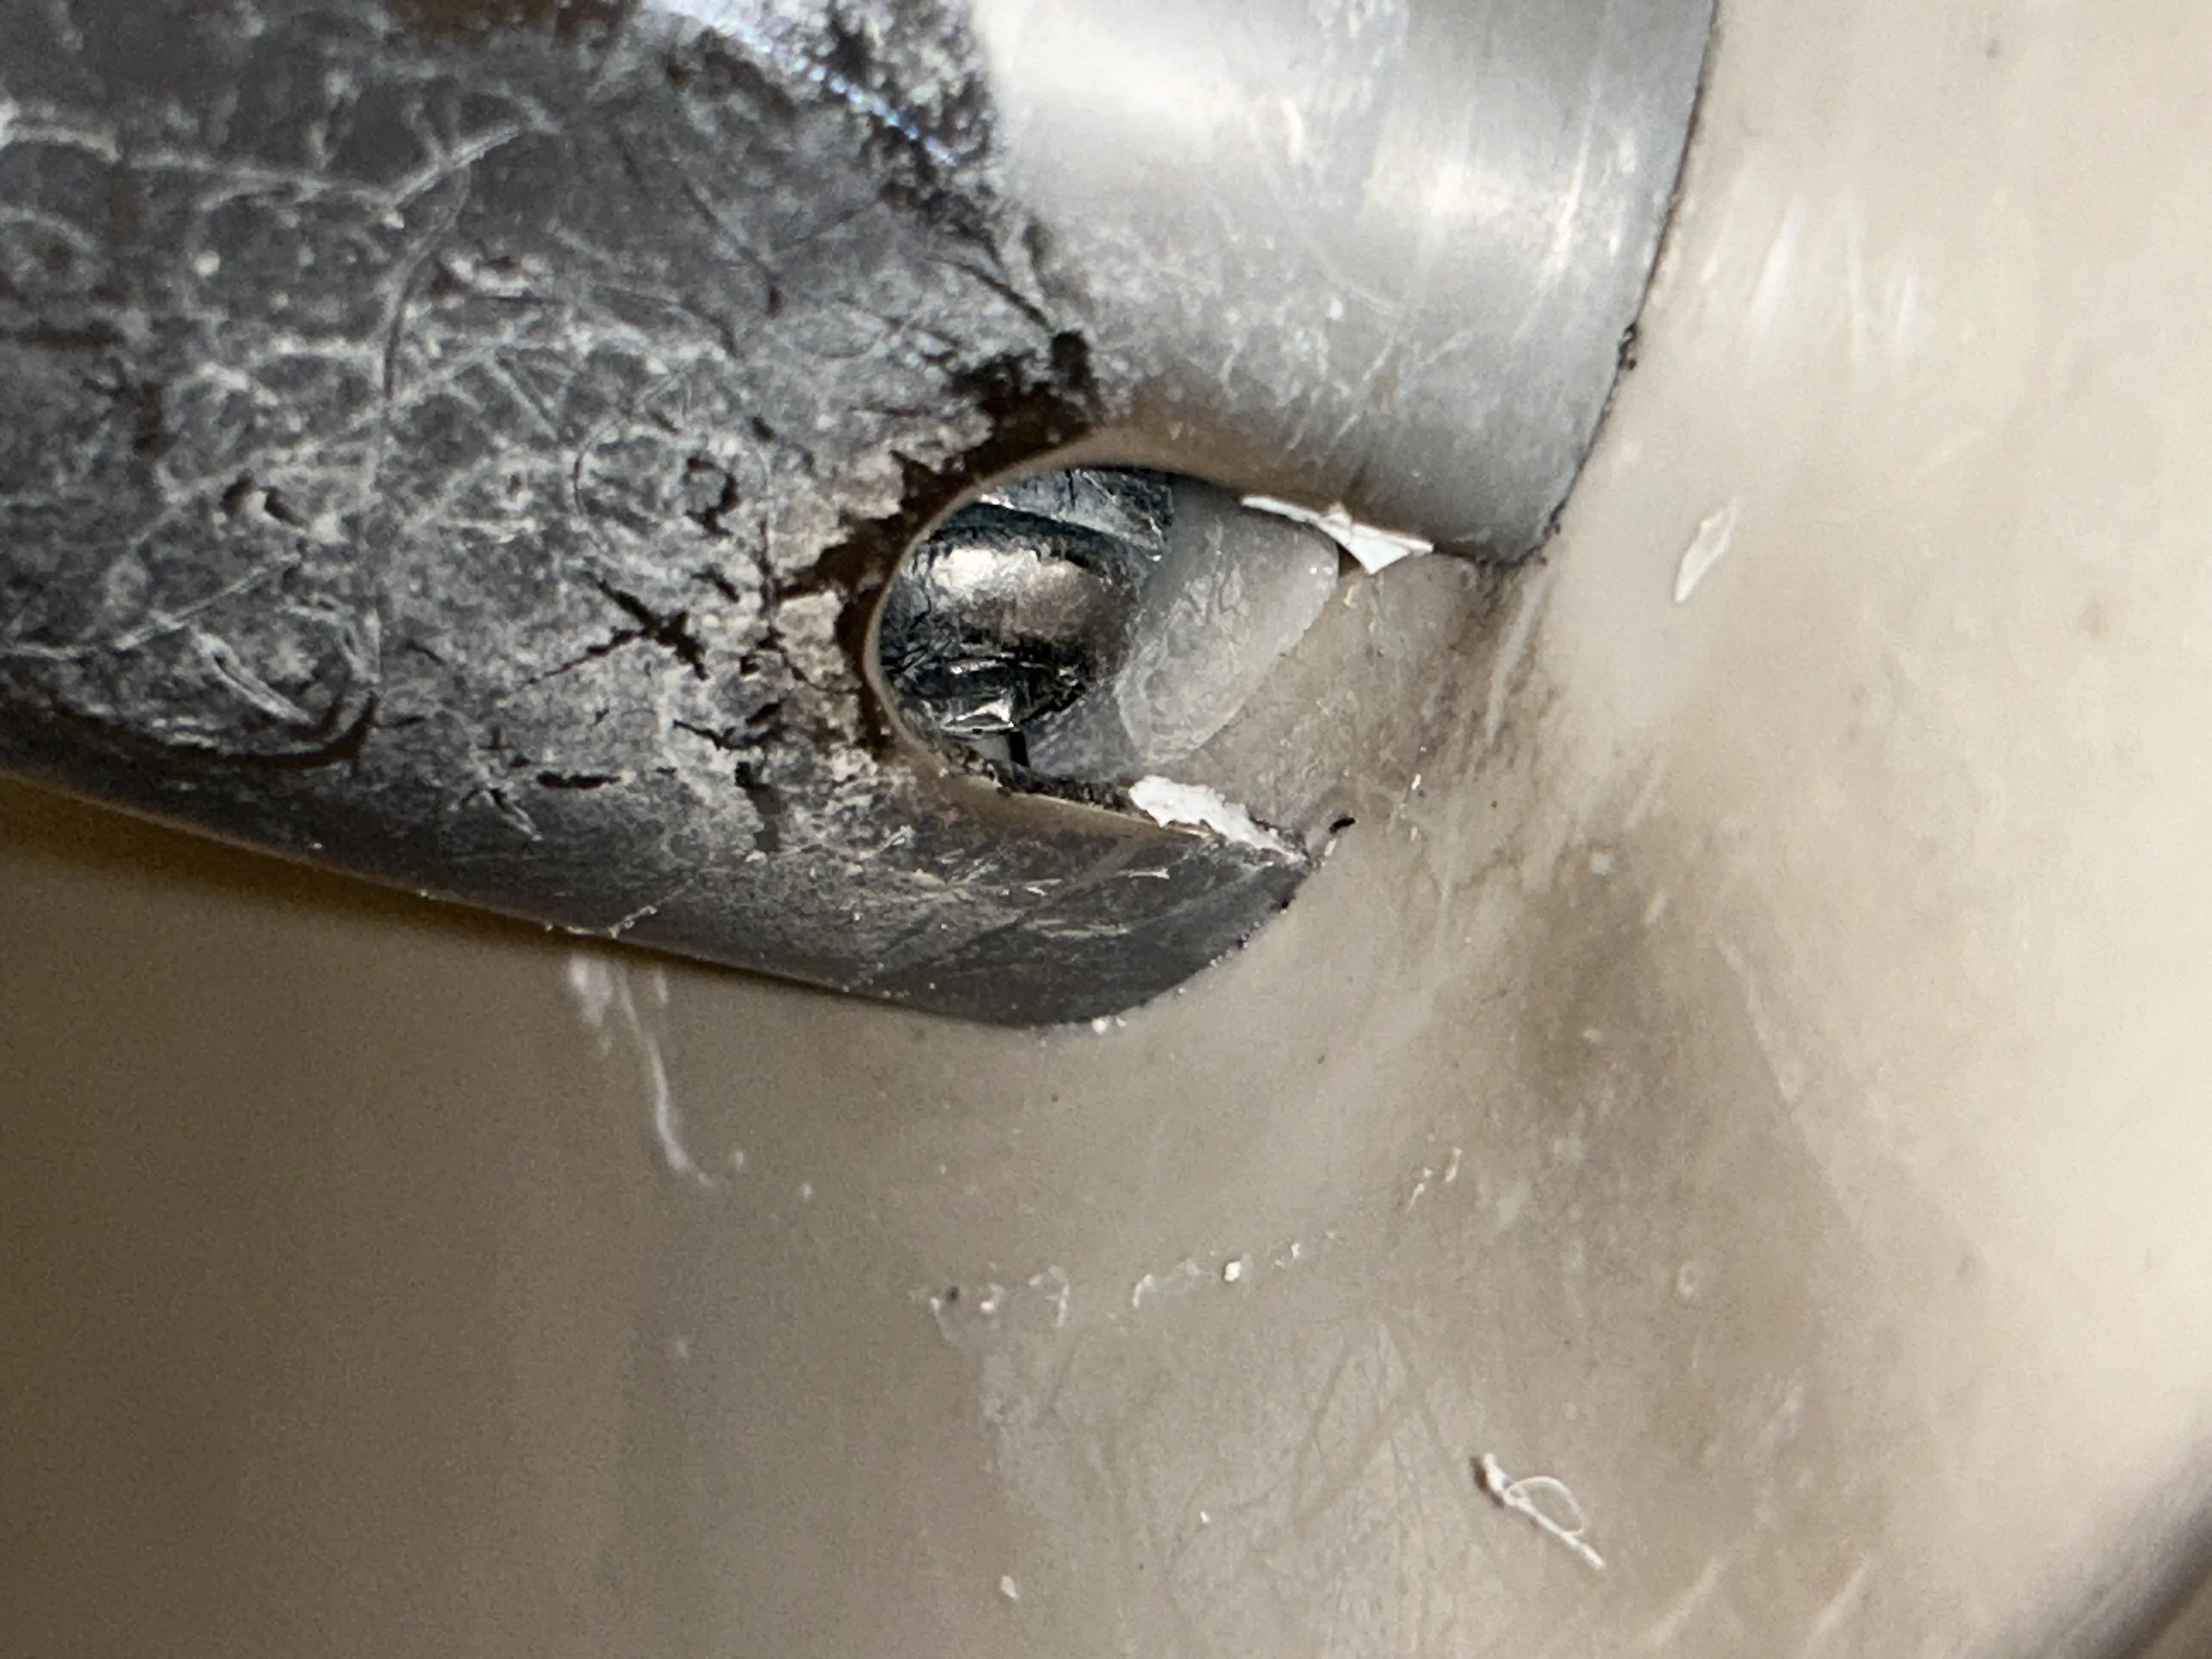
Slip-on (set screw)
- Usually has a small set screw underneath near the wall.
- Slides onto a smooth stub-out, commonly 1/2 inch nominal copper (about 5/8 inch OD).
- Often seals with an O-ring or internal seal, plus the set screw holding it in place.
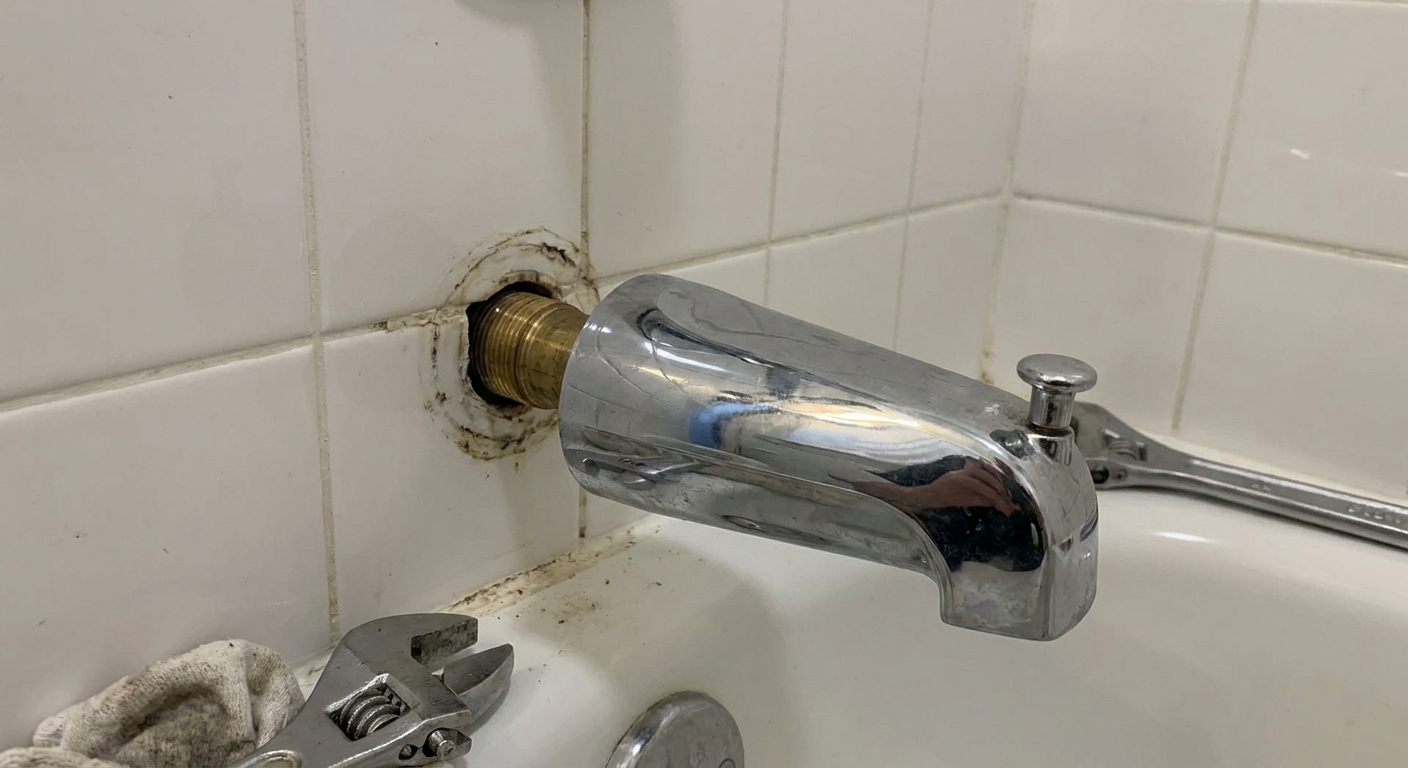
Threaded (screws on)
- No set screw underneath on most models.
- Screws onto a threaded nipple coming out of the wall (often 1/2 inch NPT).
- Seals via pipe threads using tape or pipe dope.
Quick tip: If you feel an Allen head set screw under the spout, stop turning the whole spout. Loosen the set screw first or you can kink the copper pipe in the wall.
Another quick tip: Some spouts hide the set screw under a decorative collar or have a design that makes a threaded spout look like it should pull off. When in doubt, look underneath carefully and use a flashlight.
Tools and supplies
- Allen key set (commonly 3/32 inch or 1/8 inch for set screws)
- Phillips and flathead screwdriver
- Adjustable wrench or channel-lock pliers
- Rag and an old toothbrush
- White vinegar or a limescale remover
- PTFE thread tape (for threaded spouts)
- Silicone caulk for bathrooms (optional, for the top edge)
- Replacement tub spout (match connection type and the required stub-out or nipple length)
Finish protection: If you use pliers on a chrome spout, wrap it with a rag first to avoid tooth marks.
Common causes and fixes
1) Leak from the wall behind the spout
This is the one I take seriously. Water can run behind the tub and soak framing long before you notice.
- Slip-on spout: The spout may be loose, an internal seal may be worn, or the stub-out may be scratched or corroded where the seal rides. Another common issue is stub-out length. Many slip-on spouts need the copper to stick out a specific distance, and too short or too long can prevent a good seal or leave a gap.
- Threaded spout: The spout may have backed off slightly, the nipple may be the wrong length, or the threads were installed dry and are weeping.
Fix: Remove the spout, clean the sealing area, then reinstall it correctly. Replace the spout if it is cracked, the sealing surface is chewed up, or the diverter is on its last legs.
Caulk note: Caulk can help shed splash water, but it does not solve a leaking connection. Fix the connection first, then caulk the top and sides if you want a cleaner finish.
2) Drip from the end when the water is off
Most of the time, a slow drip from the spout opening after shutoff points back to the tub valve. Before you go down that road, here are two quick spout-related checks:
- Check for a cracked spout body: Rare, but it happens, especially if someone used the spout as a step or handle.
- Check for blockage at the outlet: Some models have a small screen or insert that can crust up. Heavy scale can also narrow the outlet and hold water. A little draining after shutoff is normal. If it keeps dripping steadily long after shutoff, the valve is usually the issue.
Fix: Clean scale and any screen or insert (if your model has one), then monitor. If it continues to drip consistently, plan on investigating the valve next.
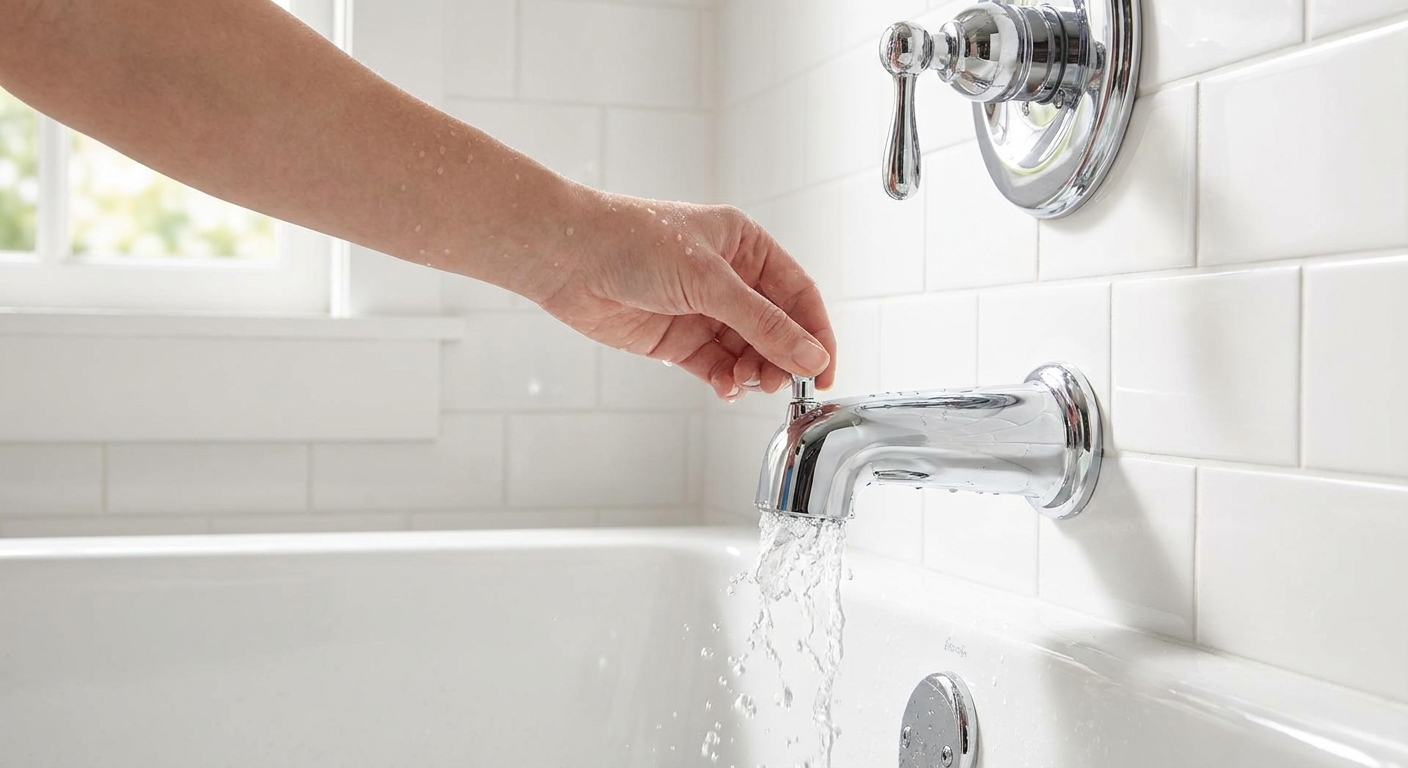
3) Diverter problems
If the tub spout has a pull-up diverter and you get water to the shower head when the diverter is down, the diverter gate inside the spout is often worn or mineral-crusted. If your tub spout outlet is restricted, that can also push water upward due to backpressure.
- Quick try: Soak the spout outlet area in vinegar and work the diverter up and down.
- Reliable fix: Replace the tub spout. On most models, the diverter is not worth rebuilding.
4) Seal wear on slip-on spouts
Slip-on spouts vary. Many use one or more internal O-rings, while others rely more on a close slip fit with an internal seal and the set screw holding everything tight. If the spout wobbles, leaks at the wall, or slips out of alignment, the internal seal may be worn or the stub-out may be the wrong length.
Reality check: Some spouts let you access and replace an O-ring. Many do not. If you have the spout off already and it is more than a few years old, I generally replace the whole spout. It is cheap peace of mind.
Remove a slip-on spout
- Turn off the water to the bathroom if possible. At minimum, make sure the tub handle is off and no one will turn it on while you work.
- Plug the drain so the set screw cannot fall in.
- Look underneath for the small set screw near the wall.
- Loosen the set screw with the correct Allen key. You usually do not need to remove it completely.
- Pull the spout straight off. If it is stuck, wiggle gently. Avoid twisting hard. Twisting can stress the copper stub-out.
- Inspect the stub-out: it should be smooth, round, and not kinked. Clean off mineral buildup with vinegar and a rag.
If it will not budge: Confirm the set screw is not still biting into the pipe. If it is corroded, a little penetrating oil and patience beats brute force.
Remove a threaded spout
- Protect the finish with a rag.
- Turn the spout counterclockwise by hand. If it is tight, use a wrench or pliers over the rag and apply steady pressure.
- Inspect the nipple coming out of the wall. It should feel solid. If it spins, stop. You do not want to loosen plumbing inside the wall.
- Clean old tape or paste from the threads.
Pro tip: The nipple length matters. If the new spout bottoms out against the wall before it gets tight, or it tightens while still leaving a gap, you may need a different length nipple. Many leaks start right there.
Install a new tub spout
Install a slip-on spout
- Dry-fit first. Slide it on and confirm it sits flush to the wall and the diverter is oriented correctly.
- Confirm stub-out length against the spout instructions. Too short or too long is a common reason for leaks and gaps.
- Align the spout straight and push it fully onto the pipe.
- Tighten the set screw snugly. Do not crank it like a lug nut. Over-tightening can deform the pipe.
- Test for leaks with the water on, watching the wall connection closely.
Install a threaded spout
- Wrap thread tape clockwise 3 to 6 wraps, or apply a thin coat of pipe dope rated for potable water.
- Screw the spout on by hand until snug and aligned.
- Finish tightening gently with a rag-protected wrench if needed. Stop once it is snug and correctly oriented.
- Test with water running, then check again after a few minutes.
Caulk or not?
I usually run a small bead of silicone along the top and sides only, leaving the bottom uncaulked. That way, if water ever does get behind it, it has a way to escape and show itself instead of rotting the wall quietly.
Repair vs replace
- Replace the spout if the diverter is unreliable, the spout is pitted or cracked, the connection is sloppy, or you already have it off and it is older.
- Re-seat and reseal if the spout is in good shape and the leak is clearly from a loose set screw, minor mineral buildup, stub-out length mismatch you can correct, or poor thread sealing.
Most tub spouts are inexpensive compared to water damage. If you are on the fence and the finish does not need to match a fancy trim kit, replacement is often the most stress-free path.
When it is not the spout
If the leak is strictly a drip out of the opening that continues long after shutoff, and you see no water at the wall connection, the spout is usually just the messenger. The valve upstream is letting water pass.
For this page, the key takeaway is simple: fix leaks at the wall and diverter issues at the spout. If the spout is dry at the wall but keeps dripping from the end, plan for a valve diagnosis next.
When to call a plumber
- The threaded nipple spins or feels loose in the wall.
- You suspect a cracked solder joint, cracked pipe, or ongoing moisture behind the wall.
- You cannot shut the water off, or the shutoff does not fully work.
- You reinstalled the spout correctly and it still leaks at the wall.
Quick checklist
- Identify the connection: slip-on (set screw) or threaded (screws on).
- Leak at wall while running: check fit, internal seal, tape or dope, and correct stub-out or nipple length.
- Shower trickle with diverter down: clean mineral buildup, check for a restricted tub spout, usually replace spout.
- Drip from end long after shutoff: likely valve issue, not the spout.
- After any change: run water and check with a dry paper towel around the wall connection.
The 30-Second Cheat Sheet
Essential takeaways for: Leaking Bathtub Spout: Fix or Replace
Diagnose in 30 seconds
- Water behind spout at the wall: usually a loose spout, bad seal, incorrect stub-out length, or thread issue. Re-seat or replace the spout and address the connection.
- Water from spout opening after shutoff: often the tub valve is leaking internally. The spout is rarely the root cause unless cracked or holding water due to blockage. Residual draining usually stops fairly quickly.
- Shower head trickles when diverter is down: commonly a worn or mineral-crusted diverter in the spout. Also possible: a restricted tub spout or wrong spout type causing backpressure. Replacing the spout is usually the best fix.
Slip-on vs threaded
- Slip-on: small set screw underneath near the wall, slides onto a smooth stub-out (often 1/2 inch nominal copper, which is about 5/8 inch OD). Often uses an O-ring or internal seal.
- Threaded: no set screw, screws onto a threaded nipple, needs PTFE tape or pipe dope.
Minimal tool list
- Allen keys (for slip-on), adjustable wrench or pliers, rag, vinegar, PTFE tape, flashlight, optional silicone caulk
Safe replacement steps
- Turn water off if possible, plug the tub drain, and protect the finish with a rag.
- Slip-on: loosen set screw, pull straight off, clean stub-out, slide new spout on fully, tighten set screw snug.
- Threaded: unscrew spout, clean threads, tape or dope, screw new spout on and align.
- Test for leaks at the wall connection with water running.
Caulk tip
Caulk the top and sides only. Leave the bottom open so hidden leaks have a way to show themselves. Remember: caulk is not the primary fix for a leaking connection.
💡 Tip: Scroll up to read the full article for detailed, step-by-step instructions.
⬆️ Back to topAbout Marcus Vance
Content Creator @ Grit & Home
Marcus Vance is a lifelong DIY enthusiast and self-taught home renovator who has spent the last decade transforming a dilapidated 1970s ranch into his family's dream home. He specializes in budget-friendly carpentry, room-by-room renovations, and demystifying power tools for beginners. Through his writing, Marcus shares practical tutorials and hard-learned lessons to help homeowners tackle their own projects with confidence.