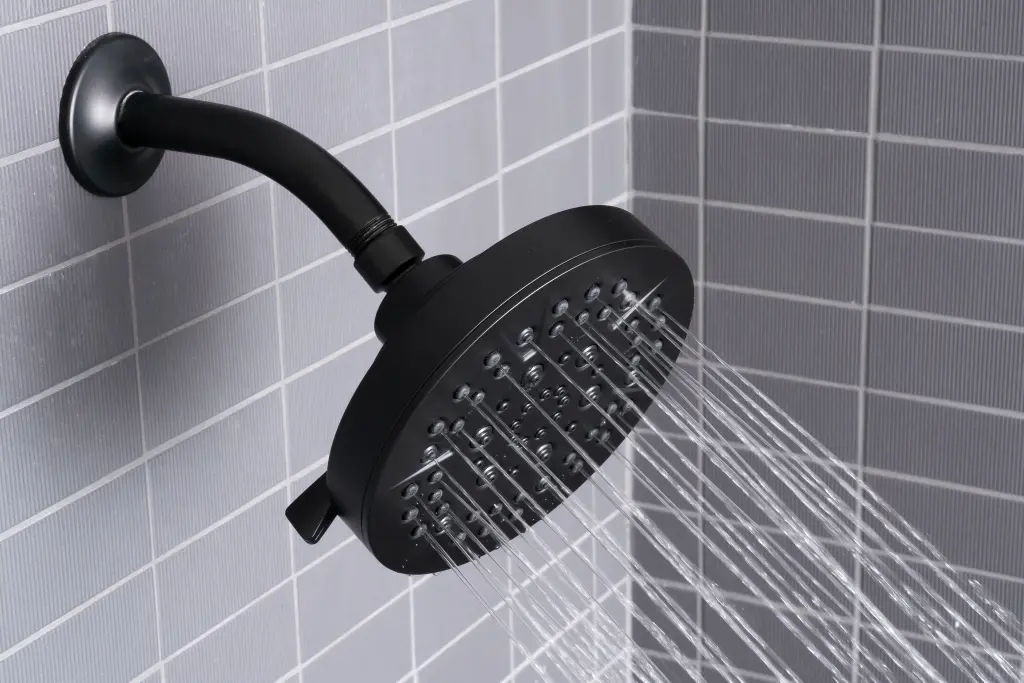
When the kitchen sink blasts like a fire hose but your shower feels like a sad garden mister, that is actually good news. It usually means you do not have a whole-house pressure problem. You likely have a shower-specific restriction, and most of the time you can find it with a few basic checks and a little patience.
I have lived this one in our 1970s ranch. The first time it happened, I was ready to blame the well tank and half the plumbing system. Turned out it was a partially clogged showerhead screen and some mineral grit in the cartridge. Two small fixes, big difference.
Quick safety notes
- Shut off water at the shower stops (if you have them) or at the main before pulling a cartridge.
- Protect the drain with a rag so tiny screws and clips do not disappear.
- Take a photo of the handle and trim as you disassemble. You will thank yourself later.
- If you are in a multi-family building, ask before shutting off anything that affects neighbors.
Step 1: Confirm it is local
Homeowners often say “pressure” when the real issue is flow. Pressure is the push. Flow is how much water actually comes out. A shower can feel weak if the flow is limited, even if the house pressure is fine.
Two fast checks
- Test other bathroom fixtures. If the sink in the same bathroom is strong, the issue is very likely in the shower system itself, not your whole house. (Not always, but it is a strong clue.)
- Time the flow. Showers are spray patterns, not a clean stream, so do this: hold a 1-gallon bucket where it catches most of the spray, collect for 15 seconds, then multiply by 4 to estimate gallons per minute. Many newer showerheads are designed around 1.8 to 2.0 GPM (sometimes lower depending on model and local rules). If you are nowhere close, you have a restriction or valve issue.
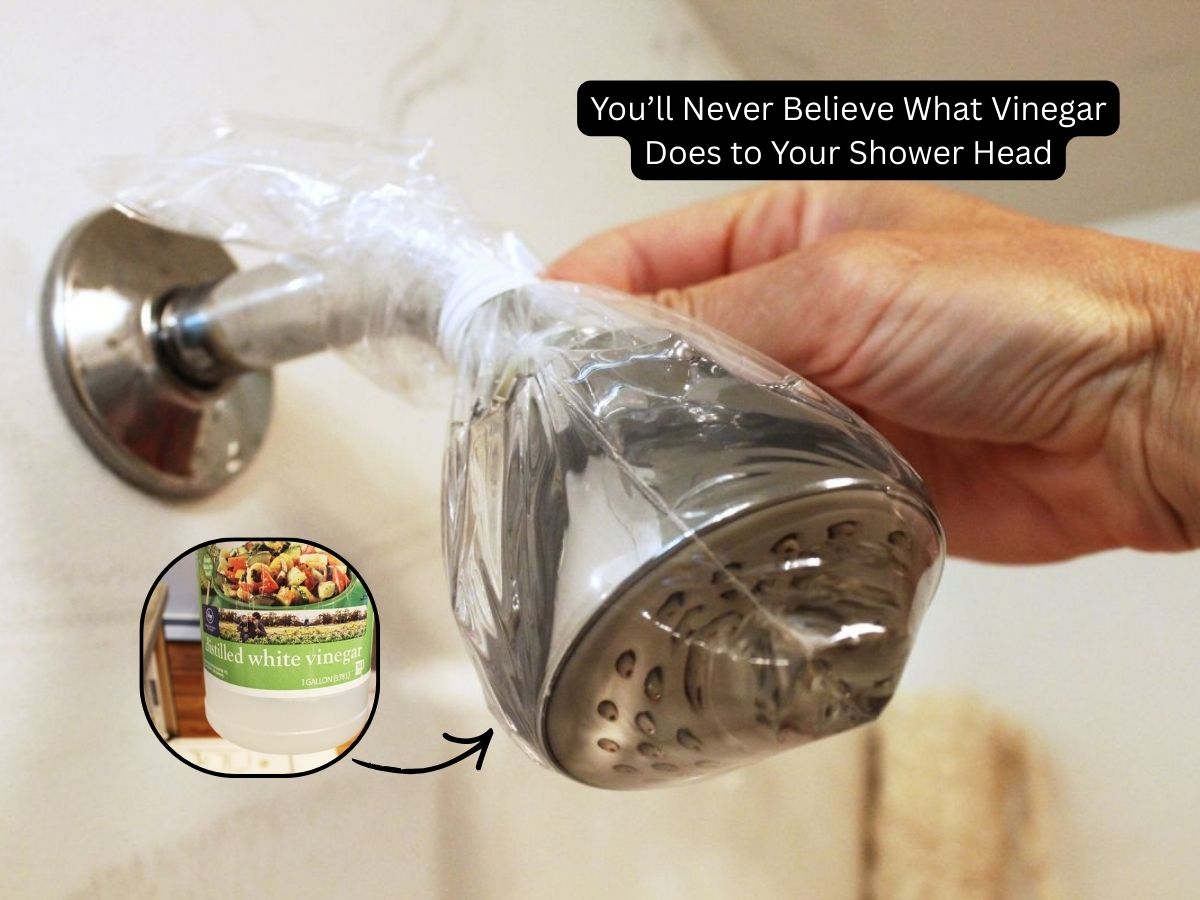
Step 2: Clean the showerhead
If you do one thing first, do this. Showerheads collect mineral scale, sand, rust flakes, and bits of old washer. Any of that can choke flow.
Clean the showerhead and screen
- Unscrew the showerhead. Use an adjustable wrench with a rag to protect the finish.
- Look for a small mesh screen at the inlet. Rinse and brush it clean.
- Soak the showerhead in white vinegar for 30 to 60 minutes (longer if you have hard water). An old bowl or a zip-top bag works.
- Rinse thoroughly and reassemble with fresh plumber’s tape on the threads.
Step 3: Test with the showerhead off
This is the fastest “fork in the road” test, and it can save you from tearing into the valve if you do not have to.
- Remove the showerhead.
- Turn the shower on briefly and watch the water coming from the shower arm.
- If flow is strong at the arm, your restriction is in the showerhead or its inlet parts (screen, restrictor).
- If flow is weak at the arm, the restriction is upstream (valve, cartridge, stops, or the pipe run feeding the arm).
Quick caution: Aim the spray into the tub and keep it brief so you do not splash water into the wall opening or onto drywall.
Step 4: Check the flow restrictor
Many modern showerheads have a small plastic insert that limits flow to meet water-efficiency standards. Sometimes that restrictor gets clogged with grit, or it simply feels too stingy for your setup.
What to do
- With the showerhead off, look inside the inlet for a plastic ring or insert.
- Try cleaning it first. A toothpick and a rinse often restores normal performance.
- If you choose to remove it, know your local code and water-use rules. In some areas, removing a restrictor is not allowed. Also, removing it can make hot water run out faster.
Budget tip: If your showerhead is old and crusty, replacement is often cheaper than fighting it. Just make sure you are not masking a deeper valve problem.
Step 5: Hot, cold, or both?
This is my favorite diagnostic question because it narrows things fast.
- Low on both hot and cold: likely showerhead clog, flow restrictor, or a partially blocked cartridge or valve body.
- Low on hot only: possible hot-side blockage in the cartridge, debris in the hot inlet, or a hot-side shutoff that is not fully open.
- Low on cold only: same idea, just on the cold side.
- Pulsing, surging, or temperature swings: points toward the pressure-balance spool, a failing cartridge, or debris affecting the balancing mechanism.
Step 6: Check valve stops
Some single-handle shower valves have little screwdriver stops behind the trim plate. If they are partially closed, your shower can be weak while everything else in the house is fine. Other valves have no integral stops at all, so do not panic if you do not see them.
How to check (if your valve has stops)
- Remove the handle (usually an Allen screw).
- Remove the trim plate carefully.
- Look for two small stop screws, one hot and one cold.
- Turn them fully open (counterclockwise on most models) and test again.

Step 7: Cartridge problems
If the showerhead is clean, the restrictor is clear, and the stops (if present) are open, the next suspect is the cartridge inside the shower valve. Cartridges wear out. They also trap debris after a water shutoff, a water heater swap, pipe work, or city main flushing.
Signs the cartridge is the problem
- Low flow even with the showerhead removed (water from the shower arm is weak).
- Handle feels stiff or gritty.
- Temperature control is touchy.
- Flow is worse after plumbing work or a recent shutoff.
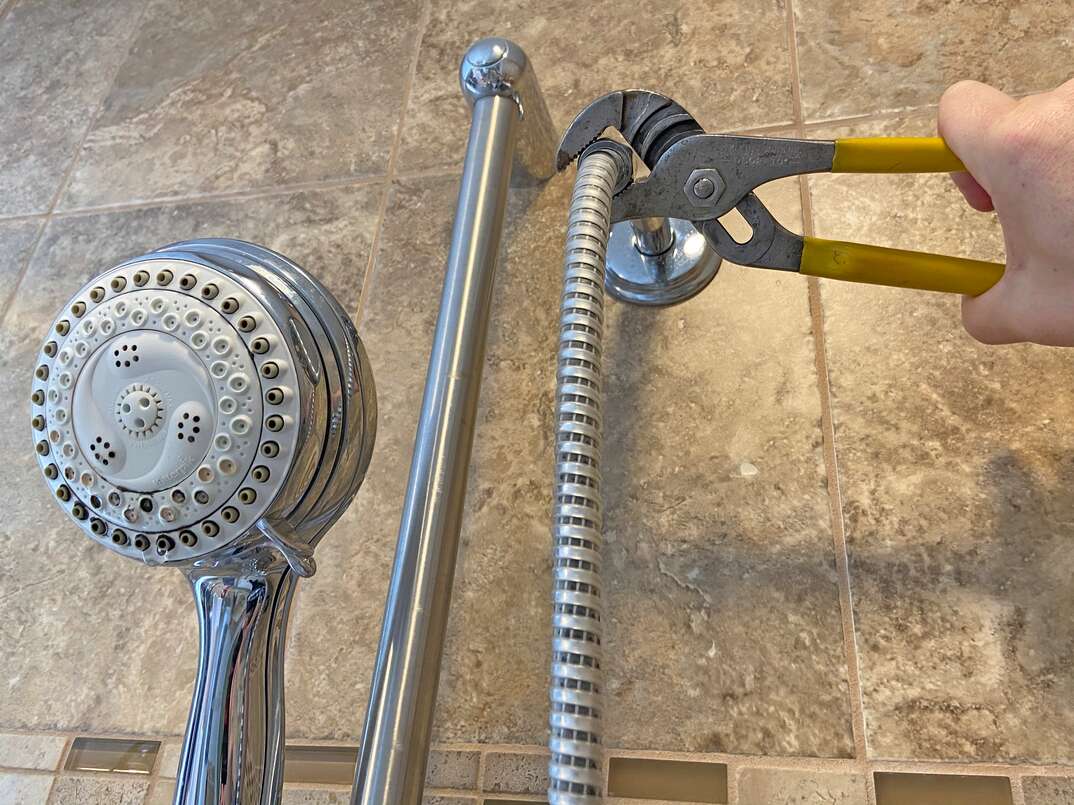
Basic cartridge swap overview
Exact steps depend on your brand (Moen, Delta, Kohler, etc.). If you can find a model number, pull up the manufacturer service sheet before you start. It is worth five minutes of searching.
- Shut off water to the valve.
- Remove handle and trim.
- Pull the retaining clip or nut.
- Extract the cartridge (cartridge pullers are worth it if it is stuck).
- Flush the valve body briefly to clear grit, but do it carefully. Keep the cartridge out, aim flow into a bucket or use an old towel to control splash, and avoid spraying water into the wall cavity. Follow manufacturer guidance if provided.
- Install the new cartridge with plumber’s grease on O-rings if recommended by the manufacturer.
- Reassemble and test.
Confession: The first time I did this, I skipped the “flush the valve body” step. I installed a brand-new cartridge and immediately jammed it with leftover grit. Take the extra two minutes and flush it.
Step 8: Pressure-balance issues
Many showers use a pressure-balance valve to prevent scalding when someone flushes a toilet. If the balancing spool sticks or the internal mechanism gets debris, you can see low flow or wild temperature swings.
What it looks like
- You turn the handle up and flow barely increases.
- Water goes lukewarm when another faucet runs.
- Flow seems capped no matter what you do.
Fix options
- Clean or replace the cartridge that contains the balancing function (common on single-handle valves).
- On some valves, the pressure-balance spool is a separate service part.
- If your home has a separate thermostatic mixing valve (sometimes near the water heater), that typically affects multiple fixtures. But if the shower is the only one acting up, focus on the shower valve first.
Step 9: Arm or pipe blockage
In older homes or hard-water areas, the short run from the valve up to the shower arm can collect scale. Galvanized steel pipe is especially guilty, but I have also pulled surprising chunks out of copper lines after old shutoffs were operated.
If the shower arm flow is weak
- Unscrew the shower arm from the wall (use a strap wrench or padded wrench).
- Inspect for debris at the opening and rinse it out.
- If you see heavy scale inside the arm, replace it. They are inexpensive.
Step 10: Leak or diverter
Sometimes the shower pressure is low because water is going somewhere else.
Common diversion points
- Tub spout diverter: If you have a tub and shower combo, a worn diverter can bleed water out of the tub spout while the shower is on. That steals flow from the showerhead.
- Behind-the-wall leak (rare): Less common, but a cracked fitting or failed connection can dump water into the wall cavity. Watch for damp drywall, soft baseboards, musty smells, or the sound of running water when everything is “off.” If you have a water meter, a simple check is whether it shows movement when all fixtures are off.
- Spout connection detail: Some manufacturers prohibit PEX to the tub spout because it can create backpressure and cause poor diversion to the shower. This is brand and model dependent, so check the valve and spout instructions.
Simple diverter test: Run the shower and look down at the tub spout. If water is pouring out there too, fix or replace the diverter spout first.
When to call a plumber
I am all for sweat equity, but there are a few moments where a pro saves money in the long run.
- You cannot identify the valve brand and do not want to risk forcing the wrong parts.
- The cartridge is seized and you are close to cracking the valve body.
- You suspect a behind-the-wall leak or you see water damage.
- Your shower is fed by old galvanized pipe and multiple sections appear restricted.
- Valve replacement is needed and you are not comfortable soldering or working with PEX in tight spaces.
Local issue vs whole-house
This guide is for the super common scenario: the shower is weak, but the rest of the house is fine. That usually means the fix lives in one of these places:
- Showerhead clog or flow restrictor
- Valve stops not fully open (if your valve has them)
- Cartridge or pressure-balance mechanism
- Restriction in the shower arm or riser
- Diverter bleeding flow
- Localized leak
If every fixture in the house is weak, you are dealing with a different animal like a partially closed main valve, pressure regulator issue, well tank problem, or supply line restriction. That is a separate troubleshooting path.
Fast checklist
If you want the shortest path, run this in order:
- Remove and clean the showerhead and inlet screen.
- Check and clean the flow restrictor.
- Test flow with the showerhead removed (check the shower arm flow).
- Verify valve stops are fully open (if present).
- If still weak, replace the cartridge and flush the valve body.
- If tub/shower combo, check diverter for bleed-off.
- If arm flow is weak, inspect the shower arm and consider scale or pipe restriction.
Work from the cheap, easy stuff toward the deeper fixes. That is how I keep my own projects from ballooning into “well, I guess we are re-plumbing the bathroom” weekends.
About Marcus Vance
Content Creator @ Grit & Home
Marcus Vance is a lifelong DIY enthusiast and self-taught home renovator who has spent the last decade transforming a dilapidated 1970s ranch into his family's dream home. He specializes in budget-friendly carpentry, room-by-room renovations, and demystifying power tools for beginners. Through his writing, Marcus shares practical tutorials and hard-learned lessons to help homeowners tackle their own projects with confidence.