
🚨 In a DIY emergency or rush?
Skip the details and jump straight to our 30-second cheat sheet for the most crucial info.
The first time my microwave smelled like it was burning, I did what most of us do. I opened the door, sniffed around like that would magically identify the problem, and then ran it again “just to check.” Bad move. Most of the time, a burning smell is just old food splatter cooking itself again. But sometimes it is a real electrical overheat, and that is not something to test twice.
This guide helps you make a simple decision: clean it or stop using it. I’ll walk you through the safe cleaning steps, including the waveguide cover, then I’ll list the warning signs that point to a failing component.
First: food scorch or electrical burn
Most “burning” microwave smells fall into two buckets:
- Scorched food residue: smells like burnt popcorn, burnt sugar, stale smoke, or old grease getting hot again.
- Electrical or plastic overheat: smells sharp, chemical, or like melting plastic or hot wiring, and it is often described as “fishy” (but not always).
A quick smell check (screening only)
Do this with the microwave off and the door open. This is a screening tool, not a perfect diagnosis of internal parts:
- Sniff near the turntable area. If the smell is strongest inside the cooking cavity, you are usually dealing with residue.
- Sniff around the top vent area (especially on over-the-range units). If the smell is strongest at the vent or back, be more cautious. That can point to something overheating behind the panel.
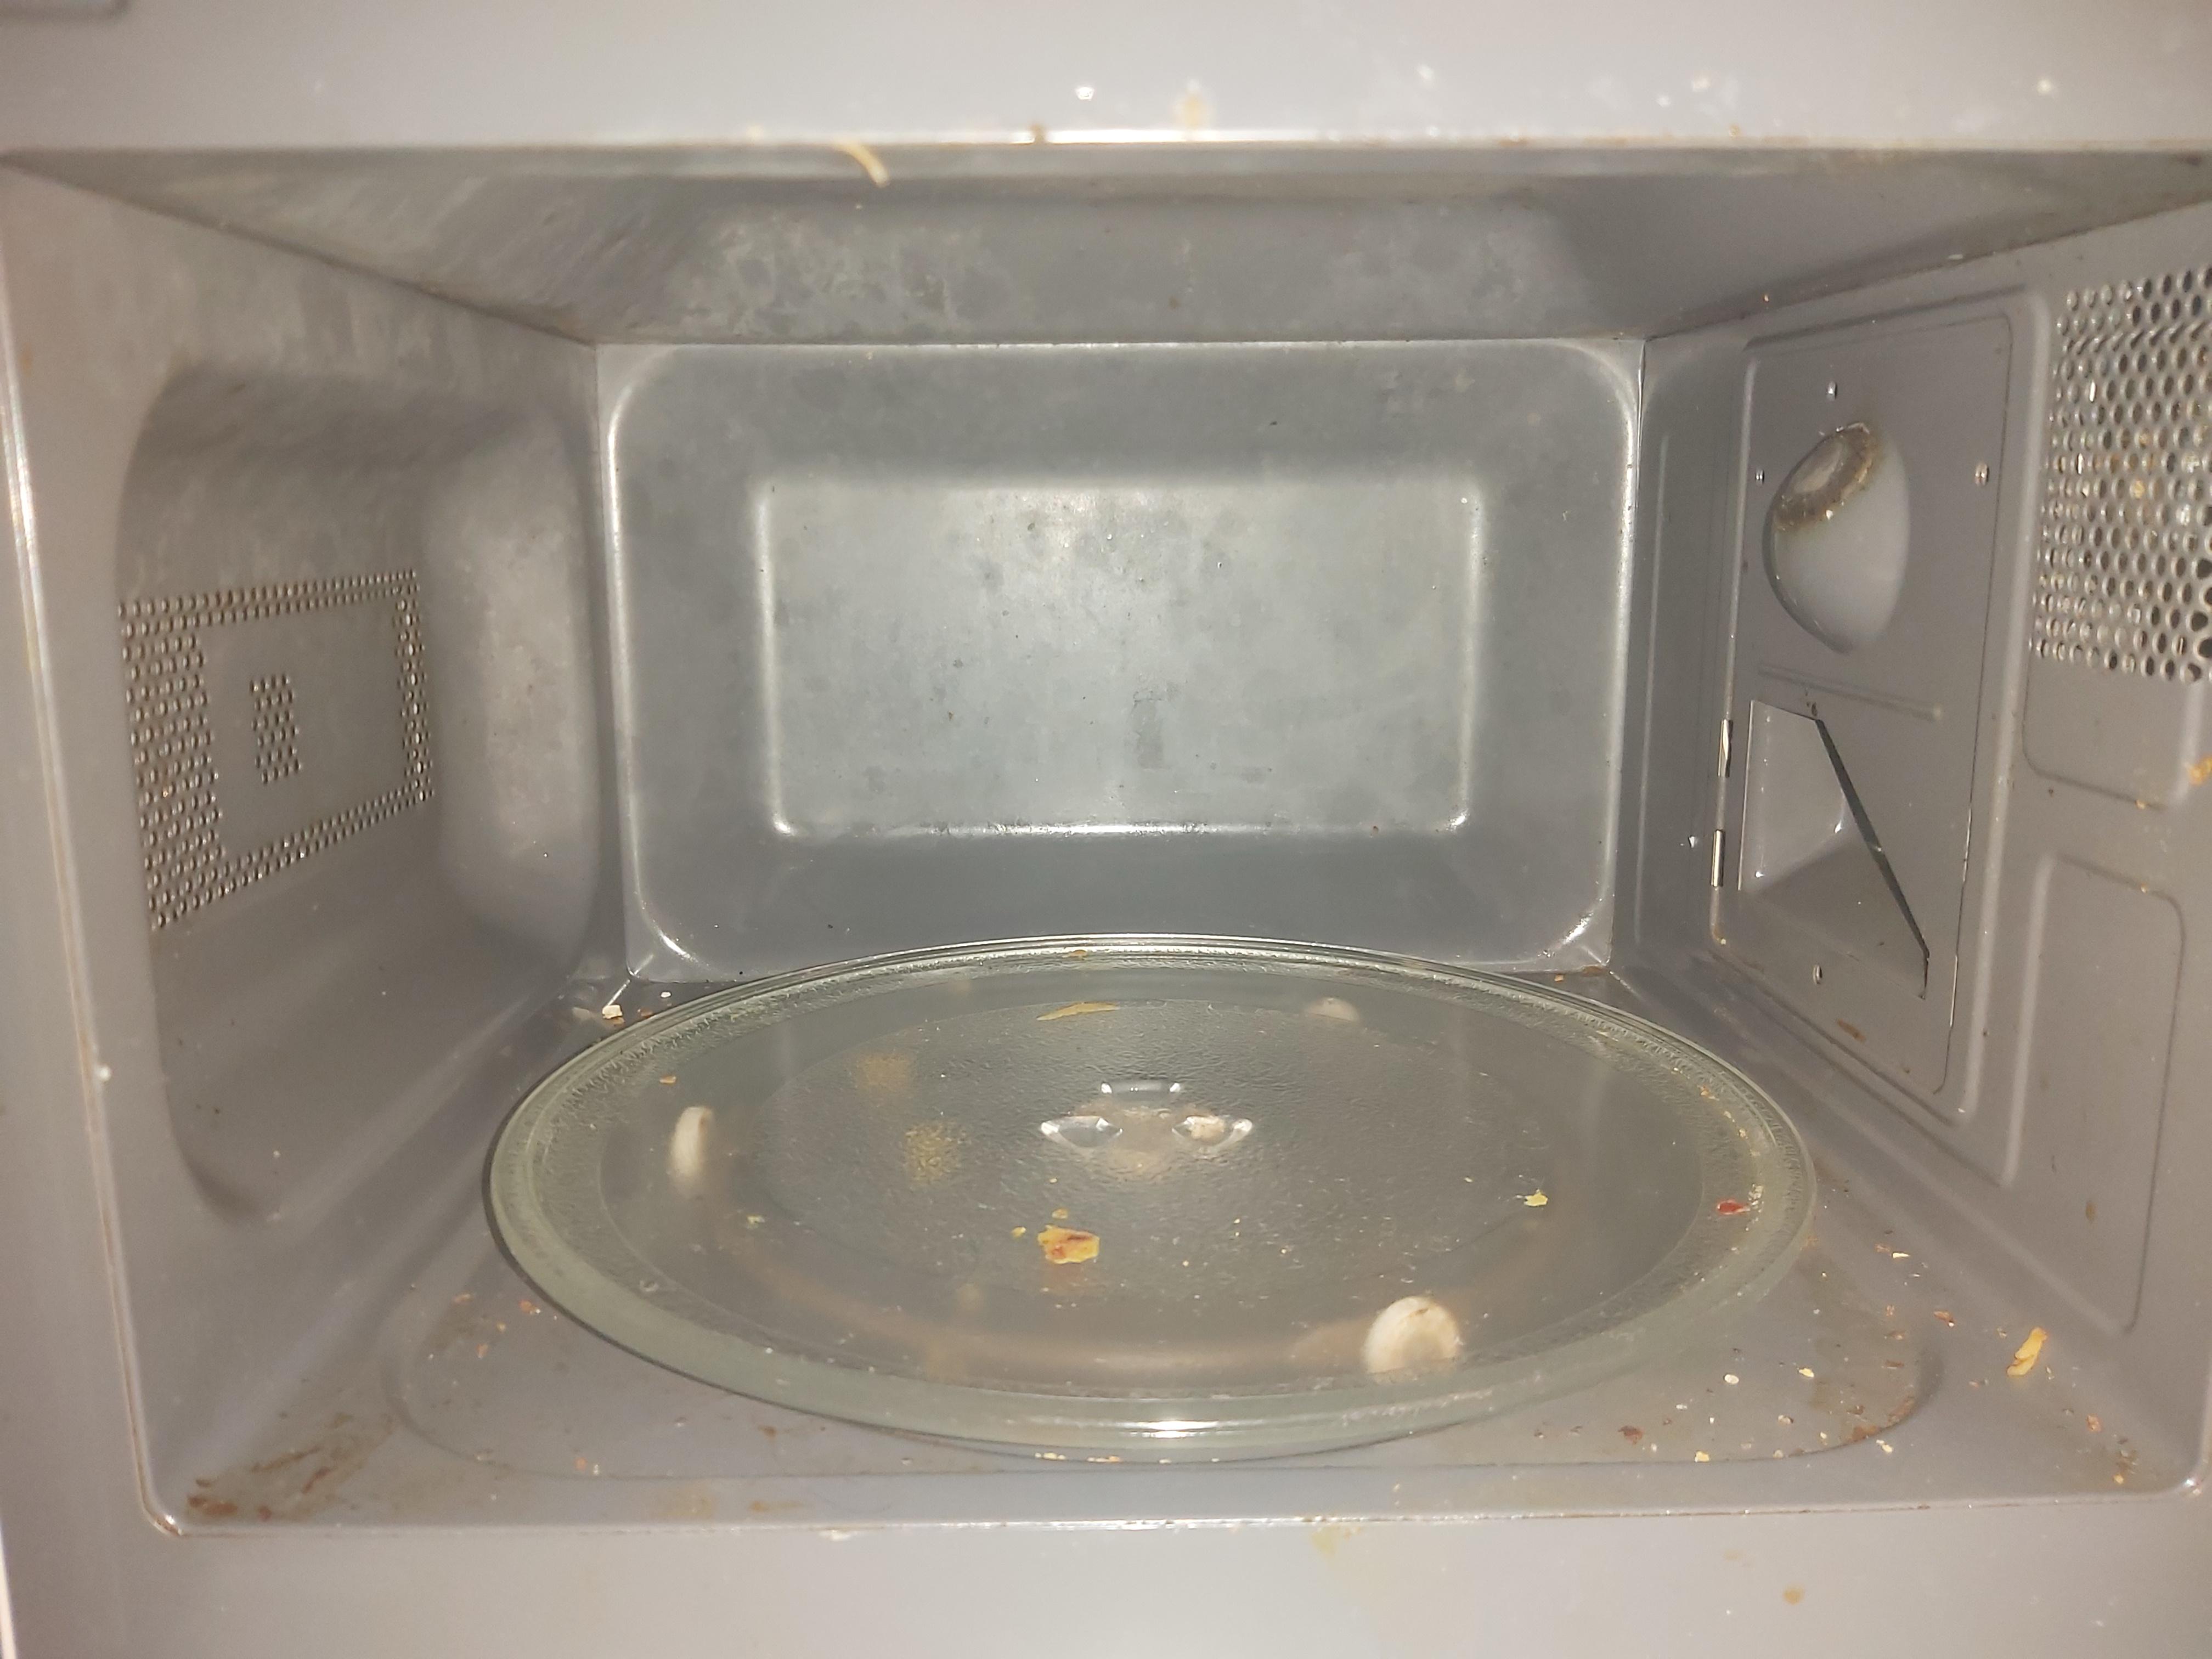
- Look for obvious grime on the ceiling and a side wall. That is where splatter loves to hide and bake on.
Stop using it right away if you notice these
- Smell is strong and chemical (melting plastic, hot electronics, sharp odor)
- Smell appears within seconds of starting the microwave, even with a cup of water inside
- Smoke from vents or seams (not just steam from food)
- New smell plus unusual sounds like loud humming, struggling fan noise, or a rattly vibration that was not there before
- Brown scorch marks near the waveguide cover area or on the interior wall that keep returning right after cleaning
If any of those are true, skip to the section on electrical warning signs. Unplug the unit and plan on service or replacement.
Common harmless causes
Here are the usual non-scary culprits. They all have one thing in common: something inside is getting reheated and reburned.
1) Old splatter on the ceiling or walls
Grease mist and sauce splashes turn into a thin varnish over time. Each time you run the microwave, that film warms up and gives off a stale, burnt odor.
2) A scorched food spill under the turntable
The sneaky spot is under the glass tray and roller ring. A few drops of soup can slide down there, dry out, and burn the next time you cook.
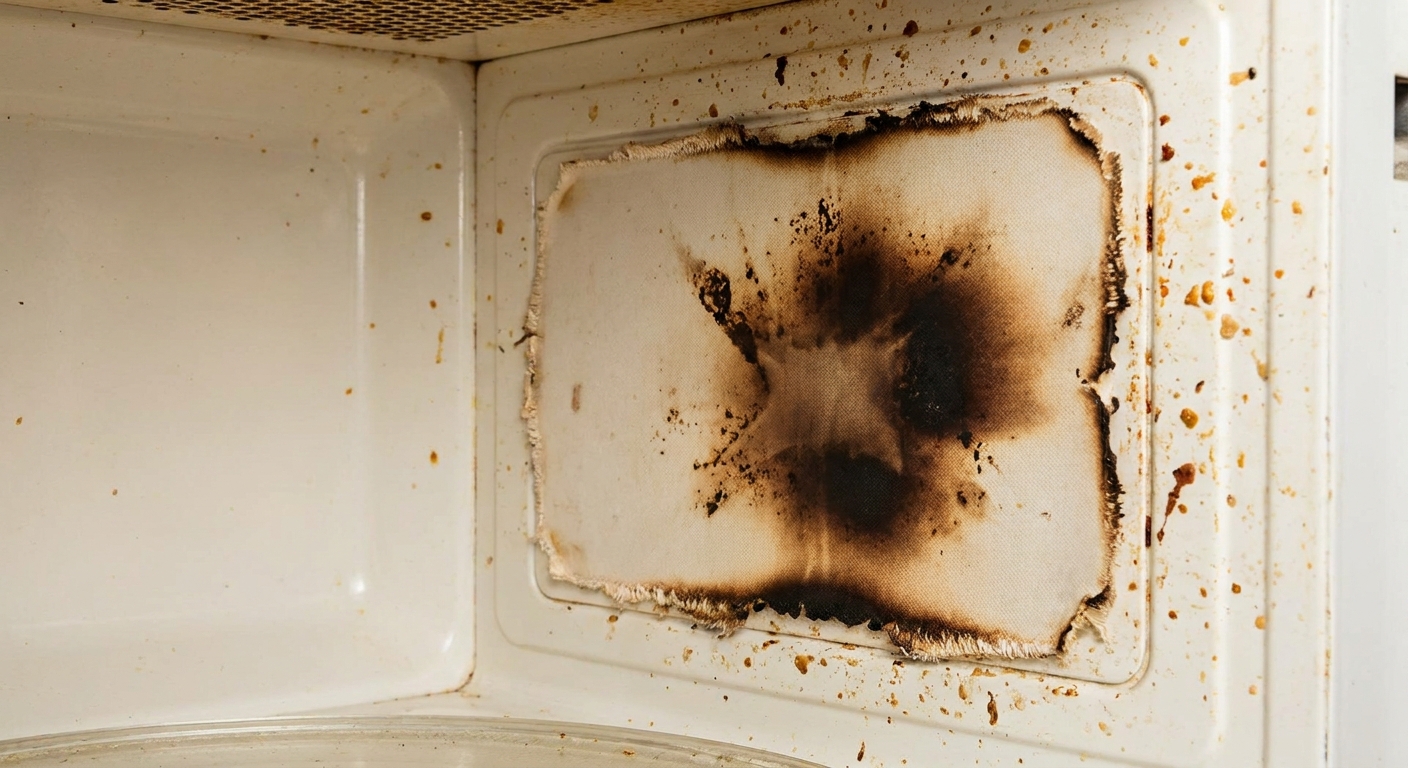
3) A dirty waveguide cover (mica sheet)
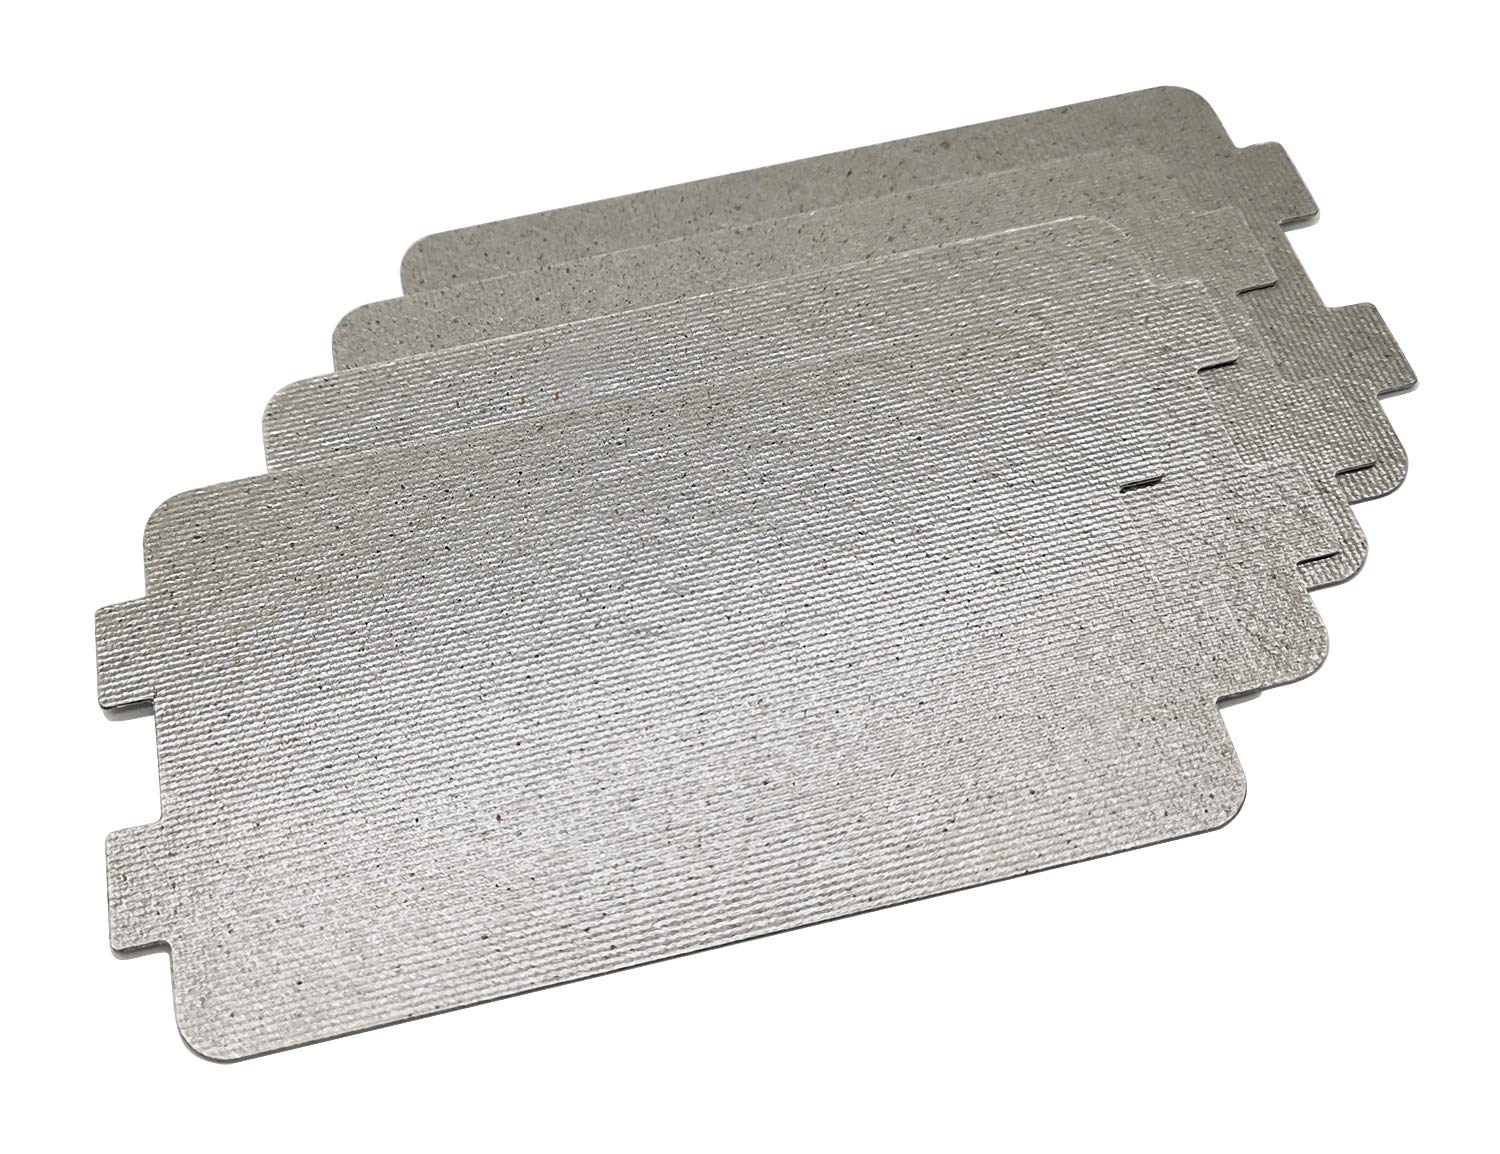
Many microwaves have a small, thin cover on an interior wall, often on a side wall. It is commonly made of mica or a similar material and protects the opening where microwaves enter the cavity. When greasy residue cakes on that cover, it can scorch and smell nasty.
Safe cleaning steps
Cleaning fixes a lot of burning smell complaints, and it is worth doing before assuming the microwave is failing. The key is to clean thoroughly and let everything dry completely.
What you need
- Dish soap
- Baking soda (optional but helpful)
- White vinegar or lemon (optional for deodorizing)
- Non-scratch sponge or microfiber cloth
- Cotton swabs for corners
- Warm water
Step 1: Unplug and remove turntable parts
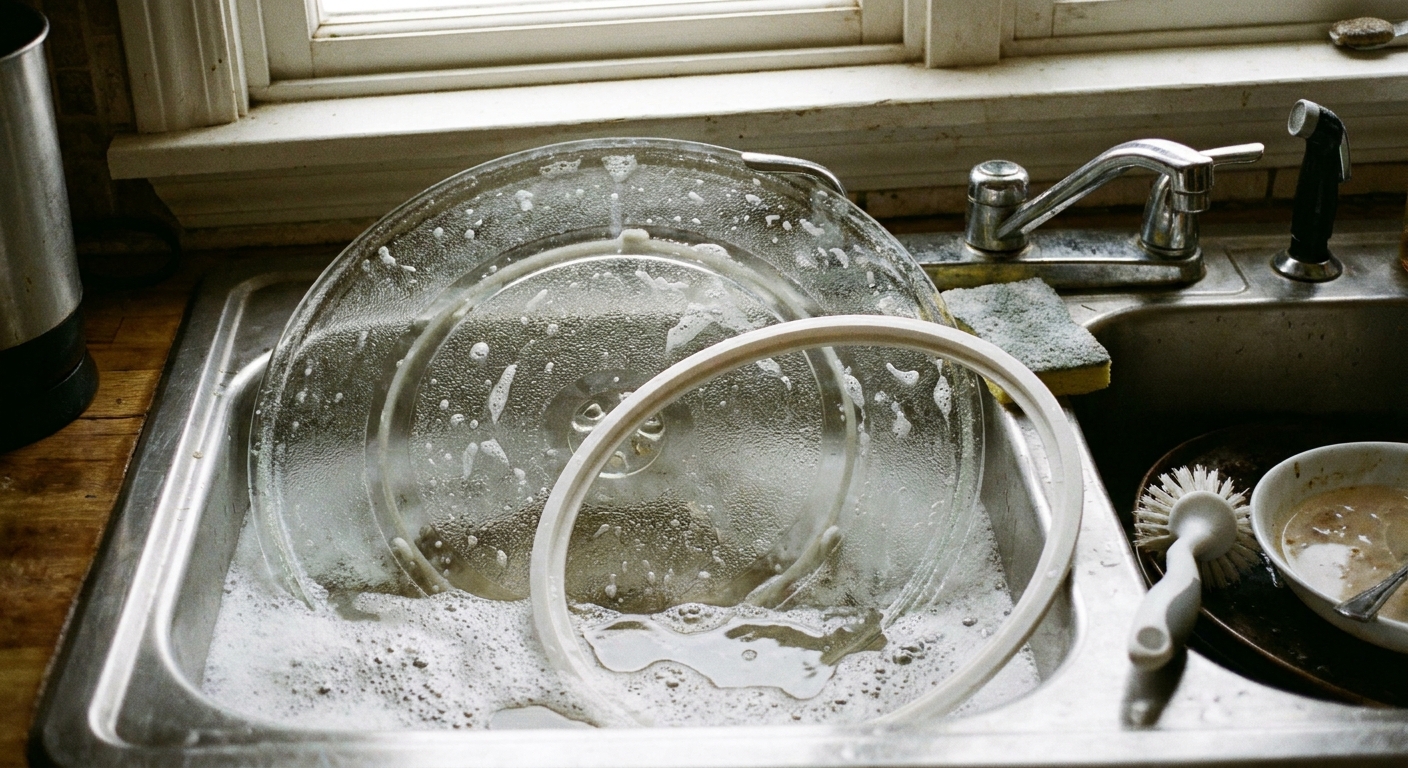
Unplug the microwave. Remove the glass tray and the roller ring. Wash them in the sink with warm soapy water. If the roller ring is greasy, scrub each wheel. Those little wheels hold smells.
Step 2: Steam to loosen the gunk
Put a microwave-safe bowl with about 1 to 2 cups of water inside. Add either:
- 2 tablespoons of white vinegar, or
- half a lemon squeezed into the water (and toss the lemon in too)
If you unplugged it, plug it back in only for this steaming step. Heat it just long enough to create plenty of steam, then leave the door closed for a few minutes so the steam can soften everything. Unplug again before you start wiping.
Safety note: Steam is hot. Open the door carefully and keep your face back.
Step 3: Wipe the cavity, especially the ceiling
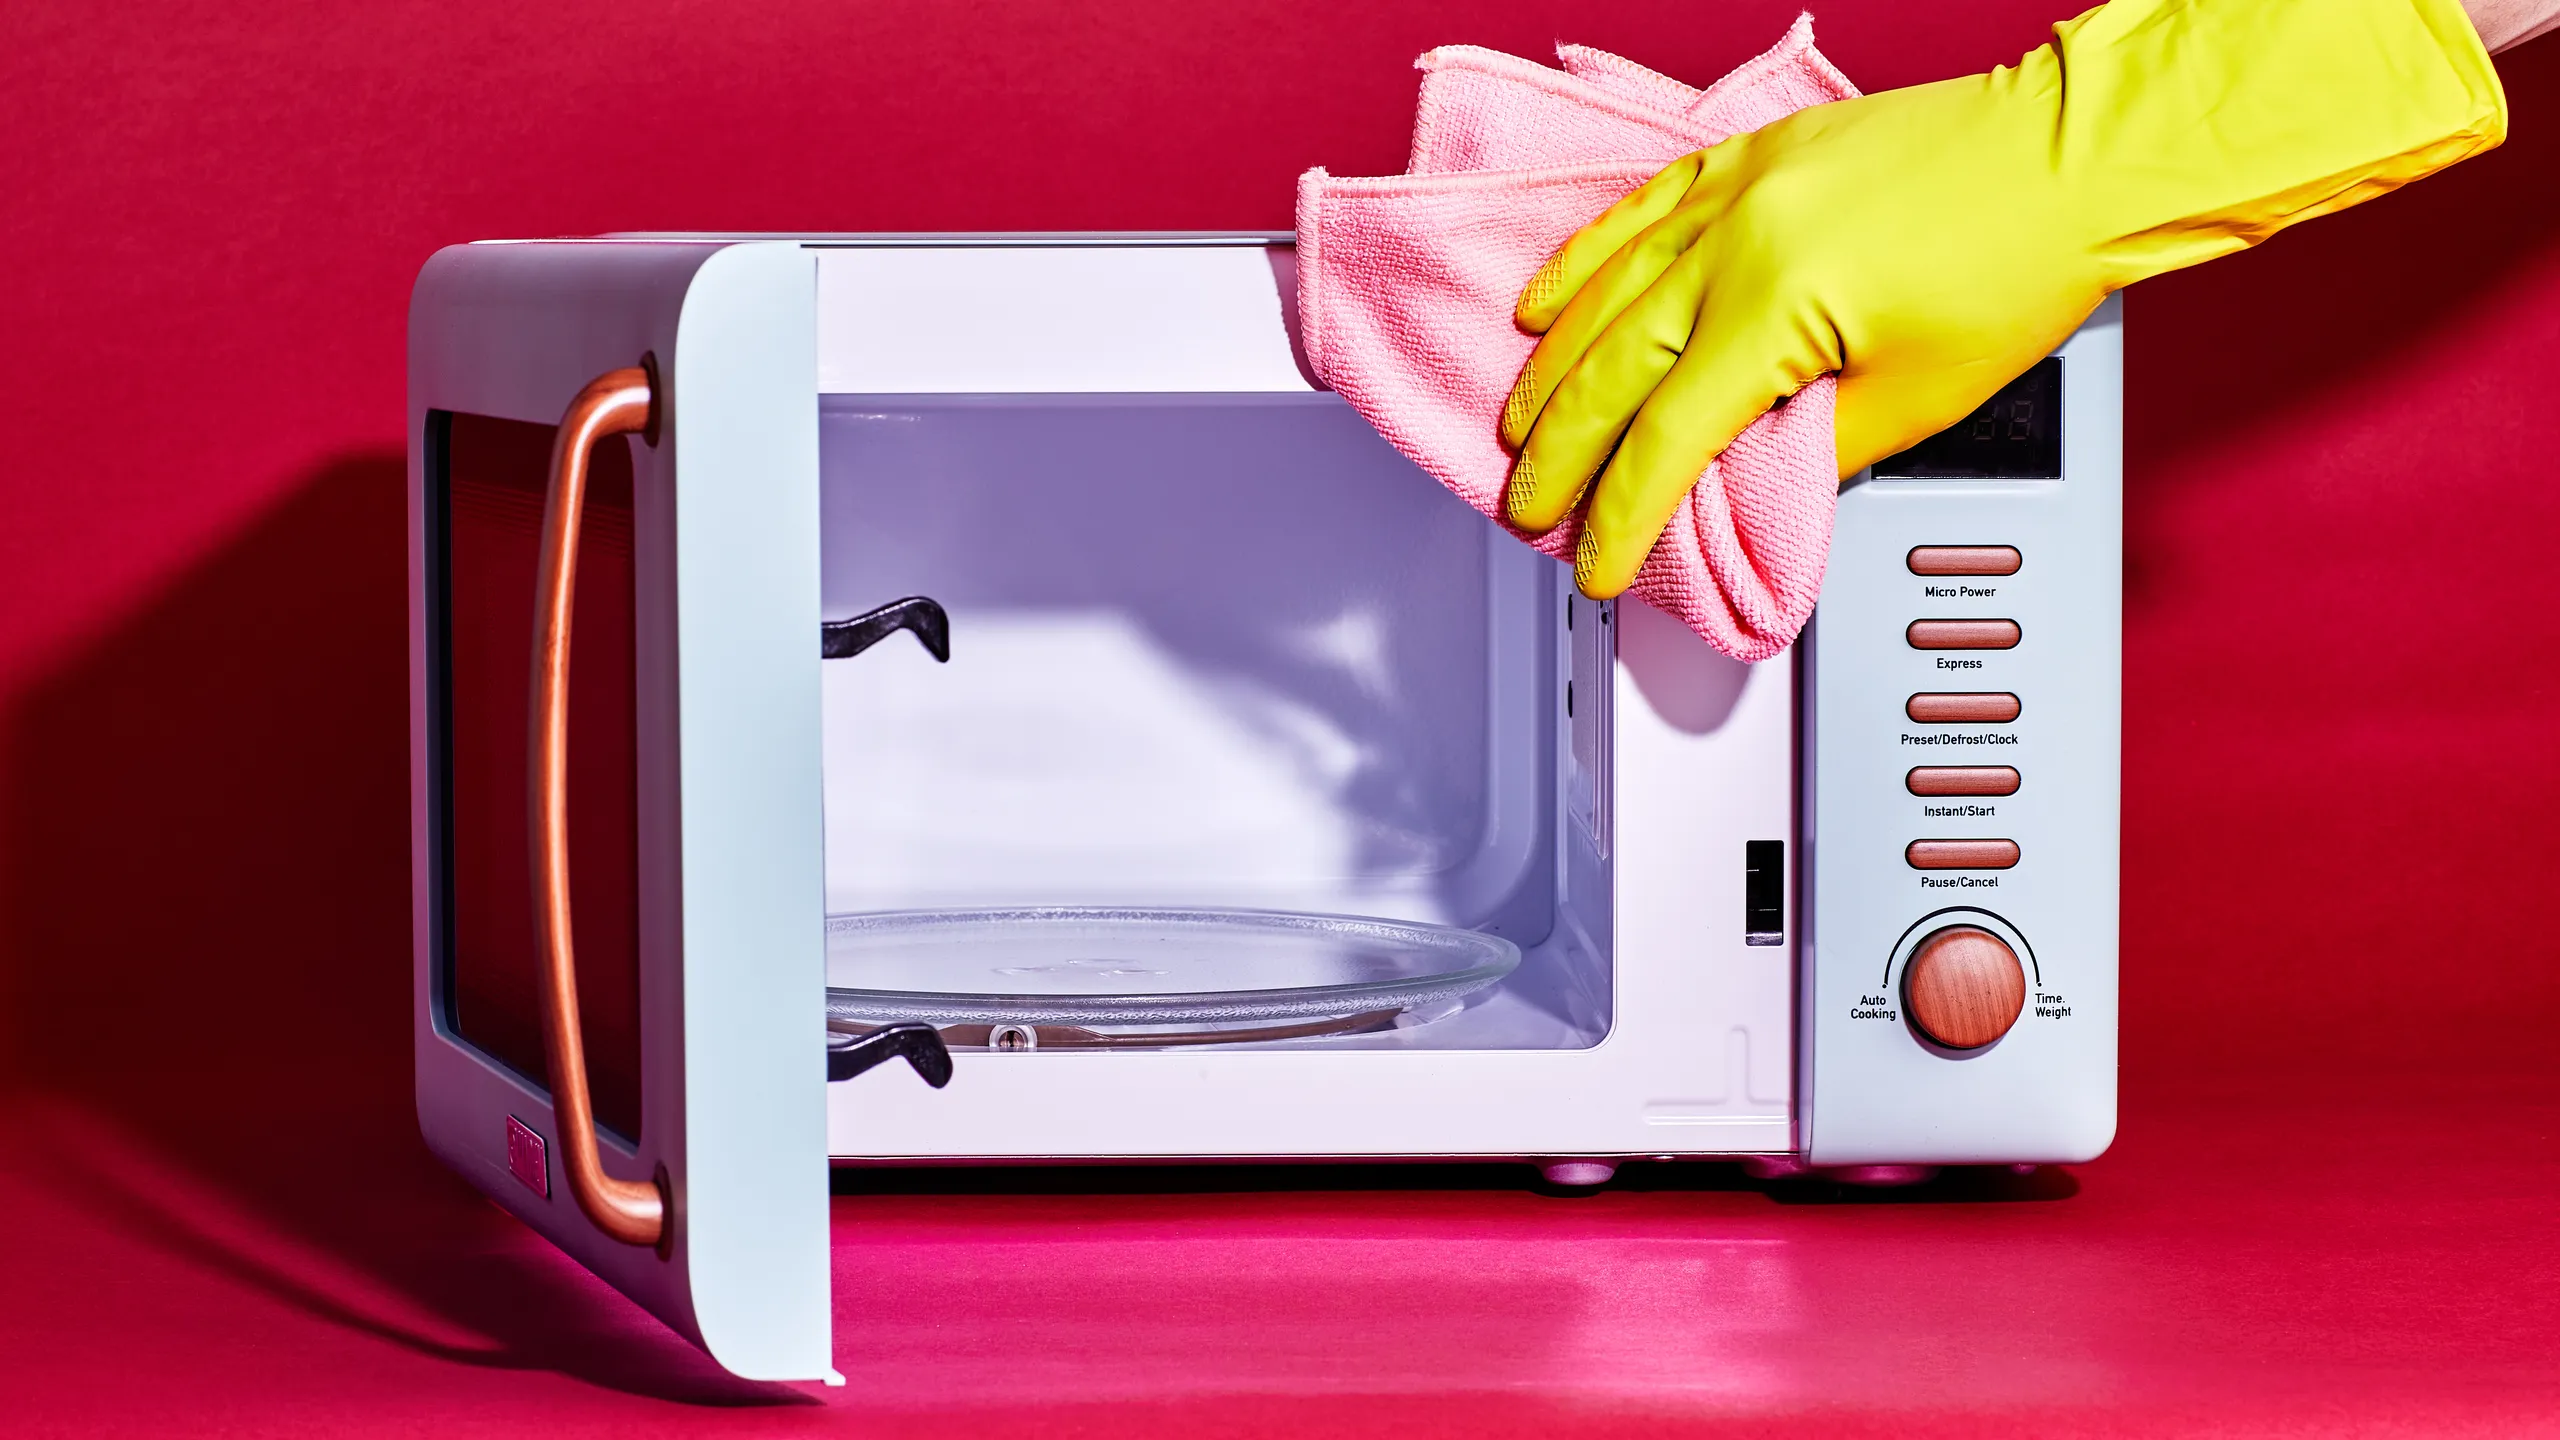
Dip your cloth in warm soapy water and wring it out well. Wipe the ceiling, walls, floor, and door interior. If you find stubborn spots, use a paste of baking soda and water and gently rub.
- Do not flood the inside with water.
- Do not use abrasive pads that can scratch the cavity coating.
Step 4: Clean under the turntable
Wipe the floor area where the turntable sits. Check around the center coupler. If there is burnt-on residue there, it can smell like a “hot motor” even when it is just food.
Step 5: Carefully clean the waveguide cover
If your microwave has a mica waveguide cover (often a thin rectangular panel inside the cavity):
- Wipe it gently with a barely damp cloth and a little dish soap if needed.
- Do not scrub hard. Mica can crack, fray, or warp if you get aggressive.
- Do not soak it. Too much moisture can damage it.
- Let it dry completely with the door open before using the microwave again.
If the cover is visibly charred, flaking, warped, or has holes, treat that as a stop-and-service situation. That part is meant to be intact and clean.
Step 6: Deodorize (optional)
After cleaning, leave the door open for a while. If odors linger, place an open box or bowl of baking soda inside overnight with the microwave off.
Other common causes you can spot
Sparking or arcing inside
If you see sparks, flashes, or a crackling sound, stop the microwave. Common causes you can correct without opening anything up include:
- Metal or foil in the microwave (including twist ties and metallic trim on plates)
- A dirty or damaged waveguide cover
- Chipped interior coating or a damaged rack coating (on models with racks)
- Food splatter that has carbonized into a black, crusty spot
Non-microwave-safe items
Double-check what you heated. Some takeout containers, thin plastics, melamine dishes, and certain printed inks can create a plastic smell when heated. If the odor showed up right after using a questionable container, clean the cavity and do not reheat that type of item again.
Brand-new microwave smell
A brand-new microwave can have a mild “new appliance” smell the first few uses as manufacturing residues warm up. It should be light and fade quickly. If it is sharp, smoky, or chemical, unplug the unit and contact the seller or manufacturer.
If it still smells like burning
If you cleaned thoroughly and the smell is still sharp, chemical, or returns immediately, it is time to think beyond food residue. At this point, my advice is simple: do not keep running it to “see what happens.”
Stop-use warning signs
- Electrical smell from the vent or back, not the cavity
- Smell starts quickly, especially when heating something mild like water
- The unit gets unusually hot on the outside cabinet or control panel
- Intermittent burning smell that comes and goes between uses, even after cleaning
- Tripped breaker or blown fuse that coincides with the smell
What to do next
- Unplug the microwave or switch off the circuit if it is hardwired.
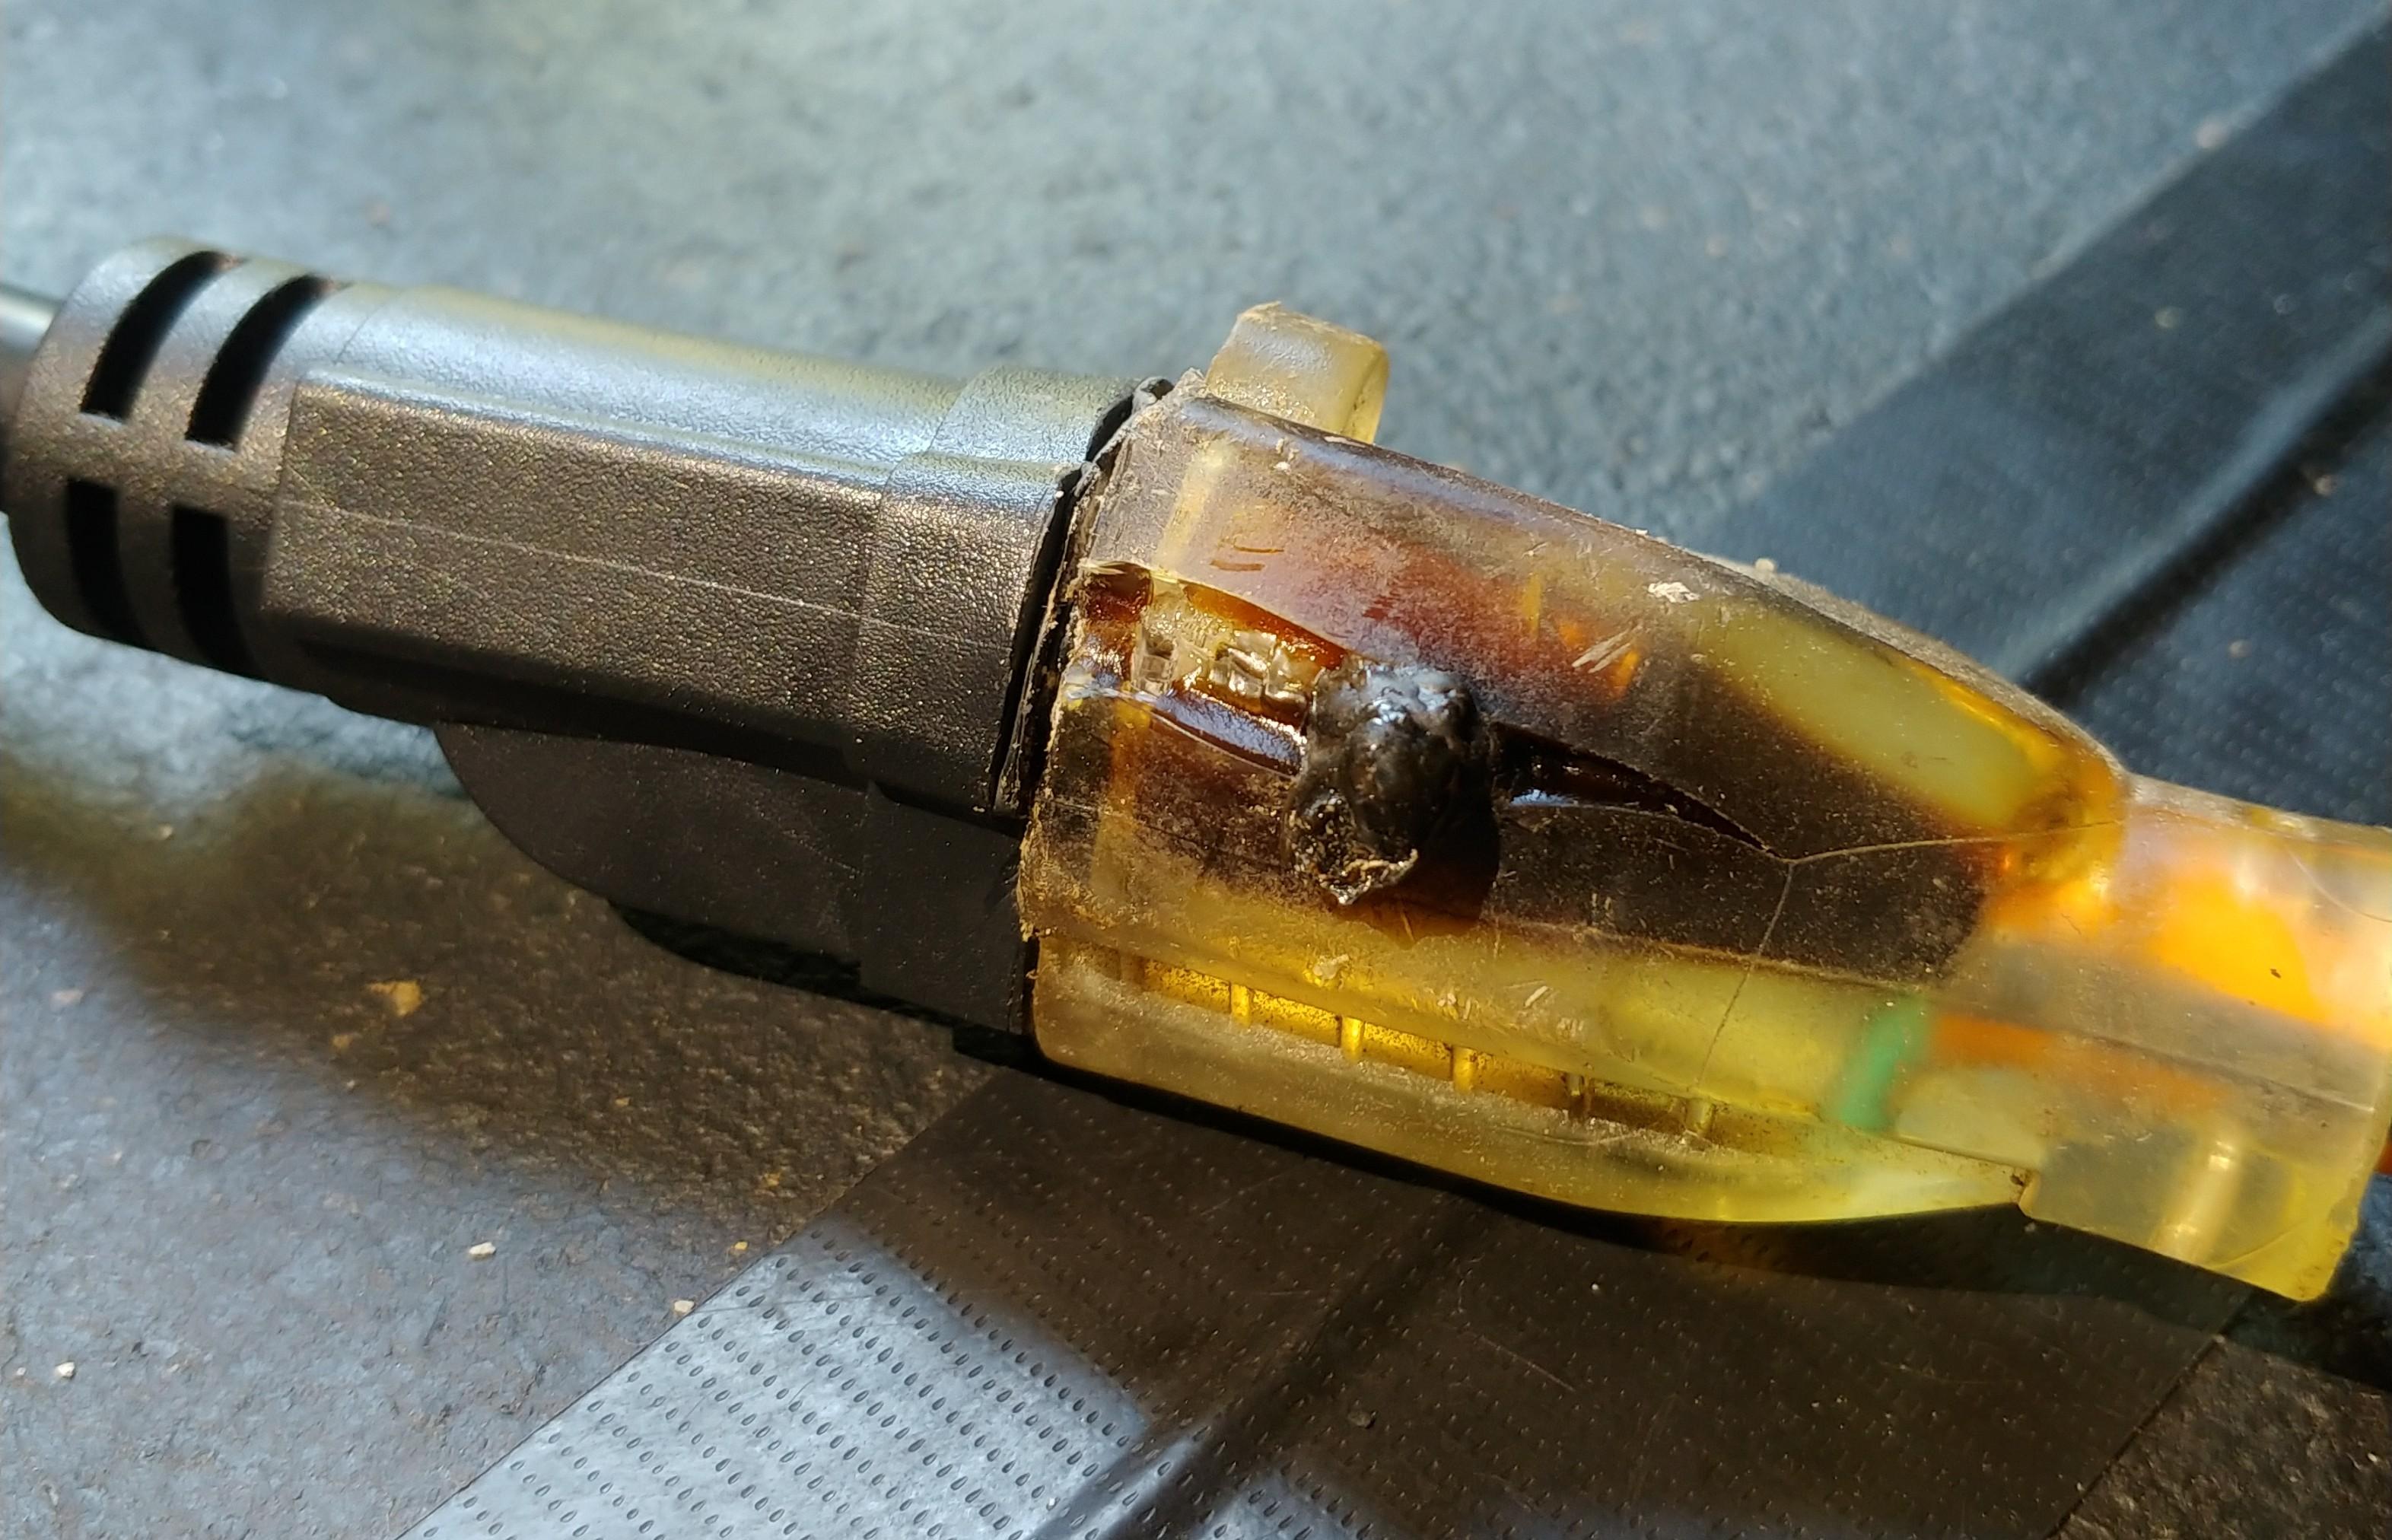
- Let it cool and do a simple visual check for melted plastic around the plug, cord, or outlet.
- Do not open the outer cabinet. Microwaves contain high-voltage components that can store dangerous energy even when unplugged.
- Call an appliance tech or replace the unit if it is older or a basic model where repair costs do not pencil out.
Over-the-range microwaves
If your microwave is mounted above the range, you also have cooking grease in the mix.
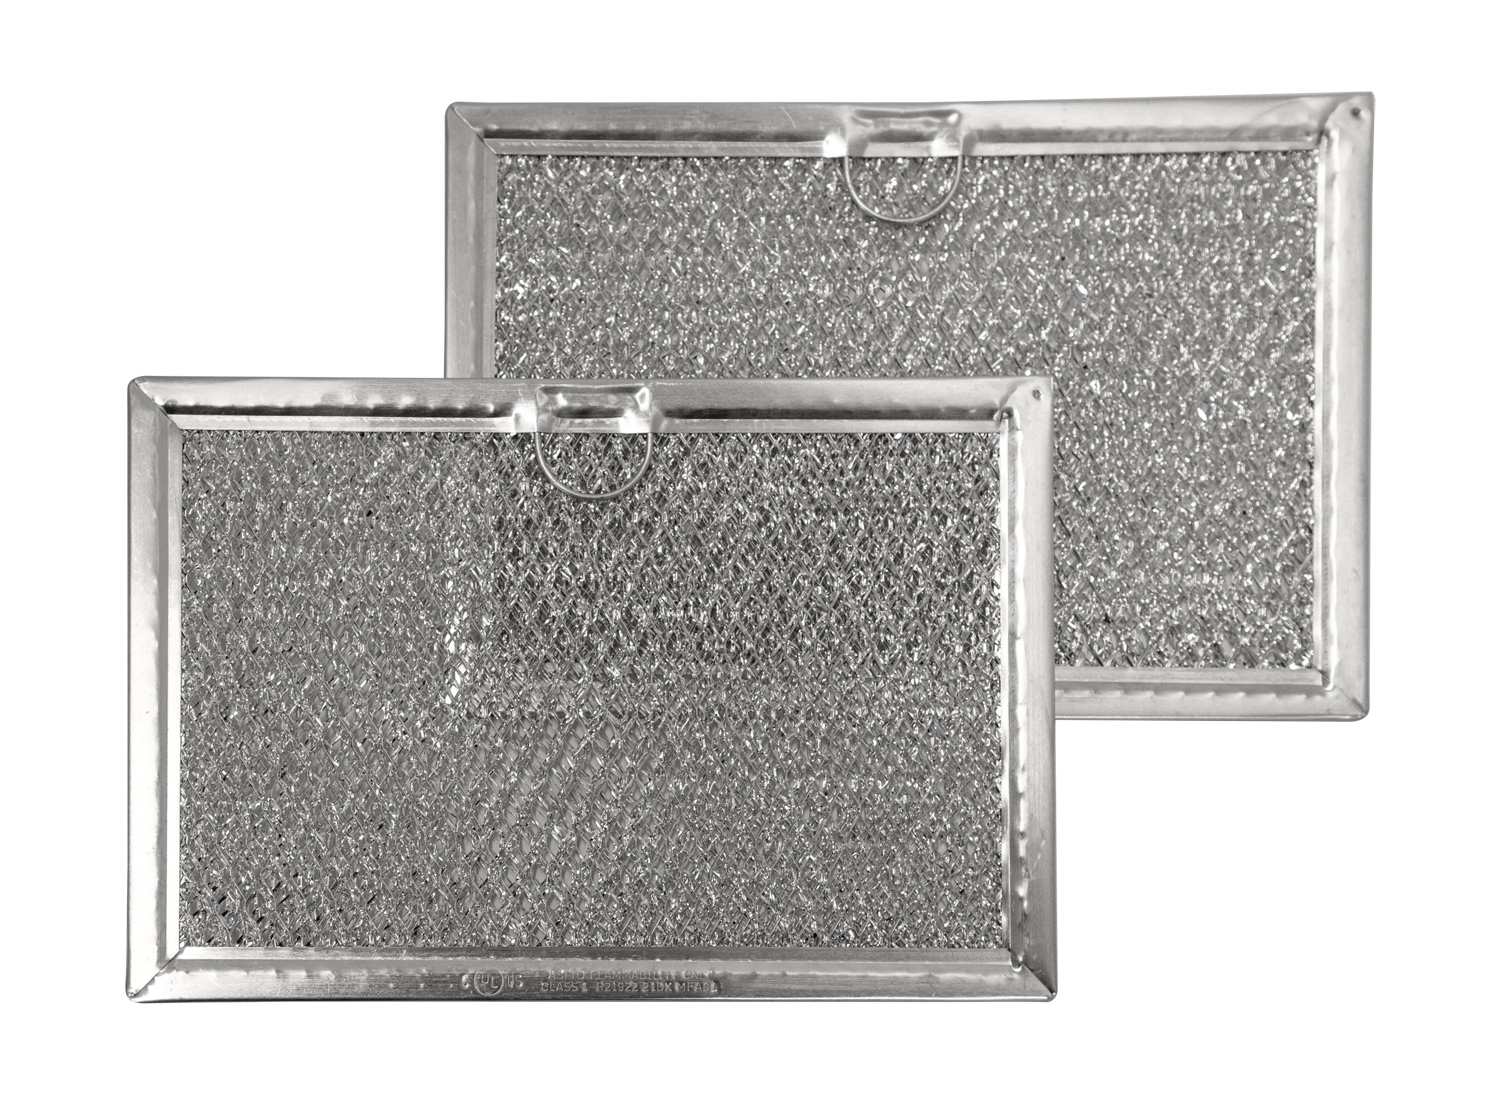
Grease filters
Grease filters saturated with oil can stink when the microwave vent fan runs or when the unit warms up. Remove the filters and wash them in hot water with dish soap. If they are metal mesh, a soak helps. Make sure they are fully dry before reinstalling.
Vent fan and light odors
If the burning smell happens only when the vent fan or cooktop light is on, the culprit may be built-up grease near the fan area or an overheating light socket or wiring. Turn it off, unplug the microwave, and have it checked if the smell is electrical or persistent.
Top vent area
Wipe accessible vent louvers and the underside area where steam and grease collect. Built-up grease can smell “burnt” even when nothing is actually burning.
What not to do
- Do not ignore a chemical or electrical smell. That is your cue to stop.
- Do not run the microwave empty. It can damage internal components and make odors worse.
- Do not use bleach or harsh solvents inside the cavity. They can damage surfaces and leave fumes.
- Do not paint the inside or “seal” scorch marks with a coating that is not microwave-safe.
- Do not remove the outer cover. High voltage risk is real with microwaves.
FAQ
Why does my microwave smell like burning when I heat water?
Water is a great test because it is mild and does not splatter much. If the smell happens with water, it is often either baked-on residue you missed (especially on the ceiling or under the turntable) or a more concerning electrical overheating smell coming from the vent or back. If it is sharp or plastic-like, stop using the microwave and have it serviced.
Is a burning smell after popcorn normal?
It is common, especially if the bag scorched or you have old butter residue stuck inside. Clean the cavity and under the turntable. Also wipe the door and gasket area where oily vapor collects. The smell should fade after a thorough cleaning and airing out.
What is the waveguide cover and why does it matter?
The waveguide cover is a small panel inside the microwave that protects the opening where microwave energy enters the cavity. When it is coated in grease or food, it can scorch and smell. When it is damaged, it is a safety and performance issue and usually calls for service.
Can I keep using the microwave if it only smells a little burnt?
If the smell is clearly food-related and you can see splatter or residue, clean it first and reassess. If the smell is chemical, electrical, or strongest at the vent or back, treat it as a stop-using-it situation.
The 30-Second Cheat Sheet
Essential takeaways for: Microwave Smells Like It’s Burning? Causes and What to Do
Burning smell decision: clean or stop?
Likely harmless (clean it): smells like burnt food, popcorn smoke, or old grease, and it is strongest inside the cavity.
Potentially serious (stop using it): sharp chemical smell, hot electronics smell (often described as fishy or melting plastic), and it is strongest at the vent/back, or it starts within seconds even when heating water.
What to do right now
- Unplug the microwave.
- Check for visible food splatter on the ceiling, walls, and under the turntable.
- If the smell is chemical or electrical: keep it unplugged and plan on service or replacement.
Fast cleaning steps (most common fix)
- Remove and wash the glass tray and roller ring.
- Steam to loosen gunk: heat a bowl of water with vinegar or lemon, then let it sit a few minutes.
- Wipe the cavity, especially the ceiling and corners.
- Wipe under the turntable and around the center coupler.
- Gently wipe the waveguide cover with a barely damp cloth. Do not soak or scrub hard. Let it dry fully.
Waveguide cover warning
If the waveguide cover is charred, warped, flaking, or has holes: stop using the microwave and call for service.
Hard stop signs
- Smoke from vents or seams
- Repeated burning smell immediately on start
- Hot plastic smell at plug, cord, outlet, or control area
- Breaker trips tied to use
- Sparking or arcing inside the cavity
Safety note: Do not remove the outer microwave cabinet. High-voltage parts can remain dangerous even when unplugged.
💡 Tip: Scroll up to read the full article for detailed, step-by-step instructions.
⬆️ Back to top
About Marcus Vance
Content Creator @ Grit & Home
Marcus Vance is a lifelong DIY enthusiast and self-taught home renovator who has spent the last decade transforming a dilapidated 1970s ranch into his family's dream home. He specializes in budget-friendly carpentry, room-by-room renovations, and demystifying power tools for beginners. Through his writing, Marcus shares practical tutorials and hard-learned lessons to help homeowners tackle their own projects with confidence.