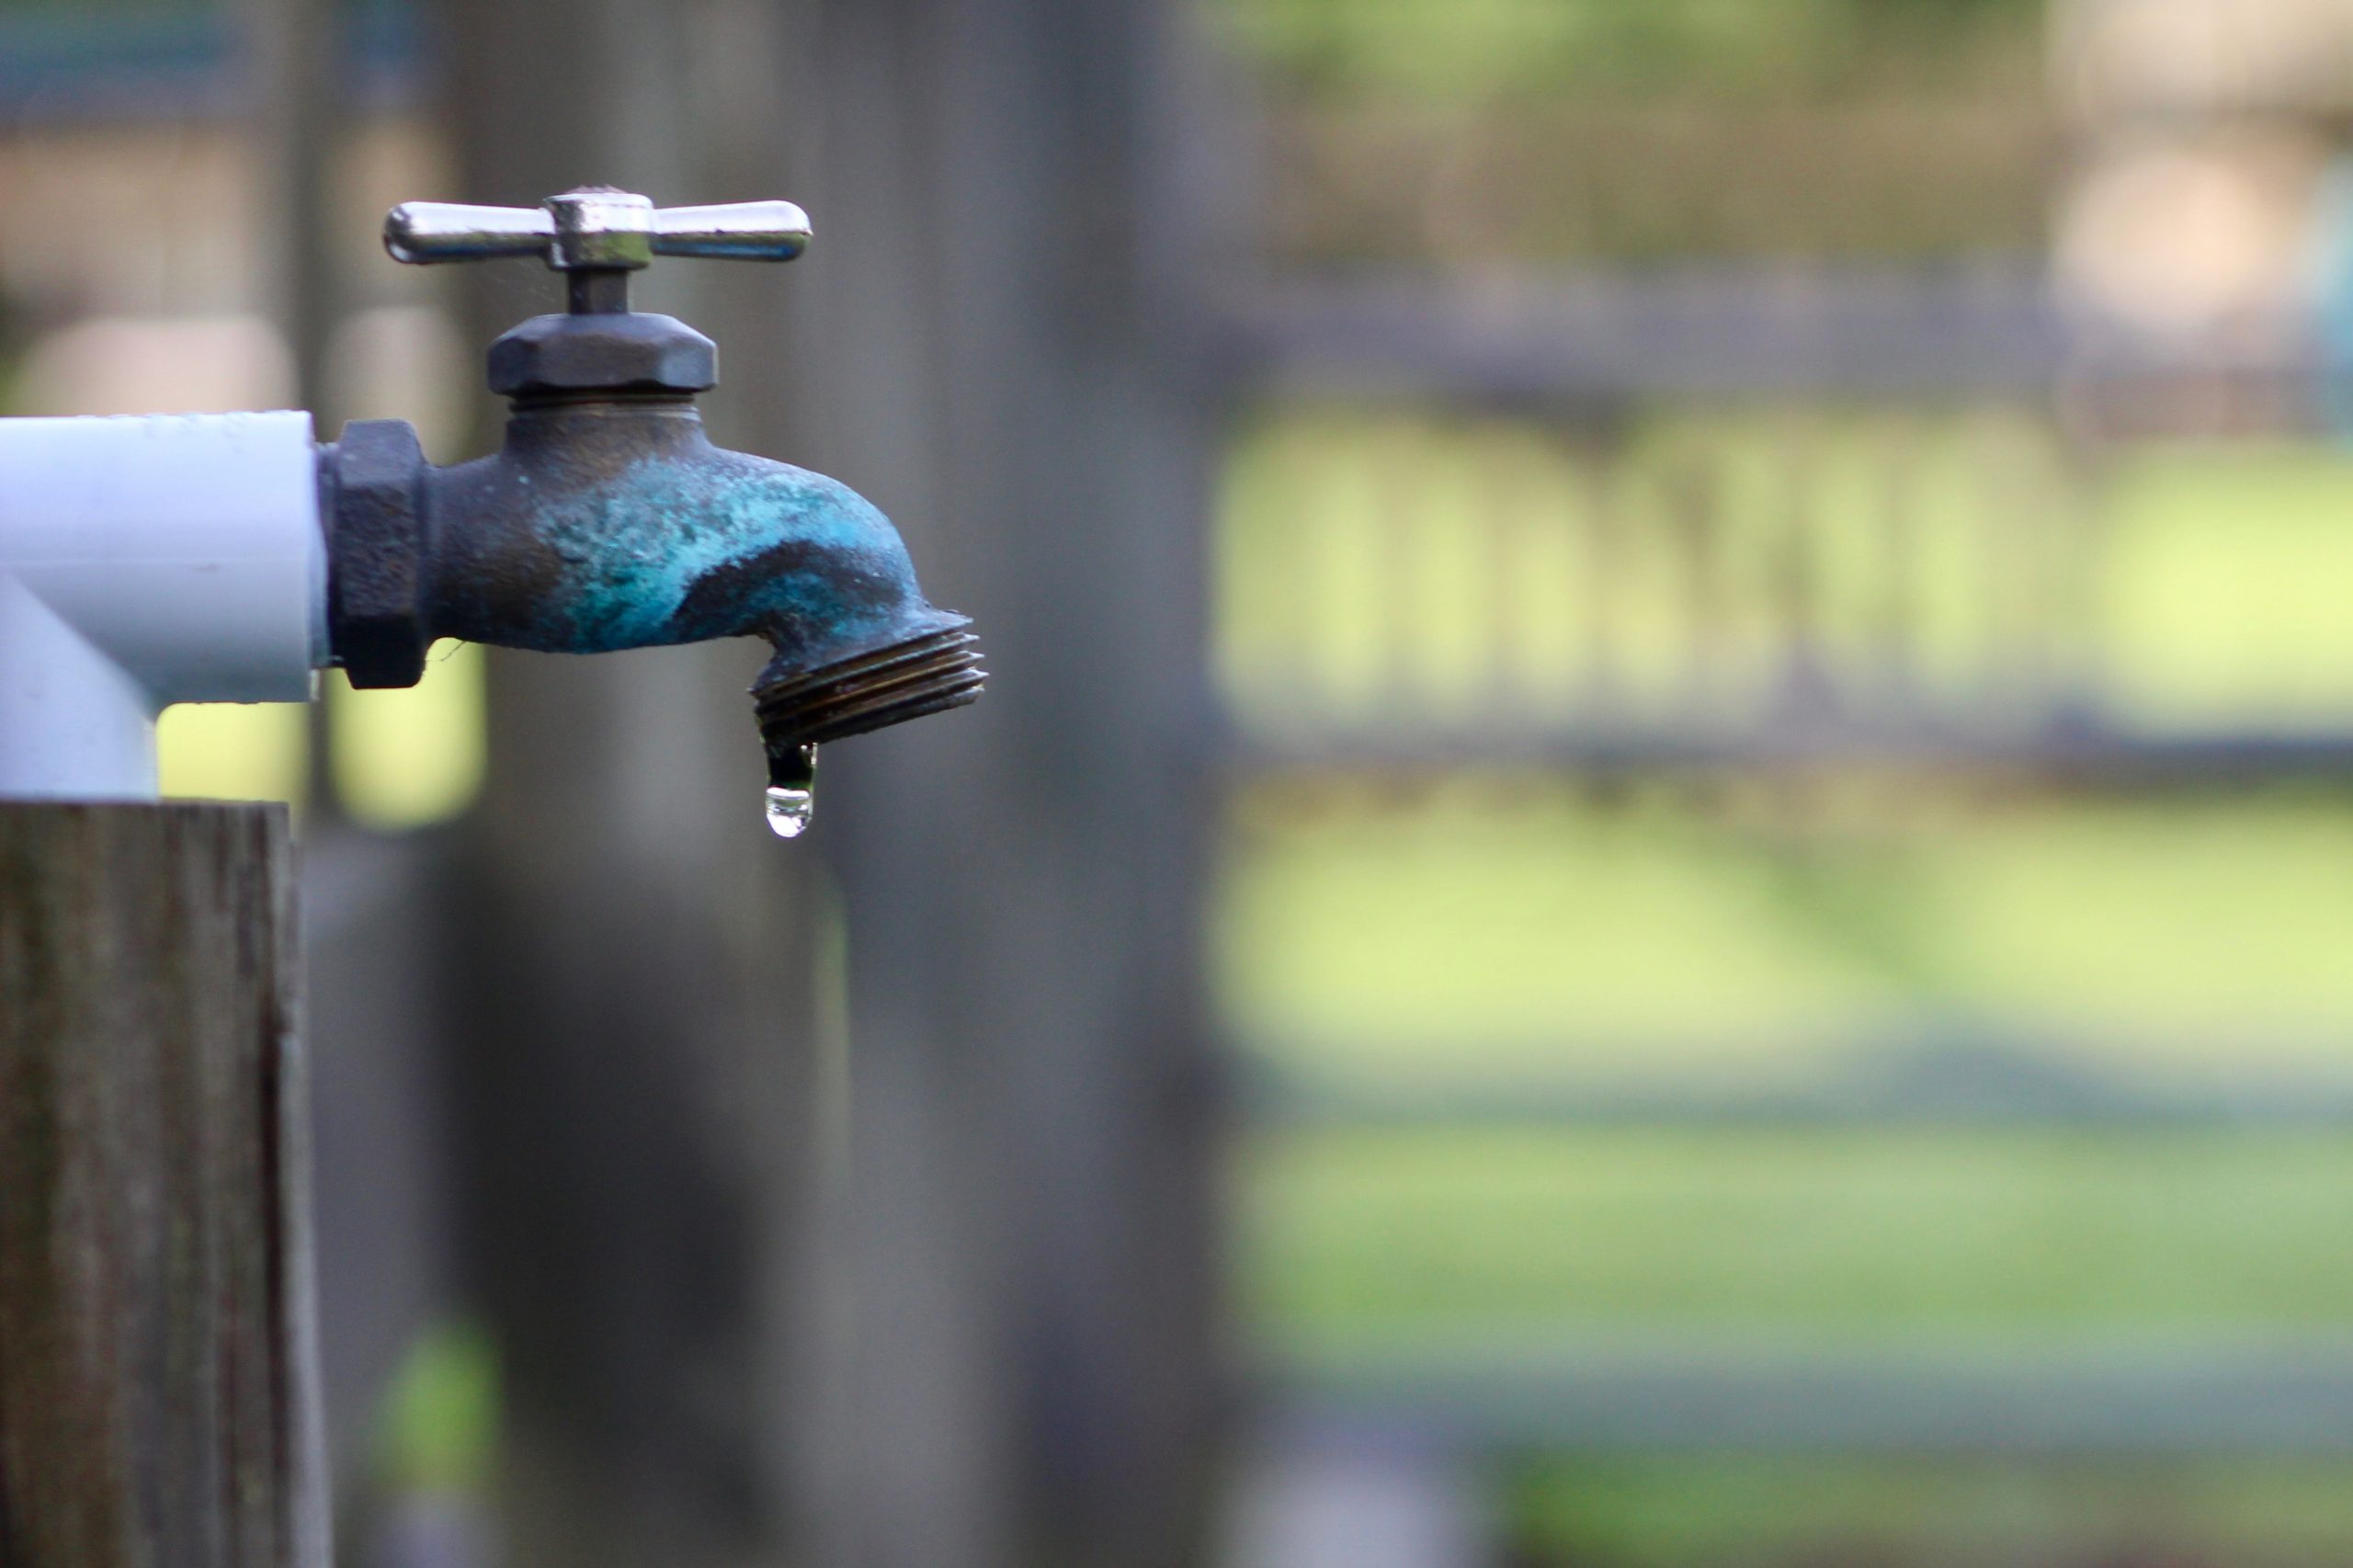
If your outdoor faucet will not fully shut off and water keeps flowing, treat it like a mini plumbing emergency. The goal is simple: stop the water first, then figure out whether you are dealing with a basic wear part (like a washer) or a bigger failure (like a cracked frost-free stem or a bad interior shutoff).
I have been there. The first time it happened at my 1970s ranch, I did what most folks do. I cranked the handle harder, got nowhere, and ended up with wet shoes and a bruised ego. This page is the calm, step-by-step version I wish I had.
Do this first: stop the water
When water keeps running, you do not troubleshoot at the faucet first. You isolate the faucet from inside the house.
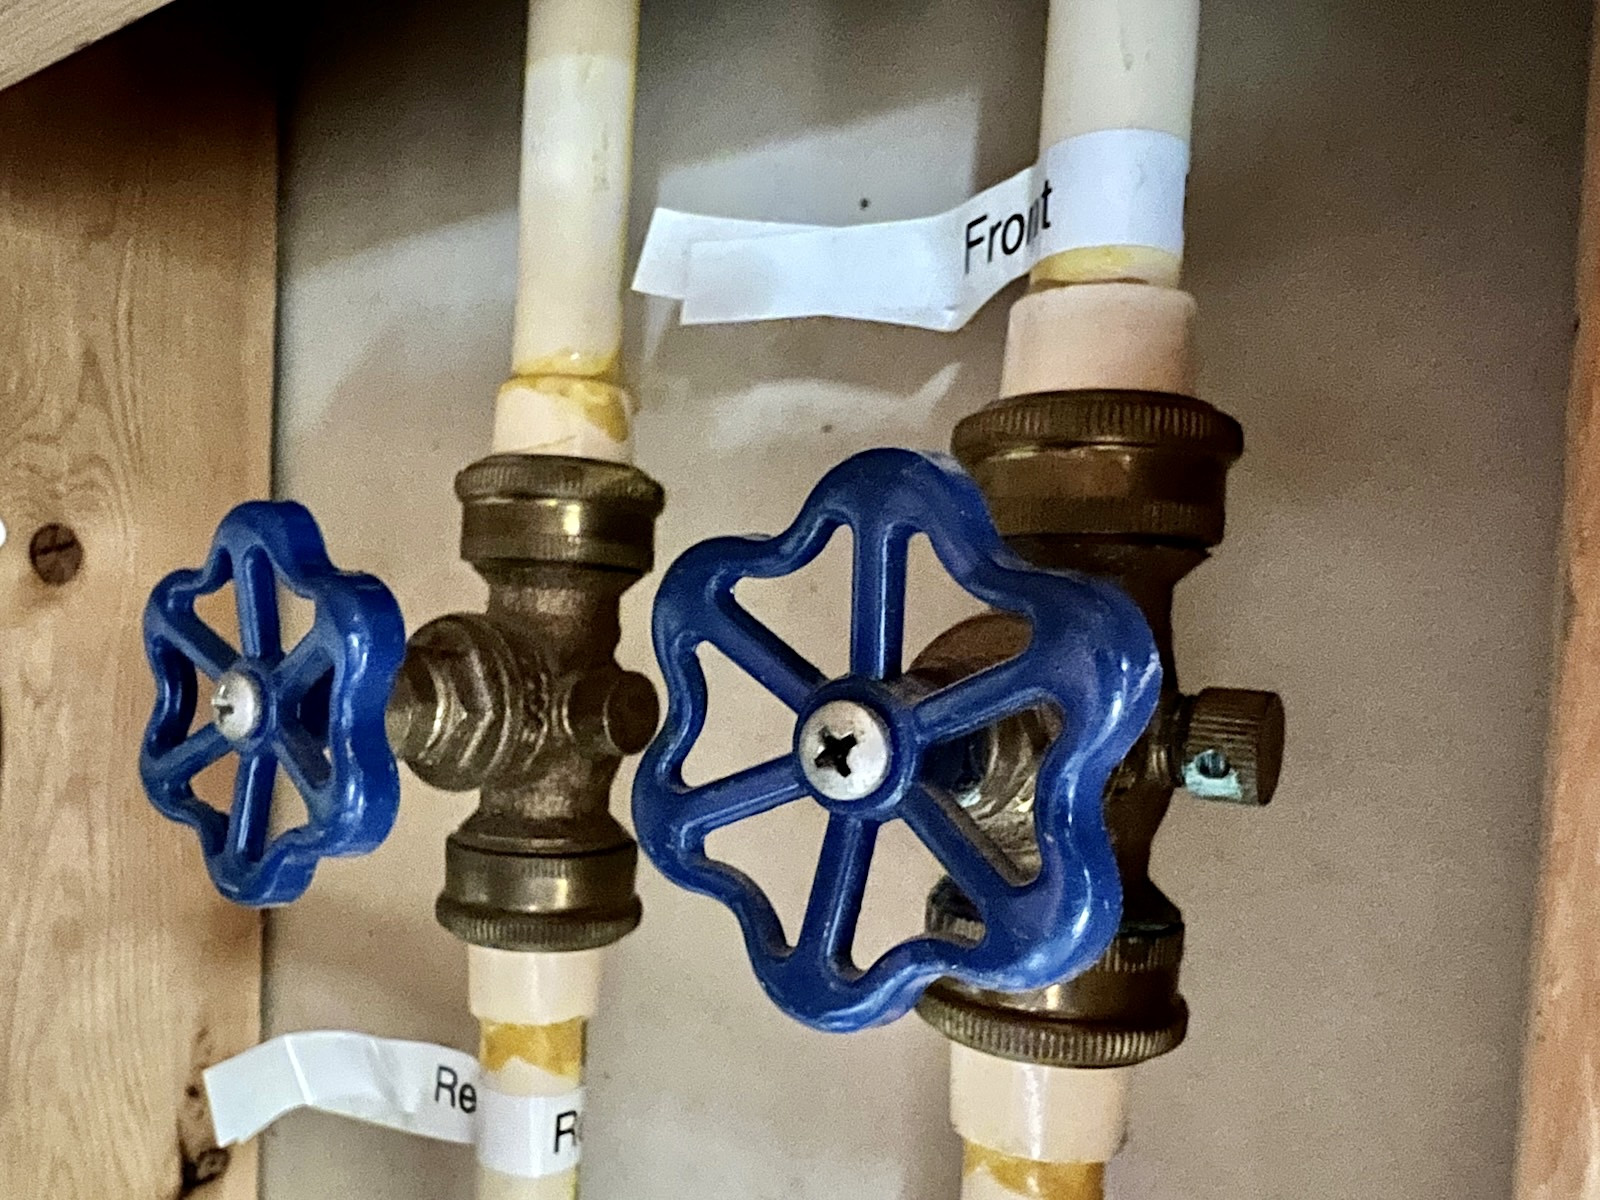
Step 1: Find the interior shutoff for that hose bib
Many homes have a dedicated shutoff valve for each outdoor faucet. Look in these common spots:
- Basement: near the rim joist directly behind the outdoor faucet
- Crawlspace: follow the pipe feeding the exterior wall
- Utility room: near the water heater or main distribution lines
- Garage: along the wall shared with the house
Turn the valve fully clockwise (righty tighty). If it is a lever-style ball valve, turn it so the handle is perpendicular to the pipe.
Step 2: If you cannot find it, use the main shutoff
If there is no local shutoff or it will not close, go straight to the home’s main water shutoff. This is usually near where the water line enters the house, or near the water meter.
Step 3: Relieve pressure and protect the area
- After you close the interior valve, turn the outdoor handle off. Then briefly crack it open to confirm the flow stops and to relieve pressure.
- If you have a hose attached, disconnect it once the flow stops.
- Put a bucket and towels under the interior valve if you plan to loosen anything.
Safety note: If the leak is near an electrical outlet, exterior light, or extension cord, kill power to that circuit at the breaker and keep the area dry.
Quick triage: where is the water coming from?
Once the water is safely shut down, identify the “exit point.” It tells you what likely failed.
- Water pouring from the spout even when the handle is off: on a standard hose bib, think washer, valve seat (the sealing surface inside), or a worn stem. On a frost-free faucet, think a stem tip seal, O-ring set, or cartridge issue (varies by brand).
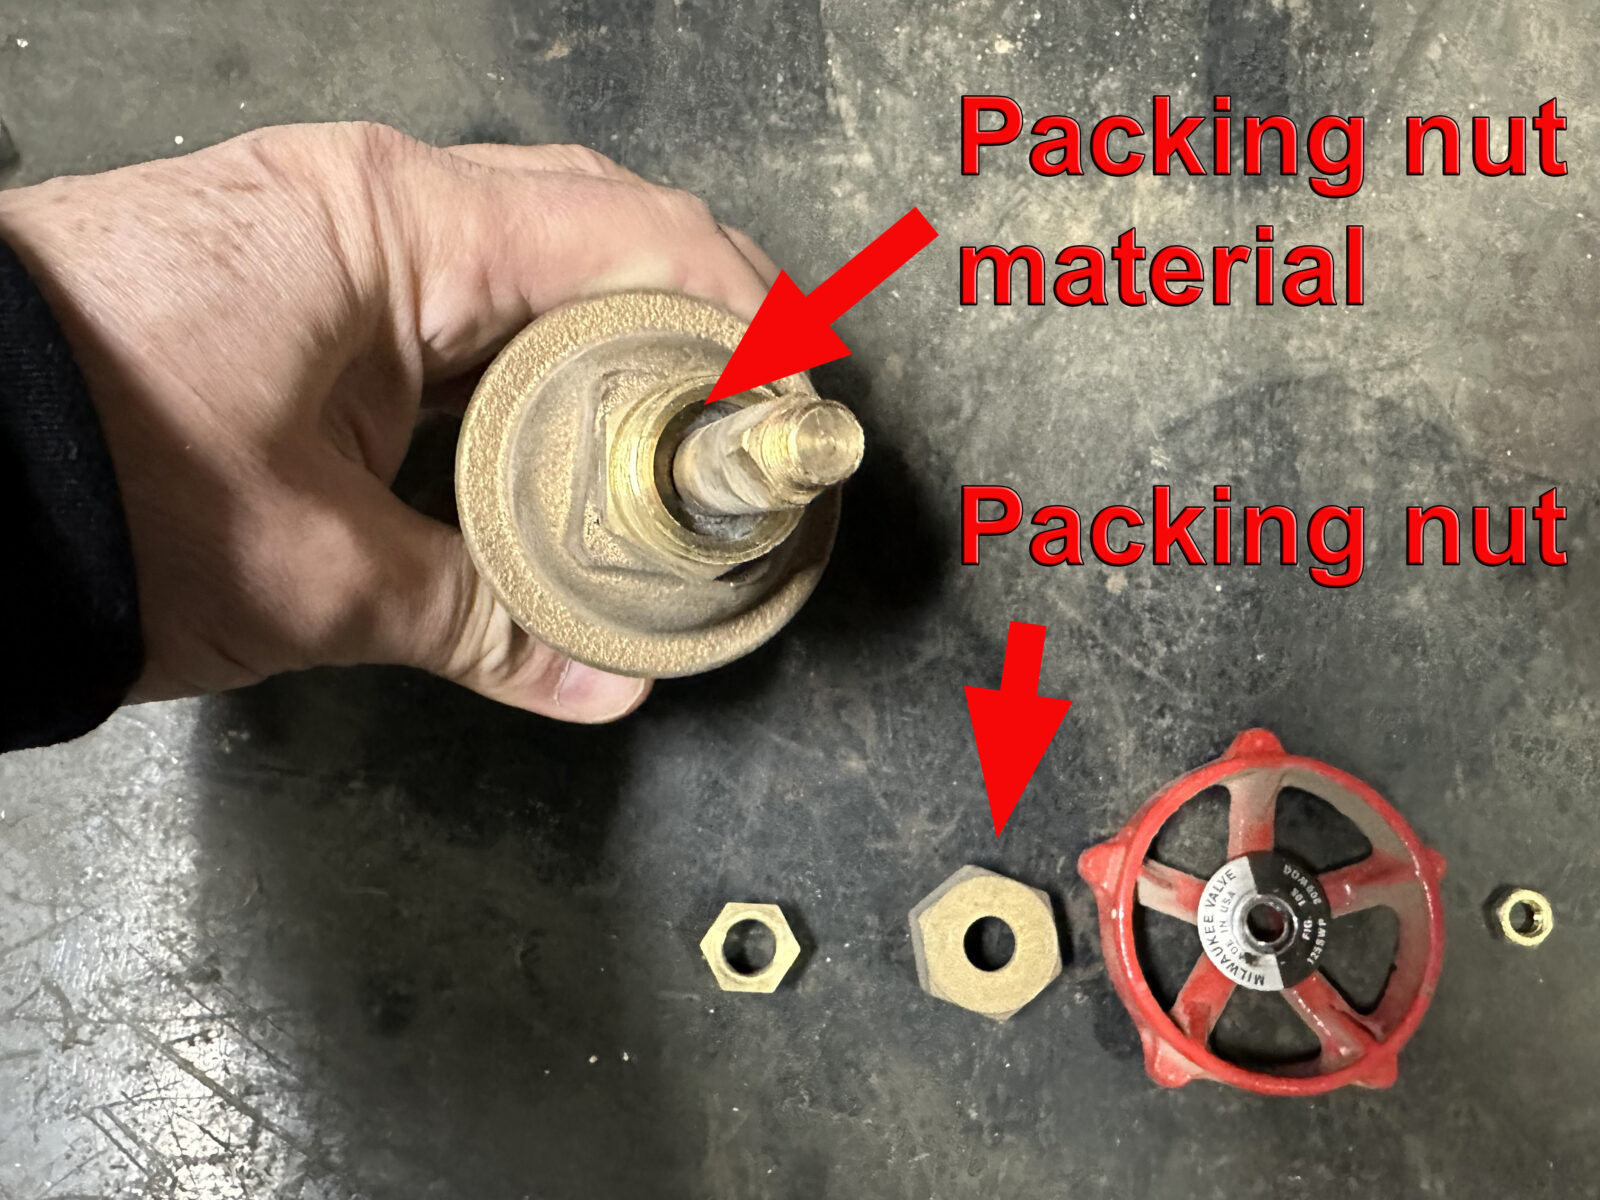
- Water leaking from behind the handle: packing nut is loose or packing (the seal around the stem) is worn.
- Water leaking where the faucet meets the wall: connection inside the wall may be compromised, or the faucet body is cracked.
- Water spraying from the little cap or vents on top: vacuum breaker (anti-siphon) issue. Many outdoor faucets have this, and it is easy to mistake it for a bad faucet body.
- Water won’t stop even after closing the interior valve: the interior shutoff is not sealing, or you are on a branch without a dedicated shutoff.
Emergency options
Sometimes you need the rest of the plumbing back on while you plan the repair. Here are the safest short-term moves.
Option A: Cap the hose bib outlet
If water only exits from the spout, you can sometimes buy time with a cap:
- Use a 3/4-inch GHT hose bib cap (garden hose thread) with a rubber washer inside.
- Screw it on snug by hand, then just a small extra nudge with pliers. Do not over-tighten.
Important: Treat this as temporary containment only. A cap can fail under full house pressure, especially on rough or damaged threads.
Freezing warning for frost-free faucets: Do not cap a frost-free sillcock in freezing weather if it will leave water trapped in the outside section. Pressurizing a frost-free faucet all the way to the spout defeats the drain-back design and can lead to a burst inside the wall.
Compatibility note: Some anti-siphon (vacuum breaker) styles may not accept a cap cleanly, or may still weep through the vacuum breaker vents.
Option B: Leave the interior shutoff closed and use a different spigot
If you have multiple outdoor faucets, isolate the bad one and use another for now. This is often the least risky temporary plan.
Option C: Install a temporary inline shutoff at the spout
A simple garden-hose inline shutoff valve can stop flow at the end of the faucet threads. It only helps if the faucet still threads cleanly and the leak is strictly out the spout.
Do not rely on this if the faucet body is cracked, water is leaking into the wall, the vacuum breaker is spraying, or it is freezing weather.

Most common cause: worn washer
On a traditional outdoor faucet, the handle turns a stem that presses a rubber washer against a valve seat. When the washer wears out or falls apart, the faucet may never fully seal, even when it feels “closed.”
What you will need
- Adjustable wrench or channel-lock pliers
- Flathead screwdriver
- Replacement hose bib washer kit (bring the old one to match)
- Plumber’s grease (optional but helpful)
- Towel and small bucket
Steps
- Shut off the interior valve feeding the faucet. Confirm the outside spout stops.
- Remove the handle. There is usually a screw at the center of the handle.
- Loosen the packing nut (the nut just behind the handle) and remove the stem assembly by turning it counterclockwise.
- Replace the washer at the end of the stem. It is typically held by a small screw.
- Inspect the valve seat (the sealing surface inside the faucet body). If it is rough or pitted, the new washer may not seal well.
- Reassemble, turn water back on, and test. If grit was involved, briefly run the faucet for a second or two to flush debris after you restore water, then shut it again and re-test for sealing.
Marcus note: If the stem comes out gritty and green, clean it before reassembly. A little plumber’s grease on the threads makes the next repair feel like you are working on a new faucet, not a relic.
Also: This is where forcing the handle can turn a small fix into a bigger one. If you meet hard resistance, stop and diagnose. Stripped threads and bent stems love “just one more turn.”
Leaking at the handle
If water seeps from behind the handle while the faucet is running, you may not need to open up the whole valve. Often the packing nut has loosened over time.
Try this first
- With the water on, tighten the packing nut about 1/8 to 1/4 turn.
- If the handle becomes hard to turn, you went too far. Back it off slightly.
If tightening does not work
You may need new packing material or a new stem. At that point, shut off the interior valve and remove the stem assembly, similar to the washer replacement steps above.
Vacuum breaker leaks
If your faucet has an anti-siphon vacuum breaker (a small device at the outlet, sometimes with a little cap on top), you might see water spray or dribble from its vents when the faucet is on. That can happen if the internals are worn, dirty, or damaged.
What to check
- Make sure any hose washer, quick connect, splitter, or timer is not preventing a proper seal at the outlet.
- Look for a cracked cap or a missing gasket inside the vacuum breaker.
- If it is replaceable, match the vacuum breaker to the faucet brand. If it is not, a full faucet replacement may be the cleanest fix.
Note: A vacuum breaker issue is different from a faucet that will not shut off. You can have both, but do not assume a spray at the top means the faucet body is cracked.
Frost-free faucet troubleshooting
Frost-free hose bibs are designed so the actual shutoff happens deep inside the warm part of the house. They are great when installed correctly, but when they fail, the symptoms can feel dramatic.
Common causes
- Worn stem tip seal (sometimes a washer, sometimes a rubber seat, sometimes part of a cartridge)
- Bad O-rings on the stem
- Debris at the seat preventing a full seal
- Bent stem from forcing a stuck handle
- Cracked stem or body from freezing, often related to leaving a hose attached in winter
Basic checks
- Remove any hose, splitter, or timer. Frost-free faucets need to drain out.
- Look for bulging, cracks, or leaking at the wall. That is a big clue the body or joint is compromised.
- Know this detail: frost-free faucets only drain properly when installed with the correct slight downward pitch toward the exterior. If yours is level or pitched back, it can hold water even when you do everything else right.
Can you rebuild it?
Sometimes yes. Many frost-free faucets have a replaceable stem assembly that pulls out after removing the handle and loosening the bonnet nut (the large retaining nut that holds the stem in the faucet body). The trick is that parts are brand-specific.
If you know the brand, take a photo of the faucet and stem, then match a replacement stem kit. If you do not know the brand and the faucet is older, replacement is often faster than playing parts roulette.
What to bring to the store
- A clear photo of the faucet from the side
- A photo of any markings or brand name
- Stem length measurement (common sizes vary)
When you need replacement
There is a point where “just change the washer” turns into repeated frustration. If you see any of these, plan for a new hose bib or a full rebuild kit:
- The handle turns but never reaches a firm stop
- The stem threads are stripped or the handle spins freely
- You replaced the washer but the faucet still runs continuously
- The valve seat is severely pitted and will not seal
- The faucet body is cracked or corroded through
On a budget, I always try the simple wear parts first. But if the stem is damaged, you are better off replacing the stem assembly or the entire faucet and being done with it.
If the interior shutoff fails
If you closed the interior valve and the outdoor faucet still runs, one of these is happening:
- The interior shutoff is a multi-turn gate valve that no longer seals well.
- You found the wrong valve, or the faucet is tied into a different branch.
- There is a cross-connection (rare in typical homes, but possible with certain irrigation setups).
What to do
- Close the main water shutoff until you can get control of the problem.
- Plan to replace the interior shutoff with a quarter-turn ball valve when things calm down.
Thrifty tip: Replacing a failing interior shutoff now can save you from the worst kind of “free water feature” later.
When to call a plumber
I am all for DIY, but I am also all for knowing when the risk is not worth it. Call a plumber if:
- The leak appears to be inside the wall or you see drywall staining inside.
- The faucet is connected with sweated copper joints and you are not comfortable soldering near framing.
- The pipe is corroded, oddly sized, or you suspect galvanized line issues.
- You cannot locate a reliable shutoff and need the home’s water back on quickly.
- Freezing damage is suspected and you see cracking at the faucet body or wall penetration.
If you do solder, treat it like hot work in a shop: heat shield, spray bottle, fire extinguisher, and patience. One scorched stud bay is not a rite of passage you want.
Prevent it next time
- Before winter: Disconnect hoses, splitters, and timers so frost-free faucets can drain.
- Once a year: Turn outdoor faucets on and off a few times to keep mineral buildup from “gluing” parts together.
- Install an interior shutoff for each hose bib if you do not already have one.
- Replace old multi-turn shutoffs with quarter-turn ball valves for reliability.
If you want a simple rule: anything outside that touches water should have a way to be shut off from inside without panic.
Quick checklist
- Find and close the interior shutoff or main shutoff
- Turn the outdoor handle off, then crack it open briefly to confirm flow stops
- Identify leak location: spout, handle, wall, vacuum breaker
- Use a hose bib cap only as temporary containment (avoid on frost-free in freezing weather)
- Replace washer and inspect seat on standard hose bibs
- Tighten packing nut for handle leaks
- For frost-free faucets, consider stem replacement once you identify the brand and length
- Call a plumber for wall leaks, suspected freeze cracks, or sweated joint replacement
About Marcus Vance
Content Creator @ Grit & Home
Marcus Vance is a lifelong DIY enthusiast and self-taught home renovator who has spent the last decade transforming a dilapidated 1970s ranch into his family's dream home. He specializes in budget-friendly carpentry, room-by-room renovations, and demystifying power tools for beginners. Through his writing, Marcus shares practical tutorials and hard-learned lessons to help homeowners tackle their own projects with confidence.