
🚨 In a DIY emergency or rush?
Skip the details and jump straight to our 30-second cheat sheet for the most crucial info.
The first time I ran into this, it was in our living room. The lamp would flicker, not because the outlet was dead, but because the plug would slowly sag out of the receptacle until it was barely making contact. If you have an outlet that still has power but will not grip a plug, you are usually looking at worn internal contacts inside the receptacle. The fix is refreshingly straightforward: replace the receptacle after you shut the power off and confirm it is truly off.
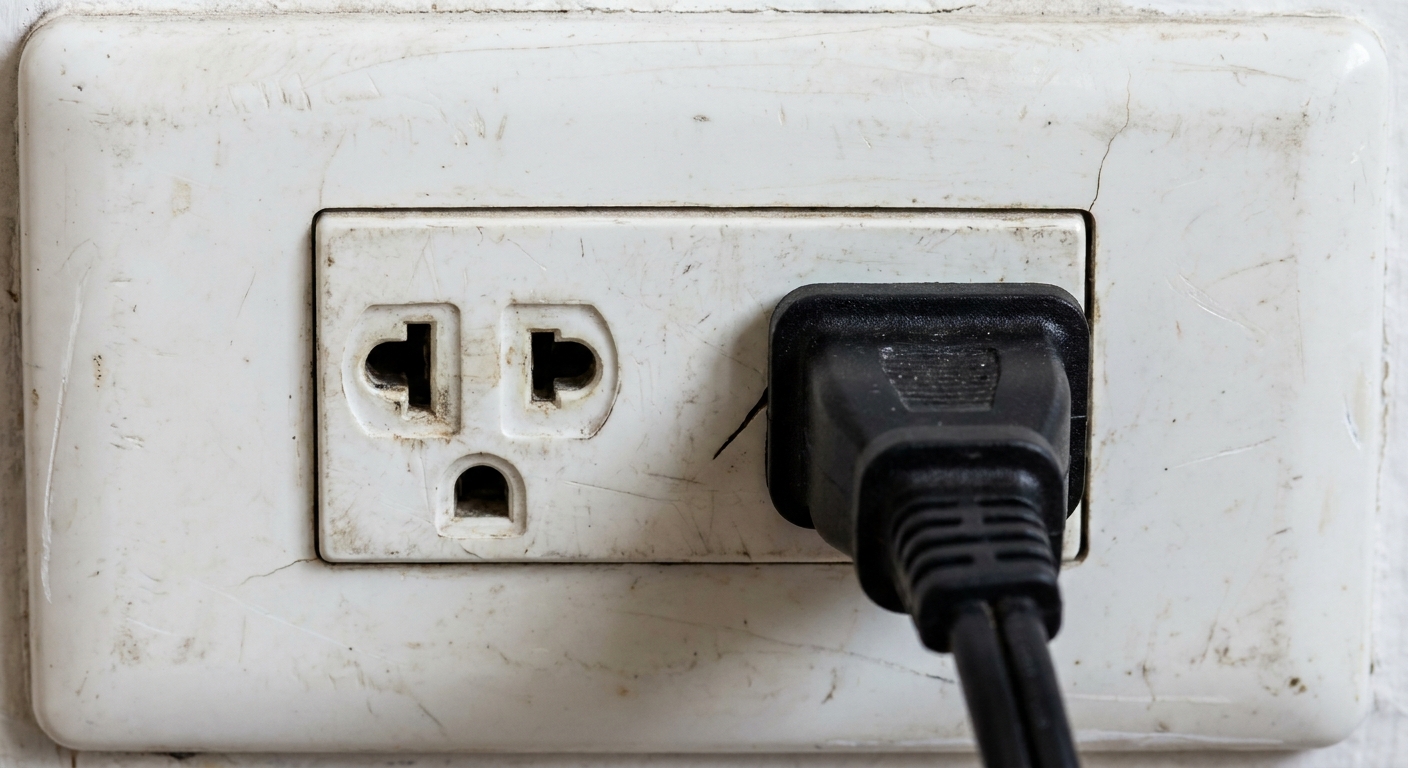
What’s happening when a plug won’t stay in
Inside every outlet are springy metal contacts that clamp onto the blades of a plug. After years of use, those contacts lose tension. Once that happens, plugs fall out easily, or they feel loose and wiggly.
This article stays focused on one problem: the receptacle is live, but the plug fit is loose because the contacts are worn. If your situation includes sparks, a burning smell, heat, buzzing, or an outlet that is not getting power at all, stop and bring in a licensed electrician. Those are different problems with different risks.
Quick safety rules (please do these)
- Turn off the breaker that feeds the outlet.
- Confirm power is off at the outlet before touching any wires.
- Do not rely on just a wall switch or “I’m pretty sure it’s the right breaker.” Verify.
- If anything looks scorched or melted in the box, stop and call a pro.
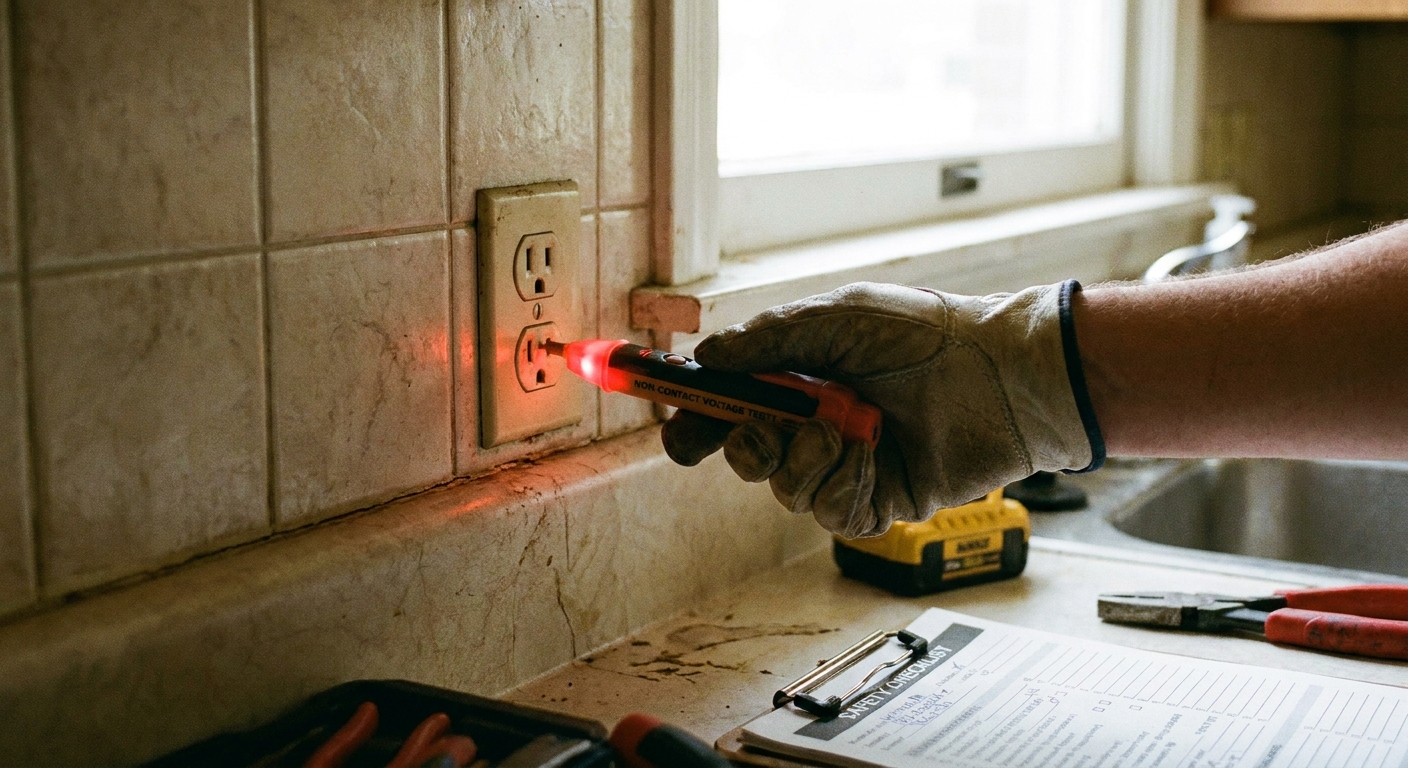
A quick note on testing: non-contact voltage testers are handy, but they can sometimes give false readings. I like to use a non-contact tester as my first check, then confirm with a plug-in outlet tester or a two-pole tester/multimeter if I have one handy. The goal is simple: you want to be confident the outlet is dead before your fingers go anywhere near the conductors.
Tools and materials
You do not need a shop full of gear for this. Here is what I keep in my small electrical tote:
- Non-contact voltage tester (the little pen style)
- Plug-in receptacle tester (highly recommended for the final check)
- Two-screwdriver set (flathead and Phillips)
- Needle-nose pliers
- Wire stripper (optional but helpful)
- New receptacle (match amperage and type)
- New wall plate (optional, but it is a nice finishing touch)
Buy the right replacement receptacle
1) Match the amperage
Most general household outlets are either 15 amp or 20 amp. A simple way to tell is by looking at the old receptacle:
- 15A receptacle: both vertical slots look like simple straight lines (plus the round ground).
- 20A receptacle: one of the vertical slots has a sideways “T” shape.
In many jurisdictions, it is common to see 15A duplex receptacles on a 20A multi-outlet circuit. But if this is a single, dedicated receptacle on a 20A circuit, rules can be different. When in doubt, match what is already installed, verify the breaker size, and check with a licensed electrician or your local building department.
2) Consider “commercial grade”
If your old outlet wore out early or you plug and unplug things a lot (vacuum, shop vac, space heater, phone chargers), spend a few extra bucks on a commercial grade receptacle. They typically grip better and hold up longer than the cheapest residential models.
3) Use GFCI where required
This article is about worn contacts, not protection devices, but it is worth saying: areas like kitchens, bathrooms, garages, unfinished basements, outdoors, and laundry spaces often require GFCI protection. If you are replacing an outlet in one of those spots and you are unsure what is required in your home, ask your local building department or a licensed electrician.
Step-by-step: replace a worn, loose receptacle
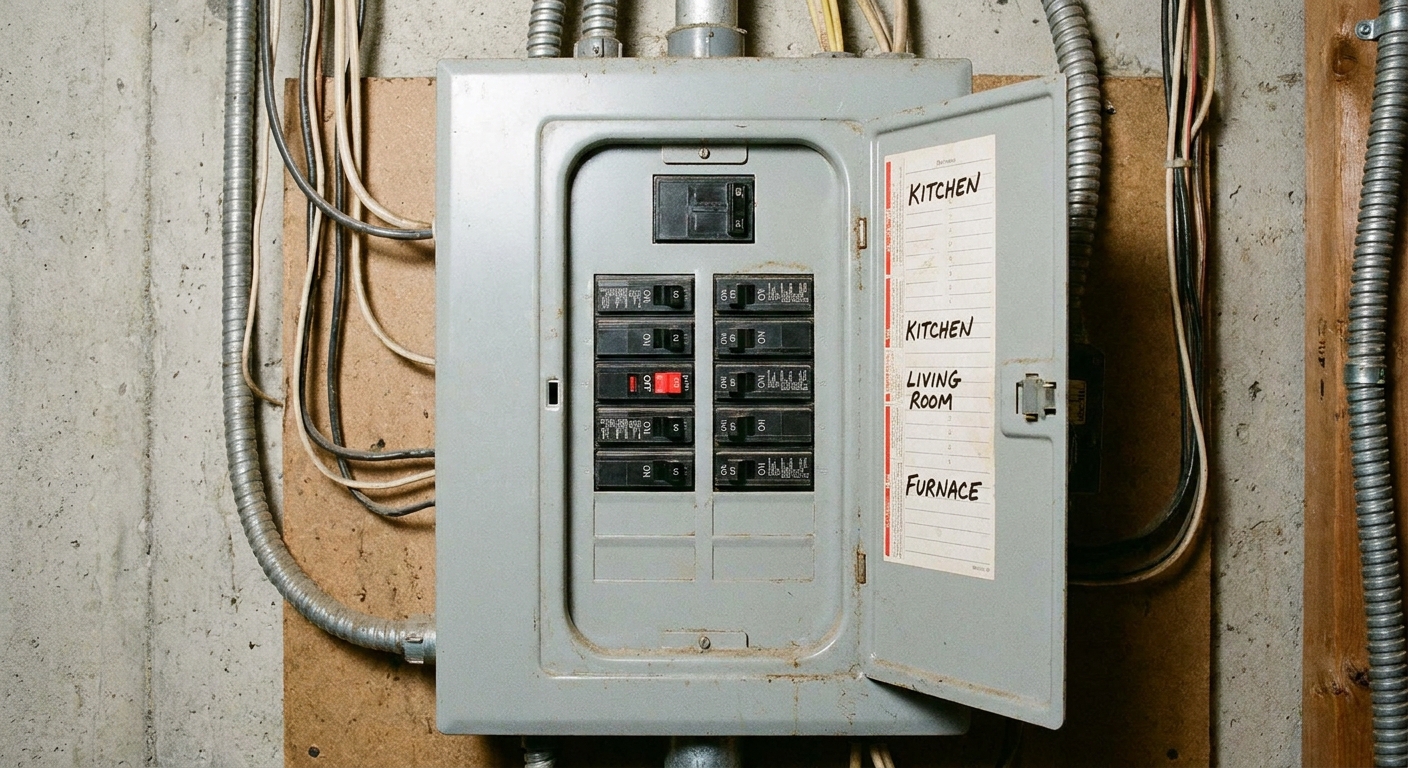
Step 1: Turn off the breaker
Flip the breaker off. If you are not sure which one it is, plug in a lamp or small radio so you can tell when you found the right circuit, then turn the breaker off.
Step 2: Verify power is off
Use your non-contact voltage tester at the outlet face as your first pass. Then confirm with a plug-in tester or a two-pole tester if you have one. I test twice: once before I touch anything, then again after I pull the receptacle out a bit.
Step 3: Remove the cover plate
Take off the center screw and remove the plate. If the plate is brittle or painted shut, go slow so it does not crack.
Step 4: Unscrew and pull the receptacle out
Remove the two mounting screws (top and bottom). Gently pull the receptacle straight out. Do not yank. The wires might be short, and you do not want to stress them.
What you are looking at: you might see one cable feeding the outlet, or you might see two cables, which usually means this outlet also feeds power to something downstream. Either way, it is normal to see multiple wires on each side.
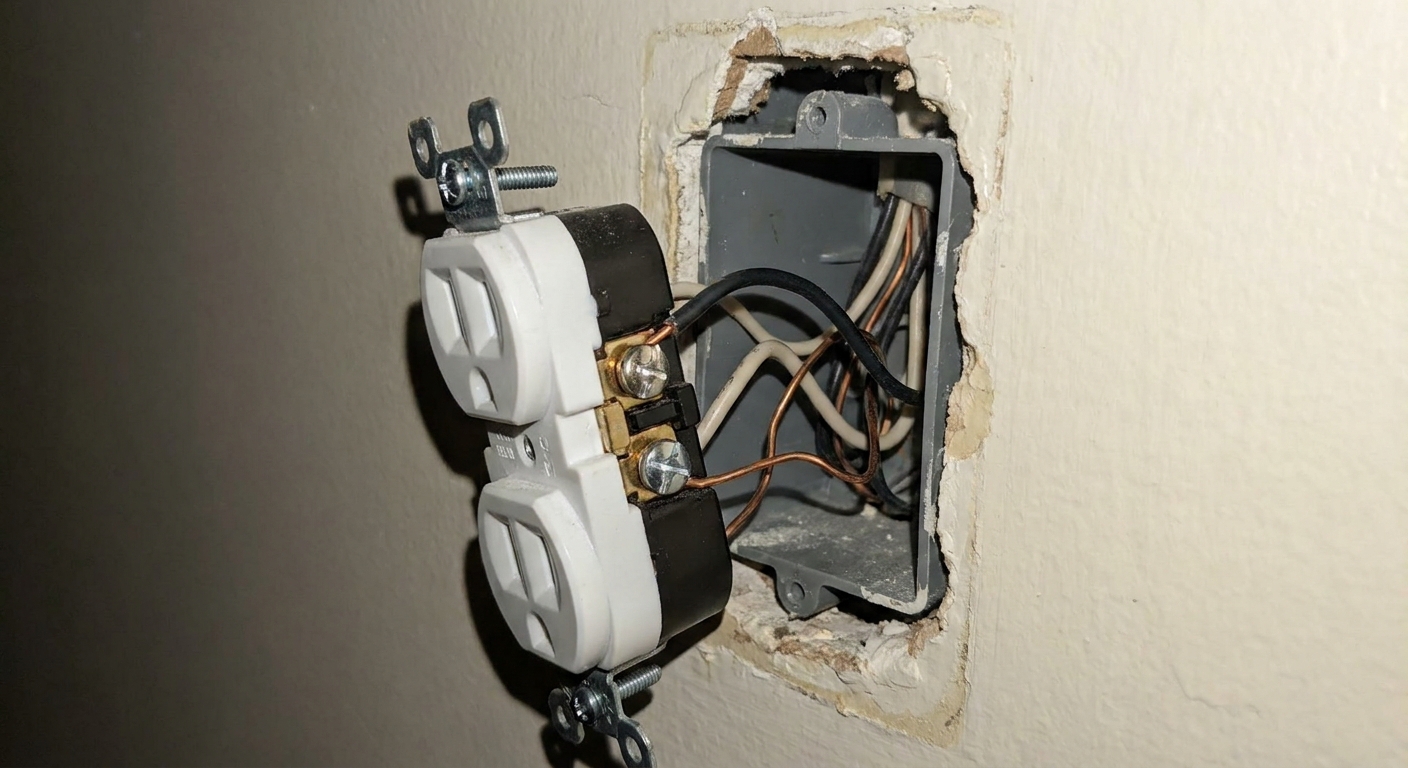
Step 5: Take a clear photo of the wiring
This is my favorite cheap insurance. Snap a photo before you disconnect anything. It can save you from second guessing later.
Step 6: Move wires to the new receptacle (one at a time)
Most standard receptacles have:
- Brass screws for hot wires (often black, sometimes red)
- Silver screws for neutral wires (often white)
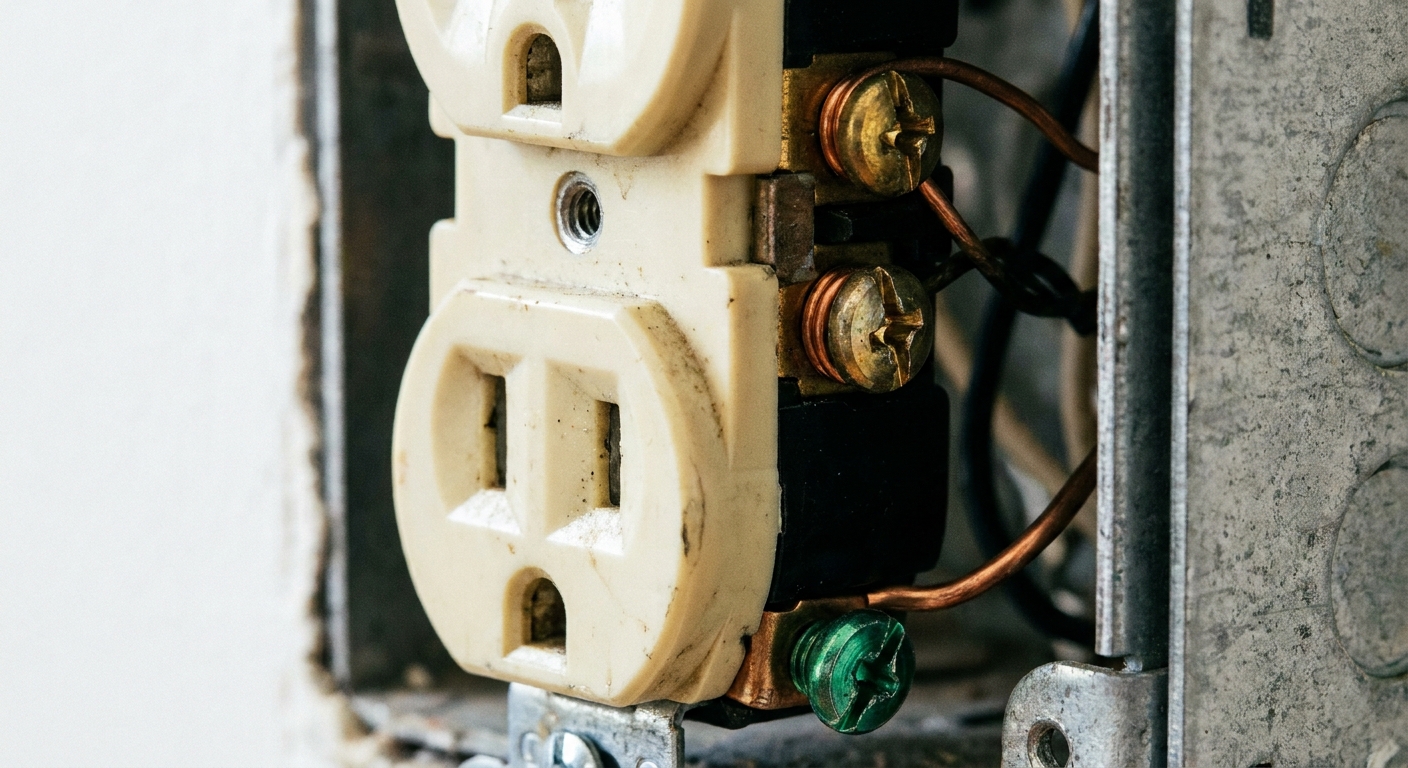
- Green screw for ground (bare copper or green)
If your old receptacle uses push-in backstab connections, I recommend moving those wires to the screw terminals on the new receptacle, or to the back-wire clamp style if your new device has it. Back-wire clamps are not the same thing as backstabs. Clamps tighten the wire under a pressure plate and are very solid.
If there are two hots and two neutrals on the old receptacle, that usually means the outlet is feeding other devices. Your safest DIY move is to transfer wires one at a time and keep them on the same sides (hots to brass, neutrals to silver). If the box is crowded, or you are unsure how the downstream feed is handled, that is a good time to call an electrician. Many electricians prefer using pigtails so the downstream feed is not dependent on the receptacle itself.
How to attach under a screw: bend the stripped wire into a hook and wrap it clockwise so tightening the screw pulls the loop tighter, not looser.
Step 7: Fold wires neatly back into the box
Take your time here. Neat folding reduces stress on connections and makes the receptacle sit flat. I fold wires in an accordion pattern, keeping ground wires tucked so they do not interfere with the terminals.
While you are here, check for basics that cause frustration later: a loose electrical box, broken mounting ears, or a device that sits recessed behind the wall surface. If the box is set too far back, you may need outlet spacers or a box extender so the installation is solid and safe.
Step 8: Mount the receptacle and reinstall the cover
Screw the receptacle back to the box. You want it snug, not torqued down so hard it bows. Put the cover plate back on.
Step 9: Turn the breaker back on and test
Restore power at the breaker. First, use a plug-in receptacle tester to confirm correct wiring. Then plug in something normal and check that it grips firmly. A good receptacle feels noticeably tighter, and the plug should not droop or slip out with normal cord weight.
Common mistakes I see (and have made myself)
- Not verifying power is off. Turning off the wrong breaker is easy in older panels. Test every time.
- Using backstabs again. If your old outlet loosened up, give the new one the best chance by using screw terminals or a back-wire clamp.
- Leaving too much bare copper exposed. Use the strip gauge on the receptacle if it has one. Many devices land around 1/2 to 5/8 inch, but do what your receptacle calls for and keep bare wire tucked under the screw head.
- Over-tightening and cracking the cover plate. Snug is enough.
When to stop and call an electrician
Even for confident DIYers, there are moments when the smartest move is to tap out:
- You cannot confidently identify which breaker controls the outlet.
- The electrical box is damaged, loose, or too small for the number of wires.
- You see melted plastic, charring, or brittle insulation.
- You find aluminum branch wiring and you are not trained to work with it.
Replacing a worn receptacle is a very normal homeowner repair. But if anything looks “not normal,” that is your cue to bring in a pro.
FAQ
Can I just tighten something inside the outlet so it holds the plug?
No. The gripping force comes from internal spring contacts that wear out. There is no reliable, safe adjustment. Replacement is the fix.
Is a loose plug actually dangerous?
It can be. A loose connection can lead to intermittent contact and heat buildup at the plug blades. That is why I treat a worn receptacle as a “replace soon” item, not a “someday” item.
How long should a new outlet last?
It depends on use, but a good quality receptacle in a normal spot can last many years. In high-use locations, stepping up to commercial grade can extend the service life.
The 30-Second Cheat Sheet
Essential takeaways for: Outlet Won’t Hold a Plug? Replace the Receptacle
What it is
If the outlet still has power but plugs slip out or feel wiggly, the receptacle’s internal contacts are worn out. The fix is to replace the receptacle.
Do this first
- Turn OFF the breaker feeding the outlet.
- Verify power is OFF before touching wires. A non-contact tester is a good first check, but confirm with a plug-in tester or a two-pole tester if you have one.
What you need
- Non-contact voltage tester
- Plug-in outlet tester (recommended)
- Flathead and Phillips screwdrivers
- Needle-nose pliers
- Replacement receptacle (match 15A vs 20A)
Fast steps
- Remove cover plate.
- Unscrew outlet and pull it out gently.
- Take a photo of wiring.
- Move wires to the new receptacle one at a time: hot to brass, neutral to silver, ground to green.
- Prefer screw terminals or back-wire clamps (if your device has them) over push-in backstabs.
- Fold wires neatly back, mount outlet, reinstall plate.
- Turn breaker on, then test with a plug-in tester and confirm the plug fit is tight.
Stop and call a pro if
- You see melting, scorching, or damaged insulation.
- You cannot positively identify the correct breaker.
- You run into aluminum wiring or a damaged electrical box.
💡 Tip: Scroll up to read the full article for detailed, step-by-step instructions.
⬆️ Back to top
About Grit
Content Creator @ Grit & Home
Grit is Grit & Home’s little blue clay courier, delivering big questions about the place you call home. Expect practical ideas, a raised eyebrow, and a satchel full of curiosity.