When an oven door stays locked after a self-clean cycle, it feels like the appliance is holding your kitchen hostage. The good news is that most lockouts are normal and temporary. The bad news is that forcing the handle can crack hot glass, bend the latch, or turn a simple wait-and-reset into an expensive repair.
Below is the exact, safety-first order I use at home: cool it down, confirm the cycle is truly over, then try a few gentle resets. If any of the red flags show up, that is your cue to stop and call for service.
Quick note: These steps fit most modern self-clean electric ovens and many self-clean gas models, but not all gas ovens have self-clean. If yours is a gas model, consult your manual for any brand-specific warnings.
Why self-clean locks the door
Self-clean runs the oven at extremely high temperatures to burn off baked-on grease. To keep you safe, most ovens automatically lock the door during the cycle and keep it locked until the oven cools to a safe temperature. Depending on the model, self-clean can reach temperatures around 800 to 900°F.
- Heat protection: The door lock prevents accidental opening when the interior and glass can be hot enough to burn instantly.
- Lock timing is automatic: Many models keep the lock engaged well after the display hits “0:00” because the sensor still reads hot.
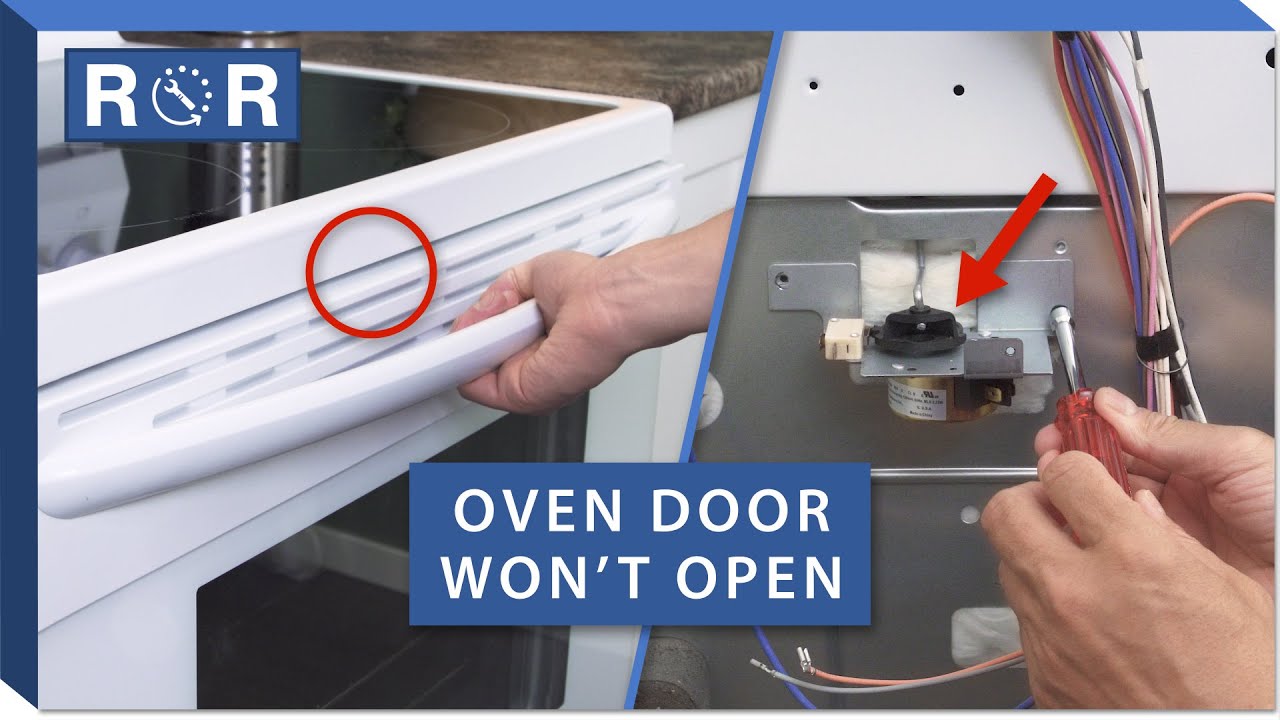
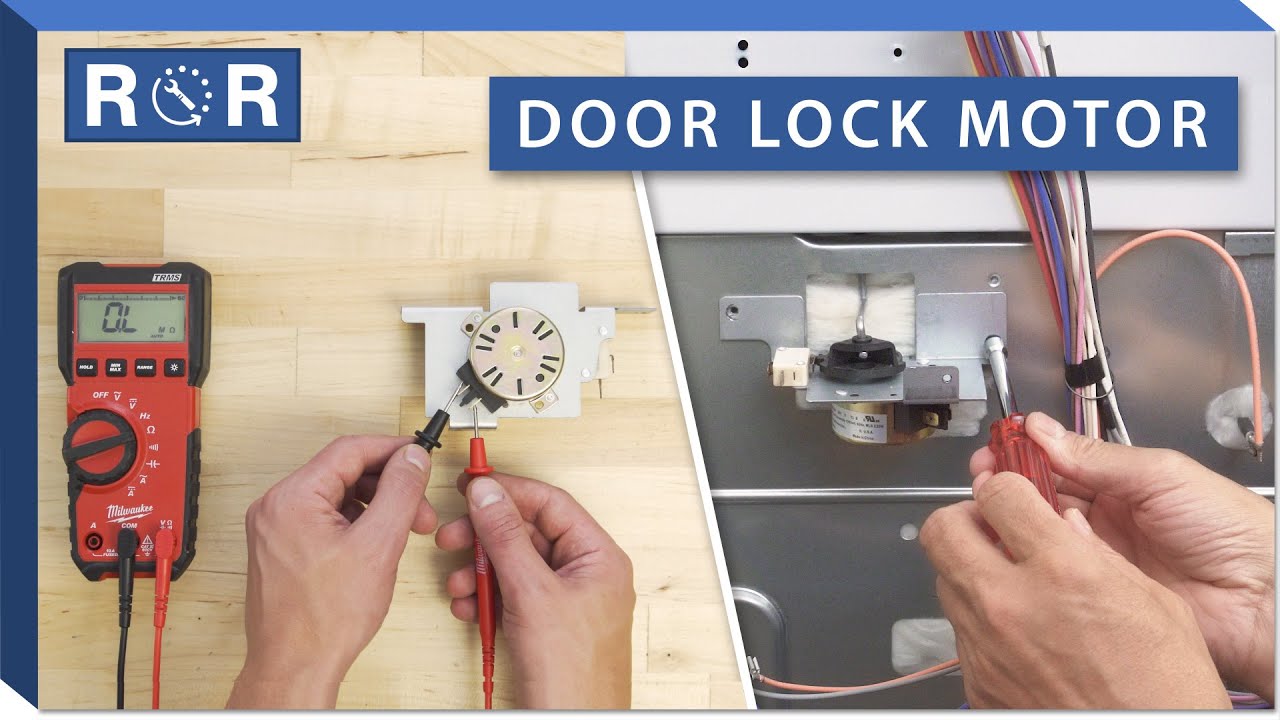
- Some models lock with a motor: A small latch motor moves a hook into place. If it gets stuck, you can end up locked out even when the oven is cool.
Safety first: do this now
Before you touch any buttons, do these quick safety steps. They prevent burns, broken glass, and curious-kid accidents.
- Keep kids and pets away. Hot oven doors look harmless until you touch them.
- Do not force the handle. If the latch is engaged, forcing it can bend the latch mechanism or crack the inner glass panel.
- Vent the room. Self-clean fumes and residue can smell harsh or irritating. Turn on the range hood and crack a window.
- Check the display. If the panel shows “CLEAN,” “LOCKED,” or a lock icon, assume the oven is in a lockout stage. Note: on some ovens, a lock icon can also mean Control Lock, not heat. You will sort that out in the steps below.
- Find your model number (if you can). It is often on the door frame or just inside the storage drawer. If you end up calling for service, this saves time.
How long to wait
For most ovens, the door will not unlock until the cavity temperature drops below a set threshold. That can take longer than you expect, and it varies by model, cycle length, and room temperature.
- Typical cooldown: 30 to 90 minutes after the self-clean ends.
- Longer cooldown is common: 2 to 3 hours is not unusual after a long cycle, or in a warm kitchen. Some models can take longer.
- Rule of thumb: If the outer door glass is still very warm to the touch, you are not ready to troubleshoot. Keep waiting.
If you are in a hurry because food is trapped inside, keep reading. There are still safe steps to try, but knowing why it locked matters.
Quick checks
1) Confirm it is not still cleaning
On many models, the timer can hit zero while the clean cycle is still technically active during cooldown. Look for any of these signs:
- “CLEAN” still lit
- Lock icon still on
- Cooling fan still running
If you see those, keep waiting. The lock is doing its job.
2) Press “Clear/Off” once, then wait 60 seconds
This sounds too simple, but it works often. Some controls need a clean cancel signal before they begin the unlock sequence.
3) Optional: try Bake for 1 minute, then cancel
On certain electronic controls, briefly starting Bake and then pressing Cancel can re-home the latch logic. Keep the temperature low, like 250°F, and cancel after about a minute. Then wait and listen for a faint click as the latch motor retracts.
Guardrail: Only try this if the oven is fully cool and your manual does not warn against it. If you are unsure, skip this step and go straight to the power reset or service.
Safe DIY unlock steps
Step 1: Power reset
If the oven is cool but still locked, a simple power reset can wake up a stuck control board.
- Turn the oven off.
- Flip the oven’s breaker off (or unplug it if it is a plug-in model and you can reach it safely).
- Wait 5 minutes.
- Restore power.
- Wait another 1 to 2 minutes and listen for the latch motor.
If it unlocks, great. Set the clock if needed and you are back in business.
Step 2: Toggle Control Lock correctly
Some ovens have a separate “Control Lock” or “Door Lock” feature (often a 3-second hold). If the panel is confused between clean-lock and control-lock, cycling it can help.
- Look for a button labeled Lock, Control Lock, or a padlock icon.
- Press and hold for 3 to 5 seconds to toggle it.
- Wait for a beep and watch the lock indicator.
If you are not sure which button does what, check the model’s manual online by searching your model number.
Step 3: Gentle door pressure while it unlocks
This is a “help the mechanism, not force the mechanism” move.
- With one hand, apply light inward pressure on the door (as if you are keeping it fully closed).
- Do not pull outward on the handle while doing this.
- With the other hand, press Clear/Off or toggle the lock feature.
- Sometimes relieving tension lets the latch retract cleanly.
Stop immediately if you feel the handle resisting hard. The goal is to remove pressure from the latch, not overpower it.
What not to do
- Do not pry the door open with a screwdriver or putty knife. You can bend the frame, chip enamel, or shatter the inner glass.
- Do not yank the handle repeatedly. That is how latches get bent and stay stuck forever.
- Do not reach into the latch area while the oven is hot. The metal trim around the latch can hold heat longer than the glass.
- Do not remove panels unless you are confident and the power is off at the breaker. Live voltage is present behind many control panels.
Red flags: call for service
I am all for sweat equity, but ovens are one place where the “just muscle it” approach backfires. Call a pro or your manufacturer’s service line if you notice any of the following.
- The door is cool but the lock indicator never turns off even after a power reset.
- You hear grinding, buzzing, or clicking repeatedly near the latch area when it tries to unlock.
- The latch looks crooked or the strike plate is visibly bent.
- The oven displays an error code after self-clean (common sign of latch motor or temperature sensor faults).
- The door handle feels loose or the door alignment changed after the clean cycle.
- Smoke smell persists or you see melted trim or discoloration near the latch.
These symptoms often point to a failed latch motor, a misaligned latch assembly, a bad temperature sensor, or a control board problem. Those repairs are doable, but they are not the “20 minutes on a Saturday” kind of DIY for most households.
If food is trapped inside
This is the part nobody plans for, and the details matter. There are two common scenarios.
Scenario 1: Self-clean started with food inside
Press Cancel or Clear/Off immediately. Self-clean temperatures are extreme. Food, grease, foil, and spills can smoke heavily and may ignite. Canceling right away is the safest move.
- Cancel the cycle now. Do not try to “let it finish.”
- Keep the door closed. Do not try to defeat the lock. Opening a superheated oven can feed a flare-up.
- Vent the kitchen. Turn on the hood, crack a window.
- If you see flames or heavy smoke: keep the door closed, cancel or turn the oven off, and follow your local fire safety guidance. Do not throw water into the oven.
- Wait for the lock to release on its own. Even after you cancel, many ovens stay locked until they cool to a safe temperature.
Scenario 2: Self-clean finished, but it will not unlock
- Let it fully cool (often 1 to 3 hours, sometimes longer depending on the model).
- Try the power reset again once it is cool.
- If it is cool and still locked, call service. Tell them “door locked after self-clean” and provide the model number so they bring the right latch parts.
How to prevent repeat lockouts
- Use self-clean sparingly. It is hard on electronics, door gaskets, and latches.
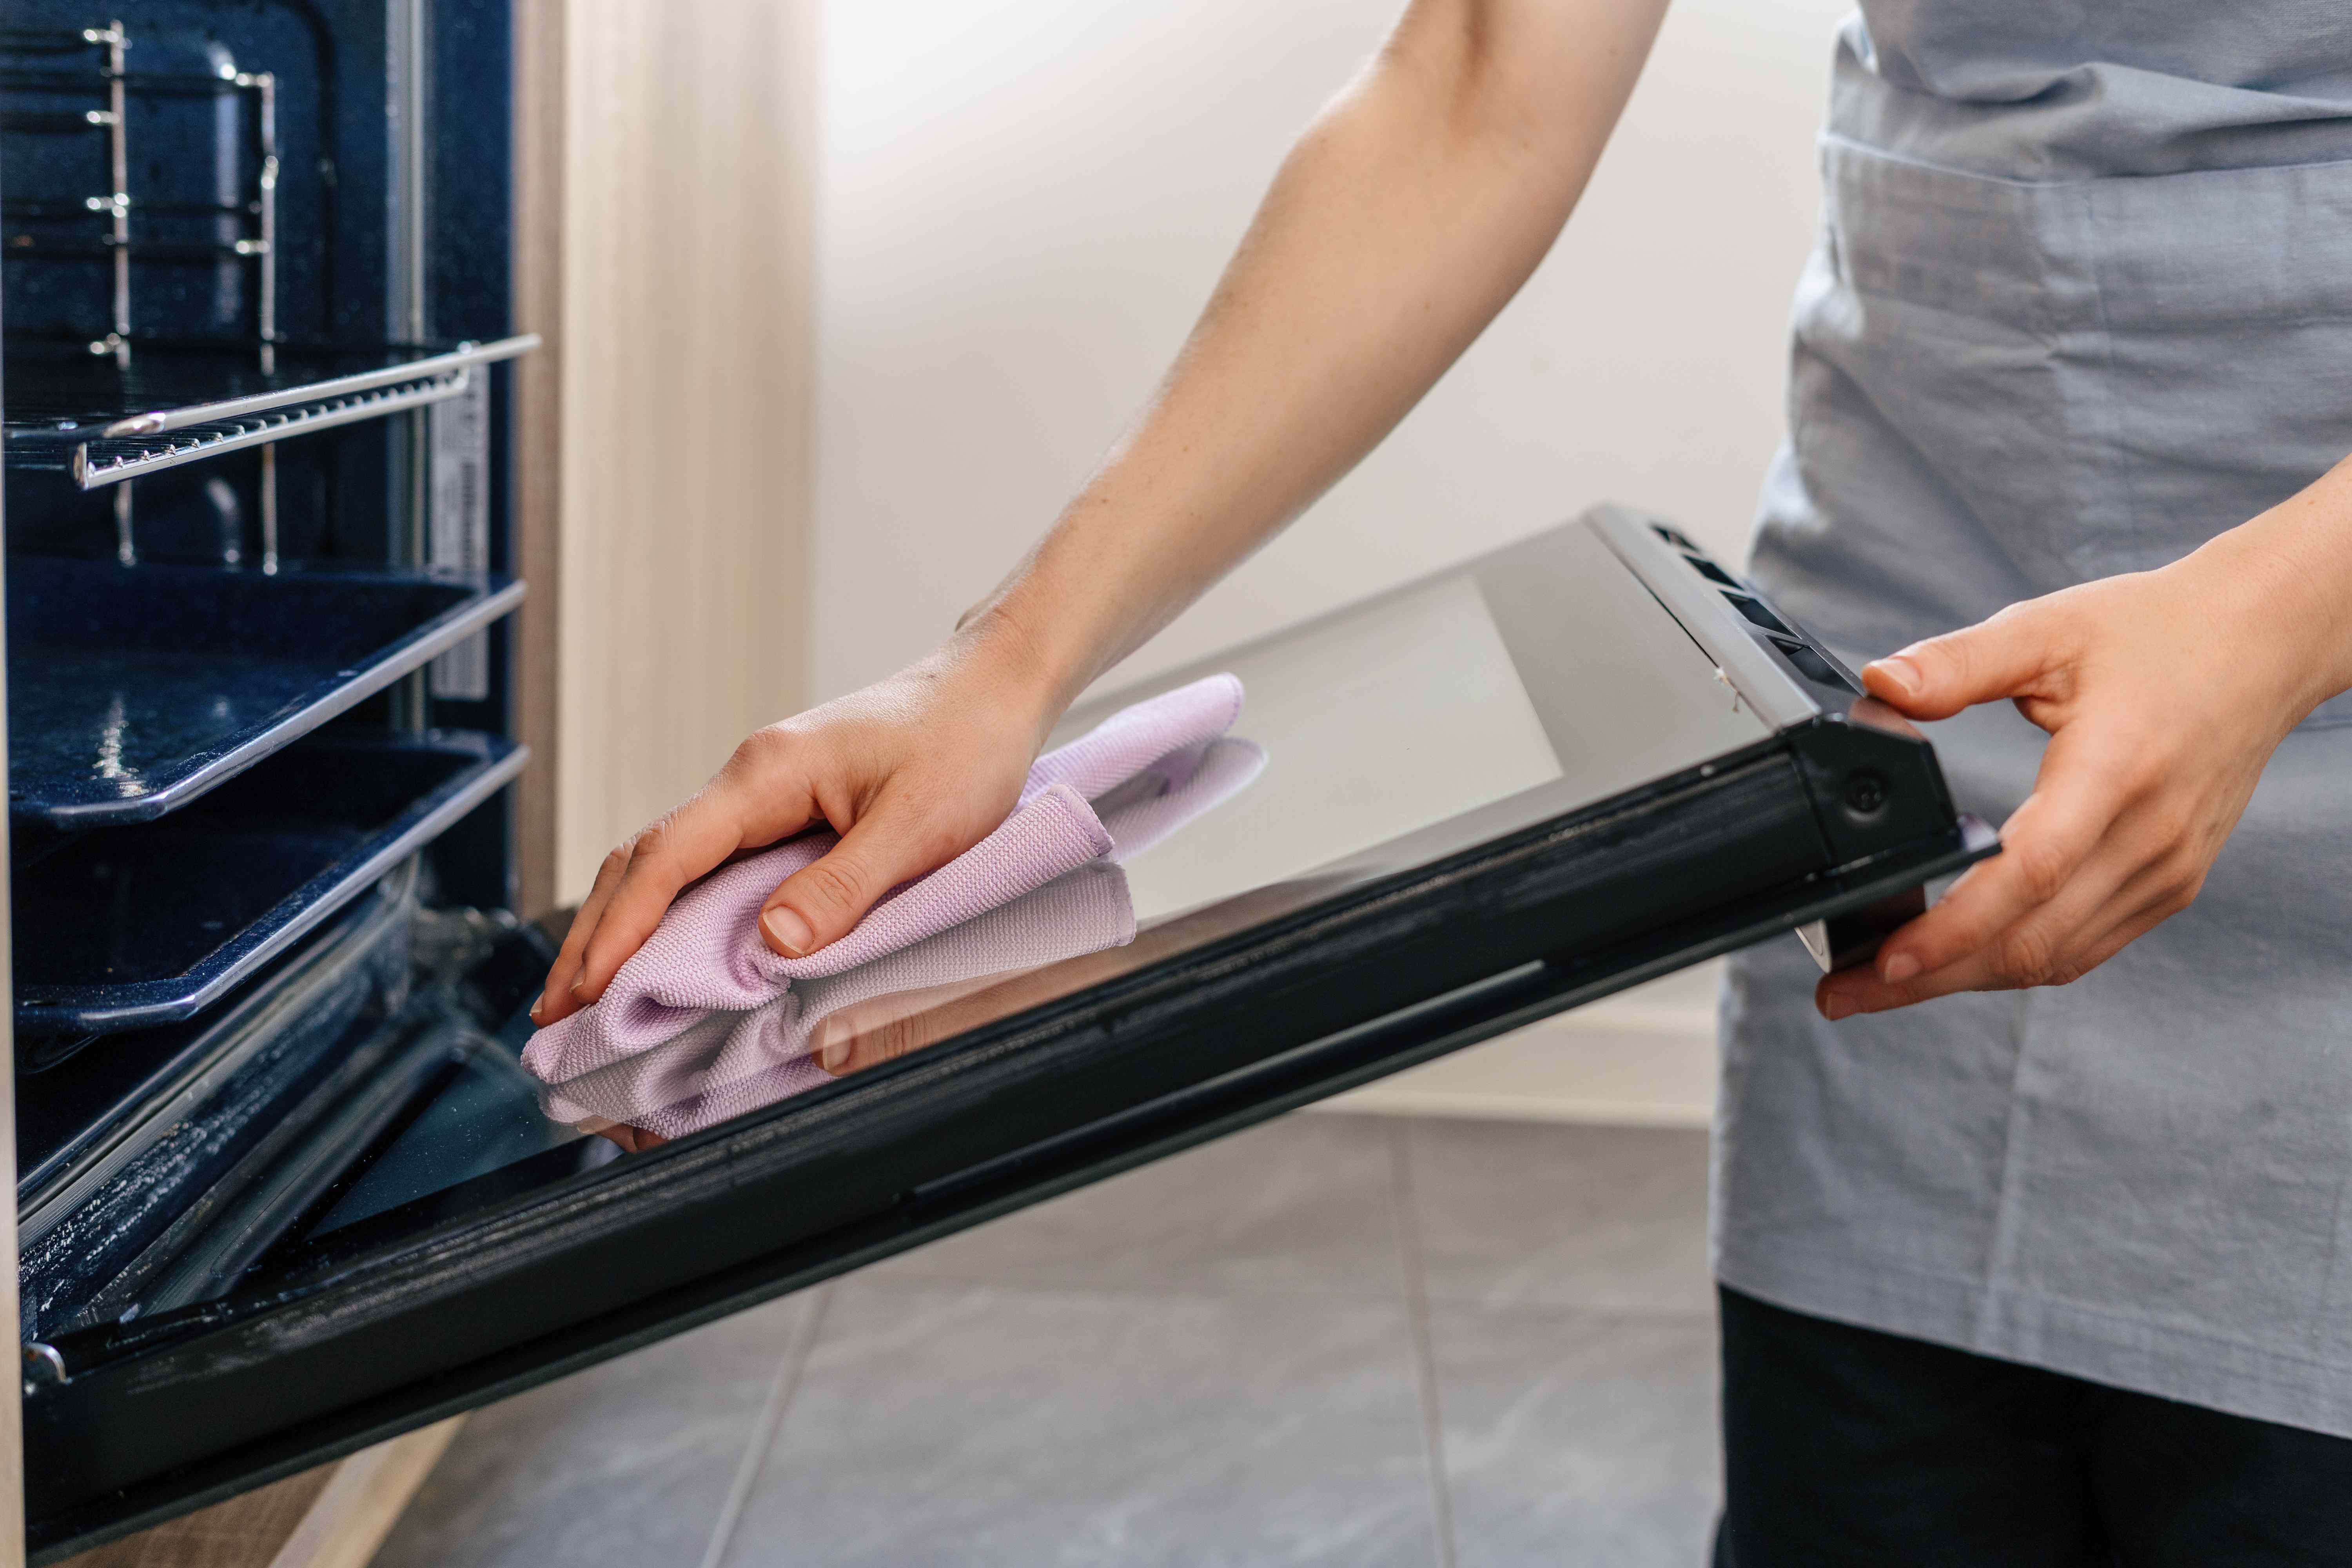
- Wipe spills early. A damp cloth after the oven cools handles most messes before they become “need self-clean” level.
- Shorter clean cycles are kinder. If your oven offers 2, 3, and 4-hour options, pick the shortest that gets the job done.
- Do it when you can wait. Start self-clean when you do not need the oven for several hours afterward.
Quick checklist
- Wait 30 to 90 minutes after cycle end, longer if the door glass is still hot (some models take longer).
- Press Clear/Off and wait 60 seconds.
- Try a 5-minute power reset at the breaker, then listen for latch movement.
- Toggle the Control Lock feature (3 to 5 second hold) if your model has it.
- Optional: if fully cool and the manual does not warn against it, try Bake for 1 minute, then cancel.
- If you accidentally started self-clean with food inside, press Cancel immediately and keep the door closed until it cools and unlocks.
- If the oven is cool and still locked, or you hear grinding or clicking, stop and call service.
My neighbor-to-neighbor advice
I have learned the hard way that the oven door latch is not a “stronger hands” problem. Treat it like a safety device, not a stubborn jar lid. If you follow the cooldown, then do the gentle resets in order, you will solve most post self-clean lockouts without breaking anything. And if the lock still refuses to budge once the oven is truly cool, that is usually a parts issue, not a patience issue.
About Marcus Vance
Content Creator @ Grit & Home
Marcus Vance is a lifelong DIY enthusiast and self-taught home renovator who has spent the last decade transforming a dilapidated 1970s ranch into his family's dream home. He specializes in budget-friendly carpentry, room-by-room renovations, and demystifying power tools for beginners. Through his writing, Marcus shares practical tutorials and hard-learned lessons to help homeowners tackle their own projects with confidence.