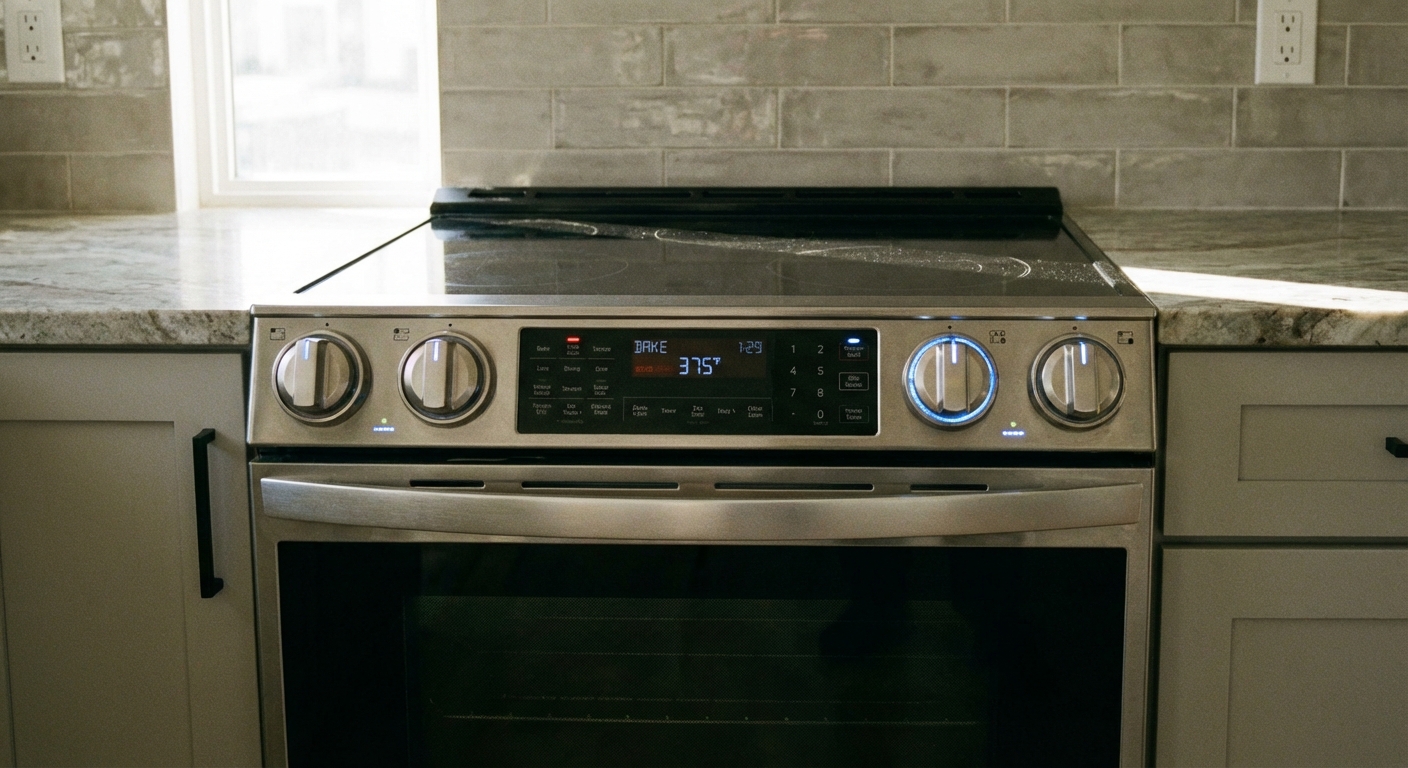
When an oven stops heating, it feels like the whole kitchen is off-limits. The good news: a lot of “no heat” problems come down to a handful of common parts and settings. Some are beginner-friendly checks. Others take a screwdriver and a little patience.
I’m going to walk you through six fixes that cover both electric and gas ovens, starting with the safest, easiest steps. If at any point you smell gas, see scorching, or feel unsure, stop and call a pro. Saving money is great. Doing it safely is non-negotiable.
Tools and info to grab first
- Multimeter (continuity and resistance, and clamp meter if you have one)
- Nut driver or screwdriver (often 1/4-inch)
- Work gloves and a flashlight
- Your model number and the tech sheet/service sheet (often behind the control panel, behind the rear panel, or taped inside the bottom drawer)
Safety first (especially with gas)
- Kill power before removing panels: unplug the range or switch off the breaker. Many ovens use 240V, which isn’t forgiving.
- If you smell gas: don’t flip switches or use a lighter. Turn the oven off, open windows, shut off the gas supply valve if you can, and contact your gas utility or a qualified technician.
- Let parts cool. Bake elements, igniters, and shields stay hot longer than you think.
- Use the right meter if testing: a basic multimeter covers most checks here.
Quick gas oven reality check: A gas oven still needs electricity for the igniter, safety valve circuit, and controls. So “it’s gas” doesn’t mean “it’ll work with the power out.”
Before the six fixes: confirm the symptoms
These quick observations point you in the right direction:
- Electric oven: Does broil work but bake doesn’t? That often points to a failed bake element or wiring.
- Gas oven: Do you see the igniter glow but it never lights? Or does it take a long time to light? That often points to a weak igniter.
- Both types: Does it heat, but runs way too hot or too cool? That often points to calibration or a temperature sensor issue.
- Display dead or glitchy: Could be a tripped breaker, a loose plug, or a control that needs a reset.
Fix #1: Check the igniter (gas ovens)
If you’ve got a gas oven that won’t heat, the hot surface igniter is one of the most common culprits. Here’s what it does: when you set Bake, the igniter heats up and draws enough electrical current to open the gas safety valve. If it’s weak, it may glow but never pull enough current to open the valve.
Important: Don’t overthink igniter color. A lot of good igniters glow orange or yellow-orange. The more useful clue is time to ignition and (best of all) amp draw.
What to look for
- No glow at all: could be a failed igniter, broken wiring, a fuse/high-limit issue, or a control problem.
- Glows but doesn’t light: often a weak igniter or an issue in the safety valve circuit.
- Routinely takes too long to light: if it often takes more than about 60 to 90 seconds to get flame, that’s classic “weak igniter” territory.
How to check it (basic)
- Turn the oven to Bake and look through the bottom slots, or remove the oven floor panel if your model allows it.
- Wait up to 90 seconds. Some ovens take a bit to light even when everything’s healthy.
- If it sometimes lights but takes a few minutes, that’s still a strong sign the igniter is on its way out.
Best check (if you’re comfortable)
If you have a clamp meter, you can measure igniter current draw and compare it to the spec on your service sheet. Many common igniters land in the ballpark of about 3.2 to 3.6 amps for some round styles and about 2.5 to 3.0 amps for some flat styles, but your model’s spec wins every time.
What to do if it looks weak
Igniters are usually replaceable without pulling the whole oven out. You typically remove the oven racks, lift out the bottom panel, remove a flame spreader, then swap the igniter with a couple screws and a plug connection. Use the exact part number for your model.
My thrifty tip: If your igniter glows but the burner won’t light, you can spend hours chasing “gas problems” that aren’t there. A weak igniter is a classic time thief.
One more thing: People sometimes look for a “flame sensor” like a furnace has. Most gas ovens don’t use one. They rely on the igniter and safety valve system.
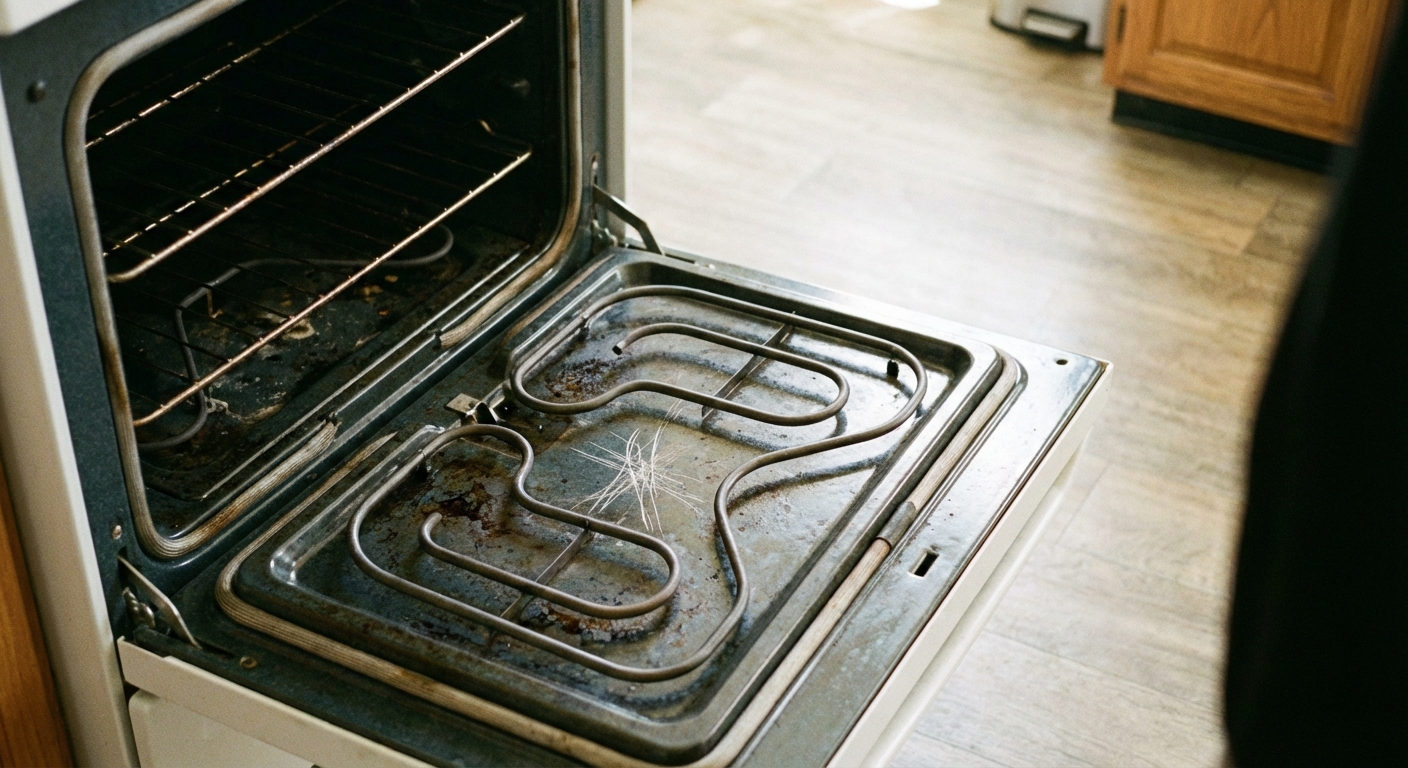
Fix #2: Test the bake element (electric ovens)
On an electric oven, the lower bake element does the heavy lifting. If it’s burned out, the oven may not heat at all, or it may barely warm up.
Visual inspection
- Look for blisters, cracks, or a hole in the element.
- Look for burn marks where the element connects through the back wall.
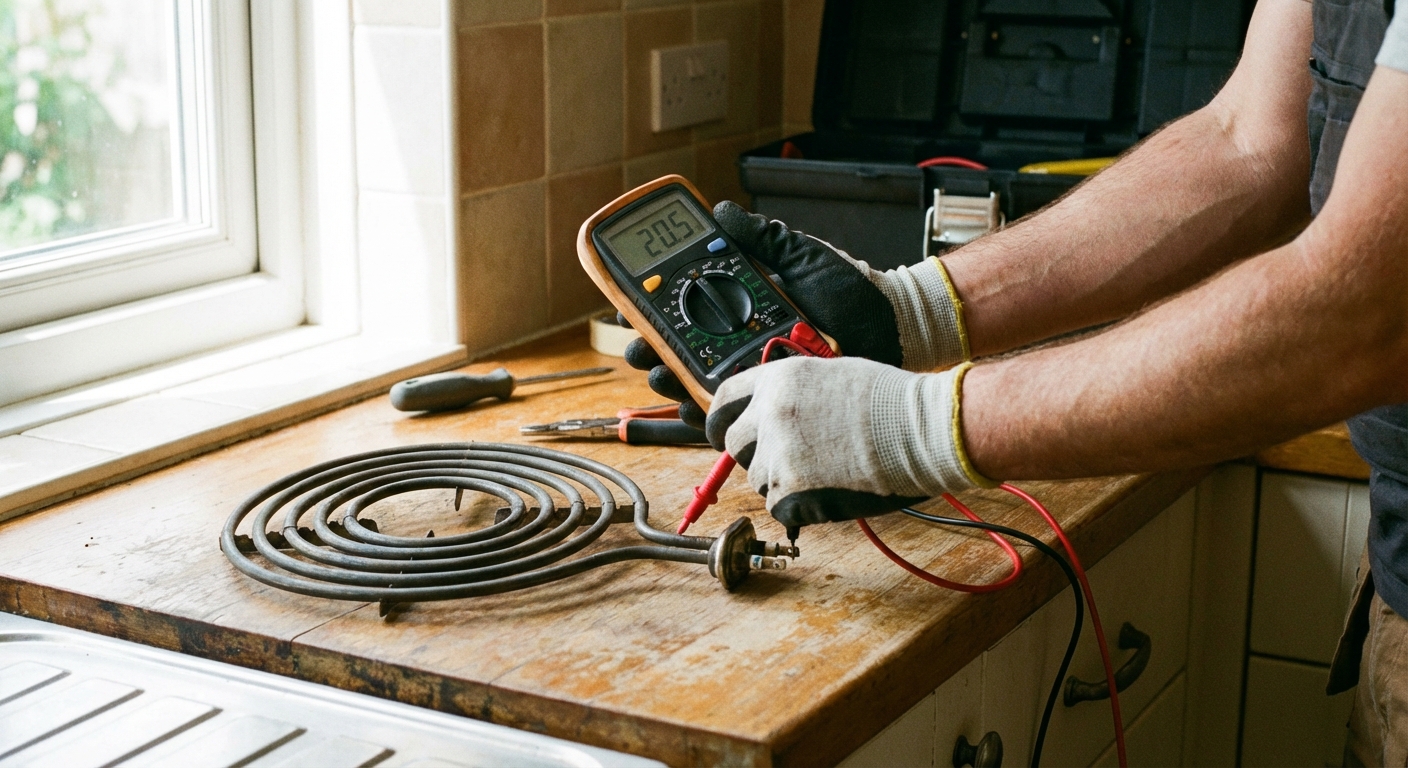
Continuity test (best check)
- Turn off the breaker and confirm the oven is dead.
- Remove the screws holding the bake element to the rear wall (inside the oven cavity) and gently pull it forward a few inches.
- Tip: Before you disconnect wires, clip a small binder clip on each wire or hold them with tape so they don’t slip back through the insulation hole. That’s a common DIY frustration.
- Carefully disconnect the wires from the terminals. Take a photo first so you put them back correctly.
- Set your multimeter to continuity or resistance. A good element often reads in the tens of ohms (commonly around 15 to 40Ω, depending on the element). If you get no continuity, it’s done. If you’re unsure, check the service sheet for your exact spec.
If the element is bad, replacement is usually a straightforward swap. If the element tests good, move on because the problem is likely upstream (sensor, fuse, control, wiring, or power supply).
Fix #3: Recalibrate the temp (or test the sensor)
Sometimes the oven heats, but it’s consistently off by 25 degrees, 50 degrees, or more. Before you assume a major failure, make sure you aren’t fighting a calibration issue.
Step 1: Verify oven temperature
- Place a reliable oven thermometer in the center of the middle rack.
- Preheat to 350°F and let it cycle for 20 to 30 minutes.
- Note the average temperature over a few cycles, not just the initial peak.
Step 2: Recalibrate (if your model allows it)
Many digital ranges have a calibration setting in the control menu, often called Oven Temp, Offset, or Calibration. Typical adjustment is in 5°F increments up to about plus or minus 35°F. Check your owner’s manual for the exact button sequence.
If calibration isn’t available (or it’s wildly wrong)
On many ovens, temperature is controlled by an oven temperature sensor probe inside the cavity. If it’s failing, the control board gets bad information and the oven behaves badly.
A common quick check is a resistance test at room temperature. Many popular sensors read around 1,080 ohms at 70°F, but plenty don’t. Some are closer to 1,000Ω around 77°F, and other brands differ more. Always verify your model’s spec on the tech sheet or service manual.
Fix #4: Check thermal fuses and high-limits
Ovens have safety devices designed to cut heat if temperatures get unsafe. If a thermal fuse blows or a high-limit switch opens, the oven may stop heating. On some models the display still looks normal, and on others it may go dead or throw an error code.
Where they are
- Often behind the rear panel of the range.
- Sometimes under the cooktop on a freestanding range.
- On some models, near the control board area where heat can build up.
How to check
- Unplug the range or shut off the breaker.
- Remove the back panel and look for a small, flat fuse or switch with two wires.
- Test for continuity. If it’s open (no continuity), it’s likely the reason the oven won’t heat.
Important: Don’t bypass a thermal fuse “just to see.” If it opened, it may be protecting you from a fan failure, blocked vents, or an overheating control area. Replace it and look for the underlying cause.
Self-clean note
If your oven stopped heating right after a self-clean cycle, a thermal fuse/high-limit is a prime suspect. Also watch for door latch issues: some models won’t heat if they think the door is locked or unlocked at the wrong time. If you’re seeing a latch-related error code, follow the tech sheet or manual for that specific diagnosis.
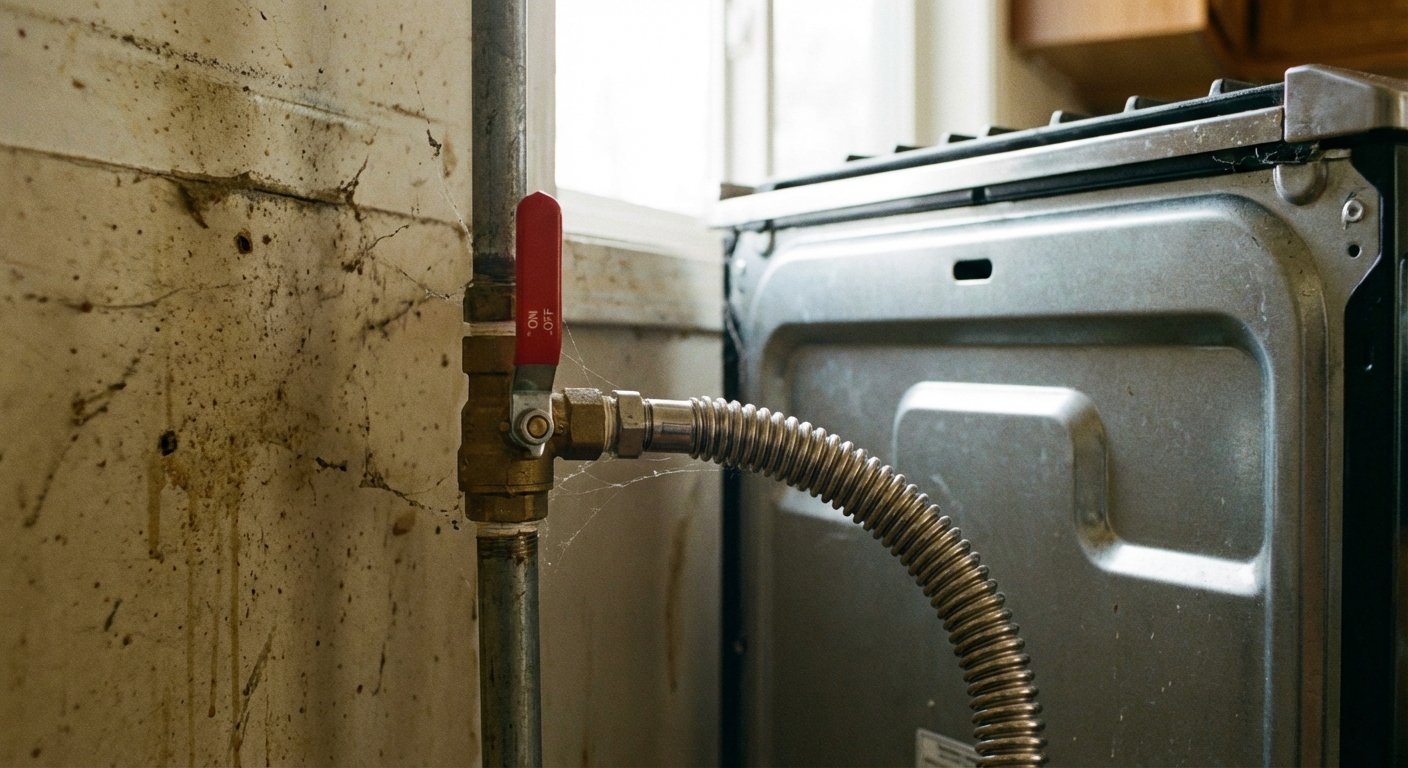
Fix #5: Verify gas supply (gas ovens)
If the igniter seems to be working but you still aren’t getting heat, confirm the oven is actually getting fuel. This is a simple check, but it needs a careful approach.
What to check
- Gas shutoff valve: Make sure the valve behind the range is fully open. The handle should be parallel with the pipe for most valves.
- Other gas appliances: Do other gas appliances in the house work normally (furnace, water heater, dryer)? If not, you might have a supply issue.
- Cooktop burners (if the range is gas): If the burners are weak or won’t light, that points to supply or regulator issues.
Red flags that mean stop
- You smell gas around the range.
- You hear hissing that doesn’t stop.
- You see soot buildup or unusual flame behavior.
At that point, shut things down and get qualified help. Gas is incredibly useful, but it’s not the place for guesswork.
Fix #6: Reset controls and check power
Modern ovens are basically small computers bolted to a hot box. Power glitches happen. Before you assume the control board is bad, try the easy reset and power checks.
Reset steps
- Turn the oven off.
- Unplug the range or turn off the breaker for 2 to 5 minutes.
- Restore power and try Bake again.
Also check these basics
- Breaker: Ovens often use a double pole breaker. It can trip “halfway” and look on when it isn’t. Flip it fully off, then fully on.
- Lost a leg of 240V: Some electric ranges can lose one side of the 240V supply. You might see lights or a cooktop that seems to work, but the oven won’t heat properly. The safe first step is resetting the double pole breaker. If you’re trained and equipped, you can verify L1 and L2 voltage per the service sheet. Otherwise, this is a good point to call a pro.
- Outlet: For plug-in ranges, make sure the plug is seated. If it was bumped during cleaning, it can loosen.
- Error codes: If an error code appears, look it up by model number. It often points directly to a sensor, latch, or control issue.
If resetting fixes it once but the problem keeps coming back, that usually points to a failing part (sensor, board, or wiring connection) rather than a one-time glitch.
When to call a repairman
I love a DIY win, but some oven problems cross into “not worth the risk.” Call a professional if:
- You smell gas or suspect a gas leak.
- You see melted wiring, scorching, or signs of arcing.
- Your tests point to the gas safety valve, control board, or internal wiring harness and you aren’t 100 percent comfortable.
- The oven is under warranty. DIY work can complicate a claim.
My rule: If the next step requires guessing, I stop. The goal is a hot dinner, not an expensive lesson.
Quick troubleshooting cheat sheet
- Gas oven, no heat: Watch the igniter. If it won’t glow, or it glows but never lights (or takes longer than about 60 to 90 seconds), suspect the igniter first.
- Electric oven, broil works but bake doesn’t: Test the bake element for continuity.
- Heats but wrong temp: Verify with an oven thermometer, then calibrate or test the temperature sensor using your model’s spec.
- No heat after self-clean: Check thermal fuse/high-limit and look for door latch issues or error codes.
- Dead or glitchy controls: Reset power and check the double pole breaker.
About Marcus Vance
Content Creator @ Grit & Home
Marcus Vance is a lifelong DIY enthusiast and self-taught home renovator who has spent the last decade transforming a dilapidated 1970s ranch into his family's dream home. He specializes in budget-friendly carpentry, room-by-room renovations, and demystifying power tools for beginners. Through his writing, Marcus shares practical tutorials and hard-learned lessons to help homeowners tackle their own projects with confidence.