🚨 In a DIY emergency or rush?
Skip the details and jump straight to our 30-second cheat sheet for the most crucial info.
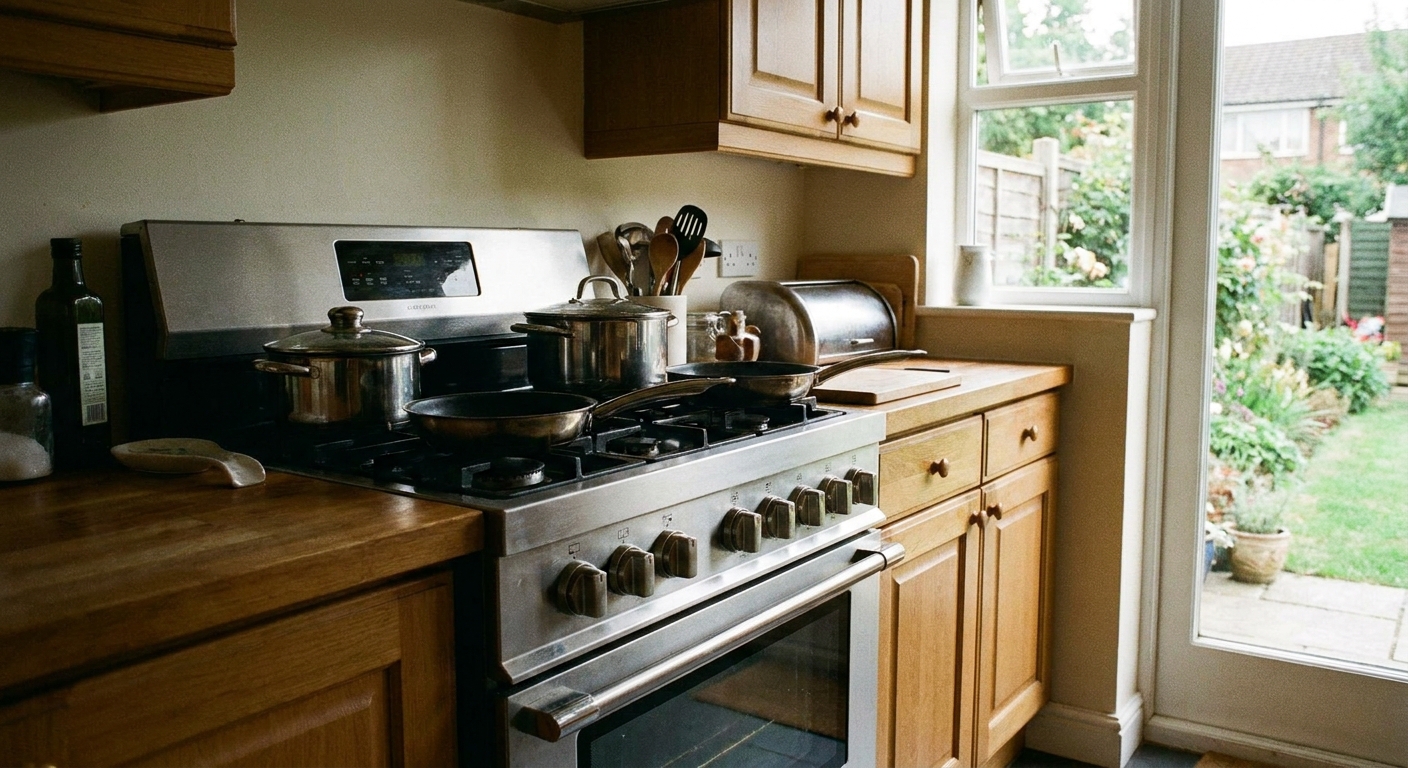
A completely dead oven is its own kind of panic. No clock. No display. No preheat light. No response when you press buttons. The good news is that a “won’t turn on” problem is often simpler than a “won’t heat” problem because you are chasing power and basic safety interlocks first.
This guide is for ovens and ranges that seem totally lifeless. If your display works but it will not get hot, you want a different troubleshooting path.
Safety first (quick, boring, important)
- Electric shock risk: Many ranges are 120V (common for gas) or 240V (common for electric) depending on where you live and the model. Either can hurt you. If you remove panels, unplug the cord or switch the breaker off first.
- Gas safety: If you smell gas, do not troubleshoot. Turn off the gas supply if you can, ventilate, and call your gas utility or a licensed tech.
- When in doubt: If you are not comfortable using a multimeter, stick to the “no tools” checks and call for service.
Step 1: Make sure the oven is actually getting power
Check the breaker the right way
For electric ranges, a tripped breaker is one of the most common “dead oven” culprits. The trick is that a breaker can look “on” when it is half-tripped.
- Find the range/oven breaker (often a double-pole breaker for electric ranges).
- Flip it fully OFF, then back ON.
- If it trips again immediately, stop and call an electrician or appliance tech. Something is shorting.
Quick sizing note: Many freestanding electric ranges are on 40A to 50A circuits, but 30A and other sizes exist. If you are curious, check the nameplate, not your neighbor’s range.
Check nearby GFCI outlets (yes, really)
This is more common with 120V appliances like gas ranges and some wall ovens. If the outlet feeding the oven is protected by a GFCI upstream, a tripped GFCI can make the oven look stone dead.
- Check and reset any GFCI receptacles in the kitchen, pantry, garage, basement, or outdoor kitchen areas that might share the circuit.
- If the GFCI will not reset, stop and call for help. Something may be leaking current to ground.
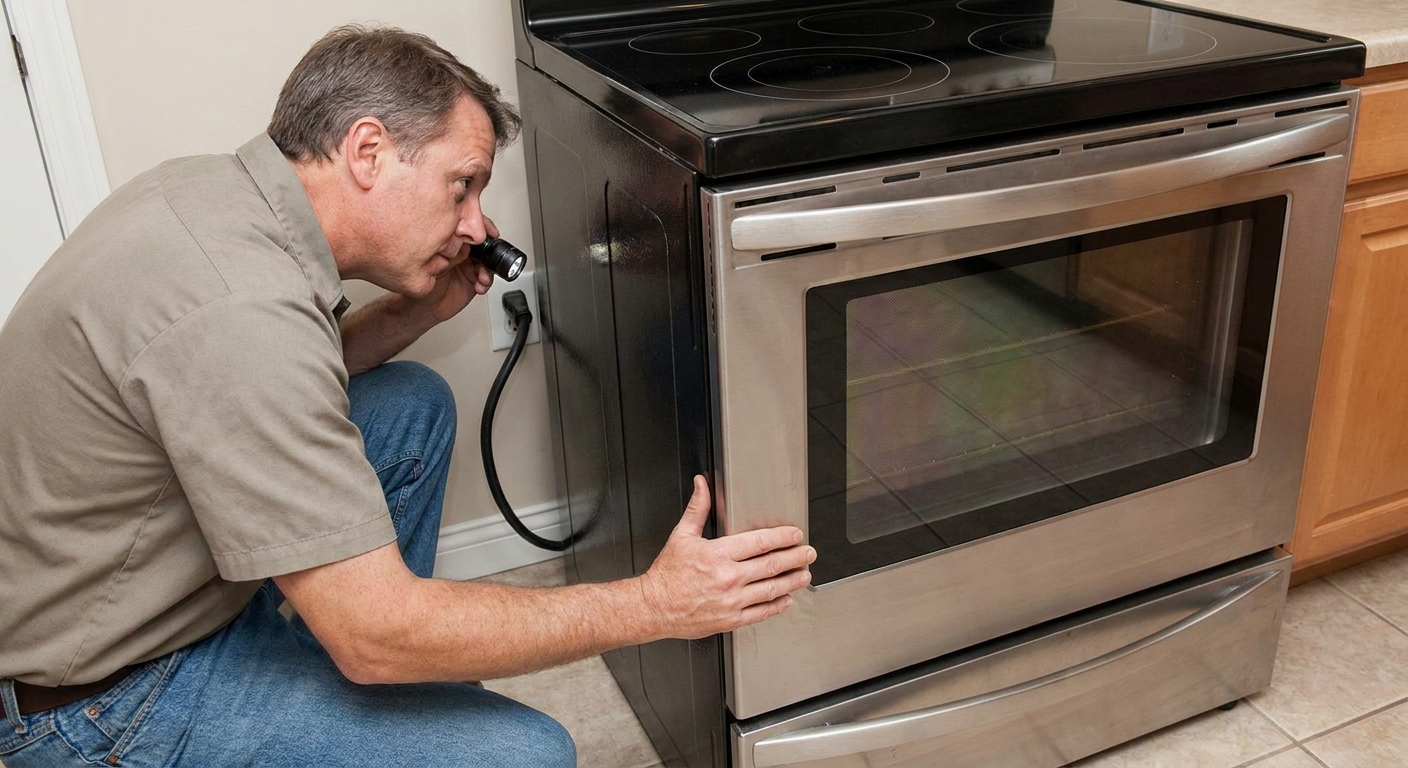
Test the outlet (or the junction box)
If your oven plugs into a receptacle, confirm the outlet works. If it is hardwired, you will be checking a junction box, which is more advanced.
- No-tools check: If it is a standard 120V plug (common for many gas ranges and some wall ovens), plug in a lamp or phone charger to confirm power.
- 240V ranges: The outlet is not something you test with a phone charger. If you do not own a multimeter and know how to use it, this is a good stopping point.
DIY note: I once spent an hour convinced my control board died, only to realize the plug had slowly backed out of the outlet after I shoved a broom behind the range. Check the simple stuff first.
Step 2: Look for “it’s on, but ignoring you” settings
Control settings rarely cause a totally black screen, but they can make an oven feel dead when the display is on and buttons do nothing.
Child lock / control lock
- Look for a small lock icon on the display, or a button labeled Control Lock, Lock, or Hold 3 sec.
- Try holding the lock button for 3 to 5 seconds.
Demo mode (showroom mode)
Demo mode usually leaves the display on, so it is not common for a totally dark control panel. But on some models it can make the oven seem unresponsive. Search your model number plus “demo mode” if the screen is on but nothing heats.
Reset the control
If the display is frozen or blank intermittently, a simple reset can help.
- Turn the breaker off for 5 minutes.
- Turn it back on and check for a clock prompt or error code.
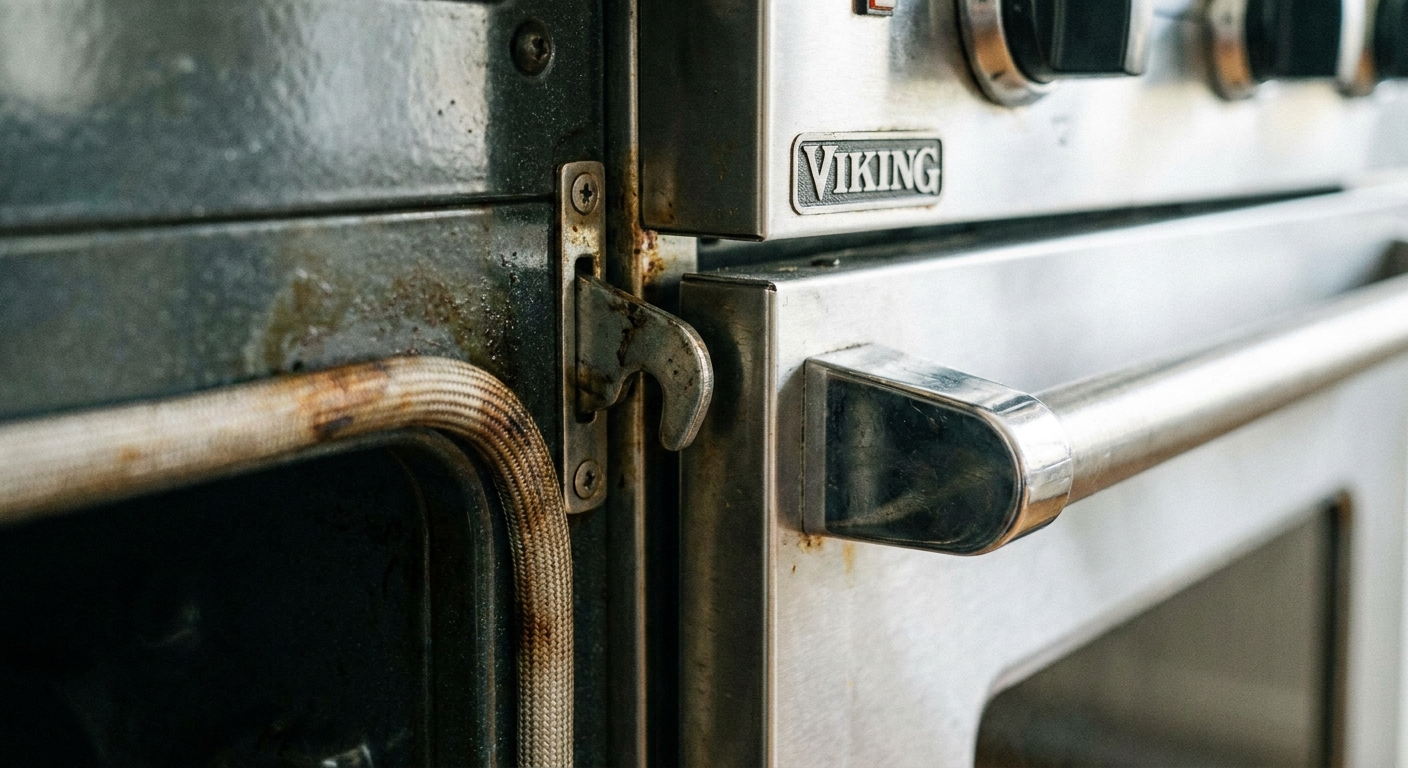
Step 3: Check the door and latch (quick rule-out)
A door switch issue is usually a “weird behavior” problem, not a “totally dead display” problem. Still, it is fast to check and it matters for self-clean and some safety logic on certain models.
What you can check without tools
- Inspect the door: is it sitting slightly open or sagging?
- Check for heavy buildup on the latch area that could keep it from closing.
- Clue it might be involved: the oven light does not respond normally when you open and close the door, or self-clean will not start or unlock.
Step 4: Died after self-clean? Think thermal fuse or high-limit cutoff
If your oven went dead right after a self-clean cycle or a long high-heat session, put a big mental sticky note on this: thermal fuse or high-limit thermostat. These are safety devices designed to open when temperatures get unsafe.
Common clues
- Oven was working fine, then after self-clean it has no display and no response.
- Cooktop elements (on an electric range) might still work, but the oven controls are dead, depending on design.
- No obvious breaker trip.
What a thermal fuse does
A thermal fuse is basically a one-time safety link. When it opens, it cuts power to key parts of the oven. Many are not resettable. A high-limit thermostat may be resettable depending on the model, but many are not.
Basic DIY approach (for comfortable DIYers)
- Unplug the oven or turn off the breaker.
- Access the back panel or control panel area (varies by model).
- Locate the thermal fuse or high-limit device, then test for continuity with a multimeter.
If you find an open fuse and replace it, also ask why it blew. A cooling fan failure, blocked venting, or repeated self-clean cycles can be the real cause.
Step 5: Gas ovens (power still matters)
Modern gas ovens with electronic ignition still need electricity. The control board, display, and igniter all rely on power. So if the oven is completely dead, you still start with breakers, outlets, and GFCIs.
Igniter basics (only if the display works)
This is here to keep you from going down the wrong rabbit hole. If the display is on and the oven “turns on” but never lights, that is typically an igniter or gas valve issue, which is a different symptom set than a dead oven.
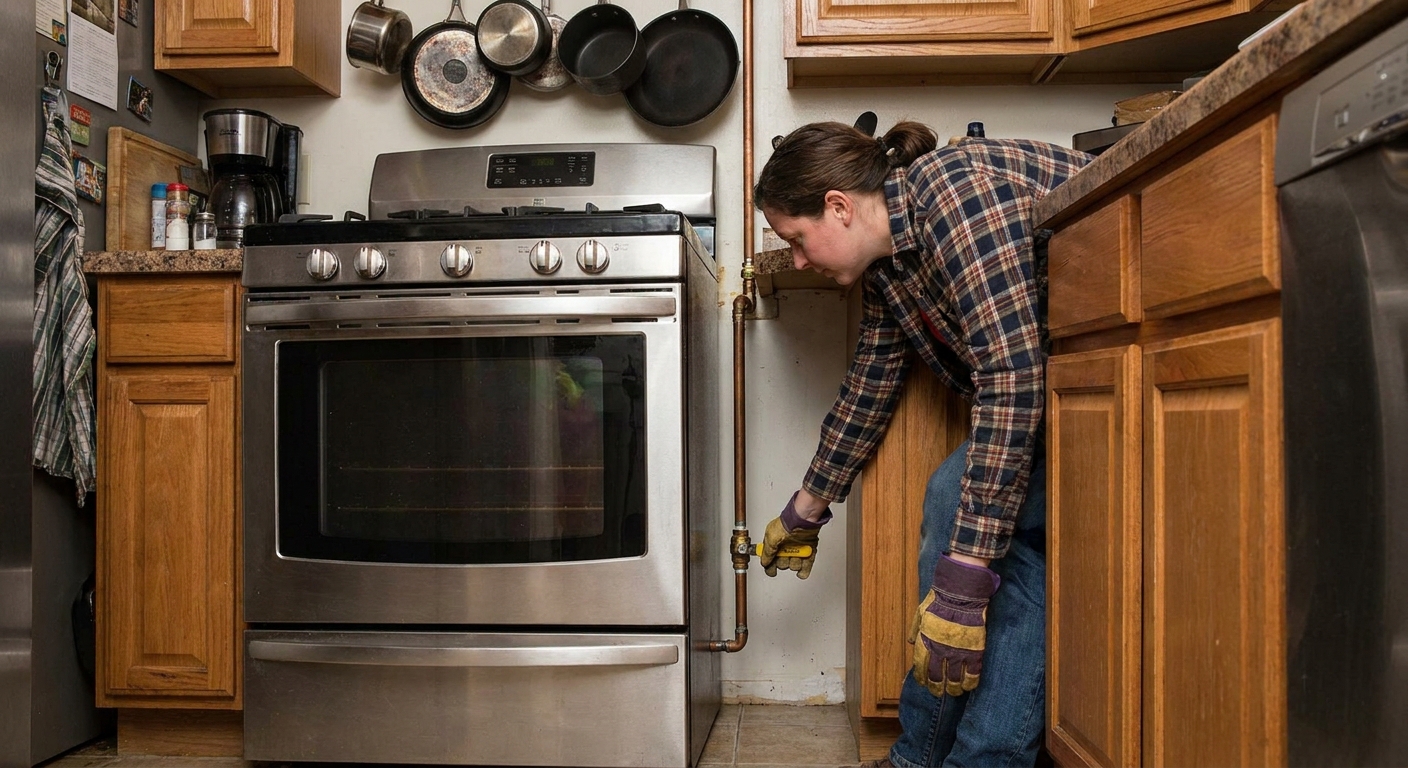
Step 6: Look for wiring damage (especially the terminal block)
If you pulled the oven out recently for cleaning or flooring, take a careful look. Also know this: on electric ranges, a loose connection at the terminal block is a frequent failure point. Heat builds up, wires cook, and the unit can go dead.
- Is the power cord damaged, pinched, or scorched?
- Any burning smell around the terminal block area (where the cord connects on many electric ranges)?
- For hardwired units, is the junction box cover secure and not showing heat damage?
Stop if you see melted insulation, charring, or a burnt terminal block. That is a job for a pro, and it can be a fire hazard. Also, a failed terminal block connection can drop a leg on a 240V supply, which can create confusing symptoms.
Step 7: When it is likely the control board
If you have confirmed proper power at the outlet or junction box, the breaker holds, and there is no obvious damage, the next likely suspect is the electronic control board or user interface board.
Signs the board or interface failed
- Correct power is present, but the display stays dark.
- Display flickers, random beeping, or buttons stop responding.
- Unit died after a power surge or storm.
My thrifty take
Control boards can be expensive, and misdiagnosing them is a fast way to waste money. If you are not 100 percent sure you have power into the appliance and continuity through the safety chain (fuse, thermostat, switches), it is worth paying for a service call before ordering parts.
When to call a pro immediately
- You need to test 240V circuits and you are not experienced with a meter.
- Breaker trips repeatedly.
- You smell burning or see heat damage.
- Gas odor at any time.
Quick decision guide
- No power at outlet: electrical issue, start with breaker, GFCI, then electrician if needed.
- Power is good, died after self-clean: thermal fuse or high-limit cutoff is a top suspect.
- Power is good, visible heat damage at cord or terminal block: stop and call a pro.
- Power is good, safety parts test good, still dead: control board or user interface becomes likely.
What this guide did not cover (on purpose)
To keep this focused on a truly dead oven, I did not go deep on these, because they are different symptom families:
- Oven turns on but will not heat: usually igniter, bake element, sensor, relay, or gas valve issues.
- Oven will not turn off: often a stuck relay on the control board or a welded contact, and it can be dangerous.
- Uneven baking or temperature swings: typically sensor calibration, airflow, or element cycling issues.
Tools that make this easier (optional)
- Non-contact voltage tester: handy for quick “is something live” checks.
- Multimeter: for continuity tests on fuses and switches, and for confirming voltage (only if you know how to do it safely).
- Nut driver set: most range panels use hex-head screws.
- Phone camera and masking tape: take photos and label wires before you disconnect anything.
Model-specific note: If anything in your wiring diagram or manual contradicts a generic guide, trust the manual for your exact model.
The 30-Second Cheat Sheet
Essential takeaways for: Oven Won’t Turn On? Power, Fuse, and Control Checks to Try First
Dead oven quick triage (no display, no response)
- Reset the breaker: Flip the range breaker fully OFF, then ON (a half-tripped breaker can look “on”).
- Check nearby GFCI: If it is a 120V unit (common for gas ranges and some wall ovens), check and reset any tripped GFCI outlets on the same circuit.
- Check the plug: Make sure the cord is fully seated. If it is 120V, test the outlet with a lamp or charger.
- If it is 240V: Do not guess. Confirm proper voltage with a multimeter only if you are comfortable, otherwise call a pro.
- Look for Control Lock: If the display is on and you see a lock icon or “Control Lock,” hold the lock button 3 to 5 seconds.
- Recent self-clean? A blown thermal fuse or high-limit cutoff is common right after self-clean. This often requires a continuity test and part replacement.
- Check the door: Make sure it is fully closed and the latch area is not obstructed (usually a long shot for a totally black display, but quick to rule out).
- Gas oven reminder: Modern gas ovens still need electricity. If it is totally dead, start with power checks, not the igniter.
- Likely control board: If power is confirmed at the appliance but the display is dark, a control board or interface failure becomes likely.
- Stop and call for help if: breaker keeps tripping, you see melted wiring (especially at the terminal block), you smell burning, or you smell gas.
Best next step: Find your model number (door frame or drawer area), then look up the wiring diagram to identify the thermal fuse, door switch, terminal block, and control board connectors before buying parts.
💡 Tip: Scroll up to read the full article for detailed, step-by-step instructions.
⬆️ Back to topAbout Marcus Vance
Content Creator @ Grit & Home
Marcus Vance is a lifelong DIY enthusiast and self-taught home renovator who has spent the last decade transforming a dilapidated 1970s ranch into his family's dream home. He specializes in budget-friendly carpentry, room-by-room renovations, and demystifying power tools for beginners. Through his writing, Marcus shares practical tutorials and hard-learned lessons to help homeowners tackle their own projects with confidence.