When an over-the-range microwave exhaust fan stops doing its job, you usually notice it fast. Steam hangs in the air, your cabinets feel tacky, and the microwave might sound like it is running while barely moving any air. The good news: most fan problems come down to a handful of fixable causes, and you can diagnose them in a logical order without guessing.
I am going to walk you through the same checklist I use in my own kitchen, starting with the easiest, cheapest wins and working toward the more “open-the-case” tests.
Set expectations
A quick reality check before you tear into anything: most over-the-range microwaves move less air than a dedicated range hood. On low speed, it is normal for some steam to linger, especially with big pots or high-heat searing. What is not normal is a fan that sounds fine but barely changes the air, or a setup that used to work and suddenly got weak, loud, or unreliable.
Tools you might need
- Step stool
- Flashlight
- Screwdriver (often Phillips)
- Dish soap, baking soda, non-scratch brush
- Degreaser on a rag
- Work gloves
Safety first (seriously, read this)
- Unplug the microwave or switch off the breaker before removing filters, opening panels, or touching wiring.
- Do not open the high-voltage section of the microwave. The high-voltage capacitor can store a dangerous charge even when unplugged.
- Fan access is often separate, but not always. Depending on model, reaching the blower or control area can still put you near high-voltage parts. If you cannot clearly identify what you are looking at, stop and check the service manual (or call a pro).
- Use gloves when handling greasy metal filters. They can be sharp.
- Use a step stool so you are not yanking downward at an awkward angle.
Quick diagnosis
Pick the symptom that matches your situation. It will point you to the right section.
- Fan does nothing (no sound, no airflow)
- Fan runs but airflow is weak
- Fan is loud or rattling
- Fan works on one speed but not others
- Fan turns on by itself or buttons act weird
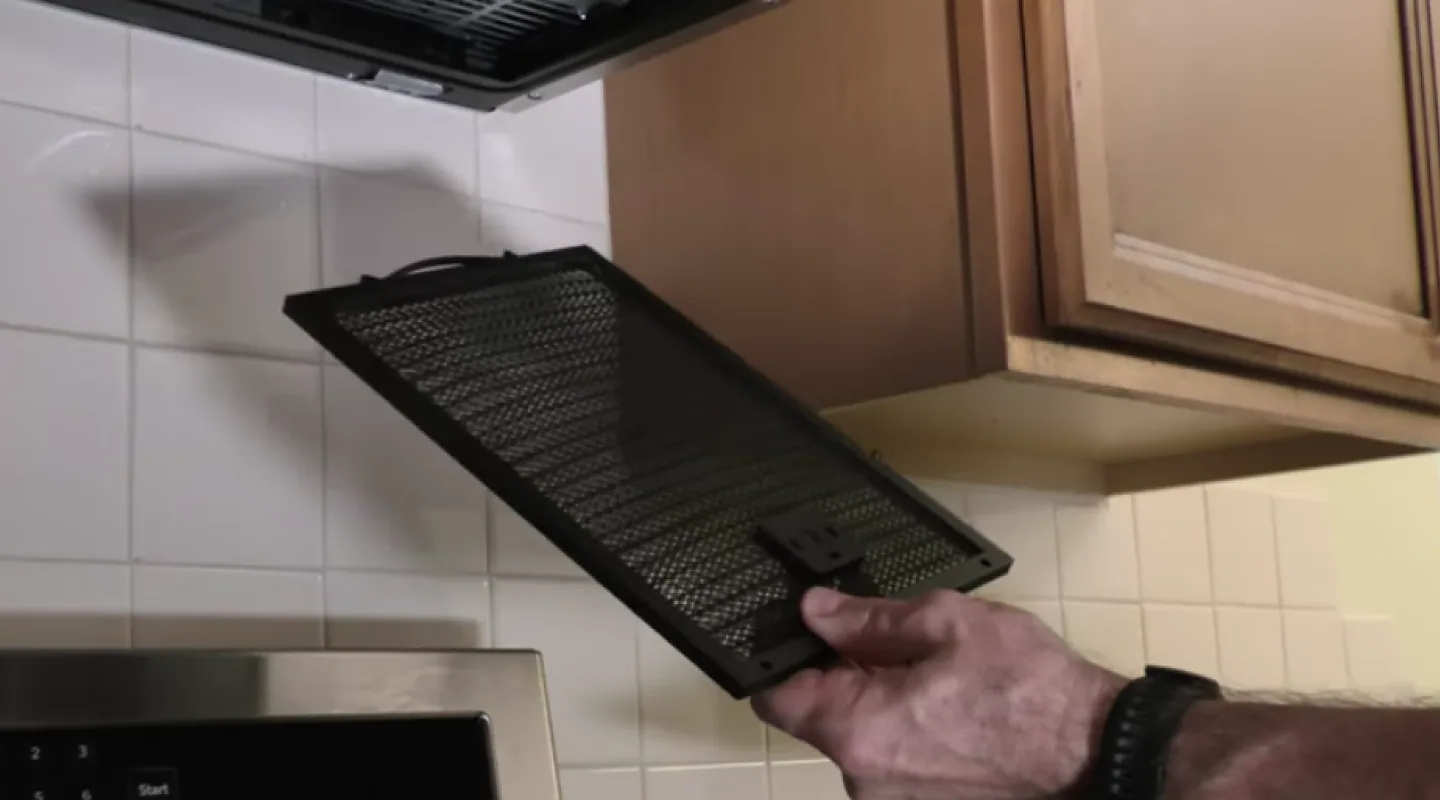
Fix 1: Clean the grease filters
Over-the-range microwaves use metal mesh grease filters on the bottom. When these get packed with cooking oil and dust, the fan can sound normal but move almost no air. I have also seen filters so clogged they made the fan whine like it was straining.
How to check
- Slide the filters out from the underside of the microwave (usually a small tab or latch).
- Hold one up to a light. If you cannot see light through much of the mesh, it is time.
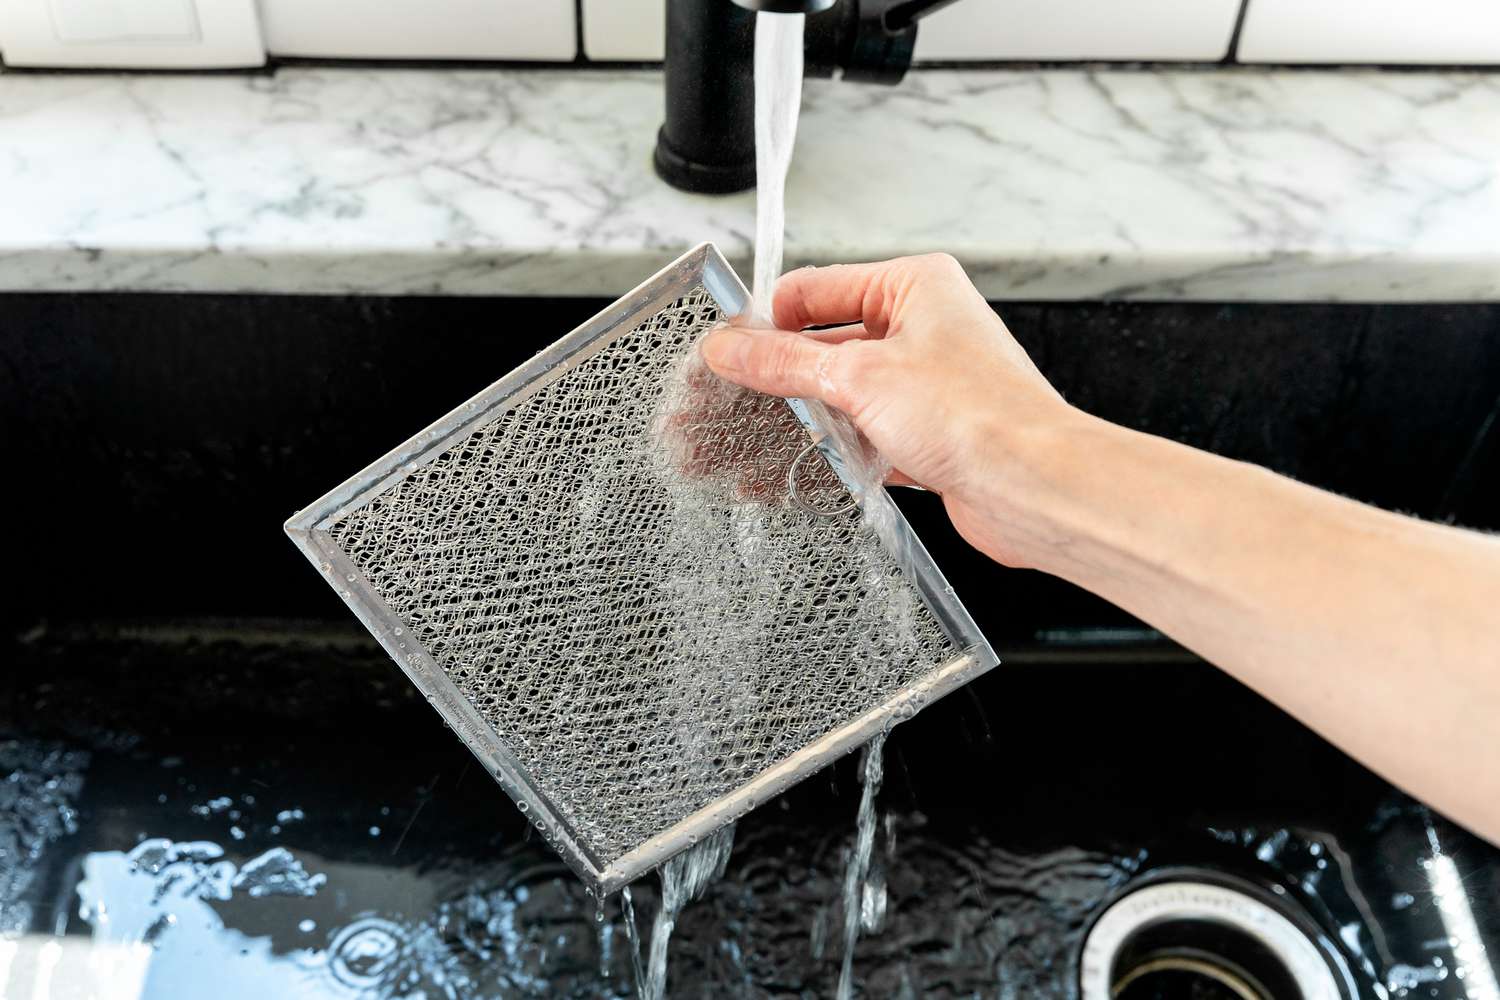
How to clean (my thrift-friendly method)
- Soak filters in a sink or tub of very hot water with dish soap.
- Add a few tablespoons of baking soda if the grease is stubborn.
- Let sit 15 to 30 minutes, then scrub with a non-scratch brush.
- Rinse and dry completely before reinstalling.
Pro tip: Many metal filters are dishwasher-safe, but the dishwasher can discolor aluminum. It is not harmful, just cosmetic. Some manufacturers also recommend hand washing to preserve the finish, so check your manual if you care about looks.
Fix 2: Confirm your vent setup
This one gets homeowners all the time, especially after a new microwave install. Over-the-range microwaves are typically convertible, meaning they can:
- Vent outside through ductwork (best for removing heat and moisture)
- Recirculate back into the kitchen through a charcoal filter (better than nothing, but it will never feel as strong)
How to tell what you have
- Outside vented: You should see a duct path (up into a cabinet, or out the back wall), and you should feel air exhausting outside at the exterior vent cap when the fan is on.
- Recirculating: Air blows out the top front of the microwave back into the room. There may be no ducting at all.
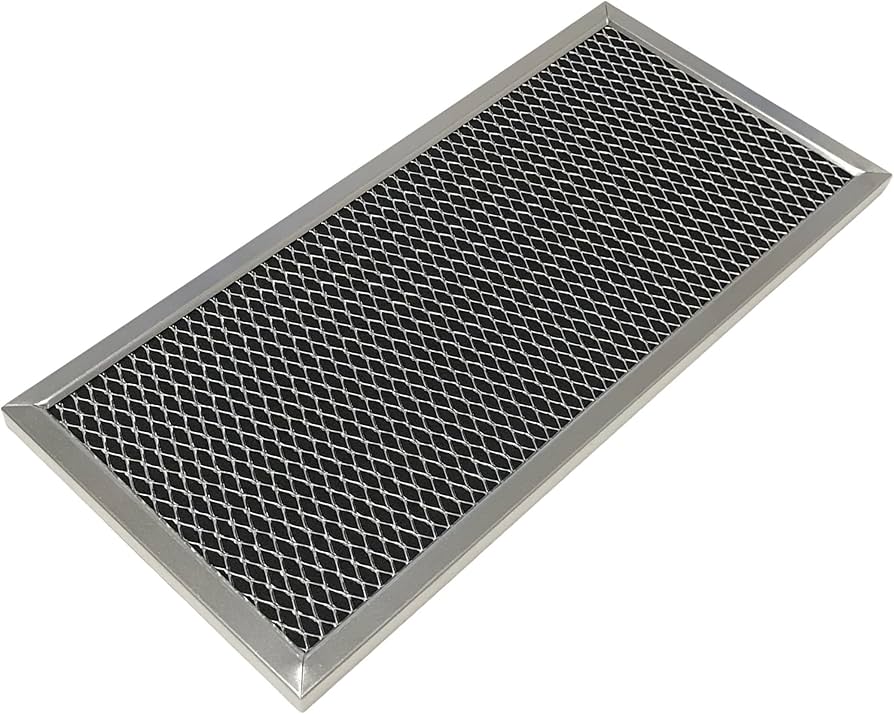
If you recirculate, check the charcoal filter
Recirculating setups rely on a charcoal filter (often behind the top grille). When it is saturated with grease, it chokes airflow and stops trapping odors. Depending on the model, you may have one or two charcoal filters.
- Remove the top grille (a couple screws, usually accessible when you open the microwave door).
- Locate the charcoal filter and replace it if it is dirty or older than about 6 to 12 months with regular cooking.
Important: Charcoal filters are generally not washable. Replace them.
Fix 3: Check the damper
If your microwave vents outside and the fan sounds normal but airflow is poor, the damper is a prime suspect. The damper is a flap that opens when the fan runs and closes when it is off to keep outside air, pests, and cold drafts from coming in.
Common damper problems
- Grease buildup making it sticky
- Foil tape or insulation interfering
- Duct misalignment after installation
- Exterior vent cap damper stuck shut from paint, rust, or debris
- Windy or winter conditions that push the flap closed (exterior hood design matters here)
How to check fast
- Turn the fan on and listen for a light “thunk” or flap sound. No sound can mean it is not opening.
- Go outside and feel for airflow at the exterior vent cap.
- Look for lint, nests, or a vent flap that does not move.
How to fix
- Clean the damper area you can reach (degreaser on a rag, not sprayed into the unit).
- Confirm the duct is not pushing against the damper and holding it shut.
- At the exterior vent, clear debris and make sure the flap swings freely.
Fix 4: Inspect the ducting
Even a good fan cannot overcome a duct run that is blocked, crushed, or poorly routed. Flexible duct and long runs with lots of elbows are common airflow killers, and cabinet work can shift things just enough to pinch the line.
What to look for
- Crushed duct behind the microwave or in the cabinet above
- Loose foil tape hanging into the duct
- Grease accumulation in older ductwork
- Bird nests or debris at the exterior cap
Best practice note: Smooth metal duct (rigid where possible) is typically the best choice for grease-laden kitchen exhaust. Some jurisdictions discourage or ban foil flex duct for this use. Follow your microwave installation manual and local code.
Fix 5: If the fan will not turn on
Before you assume the motor is dead, do the quick checks that cost nothing.
Things to verify
- Power: Confirm the microwave is actually powered (clock on, interior light works, it heats).
- Door switches: Some models behave strangely if a door switch is failing. If the light or fan only works intermittently when you wiggle the door, that is a clue.
- Vent fan button: Make sure you are not in a special mode. Some units toggle between off, low, high. Others have more steps.
- Auto fan feature (model-dependent): Some models will automatically run the vent fan if the cooktop below gets very hot. If your fan “does what it wants,” overheating, a sensor, or normal auto-protect behavior may be involved. Check your manual for “hood fan thermostat” or similar wording.
Fix 6: Loud, scraping, or vibrating
A loud vent fan usually comes from a physical issue: something is hitting the blower wheel, the blower wheel is greasy and out of balance, or a mounting screw worked loose.
What to do
- Remove the filters and look up into the intake area with a flashlight. Check for foil, plastic, or a screen that is contacting the fan area.
- Clean accessible grease on the blower housing area. Grease buildup can throw the wheel off balance over time.
- Check mounting screws on the bottom plate or grille (power off). A slightly loose panel can amplify noise.
If the sound is a high-pitched squeal or a grinding noise that starts immediately, that can point to a failing motor bearing. At that stage, you are usually looking at a blower motor replacement rather than a cleaning.
Fix 7: One speed works, others do not
If low works but high does not (or the reverse), you are usually dealing with a control issue rather than a clogged filter. The exact design varies by brand, but common culprits are the fan speed switch logic on the control board (relay/triac), a failing keypad input, wiring connectors, or a motor with an internal winding problem.
What to check
- Cycle speeds slowly and listen for a clear change in motor pitch. If the display changes but the motor sound never does, the speed control may not be switching.
- Power reset: unplug for 2 minutes, plug back in, and retest.
- If you are comfortable and can stay in the low-voltage area only, inspect accessible connectors for a loose plug or heat discoloration.
If you need the schematic to go further (and you usually do), this is where I pull the model number and decide whether I am calling an appliance tech or ordering a board.
Fix 8: Test the fan motor (and fan capacitor if used)
If the fan does not run at all, or it hums but will not spin, the motor is on the shortlist. Some models also use a separate fan motor capacitor to help the blower start. A weak one can cause slow starts, humming, or a fan that only runs sometimes.
Signs the fan motor is the issue
- No fan operation on any speed, but the microwave otherwise works
- Fan hums but does not move air
- Fan starts and stops randomly, independent of grease filter condition
Beginner-friendly approach
- Look up your model number (inside the door frame is common) and find the parts diagram for the vent fan motor or blower motor.
- With power off, check that the blower wheel spins freely and is not jammed by grease or debris.
- If you are comfortable using a multimeter, continuity tests can help confirm failure.
Capacitor warning: Do not test or handle the microwave’s high-voltage capacitor. If your model has a separate blower capacitor, treat it with respect too. Capacitors can hold a charge and should be discharged properly. If you do not already know how to do that safely, this is a smart handoff point to an appliance tech.
My honest DIY line in the sand: I will replace a blower motor if the access is clearly separated from high-voltage components and the service manual shows a straightforward procedure. If I have any doubt about what I am touching, I call it in. Pride is not worth getting hurt.

Fix 9: Control panel or control board issues
If your fan problem comes with button weirdness, this is where to look. Examples: the fan button does not respond, it only works if you press hard, it changes speeds by itself, or multiple buttons act wrong.
Common causes
- Grease and moisture intrusion into the keypad area
- Loose or oxidized ribbon cable between the keypad and the control board
- Failing control board or relay that controls the fan motor
What you can try first
- Power reset: Unplug for 2 minutes, plug back in, and test.
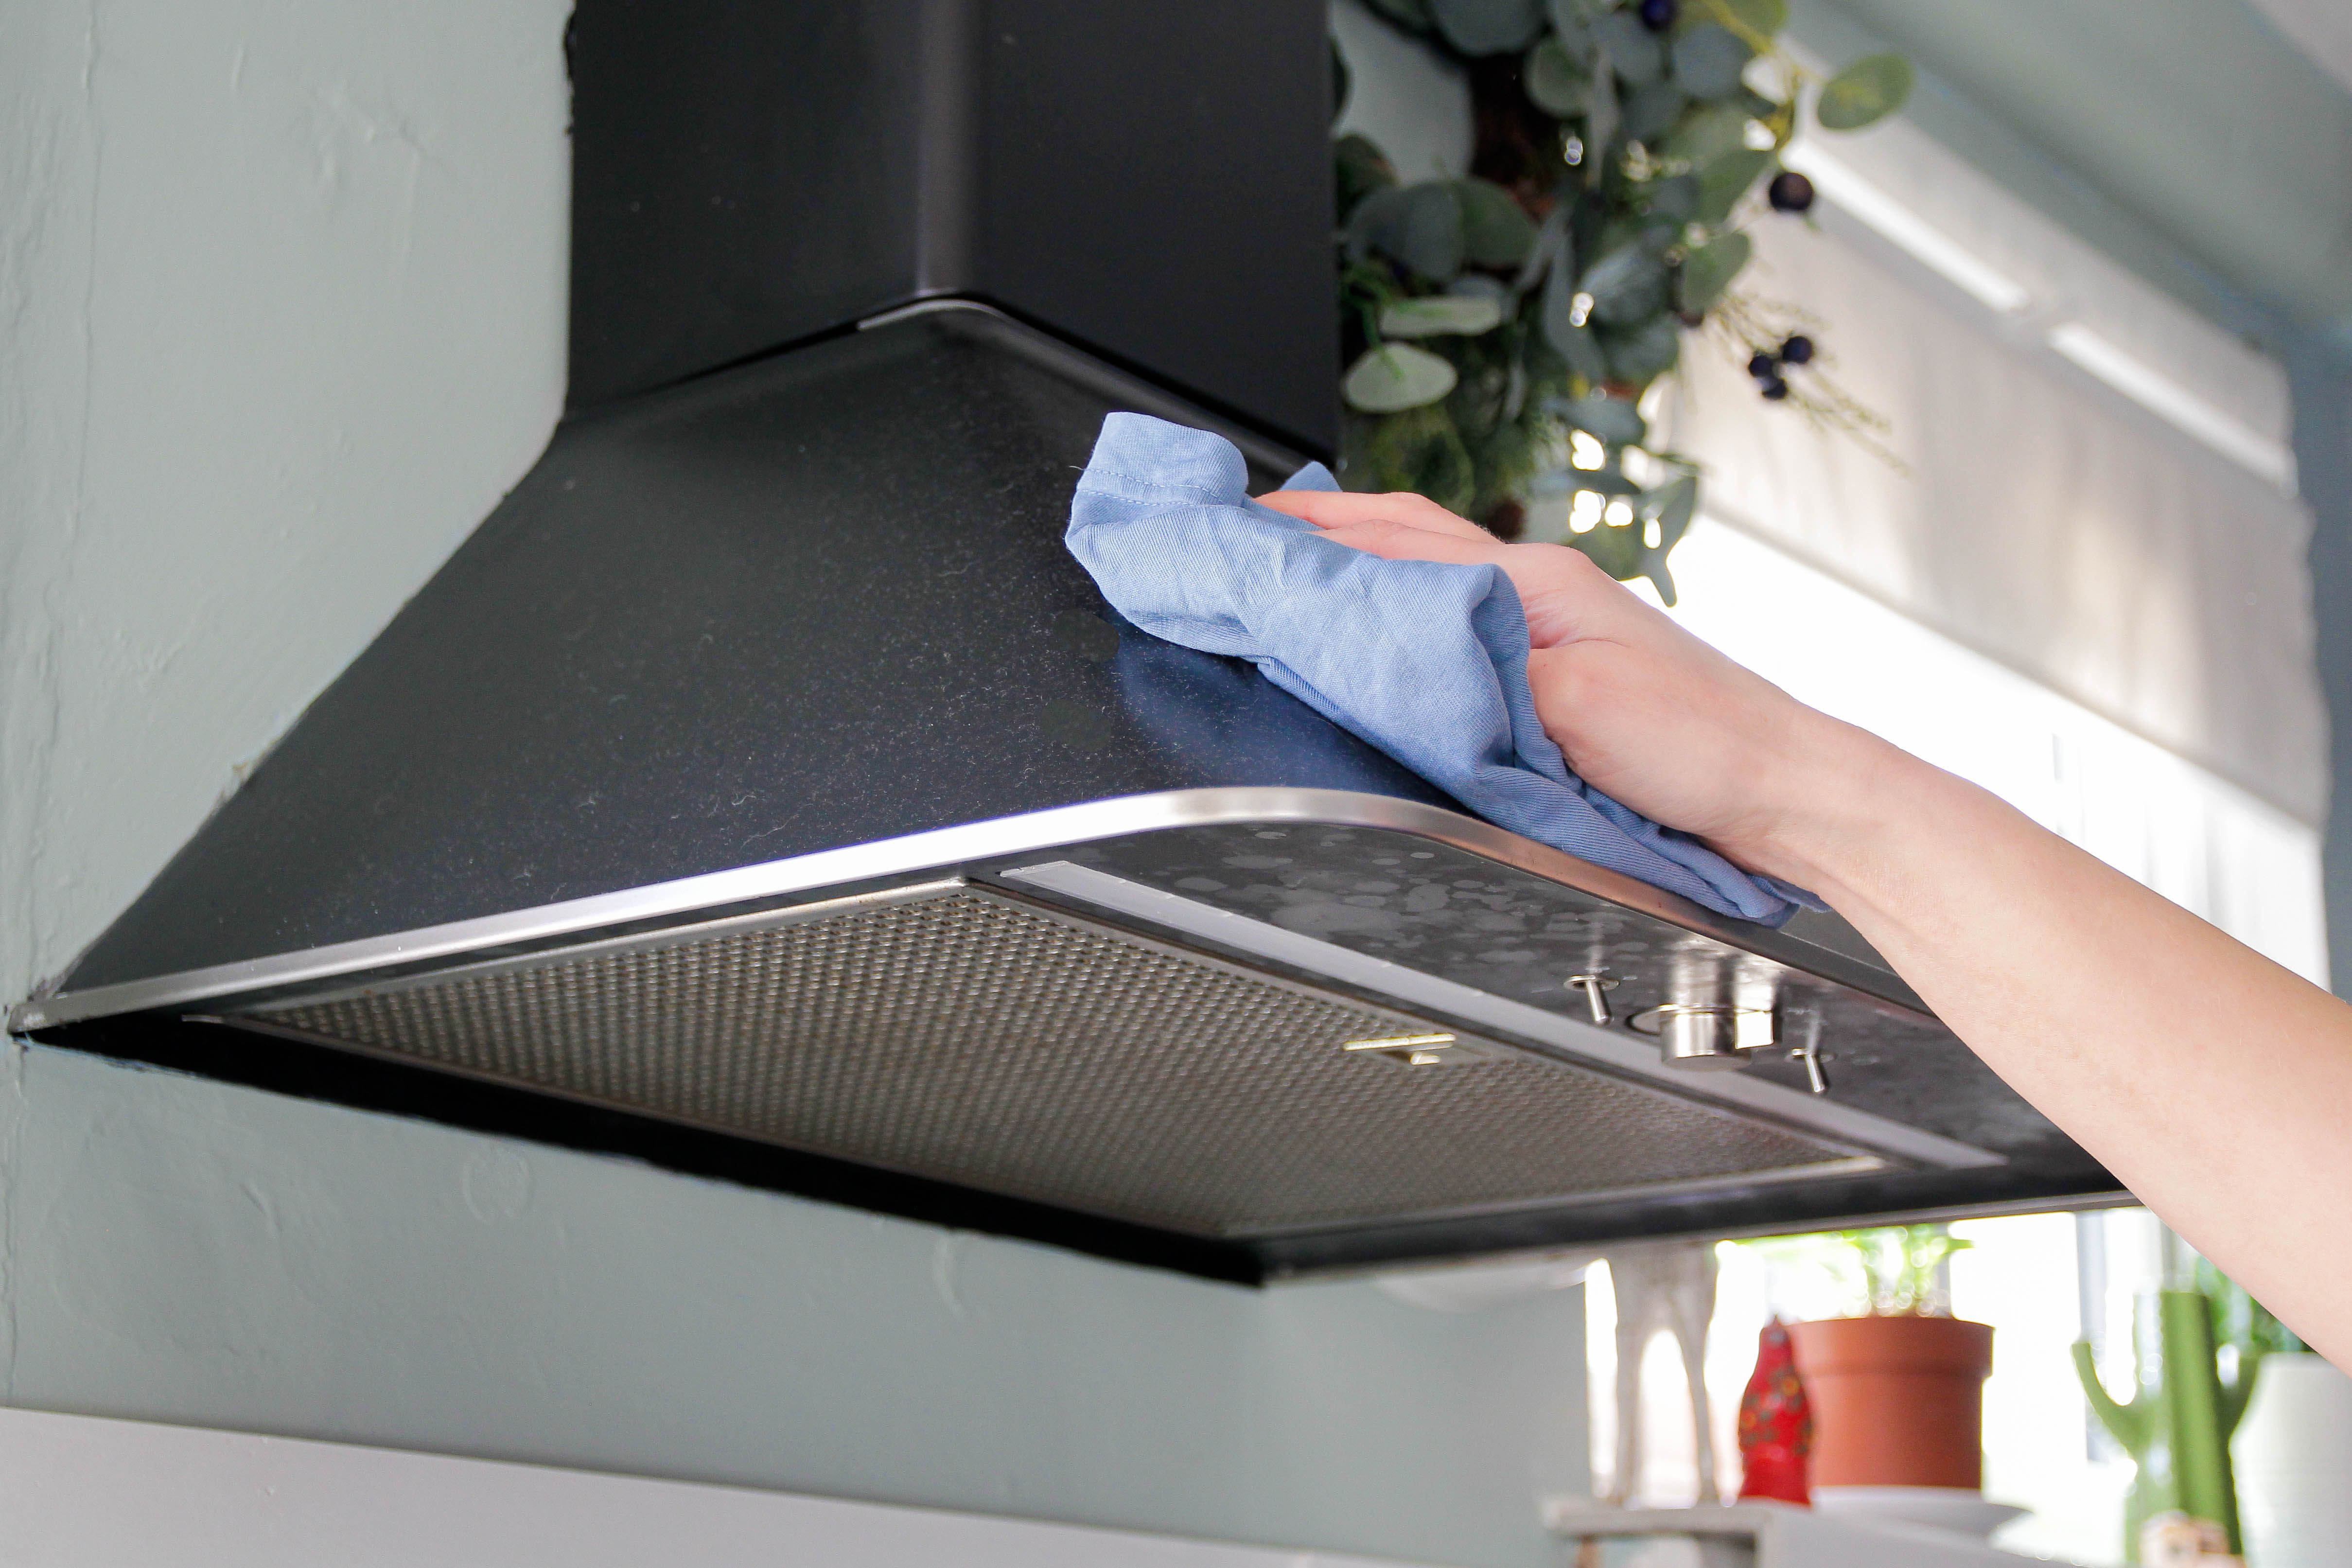
- Clean the exterior: Use a lightly damp cloth with mild cleaner. Do not flood the control panel seam.
When to consider parts replacement
If the fan works intermittently and the rest of the unit is acting flaky, it can be cheaper to replace a keypad assembly or board than to keep fighting it. Price check parts against the age of the microwave. If it is an older unit and parts are expensive, a full replacement may make more sense.
Fix 10: Blower orientation (install issue)
Convertible microwaves often require rotating the blower housing depending on whether you vent up, out the back, or recirculate. If the blower was never reoriented, it might be blowing straight into a blocked internal path.
Clues this is the problem
- Fan sounds strong but there is almost no air at the exterior vent
- The microwave was recently installed or replaced
- You can feel air dumping into the cabinet above or behind the unit instead of into the duct
This fix typically involves pulling the microwave down. If you have never removed an over-the-range microwave, do not solo it. They are awkward and heavier than they look.
When to call a pro
Some situations are just not worth DIY risk. I recommend calling an appliance technician if:
- You smell burning plastic or see smoke when the fan runs
- The fan issue is paired with heating problems, sparking, or tripping breakers
- You need to open areas you cannot confidently identify as low-voltage or fan-only
- The microwave must be removed to reorient the blower and you do not have help
Fast checklist
- Clean metal grease filters
- If recirculating, replace charcoal filter (check if your model uses one or two)
- Confirm vent mode (outside vs recirc)
- Check exterior vent cap airflow and damper movement
- Inspect ducting for crushed or blocked sections
- Address rattles, debris, and loose panels
- If one speed fails, suspect control switching or a motor issue
- Test motor (and fan capacitor if applicable) only if you can stay clear of high-voltage parts
- Investigate keypad ribbon or control board if buttons are unreliable
If you want, tell me your microwave brand and model number plus what the fan is doing (dead, weak, loud, one-speed-only, or intermittent). I can help you narrow it down to the most likely cause before you buy any parts.
About Marcus Vance
Content Creator @ Grit & Home
Marcus Vance is a lifelong DIY enthusiast and self-taught home renovator who has spent the last decade transforming a dilapidated 1970s ranch into his family's dream home. He specializes in budget-friendly carpentry, room-by-room renovations, and demystifying power tools for beginners. Through his writing, Marcus shares practical tutorials and hard-learned lessons to help homeowners tackle their own projects with confidence.