🚨 In a DIY emergency or rush?
Skip the details and jump straight to our 30-second cheat sheet for the most crucial info.
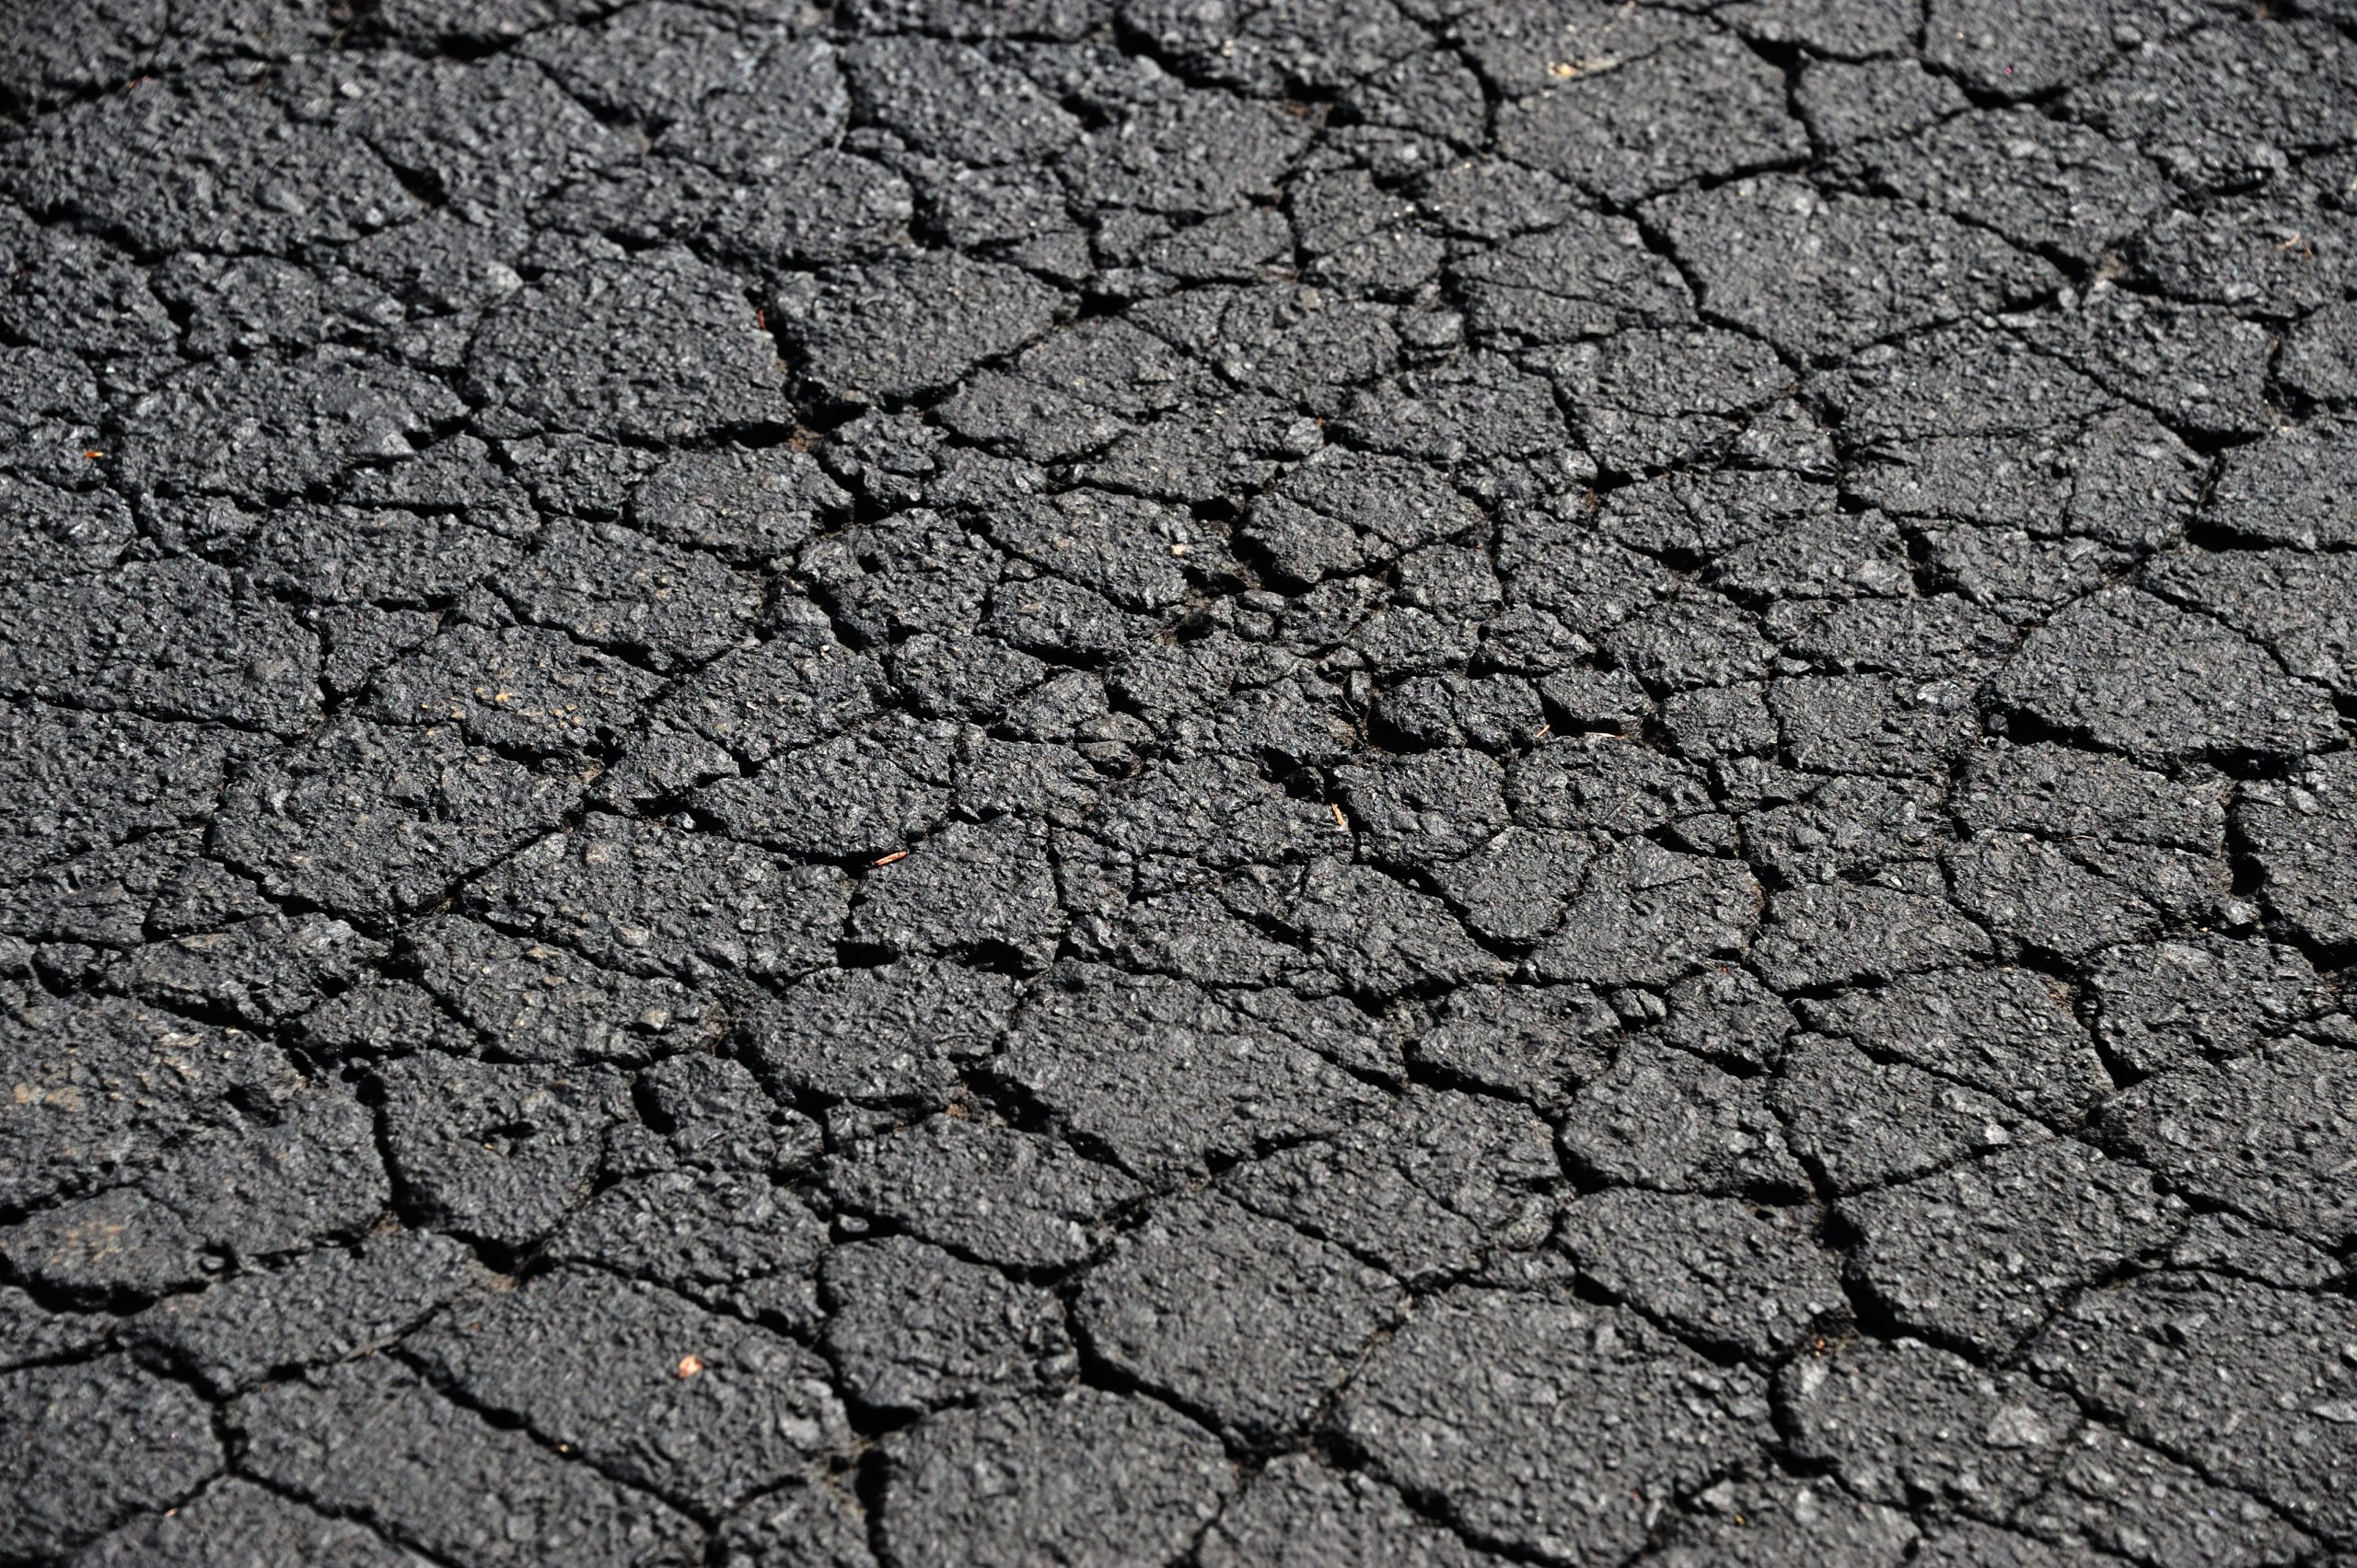
If your driveway is starting to look like it lost a fight with winter, you are not alone. Asphalt is tough, but water, freeze-thaw cycles, and turning tires can turn small cracks into potholes faster than you would think.
The good news: narrow cracks and small potholes are absolutely DIY-friendly if you prep correctly and compact like you mean it. The bad news: some cracking patterns, especially alligator cracking, are a sign the base under the asphalt is failing, and patching is only a temporary bandage.
What you can fix with a patch (and what you cannot)
Good DIY patch candidates
- Narrow cracks (often hairline up to about 1/4 inch) where the asphalt around them is still solid.
- Medium cracks (roughly 1/4 inch to about 1/2 inch) where the edges are still intact and you can use a trowel-grade filler or a small patch, depending on the product and condition.
- Small potholes where the surrounding pavement is stable and not crumbling in sheets.
- Edge raveling (crumbly edges) in limited spots, especially if the edge is supported or you can add support (like a compacted gravel shoulder) after the repair.
Red flags that mean “patching is not the real fix”
- Alligator cracking : a web of interconnected cracks that looks like reptile skin. This usually points to base failure or poor drainage.
- Areas that feel spongy when you walk on them or depress under a car tire.
- Widespread dips and settling that hold water after rain. Water sitting on asphalt is basically a slow-motion demolition.
- Cracks that keep returning in the exact same line within a season, especially if they are widening.
My rule of thumb: If the asphalt is breaking into multiple little “tiles,” patching the surface is like painting over rotten wood. It may look better for a bit, but the problem is underneath.
Cold patch vs. hot mix asphalt: which should you use?
There are two common DIY routes for asphalt repairs, and the “best” one depends on temperature, availability, and how long you want the repair to last.
Cold patch (bagged, ready to use)
- Pros: Available at big box stores, no special equipment, easy for beginners, and some products can be installed in cooler temperatures.
- Cons: Not as durable as hot mix, especially in high-traffic areas or deep holes. In winter it is often a “get you through” fix that you may redo in spring for best results.
- Best for: Small potholes, quick repairs, and first-time driveway patching.
Temperature reality check: “Cold patch” does not mean “any temperature.” Many products still specify a minimum install temperature (often in the 40°F to 50°F range). Always read the bag.
Hot mix asphalt (plant mix)
- Pros: Longer-lasting repair when installed and compacted correctly.
- Cons: Harder to source in small quantities, needs to be installed hot, timing matters.
- Best for: Larger patches, higher traffic driveways, and repairs you want to blend and hold up.
Practical homeowner advice: If you can only buy a couple bags and you want to fix a pothole this weekend, cold patch is fine. Just do the prep and compaction right, because that is what makes or breaks it.
Tools and materials (keep it simple)
- Stiff broom and shop vac or leaf blower
- Flat shovel or garden trowel
- Hand tamper (or a small plate compactor for larger repairs)
- Cold patch (or hot mix if you have it)
- Asphalt crack filler (for cracks) or asphalt patch (for holes)
- Cold-pour asphalt sealer or asphalt emulsion for edge sealing (optional but helpful)
- Safety gear: gloves, eye protection, long sleeves, and boots you do not mind getting messy
Nice-to-have: Knee pads. You will thank yourself.
About using a torch: A propane torch can help dry a slightly damp crack, but it is higher risk than most DIY steps. If you use one, keep the flame moving, do not overheat the asphalt, never use it near fuel or oil stains, and follow local fire restrictions. If any of that sounds sketchy, skip it and wait for a warm, dry day.
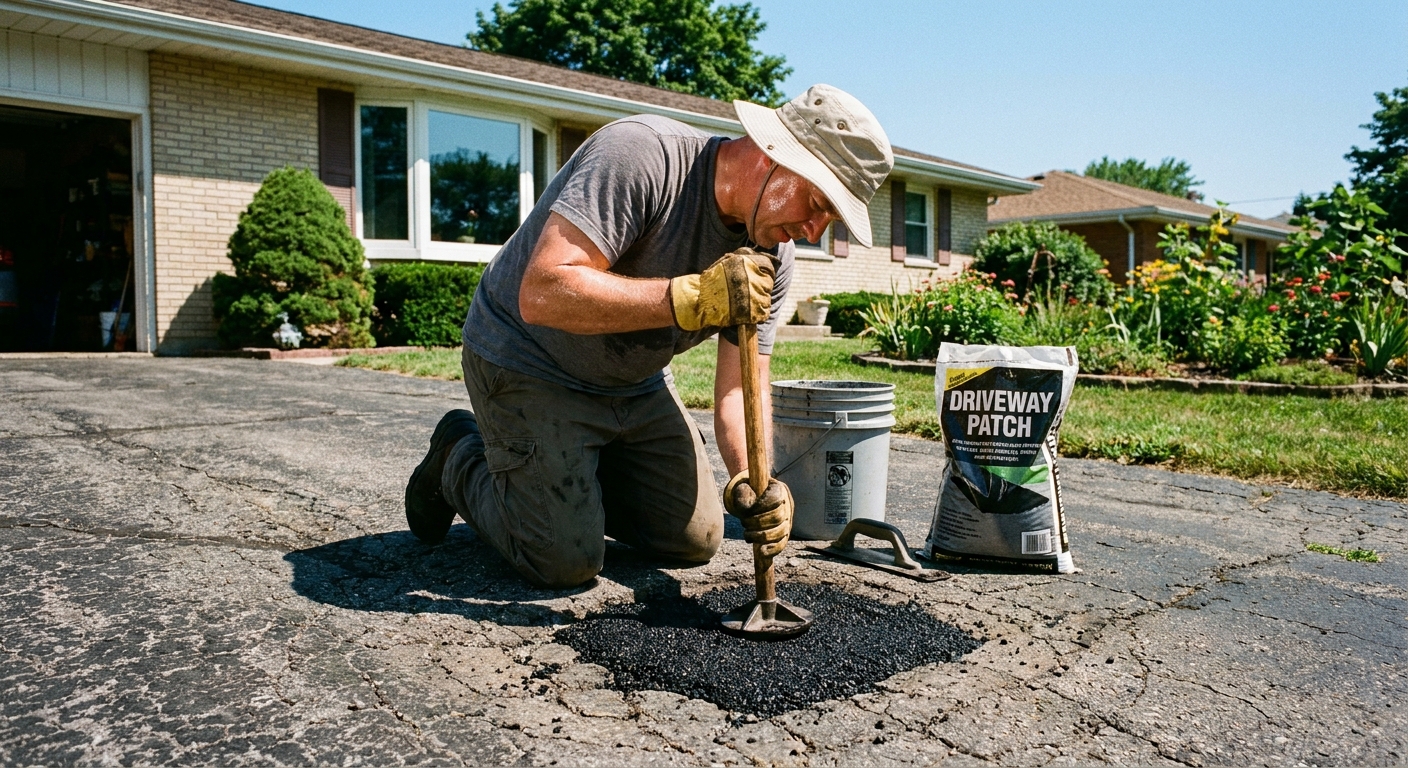
Step-by-step: patching a pothole
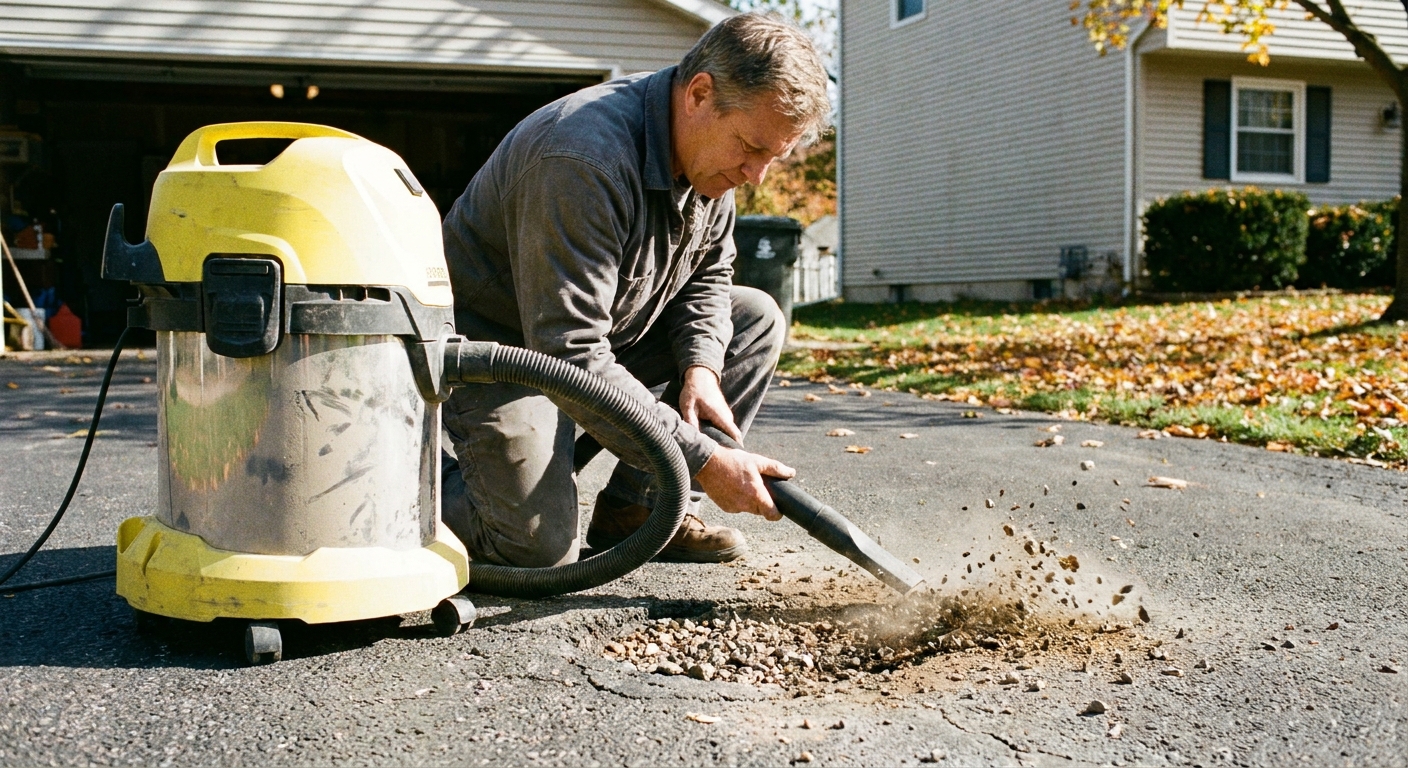
1) Clean out everything that is loose
This is where most pothole patches fail. Patch material stuck to dirt, leaves, and gravel is not stuck to the driveway.
- Dig out loose chunks and debris with a shovel or trowel.
- Sweep, then vacuum or blow out the hole.
- If you hit muddy soil, you have a drainage problem. Let it dry fully before patching, or the patch will move and sink.
2) Square up the edges (when it makes sense)
If the pothole edges are crumbling, the patch will crumble with them. If you can, trim back to solid asphalt. Homeowners often do this with a flat shovel, a mason chisel, or a small grinder with a masonry wheel.
Thrifty tip: You do not need perfect rectangles. You just need edges that are solid and not flaking apart.
3) Check the base before you start filling
If the hole is deep, the base matters as much as the asphalt. If you can press a screwdriver into the bottom and it feels soft, wet, or squishy, a surface patch will not last.
- Remove loose material until you hit firm, stable ground.
- Add crushed stone (road base) in thin lifts and compact each lift.
- Stop the base rebuild so the final asphalt patch ends up slightly proud, then compacts flush.
4) Build up in lifts, not one big dump
For anything deeper than about 2 inches, fill in layers. Add 1 to 2 inches of patch material, compact it, then repeat. This prevents a soft center and reduces future settling.
5) Compact like you are trying to crush it
Compaction is the secret sauce. Cold patch especially needs aggressive compaction to lock aggregate together.
- Compact each layer with a hand tamper.
- For the final lift, overfill slightly, usually about 1/2 inch, because it will compress down.
- If you have a plate compactor, use it.
- If you do not, a hand tamper plus a slow, straight pass with a car tire can help finish the job. Keep the tire straight, avoid turning on the patch, and make sure the patch is not piled high enough to scuff a tire.
My mistake from years ago: I once filled a pothole flush, tamped it lightly, and called it done. Two weeks later it was a dip holding water again. The patch did not fail because the product was bad. It failed because I did not compact enough and I did not overfill for compression.
6) Seal the edges
Edges are where water sneaks in and starts the next failure. After compacting, you can brush on asphalt emulsion or a cold-pour crack sealer around the perimeter where old meets new.
- Seal a band an inch or two wide around the patch.
- Feather it out so water cannot sit at the seam.
Note on tack coat: You do not always need it for a small cold patch repair, but a light coat of asphalt emulsion or tack on the edges can improve bonding and longevity for both cold patch and hot mix, especially on vertical edges.
7) Keep traffic off it (and drive gently when you do)
Read the product directions, but in general: the longer you can keep cars off the repair, the better it stiffens. Many cold patches allow light traffic within hours to 24 hours. Hot mix can usually take traffic once it cools. Either way, avoid hard turns and braking on the patch for a couple days if possible.
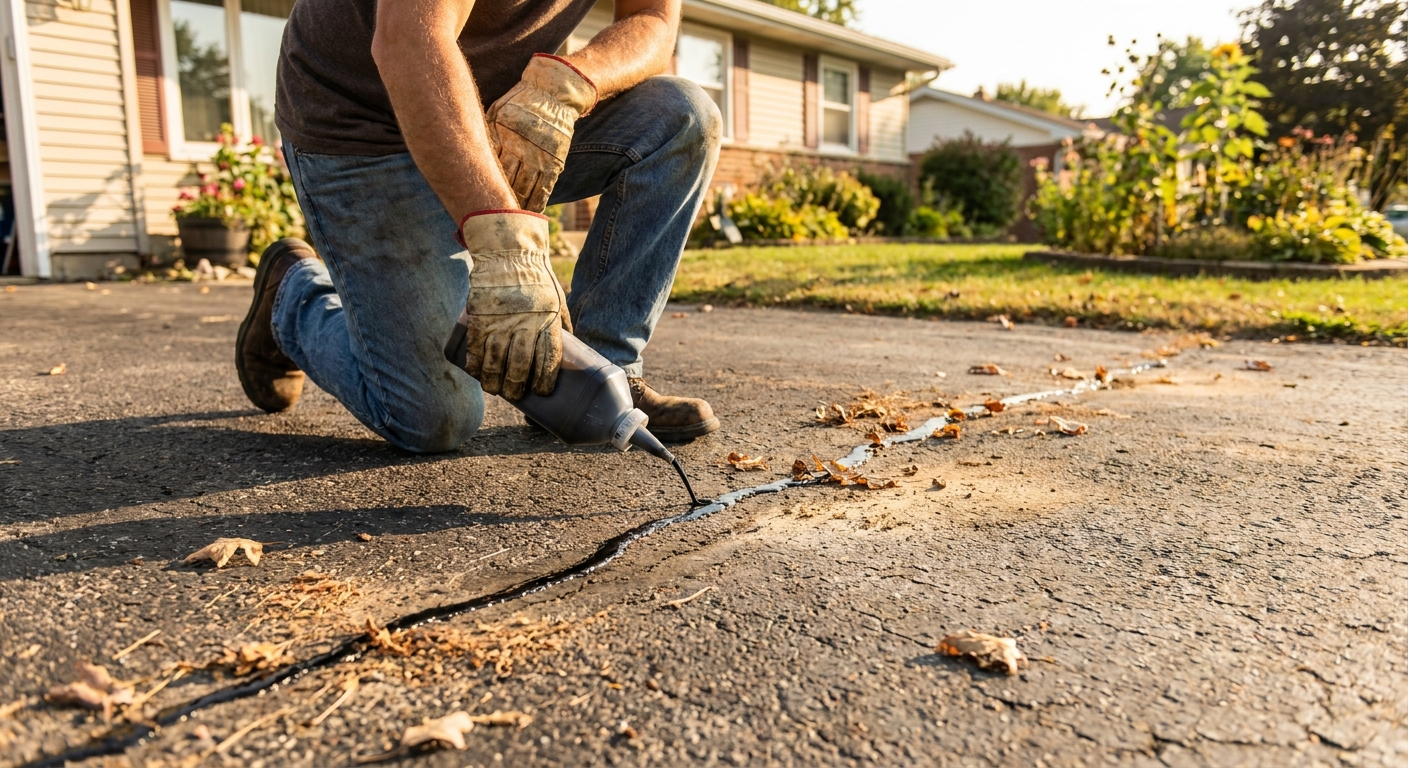
Step-by-step: sealing cracks
Crack repair is a “stop the water” project. The goal is to prevent water from getting under the asphalt and weakening the base.
1) Clean the crack thoroughly
- Use a screwdriver or wire brush to scrape out packed dirt.
- Sweep and blow out dust.
- Make sure the crack is dry before filling.
2) Choose the right filler
- Pourable crack filler is best for narrow cracks (often up to about 1/4 inch, product dependent).
- Trowel-grade crack filler is better for wider cracks (often around 1/4 inch to about 1/2 inch) that need to be worked in.
If a crack is wider than about 1/2 inch or the edges are falling apart, you may be better off cutting and patching that section rather than trying to “caulk” it.
3) Fill, then squeegee or trowel smooth
Follow the product directions, but generally you want the filler slightly proud of the surface, then smoothed so it sheds water.
4) Sand on top if it stays tacky
Some crack fillers stay sticky for a while. A light sprinkle of clean sand can keep shoes and tires from tracking it.
Compaction tips that make patches last
- Use a real tamper: A hand tamper is cheap and it works. The flat base helps you pack evenly.
- Work in lifts: Deep holes get multiple thin layers, each compacted.
- Overfill slightly: Plan for compression on the final layer.
- Compact beyond the hole: Hit the edges too, not just the center. Seam failure usually starts at the perimeter.
- Warm material compacts better: If your cold patch bag has been sitting in a chilly garage, set it in the sun for an hour.
Edge sealing and water control
Asphalt fails because water gets into places it does not belong. If you want your repairs to last, deal with water like it is the real enemy, because it is.
Quick wins
- Seal seams: Brush sealer or asphalt emulsion around patches and filled cracks after they cure per product directions.
- Fix downspouts: Do not dump roof water onto the driveway edge.
- Improve drainage: If a low spot holds water, it will keep cracking there. Consider building up that area with a proper patch or having it regraded.
- Protect driveway edges: Edge crumbling often happens where tires run off into soil. Adding a compacted gravel shoulder can support the edge and reduce breakage.
When alligator cracking means structural failure
Alligator cracking is not just “a bunch of cracks.” It is usually a sign the asphalt and base layers are flexing under load because the support beneath is compromised.
Common causes
- Poor compaction or thin asphalt during original install
- Water intrusion saturating the base
- Heavy vehicles regularly parked in the same spot
- Freeze-thaw cycles expanding trapped moisture
What to do instead of surface patching
- Small isolated spots: Cut out the damaged area, excavate until you reach firm material, rebuild with compacted crushed stone in lifts, then patch asphalt. Finish the patch slightly crowned, then compact it flush so it sheds water.
- Widespread areas: Consider a professional evaluation for partial-depth repair or resurfacing. If the base is failing everywhere, resurfacing alone can still reflect cracks back through.
Honest expectation setting: You can patch over alligator cracking for appearance, but if the base is failing, you are buying time, not fixing the cause.
Best conditions for asphalt repair
- Dry weather: Moisture under patch material is trouble.
- Warm temperatures: Many products work best when it is at least 50°F, and warmer is better. Some cold patch products allow cooler installs, but always check the label.
- Plan for cure time: Avoid patching right before heavy rain or a deep freeze.
FAQ
Can I just pour new asphalt into a pothole without cleaning it?
You can, but it almost always fails early. Debris and dust prevent bonding, and loose edges keep crumbling until the patch loses support.
Do I need tack coat?
For a small DIY cold patch repair, it is often optional, but it helps. Brushing asphalt emulsion or tack coat on the edges can improve adhesion and water resistance for both cold patch and hot mix, and it is a good idea when you want the repair to last.
Why did my patch sink?
Usually one of three things: the base below was soft or wet, the hole was filled too deep in one lift without proper compaction, or the patch was not compacted enough.
When can I drive on a patch?
Follow the product directions. Many cold patch products allow light traffic within hours to 24 hours, while hot mix is typically ready once it cools. Either way, avoid hard turns on fresh patch for a couple days if you can.
Should I sealcoat after patching?
Sealcoating can help protect the surface, but do not rush it. Wait until patches and crack fillers fully cure per the patch, filler, and sealer manufacturer guidance. For many products that is days to weeks, and longer is sometimes better.
The 30-Second Cheat Sheet
Essential takeaways for: Patch Potholes and Narrow Cracks in an Asphalt Driveway
Fast decisions
- Use cold patch for small potholes and quick repairs. Some products can be installed in cooler weather, but always follow the bag’s minimum temperature.
- Use hot mix when you can get it and want a longer-lasting patch, especially for larger areas.
- Do not just “patch” alligator cracking. It usually means the base is failing.
Pothole patch in 6 steps
- Clean hard: Remove loose asphalt, dirt, and water. Vacuum or blow it out.
- Cut back to solid edges if the rim is crumbling.
- Fill in lifts: 1 to 2 inches at a time for deep holes.
- Compact each lift with a hand tamper or plate compactor.
- Overfill the final lift about 1/2 inch, then compact flush.
- Seal the perimeter with asphalt emulsion or crack sealer to block water.
Crack repair basics
- Clean and dry the crack first.
- Use pourable crack filler for narrow cracks (often up to about 1/4 inch). Use trowel-grade for wider cracks. If the edges are falling apart or the crack is very wide, patching may be the better move.
- Tool it smooth so it sheds water, not holds it.
Compaction rules that matter
- Compaction is the job. Filling is the easy part.
- Warm material compacts better. Set cold patch bags in the sun first.
- Keep traffic off as long as you can, and avoid hard turns on a fresh patch.
When to stop and rethink
- Web-like alligator cracking
- Spongy areas or recurring cracks in the same spot
- Standing water after rain
💡 Tip: Scroll up to read the full article for detailed, step-by-step instructions.
⬆️ Back to topAbout Marcus Vance
Content Creator @ Grit & Home
Marcus Vance is a lifelong DIY enthusiast and self-taught home renovator who has spent the last decade transforming a dilapidated 1970s ranch into his family's dream home. He specializes in budget-friendly carpentry, room-by-room renovations, and demystifying power tools for beginners. Through his writing, Marcus shares practical tutorials and hard-learned lessons to help homeowners tackle their own projects with confidence.