Small holes are the most common drywall “repair” there is. Picture hooks, curtain brackets, TV mounts you changed your mind about, or that one screw that missed the stud and chewed up the paper. The good news is you can make these disappear without cutting drywall or messing with mesh tape.
I have patched hundreds of these in my 1970s ranch, and the difference between “good enough” and truly invisible usually comes down to two things: using the right filler, and not rushing the sanding and paint touch-up.
What counts as a “small” drywall hole?
This tutorial is for:
- Nail holes (pinhead up to about 1/8 inch)
- Screw holes from anchors or brackets (about 1/8 to 1/4 inch)
- Minor dents and small dings (no missing chunks of gypsum)
If the hole is larger than about 1/2 inch, the paper is torn wide open, or the drywall is crushed and soft, you will get better results with a larger-hole method (patch, tape, or a drywall plug).
Tools and materials
Must-haves
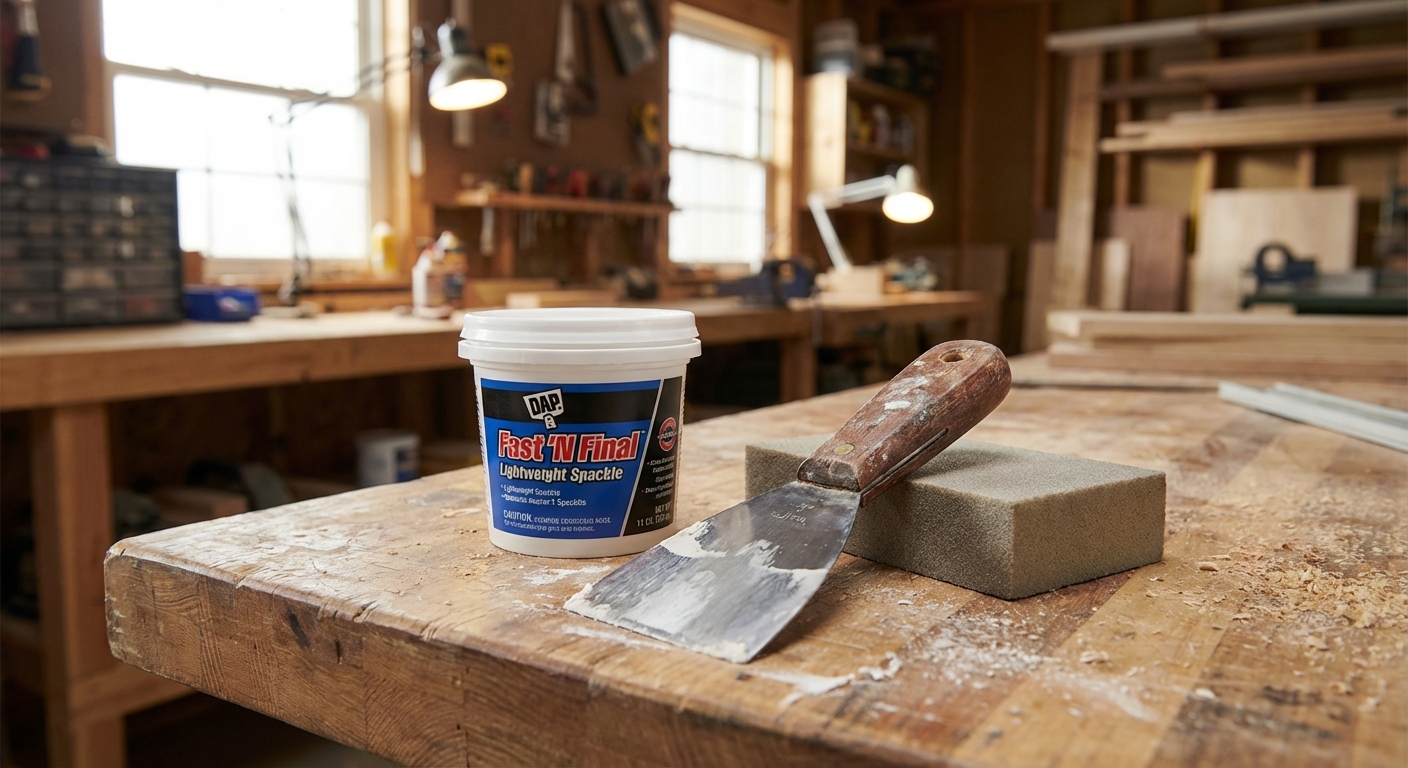
- Lightweight spackle (best for most nail and screw holes)
- Putty knife, 2 inch or 3 inch
- Sanding sponge (fine or extra-fine, around 180 to 220 grit)
- Clean rag or microfiber cloth
Nice-to-haves for a truly invisible finish
- Utility knife (for trimming torn paper)
- Vacuum with brush attachment (drywall dust control)
- Primer (spray or brush-on)
- Matching wall paint, plus a small brush or mini roller
Spackle vs joint compound: For small holes, I reach for lightweight spackle because it dries fast, sands easily, and shrinks less on tiny repairs. Joint compound works too, but it usually takes longer to dry and can take more sanding.
Step-by-step: Patch nail holes and small screw holes
1) Prep the hole (this is where most people skip and regret it)
Run your finger over the spot. If a screw head left a little crater or the drywall paper is raised, you want to fix that before you fill.
- Remove loose bits of drywall paper or crumbly gypsum.
- If the paper is torn and sticking up, trim it flat with a sharp utility knife.
- If the hole has a ridge from an old anchor, scrape it flat with your putty knife.
Goal: a clean, solid edge so your filler bonds and feathers smoothly.
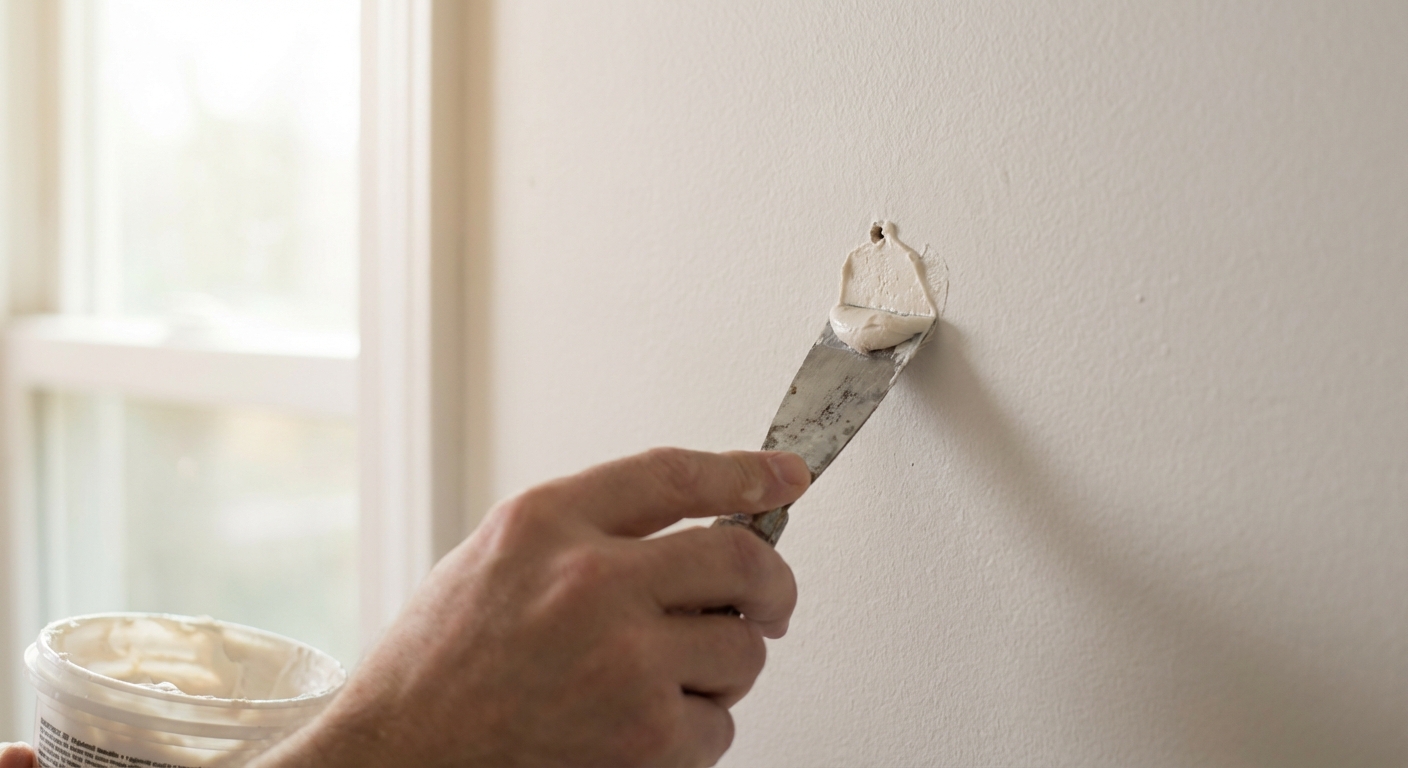
2) Fill with spackle using two passes
Scoop a small amount of spackle onto your putty knife. Less than you think. You can always add more.
- Press the spackle into the hole firmly, like you are packing it in.
- Then skim off the excess by pulling the knife across the surface at a slight angle.
- Finish with a couple of light passes to feather the edges 1 to 2 inches past the hole.
If the hole is closer to 1/4 inch, expect a little shrinkage. I often do a second thin coat after the first dries.
3) Let it dry (and do not sand early)
Dry time depends on product, temperature, humidity, and how thick you applied it. Typical ranges:
- Lightweight spackle: 15 minutes to 1 hour for tiny nail holes, 1 to 2+ hours for thicker fills
- Standard spackle or joint compound: 2 to 24 hours depending on thickness
Check the tub label, but also trust your fingertip. If it feels cool or soft, it is not ready. Sanding too soon is how you get a gummy mess that tears out of the hole.
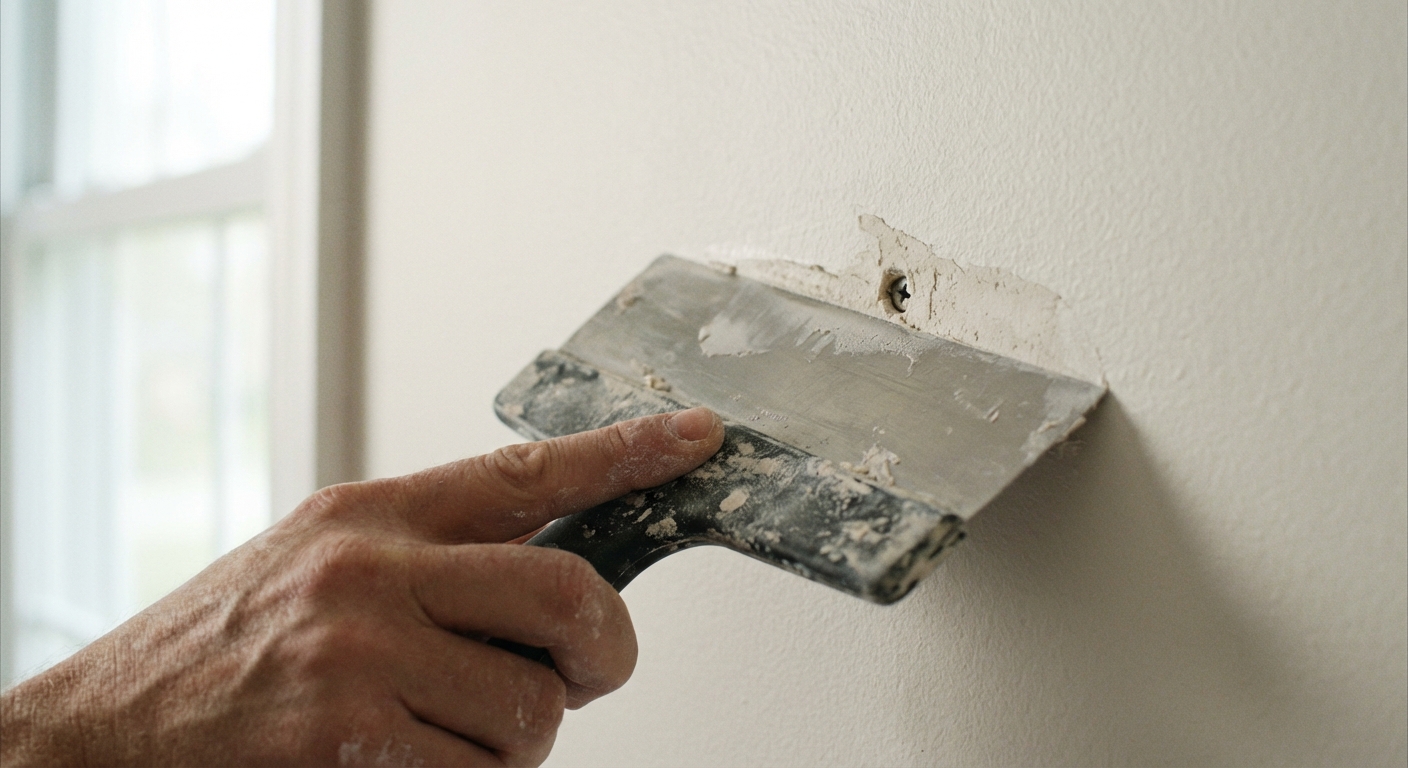
4) Sand lightly until you cannot feel it
Use a fine sanding sponge. Start gentle. You are shaping the patch, not sanding the whole wall.
- Sand in small circles or light passes.
- Feather the edges so the patch fades into the wall.
- Run your hand over it with your eyes closed. Your hand finds flaws your eyes miss.
Wipe off dust with a clean rag or vacuum it. Paint hates dust.
How to handle common “small hole” situations
When an anchor leaves a slightly chewed-up hole
Plastic anchors can tear the paper face when you yank them out. If the paper is fuzzy or lifted, trim it flat. For really fuzzy paper, a quick dab of primer before spackle can help seal it, but on small spots I usually get away with trim, fill, then prime.
When the screw hole is recessed (a little crater)
Do two thin coats instead of one thick blob. Thick spackle dries slower and shrinks more. Thin coats dry faster and sand flatter.
When you have a tiny dent, not a hole
Still fill it. Skim spackle over the dent, then scrape almost all of it back off. The goal is to leave spackle only where the dent is.
When the hole is in a corner or next to trim
Use a smaller knife (or even a flexible putty knife) and pull the spackle away from the corner to avoid leaving a ridge. If you bump baseboard or casing, wipe it immediately with a damp rag.
Touch-up paint so the repair disappears
This is the part that surprises beginners: the patch can be perfectly smooth and still “flash” through the paint. That happens because spackle is porous and absorbs paint differently than the surrounding wall.
1) Prime the patch (especially on matte and eggshell walls)
For a few small holes, you can use:
- Spray primer (quick, but mask if you are messy)
- Brush-on primer (more control, great for small spots)
Let primer dry fully before paint. Many primers are ready in 30 to 60 minutes, but check the can.
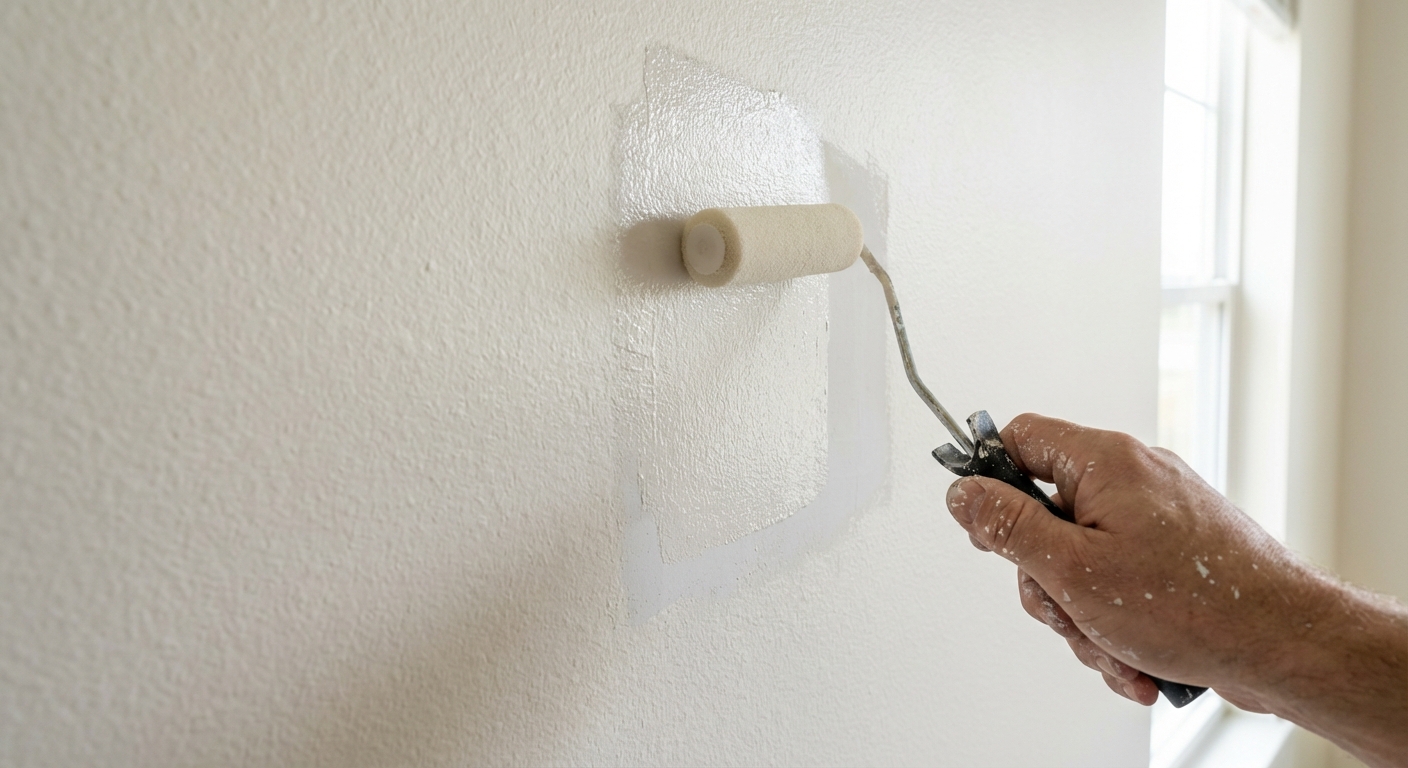
2) Use the right applicator
- If your wall was rolled, a mini roller usually blends best.
- If it is a small spot behind a picture frame, a small brush is fine, but expect more visible texture differences.
3) Feather the paint, do not make a hard-edged square
Load less paint than you think and work outward. Two light coats almost always beat one heavy coat. If the wall has any sheen (eggshell, satin, semi-gloss), consider painting a slightly larger area to blend.
Move-out tip: If your paint is old, it may not match perfectly even if it is the same color code. Sunlight, smoke, and time change walls. If touch-ups stand out, your best fix is often to paint the entire wall from corner to corner.
Quick troubleshooting
- The patch looks like a bump: You left too much spackle. Sand it flatter, wipe dust, then repaint.
- The hole reappeared after drying: Shrinkage. Add a second thin coat of spackle, let dry, sand, prime, paint.
- The paint looks shinier or duller on the spot: You skipped primer or used a different sheen. Prime and repaint, or paint the whole wall for a perfect blend.
- I see a fuzzy edge around the repair: Torn drywall paper. Trim loose paper, seal with primer, then skim spackle and sand.
- Dust everywhere: Use a sanding sponge (not loose paper), sand gently, and keep a vacuum handy. I learned this the hard way on a freshly cleaned room.
My simple “invisible patch” checklist
- Trim and scrape the area flat
- Press spackle in, then feather thin
- Let it dry completely
- Sand until you cannot feel the edge
- Remove dust
- Prime the patch
- Paint with a mini roller, feathering outward
If you follow that list, nail holes and small screw holes become one of those satisfying DIY wins where you step back and think, “Wait, where was it again?”
About Marcus Vance
Content Creator @ Grit & Home
Marcus Vance is a lifelong DIY enthusiast and self-taught home renovator who has spent the last decade transforming a dilapidated 1970s ranch into his family's dream home. He specializes in budget-friendly carpentry, room-by-room renovations, and demystifying power tools for beginners. Through his writing, Marcus shares practical tutorials and hard-learned lessons to help homeowners tackle their own projects with confidence.