
🚨 In a DIY emergency or rush?
Skip the details and jump straight to our 30-second cheat sheet for the most crucial info.
The first time I saw a pinhole leak in copper at our 1970s ranch, I thought I had “caught it early.” It was just a tiny blue-green crusty dot on an exposed line in the basement. I wiped it, it felt a little damp, and I figured I would slap on a quick patch after dinner.
That was the lesson: pinholes are rarely a one-and-done problem. They are often a symptom of what is happening inside the pipe, not just a random defect on the outside. If you patch one spot and move on, you can end up chasing leaks all year.
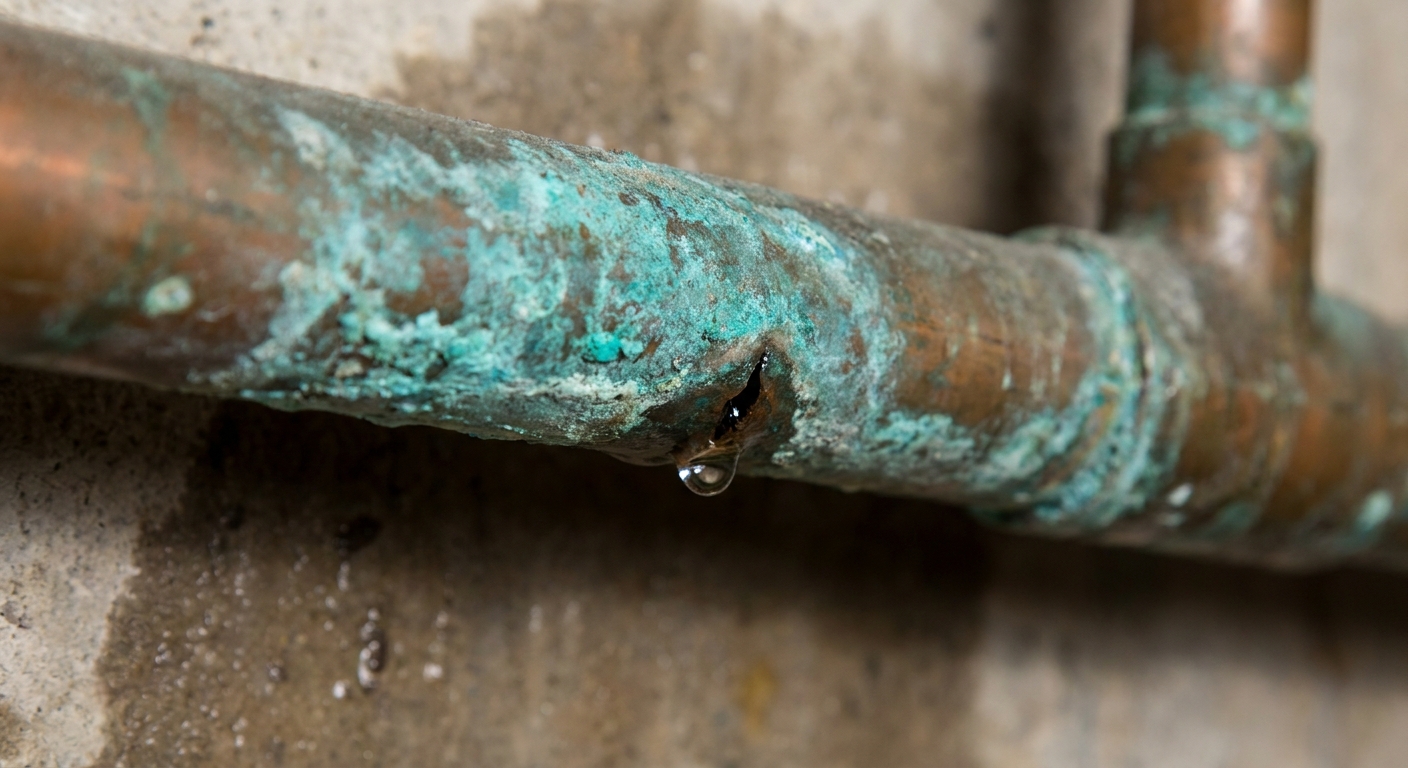
What a blue-green pinhole on copper means
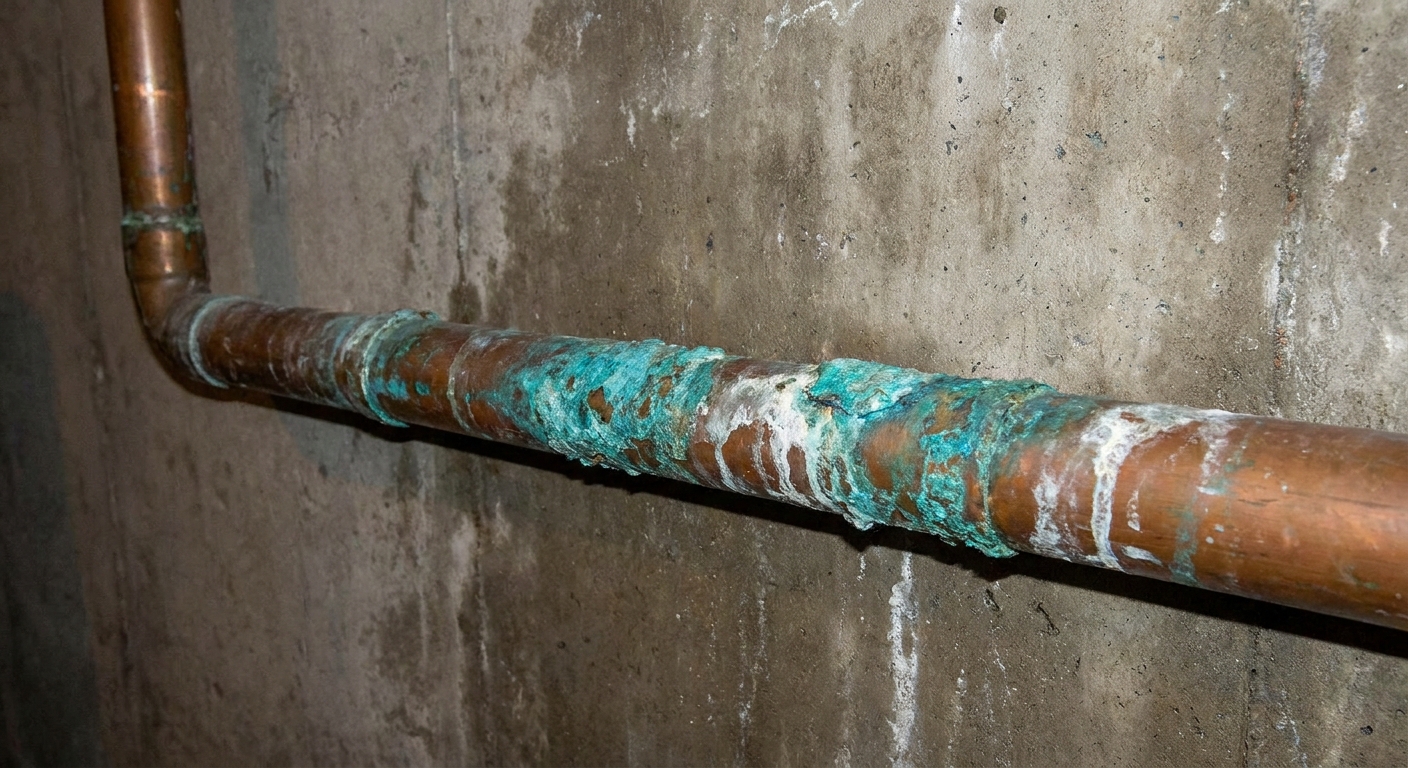
That blue-green staining is copper corrosion byproducts. You might see it as:
- Blue-green crust or powder around a tiny hole or a wet spot
- Green streaking running down the pipe from a weep point
- White mineral buildup mixed in if you have hard water
- Black or dark pitting in some cases, especially on older pipe
The important part is the word pitting. A pinhole leak is often the end result of a pit that started on the inside wall of the pipe and slowly ate its way through.
But it is not universal. I have also seen copper fail from the outside when it stays wet from condensation, gets exposed to certain chemicals, or sits in contact with dissimilar metals in a way that sets up corrosion.
Why pinhole leaks happen
There is rarely one single cause. Most homes with pinholes have a mix of water chemistry, flow conditions, and pipe history working together.
1) Water chemistry that is hard on copper
Copper is durable, but it is not invincible. The protective layer inside the pipe can be disrupted by certain water conditions, especially over many years.
- Low pH (acidic water) can dissolve copper over time and promote pitting.
- High dissolved oxygen and certain disinfectants can increase corrosion potential.
- High chlorides or sulfates in some water supplies can push pitting corrosion along.
- Softened water is not automatically “safe”. Water can be soft and still corrosive depending on pH, alkalinity, and dissolved minerals.
If your neighbors have had similar issues, that is a big clue it is water related rather than a one-off installation problem.
2) Velocity and turbulence inside the pipe
Water speed matters more than most DIYers realize. In certain situations, fast moving water can wear away copper’s protective layer, especially at spots where flow gets chaotic.
Common trouble areas include:
- Just downstream of elbows and tees
- Near partially closed valves
- After pressure reducing valves if the layout causes turbulence
- At undersized piping that forces higher velocity for the same demand
This is why you will sometimes see a cluster of pinholes along one run, often on hot water lines where demand, temperature, and expansion all stack up.
3) Hot water speeds things up
Corrosion reactions speed up with temperature. Hot water can also exacerbate erosion-corrosion in high-velocity situations. If your pinholes are mostly on hot water copper, or the outlet side of a water heater, that pattern is common. Very high water heater settings can make the problem worse over time.
4) Workmanship and residues from the original install
I say this gently because most of us are working with what the last person did. But copper can be set up for trouble by:
- Overheating fittings during soldering, which can over-anneal copper, burn flux, and contribute to poor joints or corrosion issues over time
- Leaving flux residue inside the line, which can be corrosive
- Failing to ream and deburr cuts, which can increase turbulence in high-velocity systems and create erosion-prone spots
- Using dissimilar metals incorrectly, which can contribute to galvanic corrosion in some setups
Why patching one hole often means more are coming
A pinhole is usually just the first place the pipe finally gave up. If the underlying cause is internal pitting along a run, the pipe wall may be thinning in multiple spots. You patch the obvious leak, then another weak spot opens up nearby a week later.
In practical terms, here is my rule of thumb:
- One leak can be bad luck.
- Two leaks on the same line is a pattern.
- Three leaks is a pipeline telling you it is done.
If the copper is older, and especially if you are seeing pinholes in more than one area of the house, it is smart to shift your mindset from “repair this hole” to “stabilize the system and plan a replacement strategy.”
What to do right away
Step 1: Shut off water fast
If it is actively spraying or dripping:
- Shut off the closest valve feeding that branch if you have one that actually works.
- If not, shut off the main.
Then open a faucet at a lower level to relieve pressure and drain the line as much as you can.
Step 2: Protect the area
- Put a bucket under it and lay down towels.
- If it is near outlets, cords, or a power strip, cut power to that area until things are dry.
- Take a quick photo of the leak location before you cover anything. Future you will thank you.
Step 3: Check if it is isolated
Once things are under control, take 5 minutes to inspect:
- The same pipe run for other blue-green dots, pitting, or dampness
- Nearby elbows, tees, and valves
- The hot water line versus cold water line condition
- Whether the pipe is damp from condensation (common on cold lines in humid basements), which can drive outside corrosion if it stays wet
Temporary repairs that buy time
I am all for a safe temporary fix when you need water back tonight. Just go in knowing a temporary repair is buying time, not solving the cause.
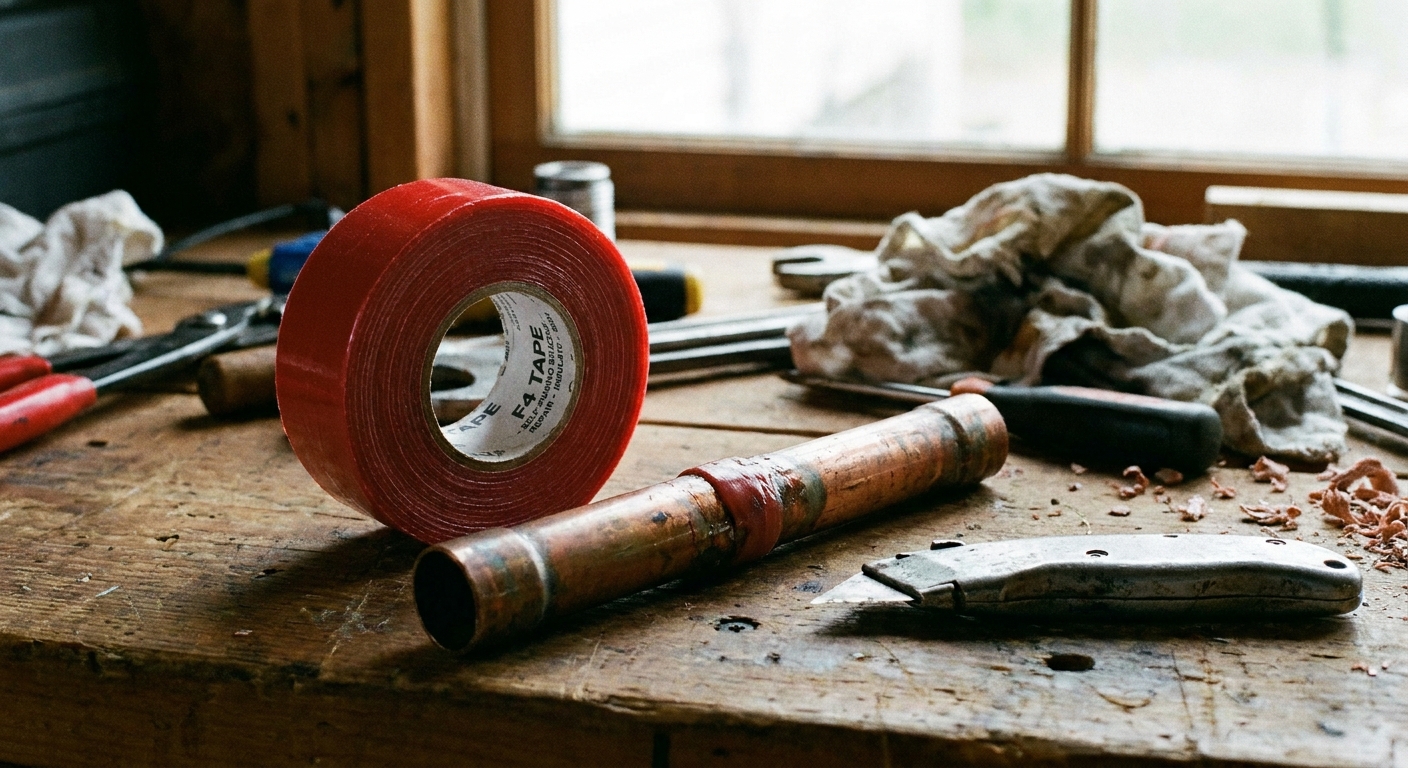
Option A: Self-fusing silicone tape (quick DIY stop)
Self-fusing silicone tape can stop small weeps on a depressurized line if the pipe surface is cleaned and dried as well as possible.
- Pros: Fast, no special tools, works in awkward spots.
- Cons: Not a permanent repair, can fail if water pressure returns before it is wrapped tightly.
Option B: Epoxy putty (prep sensitive)
Two part epoxy putty can seal a pinhole, but it has one big weakness: water. If the pipe is even slightly wet, many epoxies will not bond well enough long term. Some products are rated for wet repairs, but you need to read the label and follow cure times.
- Pros: Stronger than tape when prepped correctly.
- Cons: Prep sensitive, and it can trick you into thinking the problem is “fixed.”
Option C: Rubber and hose clamp (short-term band aid)
A small piece of rubber (like from a repair coupling kit) with a hose clamp can stop leaks if there is enough straight pipe to clamp around.
- Pros: Holds pressure better than tape alone.
- Cons: Not code compliant as a permanent repair in most areas, bulky, needs access.
What usually does not last
- “Just solder over it” on a thin, pitted pipe wall. The pipe can blow out as you heat it, and even if it seals, the surrounding metal may be paper thin.
- Generic duct tape. It is not made for pressurized plumbing.
- Stacking patch on patch. If you are building a copper pipe mummy, it is time to cut out and replace a section or plan a repipe.
Permanent fixes that stop the leak
Cut out and replace the bad section
If the pipe is accessible and you have enough healthy copper on both sides, cutting out the damaged section is the cleanest repair.
Common permanent approaches:
- Sweat soldered copper repair if you are comfortable soldering and the pipe wall is in good shape.
- Press fittings if you have access to the tool or hire it out.
- Compression repair coupling in some situations, especially where open flame is a bad idea.
- PEX transition and replacement for the run if you are moving away from copper in that area.
If the copper looks peppered with pits or you can scratch it easily with a screwdriver, skip the heroics and move to a bigger replacement plan.
Basic safety when repairing
If you are using a torch, be realistic about what is around that pipe. Wood framing, insulation, and dust burn fast, and there may be wiring nearby. If you cannot safely manage open flame, choose a flame-free option (compression, press, or a plumber) and keep a fire extinguisher handy.
Do not ignore supports and contact points
While internal corrosion is often the driver, I also look for:
- Pipes rubbing against metal hangers or sharp edges
- Pipes strapped too tightly where expansion and contraction can stress the line
- Areas where insulation stays wet
Fixing supports will not reverse corrosion, but it can reduce future wear and noise.
When to call a plumber now
Some leaks are DIY-able. Some are the kind that turn into a flooded ceiling while you are at work. I would call a plumber immediately if:
- The leak is in a wall, ceiling, or any hidden cavity
- The leak is near an electrical panel, outlets, or appliance wiring
- You cannot fully shut off or depressurize the line
- You see multiple blue-green spots or widespread pitting on the same run
- The piping is in a slab, a tight chase, or anywhere that is hard to access
- You suspect a bigger issue like grounding or bonding problems and do not know how to evaluate it safely
When it is time to repipe
I know “repipe” sounds like the nuclear option. But it is often the cheapest option in the long run when you factor in water damage risk, repeated emergency plumber calls, and the frustration of multiple shutoffs.
Consider repiping a run (or an entire side of the house) if any of these are true:
- You have had multiple pinhole leaks on the same hot or cold line within months.
- The copper shows widespread pitting or lots of blue-green spots, even where it is not leaking yet.
- Leaks are occurring at different locations throughout the home, not just one elbow.
- The pipe is in a hard to access chase and every leak requires opening walls or ceilings.
- You are planning renovations anyway. This is the do it while the walls are open moment.
Pipe type and age matter too. Thinner wall copper (often Type M) tends to have less margin for corrosion than thicker wall copper (often Type L), especially when water conditions are aggressive.
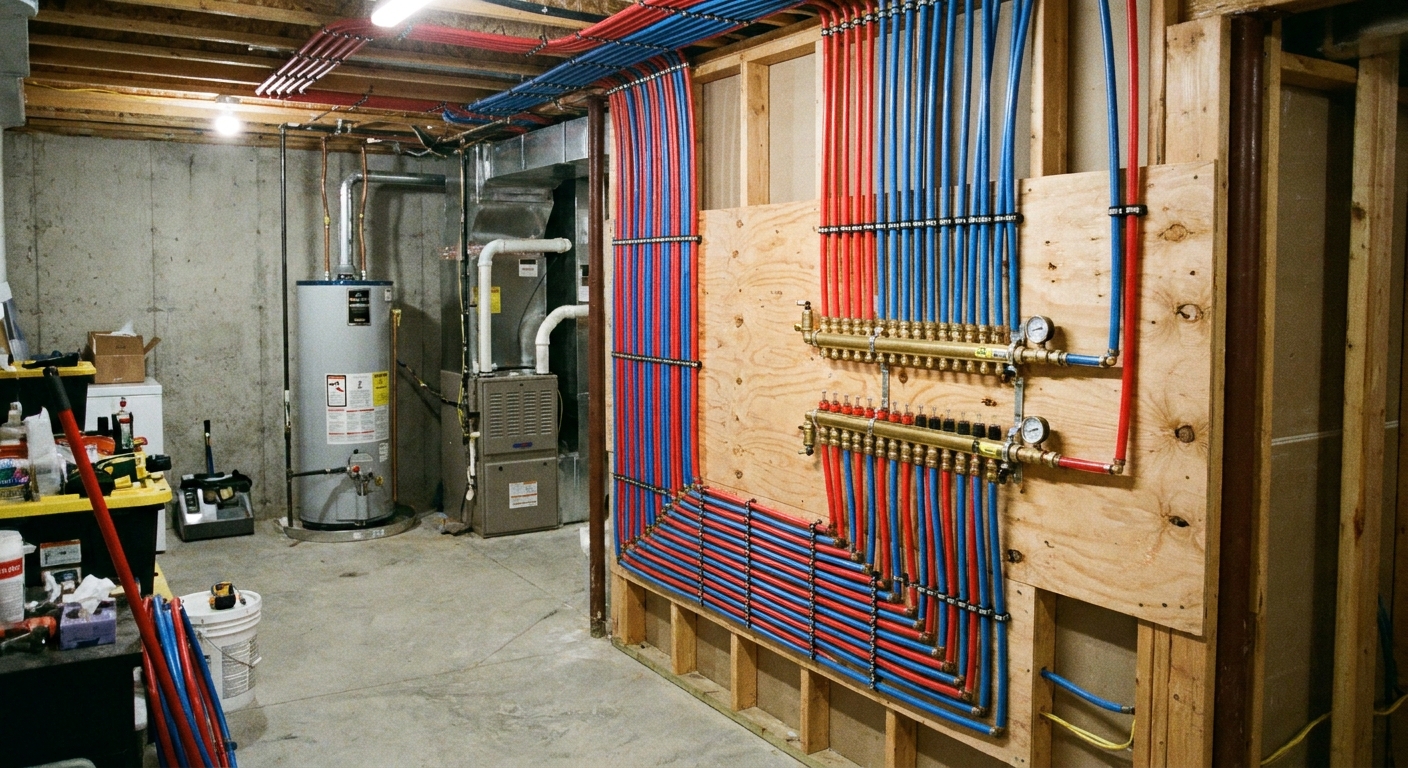
Material wise, many homeowners choose to replace problem sections with PEX because it is forgiving, quiet, and DIY friendly when installed correctly. Others prefer all copper. The right answer depends on local code, your water, and how much of the system is affected.
Can water testing help?
Yes, if you use it to make an informed plan instead of just collecting numbers.
What is helpful to know:
- pH (acidic water can be a red flag)
- Alkalinity (buffering capacity that affects corrosion potential)
- Hardness (scaling can protect or create issues depending on context)
- Chloride level (can contribute to pitting in some water)
Your local water utility may publish an annual water quality report with some of this. For well water, a lab test is usually worth it if you are seeing recurring pinholes.
One caution from the DIY trenches: do not blindly chase “perfect” water by dumping chemicals into a system without guidance. If your results look corrosive, a licensed plumber or water treatment pro can help you choose a correction method that makes sense for your house.
A quick note on bonding and stray current
It is not the most common cause, but improper bonding, grounding issues, or electrical faults can sometimes accelerate corrosion on metal piping. If you are seeing weird, rapid corrosion patterns or you suspect electrical involvement, this is a good moment to bring in a pro.
FAQ
Are pinhole leaks an emergency?
They can be. Even a tiny leak can cause major damage if it sprays inside a wall or ceiling. Treat an active pinhole as urgent, shut off water, and make a plan that same day.
Is it safe to keep using water if I patched a pinhole?
If the patch is holding and you are monitoring it, you can often limp along short term. But do not trust a patch in a hidden cavity or above finished space. A temporary repair is safest where you can see it.
Do pinhole leaks mean my whole house needs repiping?
Not always. Sometimes it is isolated to one run, one branch, or mostly hot water lines. But multiple leaks across different areas is a strong sign the system is at the end of its service life.
Can I just turn down my water pressure?
Lowering pressure can reduce stress on thin spots and can reduce flow rates at fixtures, which may help you limp along. But pressure does not cause pitting by itself, and it does not undo existing corrosion. If your pressure is high, addressing it is smart. It is just not the whole solution.
Should I check the water heater area?
Yes. Besides temperature, look at transitions and fittings near the heater. Corrosion often shows up around joints, and the hot outlet side is a common place to see early trouble.
The 30-Second Cheat Sheet
Essential takeaways for: Pinhole Leaks in Copper Pipes: Causes and What to Do
What you are looking at
- Blue-green crust on copper plus dampness often means pitting corrosion and a pinhole leak starting or already through the pipe wall.
- Not every pinhole is inside-out. Constant condensation, chemical exposure, or contact with dissimilar metals can also corrode copper from the outside.
- One patched pinhole often means more are coming because the pipe may be thinning in multiple spots along the run.
Do this first
- Shut off the nearest working valve, or the main water shutoff if needed.
- Relieve pressure by opening a faucet at a lower level.
- Protect the area from water and electricity, then inspect nearby pipe for more blue-green spots.
Fast temporary fixes (buy time)
- Self-fusing silicone tape works well for a quick stop on a dried pipe.
- Epoxy putty can seal a pinhole only if the pipe is truly dry and prepped well, unless you are using a product specifically rated for wet repairs.
- Rubber patch plus hose clamp can hold pressure short term if there is enough straight pipe.
Permanent fixes
- Cut out and replace the section with new copper, press fittings, or a proper transition to PEX.
- Avoid trying to solder over a thin, pitted spot. Heating can blow out weakened copper.
When to repipe a run
- Two or more pinholes on the same line in a short time.
- Widespread pitting or multiple blue-green spots along exposed copper.
- Leaks in different locations around the house, especially on hot water.
💡 Tip: Scroll up to read the full article for detailed, step-by-step instructions.
⬆️ Back to top
About Grit
Content Creator @ Grit & Home
Grit is Grit & Home’s little blue clay courier, delivering big questions about the place you call home. Expect practical ideas, a raised eyebrow, and a satchel full of curiosity.