
🚨 In a DIY emergency or rush?
Skip the details and jump straight to our 30-second cheat sheet for the most crucial info.
Portable AC units are the unsung heroes of hot bedrooms, bonus rooms, and that one home office that always runs warm. They are also the fastest way I know to turn a comfortable room into a sweaty mystery if you skip basic upkeep. Think weak airflow, musty smell, or a unit that keeps shutting off at the worst time.
The good news: most portable AC maintenance is simple, cheap, and takes less time than a trip to the store for another “maybe this will fix it” gadget. This guide walks you through seasonal care, what to clean and inspect, how to store your unit for winter, and what to check before the first heat wave hits.
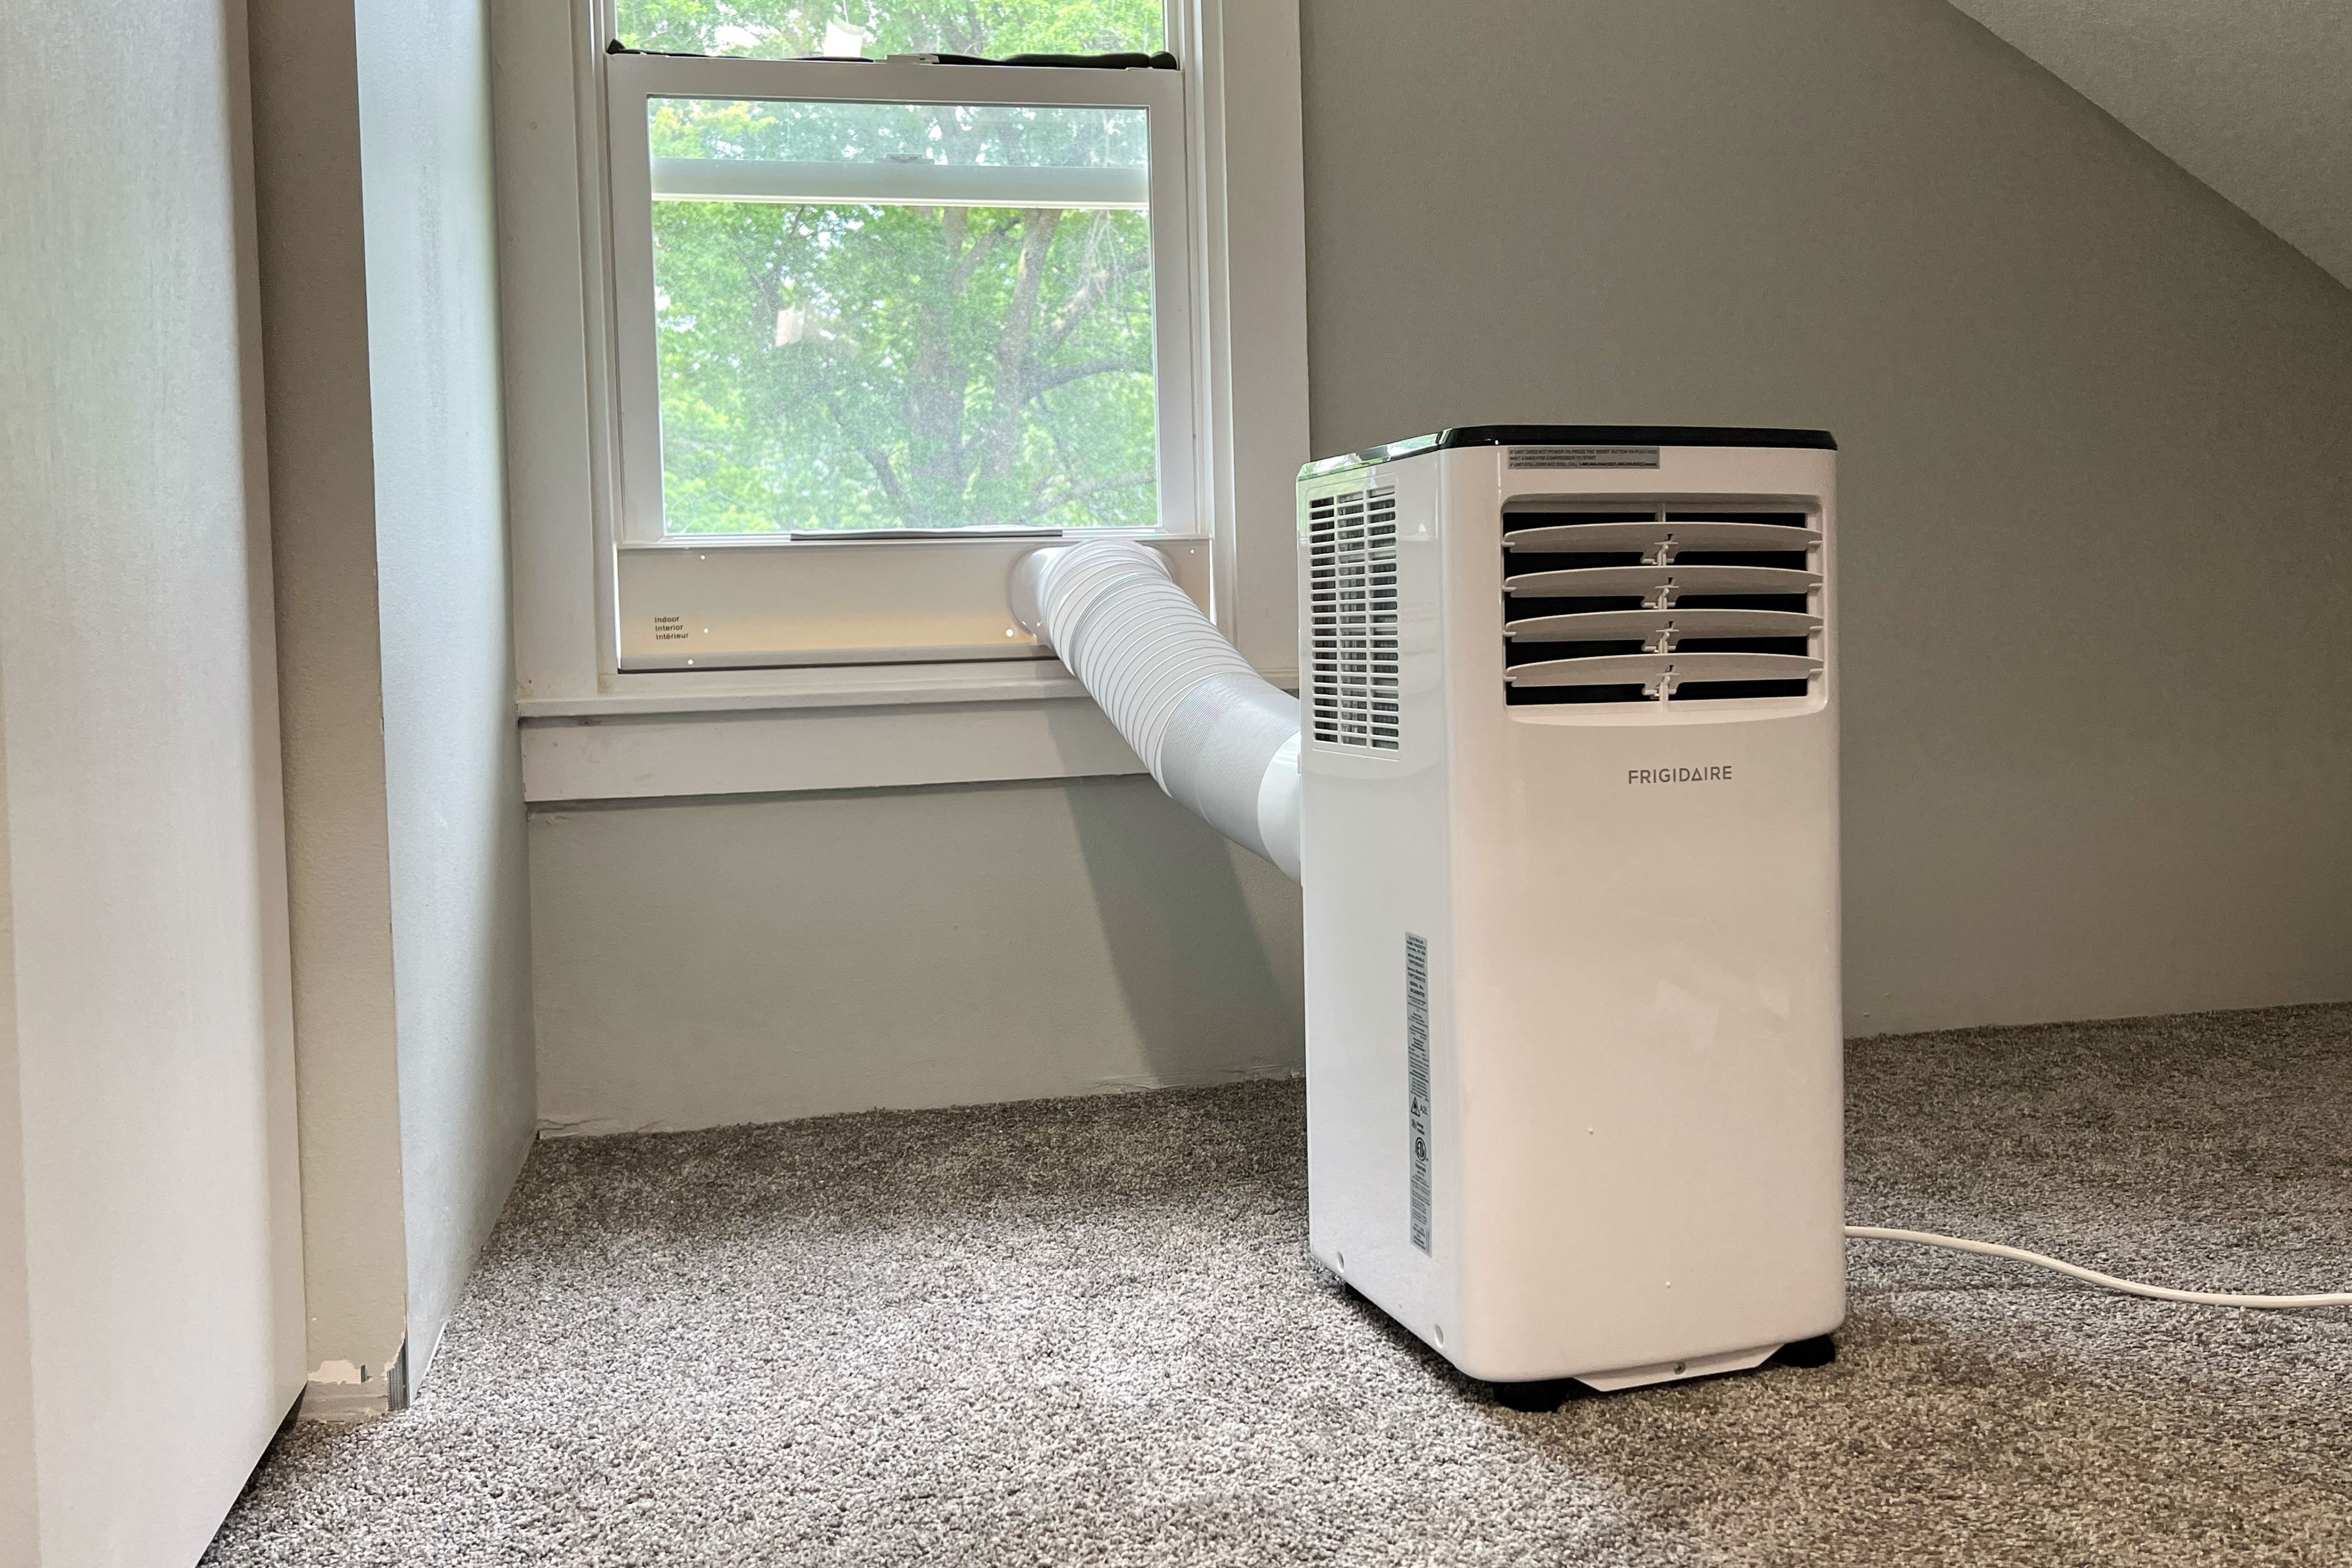
Safety and what you will need
Before you touch anything inside the unit, unplug it and let it cool for a few minutes. If it was just running, internal parts can be warm and there may be water in the pan that can slosh if you move it right away.
Power note: Most manufacturers recommend plugging portable ACs directly into a wall outlet. Skip extension cords and power strips unless your manual explicitly says otherwise.
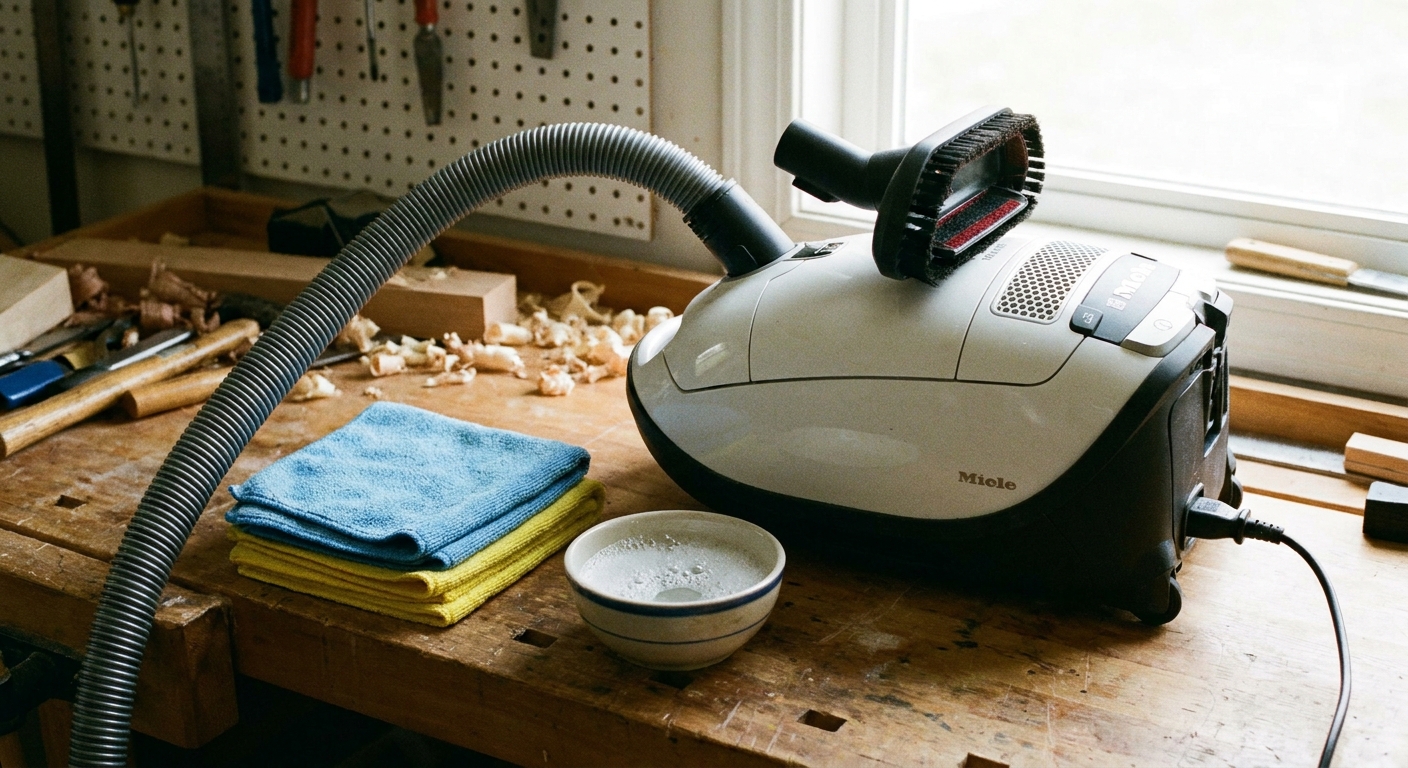
Grab these basics
- Vacuum with a brush attachment
- Microfiber cloths
- Mild dish soap and warm water
- A shallow tray or baking sheet for draining
- A flashlight
- Foam weatherstripping or HVAC foil tape (for window-kit leaks)
Why cooling gets weaker
Portable ACs move a lot of air and they pull that air through a filter. When the filter loads up, airflow drops. Low airflow makes the evaporator coil run colder than it should, which can cause icing. Icing blocks airflow even more, and now it feels like the unit “runs forever but never cools.”
The other big culprit is air leakage at the window kit. If hot outdoor air is leaking in around the panel, your portable unit is fighting a losing battle and it will look undersized even if it is not.
One more thing that surprises people: many single-hose portable ACs can create slight negative pressure in a room, which pulls in warm air through cracks and gaps elsewhere. A tight window kit helps, but room sealing matters too.
Filter and grille cleaning (monthly in summer)
If you only do one maintenance task, make it this one. A clean filter is the cheapest performance boost you will ever give your AC.
Step-by-step
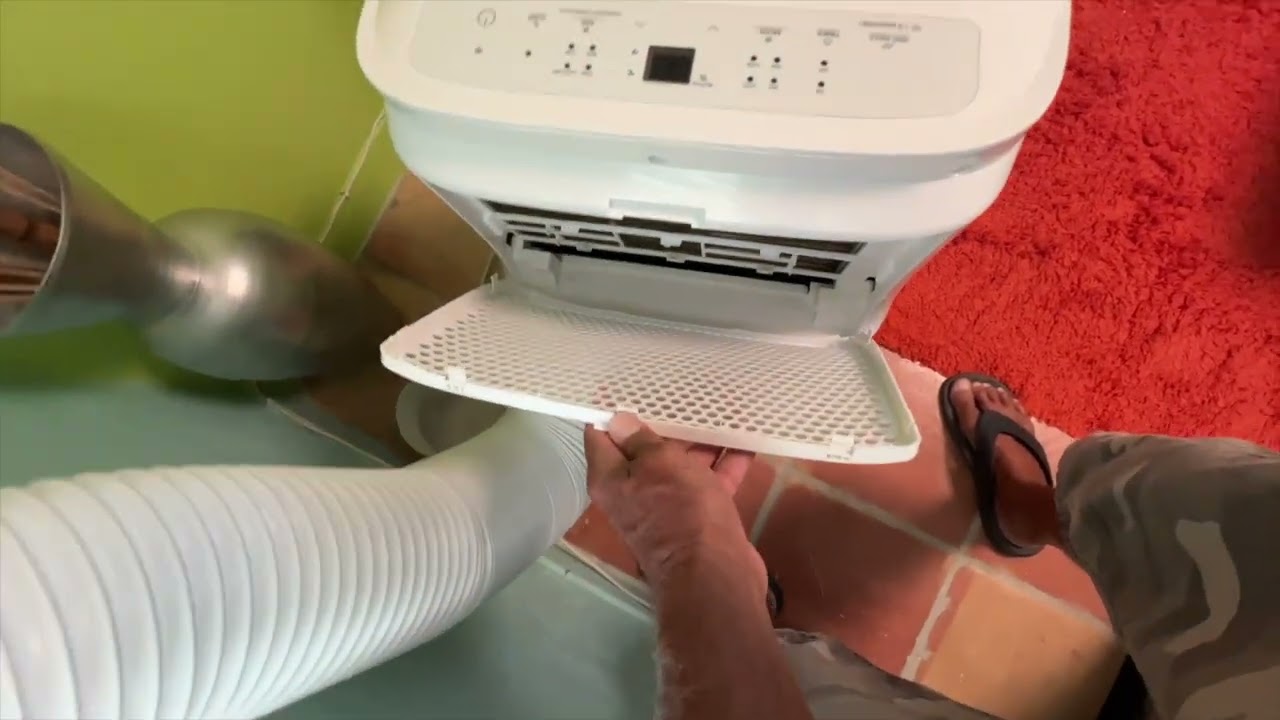
- Power off and unplug. Pull the unit away from the wall so you can access the intake area.
- Remove the filter(s). Most units have a rear intake filter. Some have two, or a second pre-filter.
- Vacuum first. Use the brush attachment to pull lint and dust off both sides.
- Wash if allowed. If your manual says washable, rinse with warm water and a drop of dish soap. Do not scrub aggressively.
- Dry completely. Reinstalling a damp filter is a great way to invite mildew smell.
- Clean the grilles. Wipe intake and exhaust grilles with a damp microfiber cloth, then dry.
Thrifty tip: Put a repeating reminder on your phone for every 3 to 4 weeks during heavy use. I do it on the same weekend I change HVAC filters, so I do not forget.
Drain and hose checks (mid-season and before storage)
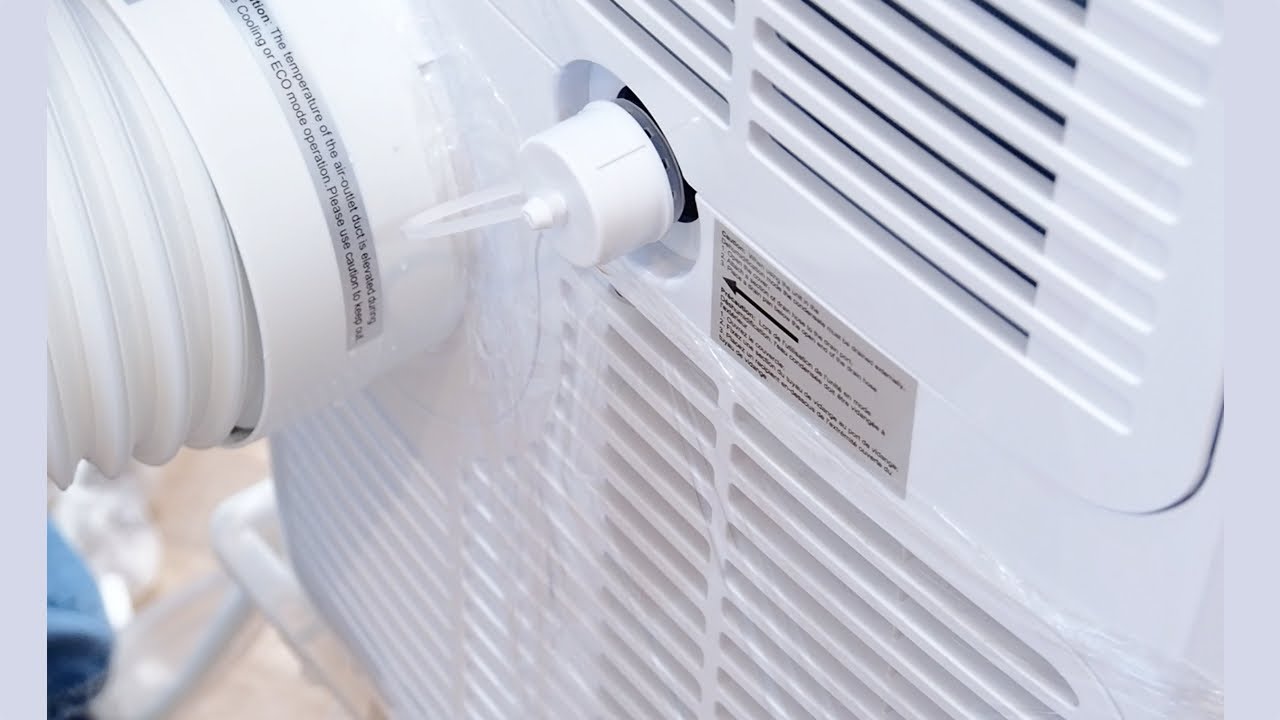
Portable ACs pull humidity out of the air. That water has to go somewhere. Many units “self-evaporate” some moisture through the exhaust in AC mode, but many models still include a drain port and an internal pan that can fill depending on humidity, temperature, and operating mode.
What to check
- Drain plug and cap: Look for cracks, missing O-rings, or a cap that will not seat tightly.
- Drain hose (if you use one): Make sure it is not kinked, sagging upward, or clogged with slime.
- Error codes: If the unit shuts off with a “full” light or code, look up the code in your manual. Brands vary, and the reset steps can be model-specific.
- Pan behavior: If it fills often, you likely have high humidity, a poor slope on the hose, or you are using a mode that produces more condensate.
Quick drain procedure
- Place the unit near a floor drain, shower, or on a tray if you are careful.
- Remove the lower drain plug slowly.
- Let it empty fully, then reinstall the plug snugly.
Window kit sealing and hose setup (at install and once per season)
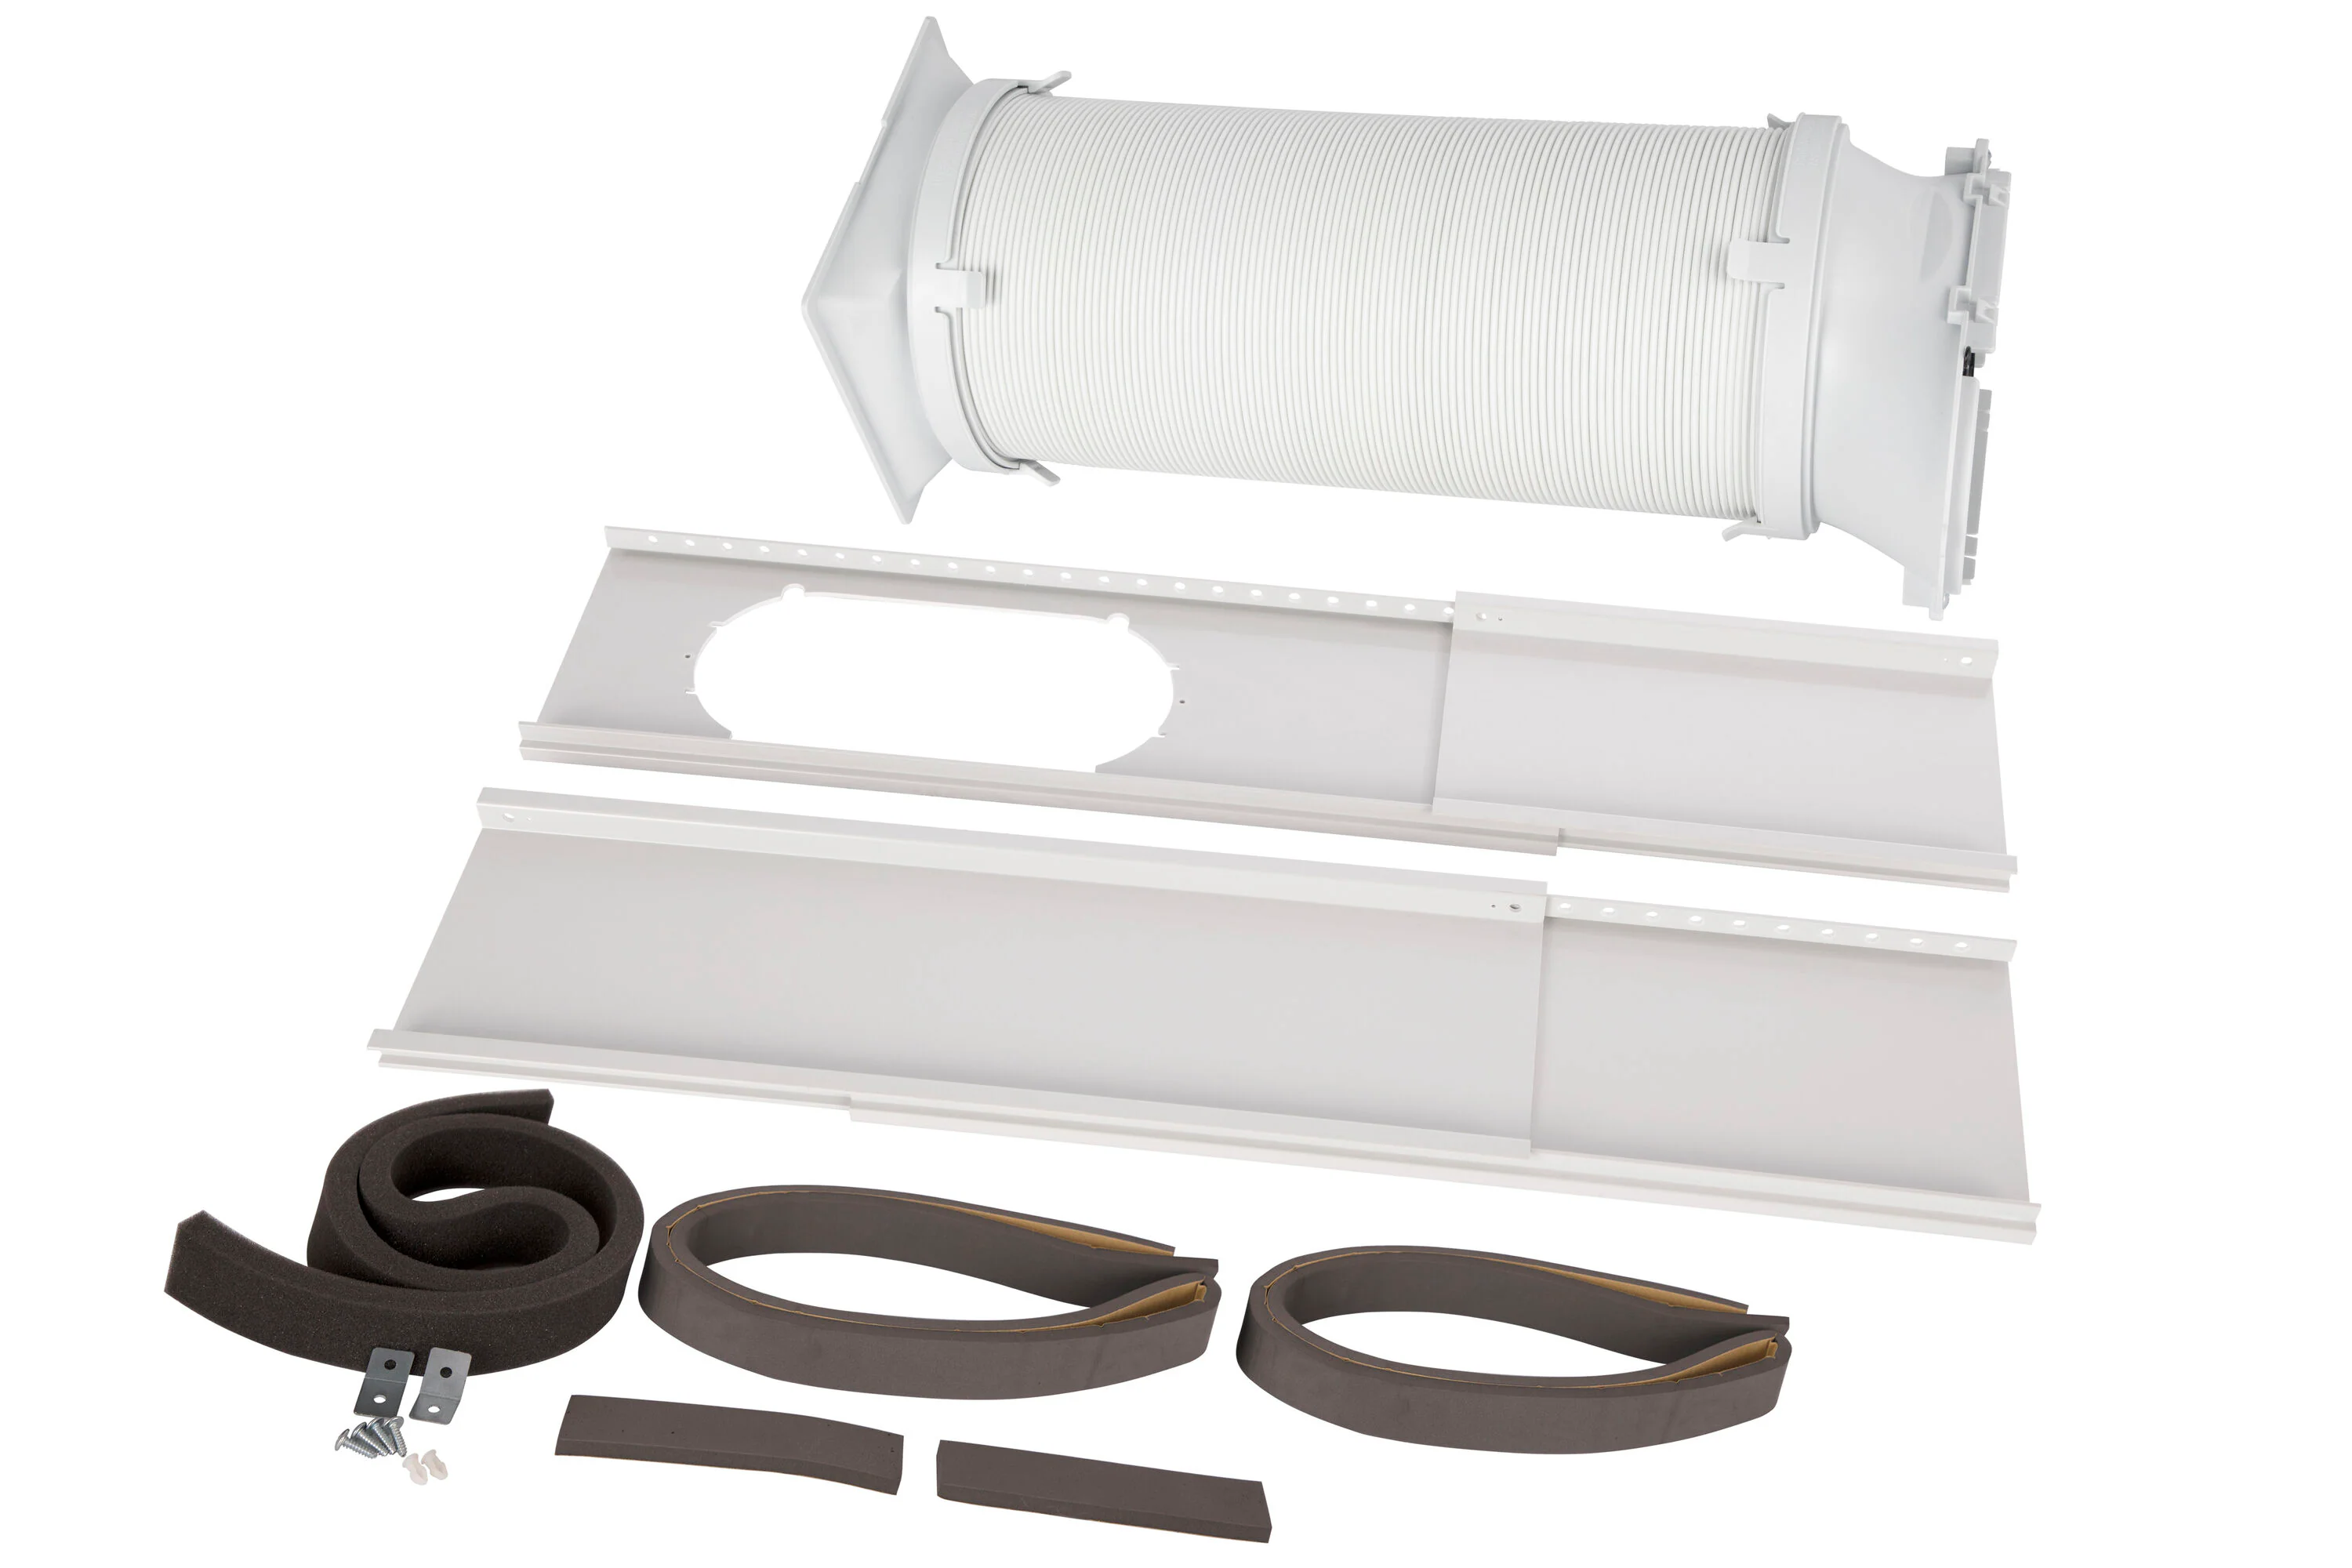
Your portable AC is only as good as the window seal. Air leaks around the panel can pull hot, humid outdoor air right back into the room. Even worse, gaps can let the exhaust air recirculate.
Sealing checklist
- Panel fit: The slider panel should be tight in the window track with no wiggle.
- Foam seals: Replace crushed or missing foam strips. They are cheap and make a big difference.
- Hose connection: Ensure the hose is fully twisted or snapped into the unit and the window adapter.
- Hose routing: Keep it as short and straight as possible. Long, sagging hoses reduce airflow and radiate heat back into the room. Follow the manual on maximum hose length, and avoid hose extensions unless the manufacturer approves them.
- Sun on the hose: If the hose is in direct sun, consider a light-colored insulating wrap designed for AC hoses, or shade the window area.
My rule of thumb: If you can feel hot air with your hand around the window kit while the unit is running, you have an easy fix sitting right in front of you.
Coil area wipe-down (1 to 2 times per season)
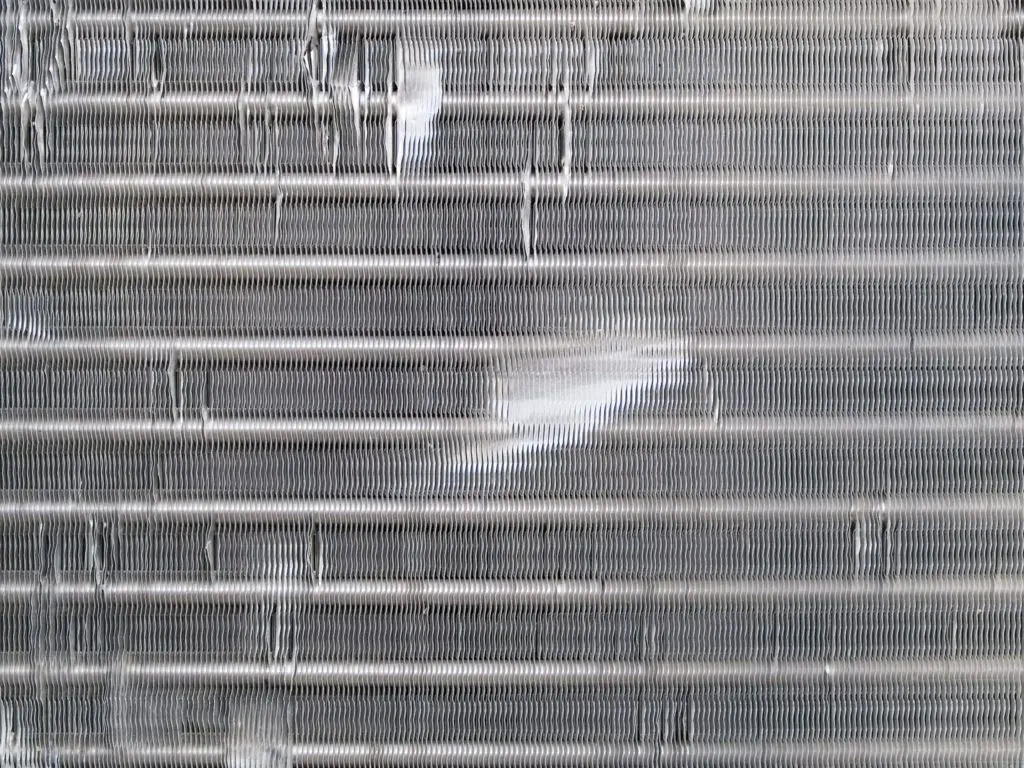
Portable units have coils inside that need good airflow to cool properly. You usually cannot access them like you can on a central AC, but you can still keep the reachable coil area and interior surfaces cleaner than they would be otherwise.
Do this safely
- Unplug the unit.
- Remove the filter(s) so you can see deeper into the intake area.
- Use a vacuum brush gently on accessible coil fins and interior surfaces.
- Wipe reachable areas with a barely damp microfiber cloth, then dry.
Do not: spray cleaners or water into the unit, bend fins with a stiff brush, or open sealed panels unless your manual specifically allows it. Coils are delicate.
BTU to room size reminders
A perfectly maintained portable AC can still struggle if it is undersized, or if the space has big heat loads like west-facing windows, a kitchen, or poor insulation.
Quick sizing sanity check
- Start with room square footage: length times width.
- Portable units vary by rating type: Some are listed with a higher “ASHRAE” number and a lower “SACC/DOE” number. The SACC/DOE number is often closer to real-world performance.
- Adjust up for tough rooms: High ceilings, lots of sun, or high humidity usually need more capacity than a shaded bedroom.
If your unit has always been “just barely enough,” dirty filters and leaky window kits will push it into obvious underperformance fast.
Weak cooling: maintenance vs refrigerant
A lot of “not cooling” complaints are airflow, sealing, or drainage issues. Refrigerant problems do happen, but they are less common and usually not DIY-friendly on portable units.
Signs maintenance is the likely cause
- Filter looks gray, fuzzy, or packed with dust.
- Airflow from the front feels weak, even on high fan.
- Unit runs quieter than usual, like it is choked for air.
- Musty smell, especially in dehumidify mode, which can point to standing water or a dirty pan area.
- Visible gaps around the window kit, or the hose is excessively long, kinked, or radiating heat.
- Ice forms on the intake side or you see frost inside the filter area, then cooling fades.
Signs it could be a sealed-system issue
- The compressor runs but the air is only slightly cool, even with a clean filter and good airflow.
- After 10 to 15 minutes in a closed room, you should typically feel a clear drop in outlet air temperature. If you want to be more certain, use a simple thermometer and look for a noticeable difference between room air and outlet air.
- Oily residue inside the unit near coils or lines can indicate a leak, although grime and dust buildup can look similar.
- The unit used to cool strongly with the same setup, and now it does not, despite thorough cleaning and sealing.
Reality check: Many portable ACs are not cost-effective to repair if the sealed system is failing. Your best move is to confirm airflow, drainage, and sealing first, then decide whether warranty service or replacement makes more sense.
Musty smell quick fix
Odors usually come from a damp filter, a damp hose, or leftover water sitting where you cannot easily see it.
Try this first
- Clean and fully dry the filter.
- Drain the unit and run fan-only for 30 to 60 minutes to dry internal surfaces.
- Wipe accessible plastic surfaces near the intake with a lightly damp cloth. If your manual allows it, a mild soap solution is usually safe. Avoid spraying anything into the unit.
End-of-season storage
If you store a portable AC with water still in it, you are basically giving mildew a head start for next summer. Proper storage is mostly about drying it out and keeping dust off it.
Storage steps
- Run fan-only mode: If your unit has it, run fan-only for 30 to 60 minutes to help dry internal surfaces.
- Drain completely: Use the lower drain port, then the upper port if your model has two.
- Clean filter and grilles: Store it with a clean, dry filter.
- Disconnect and bag the hose: Make sure the hose is dry inside. A little time in a warm room helps.
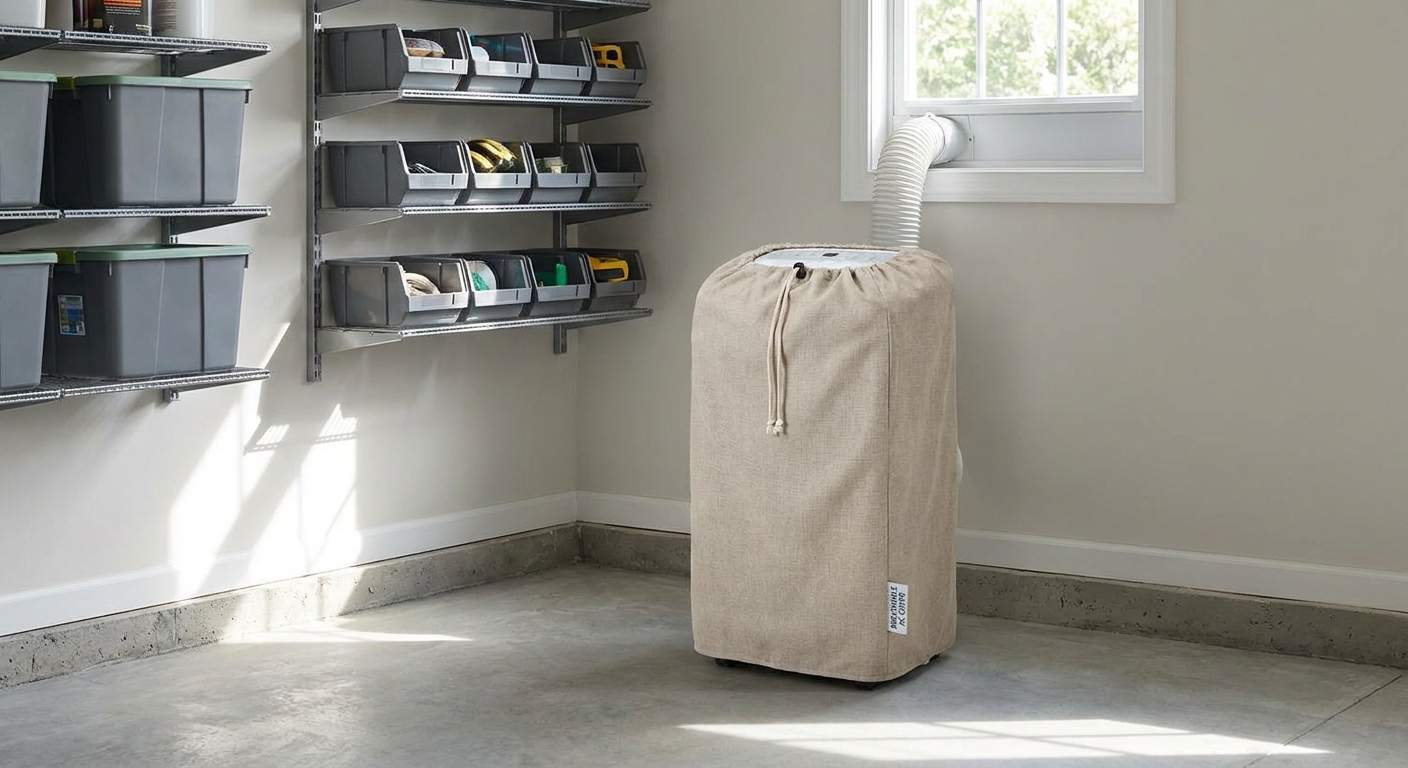
- Cover it: Use the manufacturer cover or a breathable fabric cover. Avoid sealing it in plastic if the unit is not completely dry.
- Store upright: Keep it upright in a dry area. Avoid unheated, damp corners if possible.
Pre-summer startup checklist
The first hot week is not when you want to find out your drain plug is missing or your window foam is shot. I do this quick check in late spring.
Startup checklist
- Inspect the power cord: No cuts, crushed spots, or loose plug blades.
- Clean the filter: Even in storage, dust settles.
- Check the drain plugs: Confirm both are present and snug if your model has upper and lower drains.
- Exhaust hose: Look for cracks, crushed sections, or loose adapters.
- Window kit: Replace worn foam seals, and make sure the panel locks tight.
- Test run: Run it for 15 minutes. Confirm strong airflow and that the air at the outlet feels noticeably cooler.
- Listen: Rattles often mean the unit is not level or something shifted in storage.
If anything seems off, handle it while it is still pleasant outside. Future you will be grateful.
Seasonal maintenance schedule
- Every 3 to 4 weeks in summer: Clean filter, wipe grilles, check window seal.
- Mid-season: Drain check, hose inspection, quick interior vacuum where accessible.
- End of season: Drain fully, clean and dry, hose dry-out, cover and store upright.
- Late spring: Pre-summer startup checklist and 15-minute test run.
The 30-Second Cheat Sheet
Essential takeaways for: Portable Air Conditioner Maintenance
Do these first (most cooling problems)
- Clean the filter: Vacuum, then wash if your manual allows. Reinstall only when fully dry.
- Seal the window kit: Replace crushed foam strips. Keep the exhaust hose short, straight, and fully seated. Do not extend it past the manufacturer’s limit.
- Check condensate: Make sure drain plugs are tight. If it shuts off “full,” drain it and verify the hose is not kinked. Check your manual for the exact code.
Seasonal care schedule
- Monthly in summer: Filter and grille cleaning.
- 1 to 2 times per season: Gentle vacuum and wipe-down of accessible coil area.
- Before winter storage: Drain fully, run fan-only 30 to 60 minutes, dry the hose, store upright and covered.
- Before summer: Inspect cord, plugs, hose, and window seals. Test run 15 minutes.
BTU reality check
- Match BTUs to room square footage, and remember some boxes list both ASHRAE and lower SACC/DOE numbers.
- Sunny rooms, high ceilings, and humid areas often need more capacity.
Weak cooling: maintenance vs refrigerant
- Maintenance likely: weak airflow, dirty filter, icing, musty smell, window leaks, hot exhaust recirculating.
- Possible refrigerant/sealed-system issue: compressor runs but air never gets meaningfully cold after 10 to 15 minutes, oily residue inside (sometimes it is just grime), performance drop despite clean filter and tight window seal.
💡 Tip: Scroll up to read the full article for detailed, step-by-step instructions.
⬆️ Back to top
About Marcus Vance
Content Creator @ Grit & Home
Marcus Vance is a lifelong DIY enthusiast and self-taught home renovator who has spent the last decade transforming a dilapidated 1970s ranch into his family's dream home. He specializes in budget-friendly carpentry, room-by-room renovations, and demystifying power tools for beginners. Through his writing, Marcus shares practical tutorials and hard-learned lessons to help homeowners tackle their own projects with confidence.