
🚨 In a DIY emergency or rush?
Skip the details and jump straight to our 30-second cheat sheet for the most crucial info.
I still remember the first time I heard the word radon in a home inspection report. It felt like one more scary “gotcha” on an already long list. The good news is radon is easy to test reliably, and the fix is usually straightforward once you know your numbers.
This guide will walk you through what radon is, where it sneaks into basements and crawl spaces, how to choose a short-term vs long-term test, and what happens if your results come back high.
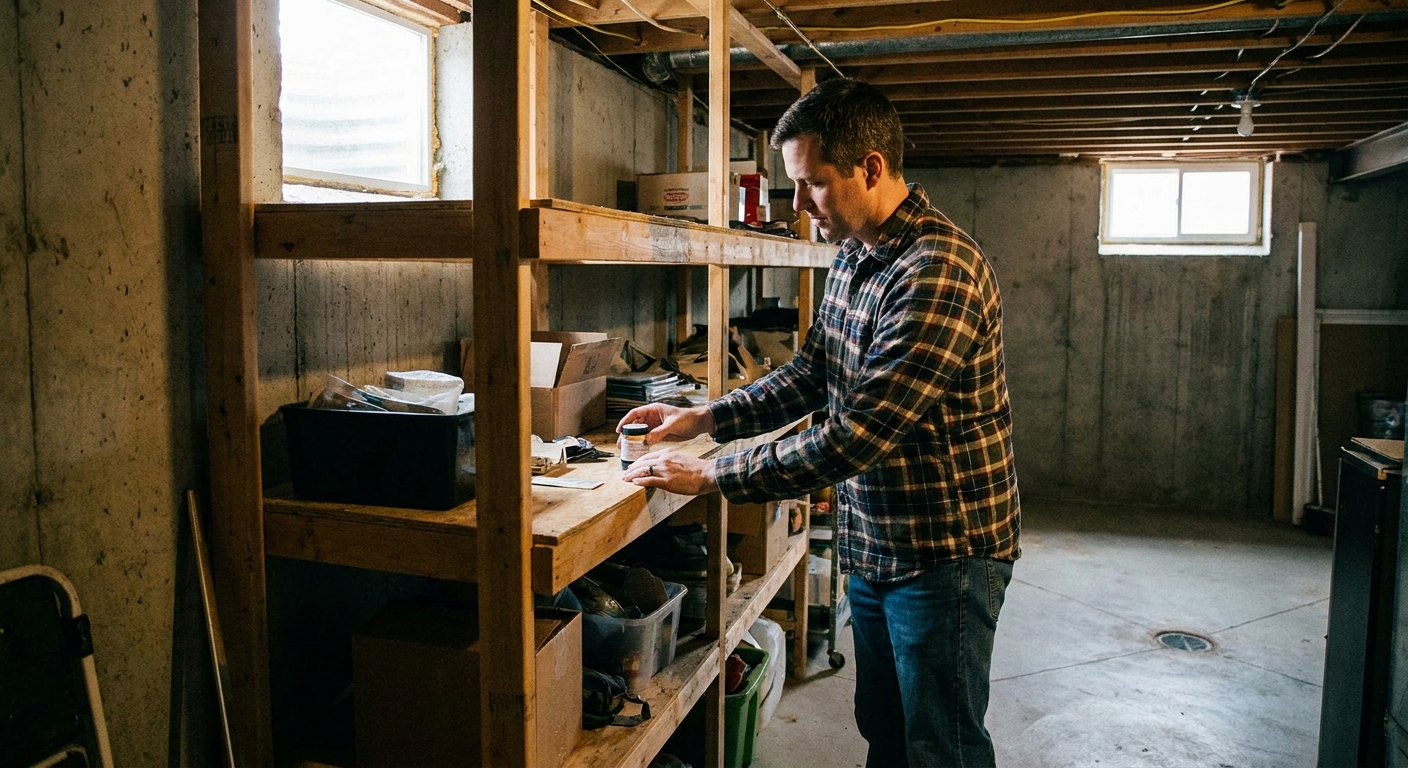
What radon is and why it matters
Radon is a naturally occurring radioactive gas. You cannot see it, smell it, or taste it. It forms as uranium breaks down in soil and rock beneath and around your home. Outdoors, radon usually disperses quickly. Indoors, it can collect, especially on the lowest level.
You will usually see radon results reported in pCi/L (picocuries per liter), which is the standard U.S. unit for radon concentration.
The reason radon gets attention is health related. Long-term exposure to elevated radon levels increases the risk of lung cancer. The risk is higher if you smoke or used to smoke, but radon is a concern for any household.
Key point
Radon is not a “dirty house” problem. It is a soil gas problem. A spotless basement can still test high, and a rough old crawl space can test low.
Where radon enters basements and crawl spaces
Your house acts a bit like a vacuum. Warm air rising and exhaust fans running can create lower pressure inside, which can pull soil gases in through openings. Radon most commonly enters at the parts of your home that touch the ground.
Common entry points
- Cracks in basement slabs and foundation walls
- Construction joints where slab meets wall
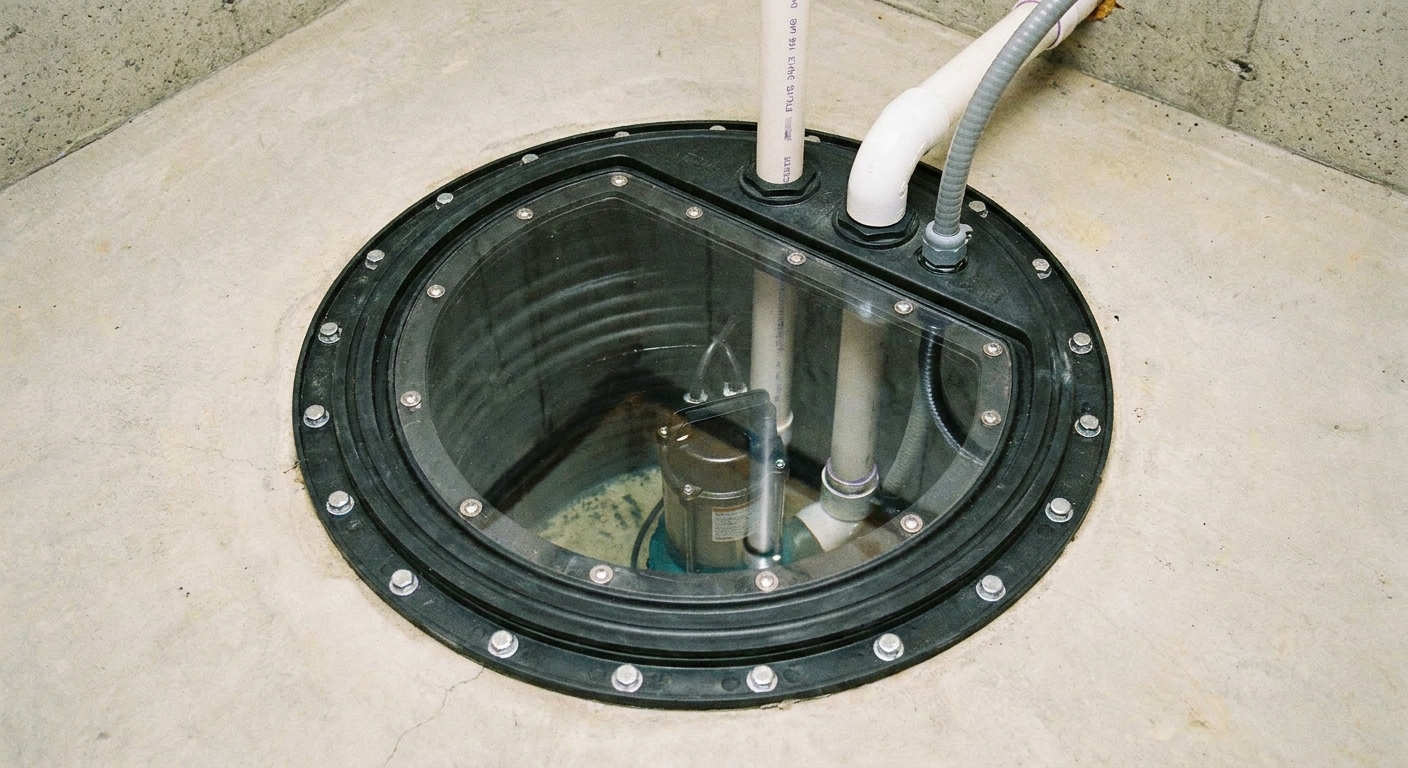
- Sump pits and sump lids that are not sealed
- Floor drains (especially if dry or poorly sealed)
- Openings around pipes and plumbing penetrations
- Crawl space soil (especially uncovered dirt floors)
- Hollow concrete block walls that connect to the soil
Here is a helpful mindset: sealing cracks is good housekeeping, but sealing alone rarely fixes high radon. Most successful systems change the pressure under the house so radon is collected and vented outside before it enters.
What about radon in well water?
If you are on a private well, radon can also enter your home through the water supply. It can be released into the air when you shower, run the dishwasher, or wash hands. That said, for most homes, soil gas is still the primary source of indoor radon.
A practical rule of thumb: start with an air test because that measures the exposure that matters most day to day. If your air levels are elevated and you are on a well, it can be worth discussing water testing with your state radon program or a qualified lab.
Testing basics: what to buy and what results mean
Testing is the only way to know your radon level in your specific home. Your neighbor’s result does not predict yours. Even homes on the same street can vary a lot.
Short-term vs long-term tests
Short-term tests are most commonly 2 to 7 days. They are great for a quick screening, real estate timelines, or when you want an initial snapshot. (Some authorities also describe short-term testing as anything under 90 days, depending on the device and protocol.)
Long-term tests run 90 days up to a year. They give a better picture of your true average exposure across weather changes and HVAC seasons. If you can wait, long-term is the gold standard for decision making.
DIY test kit options
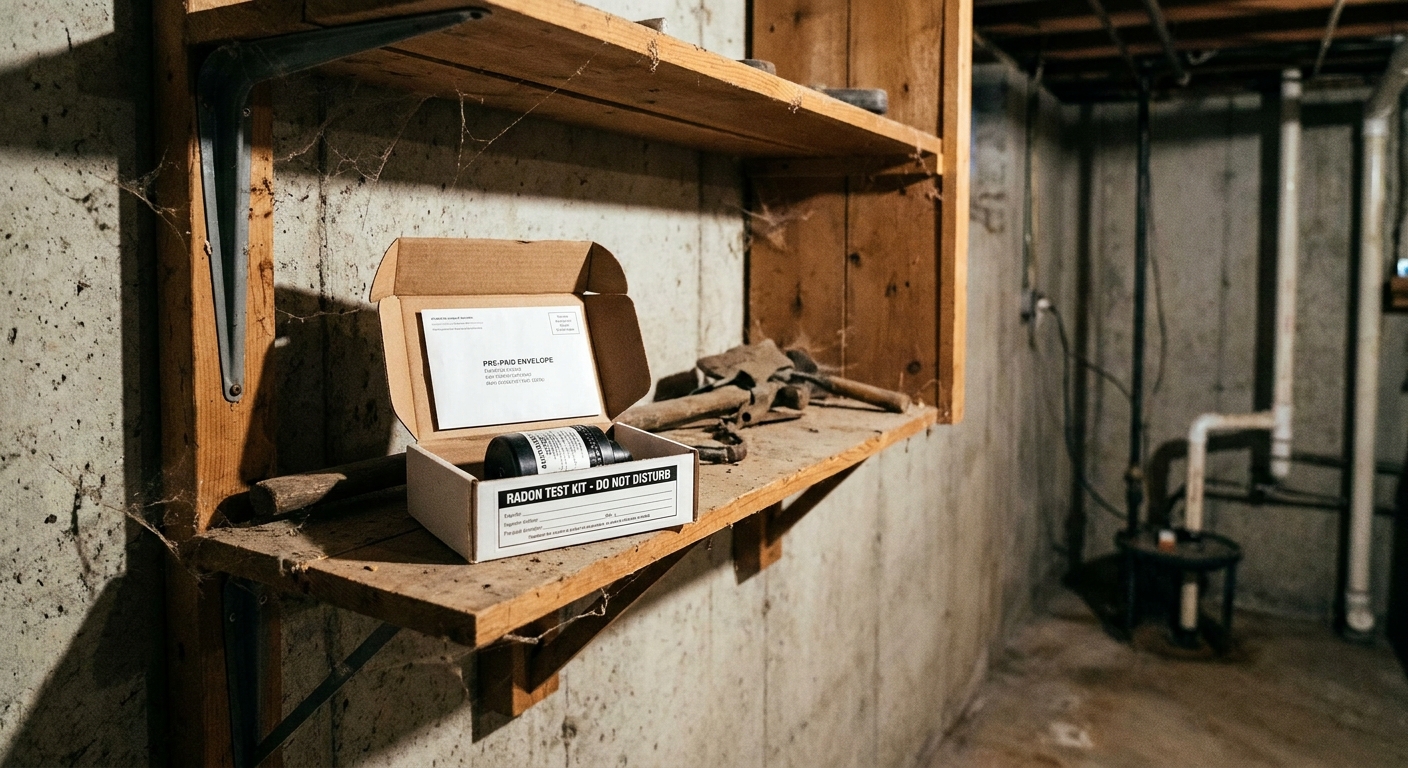
- Charcoal canisters or pouches (short-term). Common, affordable, and simple to mail in.
- Alpha track detectors (long-term). Best for a seasonal average.
- Continuous radon monitors (electronic). Useful for seeing day-to-day swings, but choose a reputable model and follow placement rules.
If you want to keep it simple, look for a kit that uses a certified lab for analysis, or buy through your state radon program when available.
Understanding EPA guidance
The EPA’s recommended action level is 4.0 pCi/L (picocuries per liter). That is the point where the EPA recommends you take steps to reduce radon.
- Below 2.0 pCi/L: generally considered low, but no level is zero risk.
- Between 2.0 and 4.0 pCi/L: consider fixing, especially if you spend a lot of time on the lowest level.
- 4.0 pCi/L or higher: plan to mitigate.
If you ever see a very high short-term result (for example, dramatically above 4.0), it is smart to confirm with another test and start planning mitigation rather than hoping it was a fluke.
How to run a radon test the right way
Radon testing is easy to mess up with “helpful” habits like extra ventilation, fans, or moving the kit around. You want the test to reflect normal living conditions, not your best attempt to air out the basement for a weekend.
Placement rules that prevent bad data
- Test the lowest level you regularly occupy. If you have a finished basement family room, test there. If the basement is strictly storage and you never hang out down there, test the lowest lived-in floor.
- Place the kit about 2 to 6 feet above the floor, or follow the device instructions and local guidance if they specify a different height.
- Keep it away from exterior walls, drafts, and direct sunlight.
- Avoid placing it within a few feet of high-airflow spots like supply vents, fireplaces, sump openings, floor drains, kitchens, bathrooms, and laundry rooms.
- Do not move it once the test starts.
Closed-house conditions for short-term tests
For most short-term tests, follow “closed-house” conditions: keep windows closed and normal entry and exit only. A good rule is to start closed-house conditions about 12 hours before you begin the test, and keep those conditions in place during the test period. You can still run your furnace or AC as usual. Whole-house fans and window fans usually need to stay off.
If you want the simplest DIY approach: buy two short-term kits and run them side by side in the same location. If the results are close, you can feel more confident the number is real.
Real estate testing notes
A lot of radon testing happens during buying and selling, and that context can add a few extra rules. Some transactions require specific protocols, like minimum test durations, strict closed-house conditions, and the use of tamper-resistant continuous monitors or dual testing for verification.
If you are in a real estate timeline, it is often worth using a qualified radon measurement professional so the result is accepted by all parties and properly documented.
When to mitigate (and when to re-test)
Here is a practical decision path that works for most homeowners.
If your short-term test is under 4.0 pCi/L
- Consider a long-term test if you want a true annual average.
- Re-test after major changes like finishing a basement, adding HVAC returns, air sealing, or installing a new radon system.
If your short-term test is 4.0 pCi/L or higher
- Run a confirming test. Many people do either a second short-term test or go straight to a long-term test if time allows.
- Start collecting quotes for mitigation so you are not scrambling later.
If your result is very high
Different sources define “very high” differently, but as a general reference point, results around 20 pCi/L or higher are often treated as urgent. Confirm quickly and move toward mitigation. In the meantime, limiting time in the lowest level can reduce exposure.
Mitigation options that actually work
Most radon fixes are about controlling pressure and venting, not masking the problem. A good system is quiet, energy efficient, and brings levels down significantly.
Sub-slab depressurization (most common for basements)
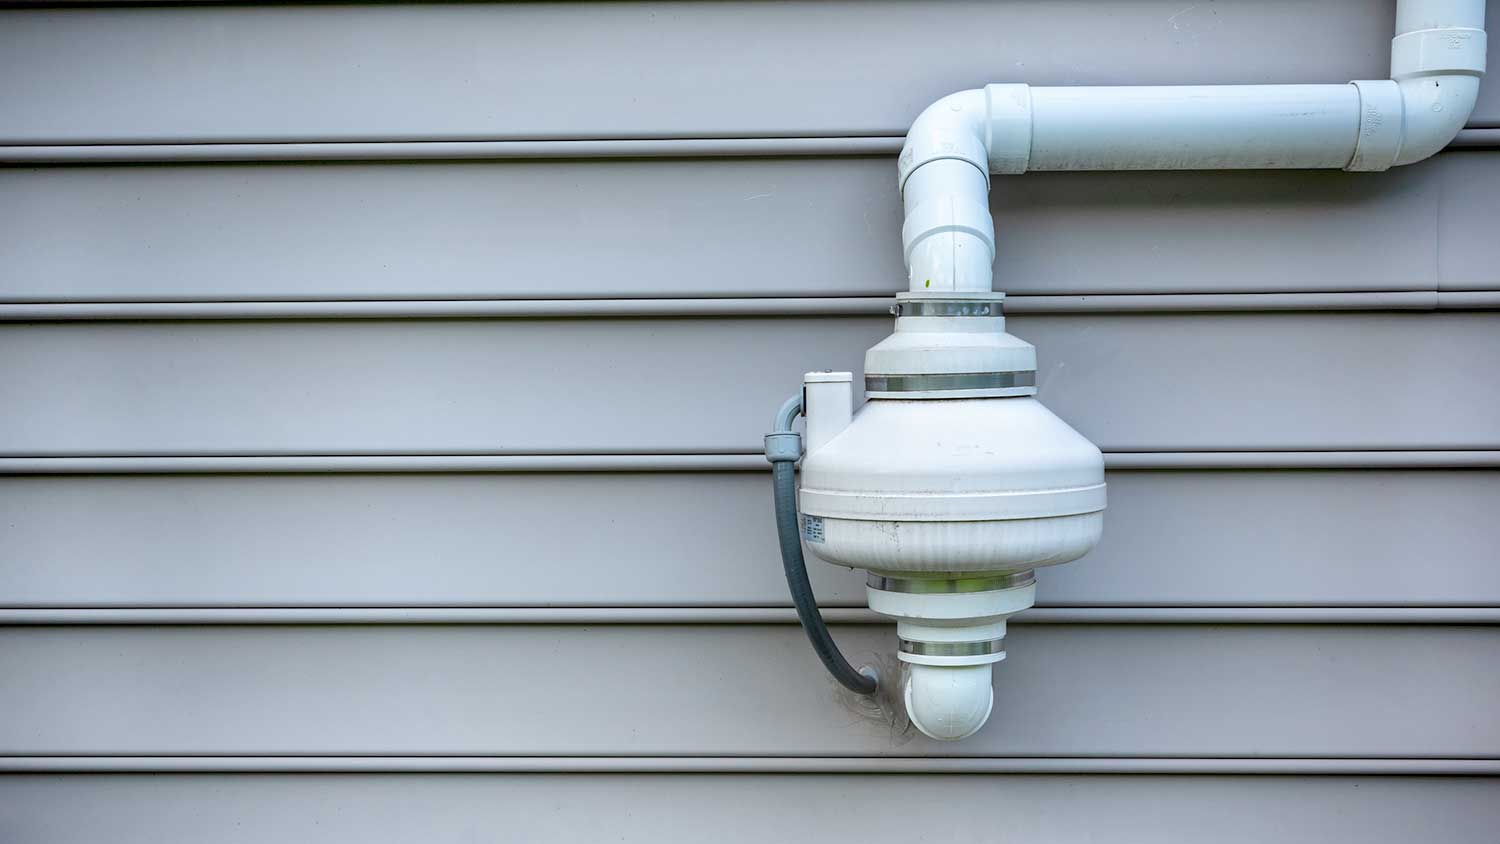
This is the workhorse solution for homes with a concrete slab. A contractor cores a hole through the slab, creates a small suction pit beneath it, and runs PVC piping to a radon fan that vents above the roofline.
- Why it works: it pulls radon-laden air from under the slab and exhausts it outdoors.
- Typical components: suction point, PVC pipe, inline fan, discharge point above roof, and often a manometer (pressure gauge).
Crawl space mitigation (sub-membrane depressurization)
If you have a crawl space with dirt, the common approach is to cover the soil with a sealed vapor barrier (membrane) and then pull air from under that membrane with a fan and vent pipe.
If your crawl space is already encapsulated, radon mitigation can often be integrated with that system, but it still needs a dedicated design for radon.
Sealing and minor improvements
Sealing cracks, covering sump pits, and sealing penetrations can improve performance and is often part of a professional installation. Just keep expectations realistic: sealing alone usually does not take a 6.0 down to a 1.5.
Ventilation approaches
In some homes, ventilation strategies can help, especially where sub-slab methods are difficult. These are more situation-specific and should be designed so you do not create moisture problems or backdrafting issues.
Water treatment (for private wells)
If water testing shows radon is a meaningful contributor, the most common fixes are aeration systems or granular activated carbon (GAC) filtration. This is usually a separate project from soil-gas mitigation, and it is best handled by a qualified water treatment contractor.
Can you DIY radon mitigation?
You can DIY parts of the prep work, and in some areas homeowners are allowed to install their own systems. But I want to be clear: a radon system is not just “glue some PVC and call it good.” The details matter, and a poor install can fail quietly.
DIY-friendly tasks
- Run your own tests and keep good notes on placement and dates.
- Seal obvious gaps with appropriate polyurethane sealant.
- Install a sealed sump lid designed for radon control.
- Improve crawl space ground cover if you are already doing moisture control.
Where I recommend a certified pro
- Designing and installing a fan-based depressurization system
- Routing discharge points to meet code and safety guidance
- Working around combustion appliances (furnace, water heater) where pressure changes can affect venting
- Any situation involving multiple foundations (slab plus crawl space, additions, partial basements) where diagnostics matter
- Real estate situations where documentation and accepted protocols matter
Certification and licensing requirements vary by state, but in general, look for a contractor certified through NRPP or NRSB. Even when it is not legally required, hiring a qualified mitigator is often worth it for proper diagnostics, permitting, and a clean post-mitigation test plan.
After mitigation: how to confirm it worked
A mitigation system is not “set it and forget it” until you verify performance.
Post-mitigation testing
- Wait at least 24 hours after the system is turned on before beginning a post-mitigation test.
- Then run a short-term test after the system has been operating steadily, typically within 30 days, following the installer’s instructions and local guidance.
- Consider a long-term test later to confirm your seasonal average.
Ongoing checks
- Look at the system’s manometer occasionally. If the reading changes significantly from its normal operating position (often marked by the installer), or looks “off” compared to what you are used to seeing, call your installer.
- Re-test every couple of years, and after major renovations or HVAC changes.
FAQs homeowners ask me
Do I need to test if my home is on a slab with no basement?
Yes. Radon can enter slab-on-grade homes through cracks, plumbing penetrations, and joints.
Does finishing my basement make radon better or worse?
It can do either. New flooring and walls may reduce some air leakage from the soil, but a finished basement is also a space you spend more time in. Test before and after finishing.
Will an air purifier remove radon?
Not effectively. Radon is a gas. The proven approach is venting it from beneath the home or controlling how air moves through the foundation.
Is radon only a problem in certain states?
Some areas have higher average radon potential, but elevated levels can show up anywhere. Testing is the only way to know your level in your home.
Should I worry about granite countertops?
Most of the time, no. The radon that matters for most homes comes from soil gas under the foundation. Some stone materials can contain trace radioactive elements, but it is uncommon for countertops to be a major driver of an elevated whole-house radon test. If you are concerned, the simplest answer is still the same: test the air on the lowest lived-in level and let the number guide your next step.
My simple plan for this weekend
- Buy a reputable short-term mail-in radon test, or two if you want extra confidence. If available, your state radon program can be a great source.
- Test the lowest lived-in level, following placement rules and closed-house conditions (starting about 12 hours before the test begins).
- If you are at or above 4.0 pCi/L, confirm with a follow-up test and start getting mitigation quotes.
- If you mitigate, wait at least 24 hours after startup, then test again and re-test every couple of years.
Radon is one of those homeownership tasks where a small amount of effort buys a lot of peace of mind. You do not need to be a science person to handle it. You just need a solid test and a clear next step.
The 30-Second Cheat Sheet
Essential takeaways for: Radon Testing and Mitigation Basics
What radon is
- Radon is an invisible, odorless gas from natural uranium breakdown in soil and rock.
- It can build up indoors, especially on the lowest level.
- pCi/L (picocuries per liter) is the standard U.S. unit for radon concentration.
Where it gets in
- Slab and foundation cracks
- Slab-to-wall joints
- Sump pits and floor drains (especially if unsealed)
- Pipe and utility penetrations
- Crawl space soil (especially uncovered dirt)
- Well water (private wells): radon can be released into air during showering and washing, but soil gas is usually the main source
How to test (DIY)
- Short-term tests: commonly 2 to 7 days for a quick snapshot (some short-term methods run up to 90 days).
- Long-term tests: 90+ days for the best average.
- Place the kit on the lowest lived-in level, away from drafts, windows, and exterior walls.
- For short-term tests, follow closed-house conditions starting about 12 hours before the test and during the test.
EPA action level
- 4.0 pCi/L or higher: the EPA recommends mitigation.
- 2.0 to 4.0 pCi/L: consider fixing, especially if you spend time downstairs.
- No radon level is risk-free, but lower is better.
When to mitigate
- If a short-term test is 4.0+ pCi/L, run a confirming test and start planning mitigation.
- If results are very high (for example, 20+ pCi/L), confirm quickly and move toward mitigation.
Most common fix
- Sub-slab depressurization: a PVC vent pipe and radon fan pull air from under the slab and vent it above the roof.
- Crawl spaces often use a sealed membrane plus a fan (sub-membrane depressurization).
- Well water (if tested high): aeration or granular activated carbon systems can help, typically handled by water treatment pros.
DIY vs pro
- DIY is fine for testing and basic sealing.
- For fan-based systems, complex foundations, real estate documentation, or homes with combustion appliances, hire a certified radon mitigator (NRPP or NRSB). Requirements vary by state.
After mitigation
- Wait at least 24 hours after the system is turned on before starting a post-mitigation test.
- Test again after installation to confirm it worked, typically within 30 days.
- Re-test every couple of years and after major renovations or HVAC changes.
Real estate note
- During a home sale, testing may follow specific protocols (closed-house rules, test duration, device type, and tamper resistance). Many deals use dual tests or tamper-resistant continuous monitors through a pro.
💡 Tip: Scroll up to read the full article for detailed, step-by-step instructions.
⬆️ Back to top
About Marcus Vance
Content Creator @ Grit & Home
Marcus Vance is a lifelong DIY enthusiast and self-taught home renovator who has spent the last decade transforming a dilapidated 1970s ranch into his family's dream home. He specializes in budget-friendly carpentry, room-by-room renovations, and demystifying power tools for beginners. Through his writing, Marcus shares practical tutorials and hard-learned lessons to help homeowners tackle their own projects with confidence.