When a refrigerator water dispenser stops working, it usually comes down to one of a handful of issues: a frozen line in a door, a clogged filter, a switch that is not being pressed, or the inlet valve at the back that is not opening. The good news is you can troubleshoot most of this with basic tools and a calm, methodical approach.
I like to start with the cheapest, easiest checks first. I have made the mistake of tearing into a fridge door only to realize the filter was overdue and choking the flow. Let’s save you that kind of weekend.
Safety first and what to grab
- Unplug the fridge before removing panels, testing switches, or touching wiring.
- Turn off the water supply (usually a shutoff valve behind the fridge) before disconnecting water lines.
Tools and supplies
- Towel or shallow pan
- Phillips screwdriver or nut driver (common sizes are 1/4 in and 5/16 in)
- Multimeter (helpful for switch and valve testing)
- Hair dryer (optional, use carefully)
- Warm water and a syringe or squirt bottle (great for thawing a frozen line)
- New water filter (if yours is old or unknown)
Quick triage: what exactly is it doing?
- No sound, no water: often a door switch, dispenser switch, control lock, or power issue.
- Hums but no water: commonly a frozen line, a blocked spout, or a bad inlet valve.
- Weak flow: usually a clogged filter, kinked supply line, low house water pressure, or a restricted shutoff valve.
- Works sometimes: can be an intermittent door switch, freezing that comes and goes, or a filter head seating issue.
Also check the obvious: is the dispenser locked (control lock on the panel), and is the fridge door closing tightly?
Quick extra check: Look closely at the dispenser tip (the little nozzle inside the recess). Sometimes only the spout area freezes. If you see a tiny ice plug right at the outlet, a warm, damp cloth held against the tip for a few minutes can bring it back.
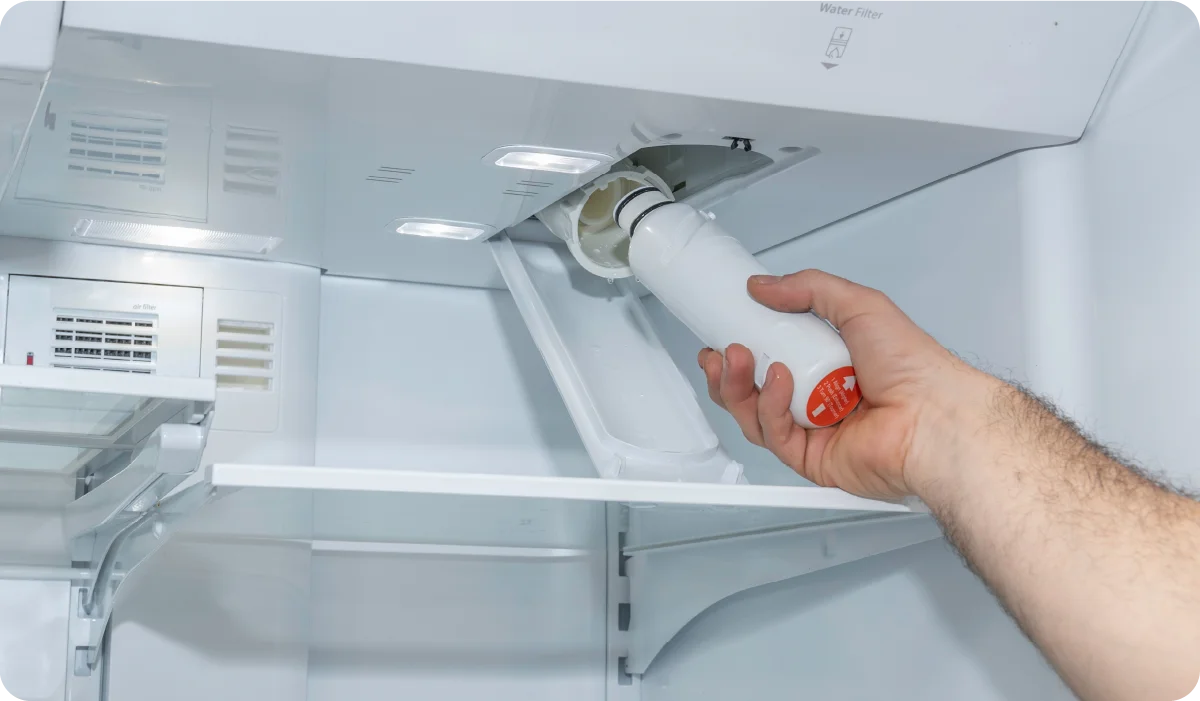
Fix 1: Replace or bypass a clogged water filter
If your dispenser has weak flow or stopped after gradually slowing down, start here. A clogged filter can reduce pressure enough that the dispenser barely dribbles.
Step-by-step
- Find the filter location (inside the fresh food compartment, in the base grille, or in the door).
- Remove the old filter and inspect the install date if you wrote it on there.
- Install a new filter, making sure it is fully seated and locked in place.
- Dispense and dump several glasses of water to purge air and carbon fines (follow your manual’s guidance, often 2 to 4 gallons).
Tip: Some fridges will not dispense correctly if the filter is not installed perfectly. If your model allows it, you can test with a manufacturer-approved bypass plug. If it dispenses normally with the bypass, your filter or filter seating is the culprit.
Also: If you just replaced the filter, check the filter head and O-rings for cracks, pinching, or a filter that is cross-threaded. A small air leak here can cause sputtering and weak flow.
Good to know: Many models also want you to reset the filter indicator after a change. It does not usually stop water flow, but it does prevent the “replace filter” light from nagging you.
Fix 2: Check the water supply line and pressure
Before assuming the fridge is at fault, make sure it is actually getting water.
What to check
- Kinked tubing: Pull the fridge out carefully and look for crushed plastic line behind it.
- Shutoff valve fully open: A partially closed valve can cause weak flow.
- House water pressure: Many refrigerators want roughly 20 to 120 psi. Specs vary by brand and model, so check your manual if you can.
Note on saddle valves: If your fridge is fed by an older saddle valve (a self-piercing clamp-on valve), it can clog internally and restrict flow. Many plumbing codes discourage them because they can leak and are unreliable long-term. If you suspect it is the bottleneck, upgrading to a proper shutoff valve is often the real fix.
Quick pressure sanity check (basic)
- Have towels ready and use a bucket. A disconnected line can spray or whip if it is not controlled.
- Turn off the water at the shutoff valve.
- Disconnect the fridge supply line at the inlet valve connection (back of fridge).
- Aim the line into a bucket, then briefly open the shutoff valve and confirm you have a strong, steady stream.
If the stream is weak here, the problem is in the house supply, shutoff valve, saddle valve, or the supply tubing, not the fridge.
Fix 3: Thaw a frozen door line
This one is very common, especially on side-by-sides and French door models where the water line runs up through a door (freezer or fresh-food, depending on the design). If the unit runs a little cold or air leaks into the door channel, the small tube can freeze solid. The dispenser may hum but nothing comes out.
Signs you have a frozen door line
- The ice maker works, but the door dispenser does not.
- The dispenser stops working after a cold snap or after you turned the freezer temperature down.
- Water flow is fine at first, then drops to nothing.
Best thaw method: warm water and a syringe
Many appliance techs prefer this method because it targets the ice without heating and warping the door liner.
- Set the freezer temperature a couple degrees warmer (for example, from 0°F to 2°F or 3°F).
- Remove the drip tray and look for the water tube connection behind the dispenser area (model dependent). Some designs let you access the tube end near the hinge or behind a lower kick plate.
- Using a syringe or squirt bottle, gently push warm (not boiling) water into the tube in small bursts.
- Pause, try dispensing, then repeat until flow returns.
Alternative thaw method: gentle warm-up
- Hold a warm towel against the dispenser area for several minutes, then try dispensing.
- If you use a hair dryer, keep it on low, keep it moving, and keep it away from any standing water. High heat can permanently warp plastic. If you smell warm plastic, back off.
If it keeps freezing
- Check freezer temperature with a thermometer. Some units run colder than the display says.
- Inspect door gaskets for gaps and clean them so the door seals well.
- Confirm the fridge is level and doors close on their own the last inch or so.
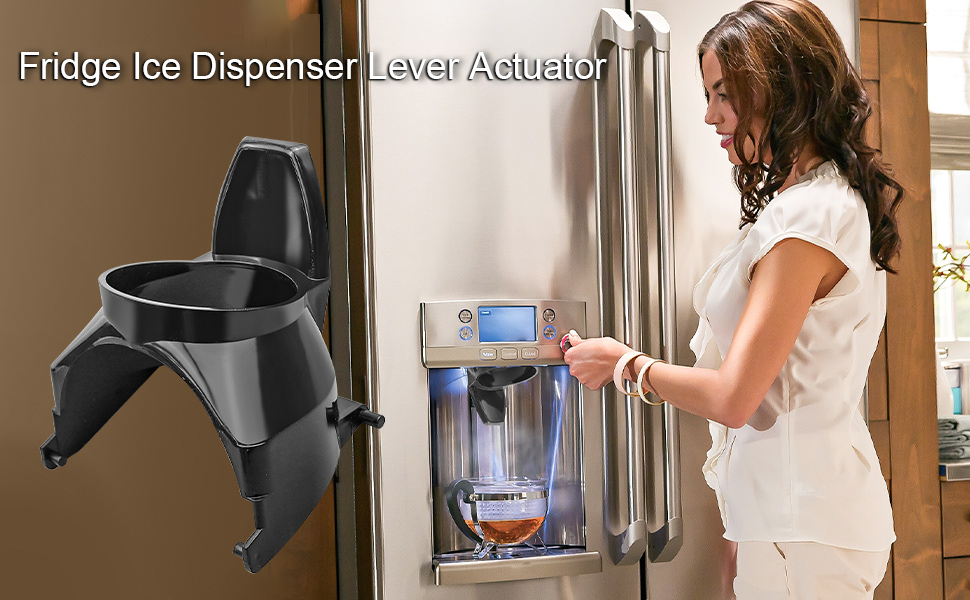
Fix 4: Test the dispenser switch
Behind the paddle or button is a small switch. If it fails, the dispenser will not tell the fridge to open the valve. This is a classic “nothing happens” symptom.
Step-by-step
- Unplug the refrigerator.
- Carefully remove the dispenser trim bezel (often clips or hidden screws). Take a photo first so you remember wire positions.
- Locate the microswitch behind the lever or button.
- Use a multimeter to test for continuity while pressing the switch.
What you want to see: On most models, the switch is normally open, meaning it should read open when not pressed and show continuity when pressed. If your readings do not change reliably, replace the switch.
Fix 5: Check the door switch
Many refrigerators disable the dispenser when the door is open, using a door switch to prove the door is shut. If that switch is broken or stuck, your dispenser can act dead even with the door closed.
Quick test
- Open the fridge door and locate the door switch in the frame.
- Press it in by hand and see if the interior lights turn off (on models where they should).
- Try the dispenser while holding the switch closed.
If the lights do not respond, or the dispenser only works when you wiggle the switch, replace the door switch.
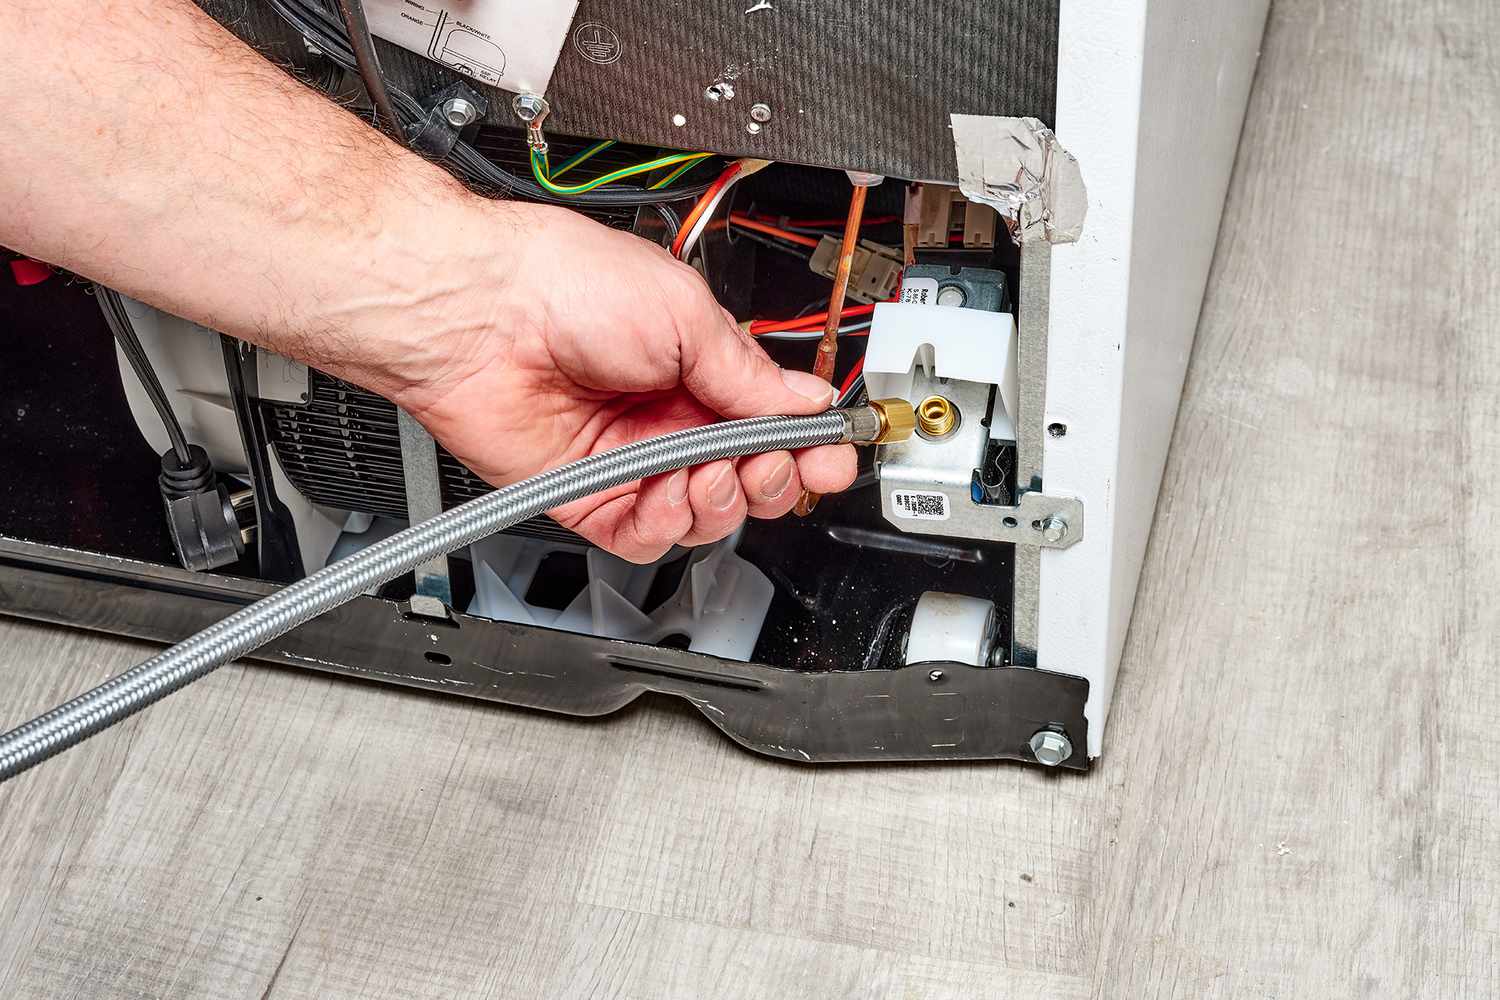
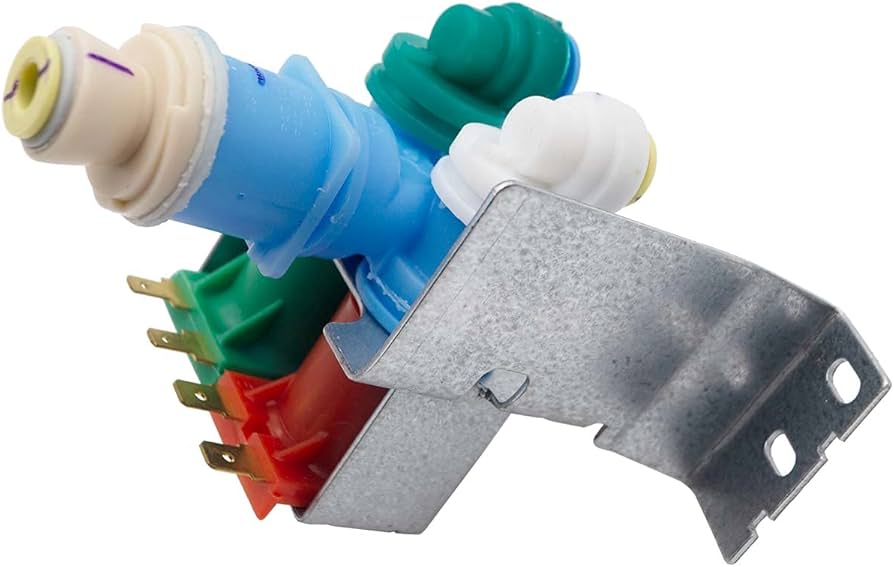
Fix 6: Check the water inlet valve
The water inlet valve is the part at the back of the fridge where the house water line connects. When you press the dispenser, the fridge energizes a solenoid to open the valve and let water flow. If the valve is clogged with sediment or the solenoid coil fails, you can get no water or weak water.
Helpful detail: Many fridges use a dual valve (or a valve with two solenoids), one side for the ice maker and one for the door dispenser. That is why it is possible for ice to work while the dispenser does nothing.
Step-by-step
- Unplug the refrigerator and turn off the water supply.
- Pull the fridge out and remove the lower rear access panel.
- Locate the inlet valve and check for obvious issues: loose wires, cracks, mineral buildup, or leaking.
- If you have a multimeter, test the solenoid coil(s) for resistance (ohms). A coil that reads open (infinite resistance) is a strong sign the valve should be replaced.
What is a “healthy” reading? Many inlet valve coils read roughly 150 to 500 ohms, depending on the model. If you get a reading far outside that range, compare with your service sheet or manual, or test the other solenoid (if present) as a sanity check.
Heads up: Sediment can also clog the small screen in the inlet valve. Some valves allow cleaning, but many are designed to be replaced when they clog or weaken.
Other quick checks
Frozen reservoir tank (some models)
Some refrigerators store chilled water in a coiled reservoir inside the fresh food section. If your fridge temp is set too cold or airflow is off, that reservoir can freeze and block dispensing. Try raising the fresh food temperature a couple degrees and wait a few hours.
Air in the lines after a filter change
If the dispenser spurts and coughs, keep dispensing in short bursts. Air can take a little while to purge, especially on long lines.
Service sheet (a hidden cheat code)
Many refrigerators have a model-specific service sheet tucked behind the toe kick, taped to the back, or inside an access panel. If you find it, it can include wiring diagrams, test modes, and target resistance readings that make troubleshooting much easier.
Control board issues (less common)
If switches test good, the inlet valve is good, and you still get nothing, a control board or wiring harness problem is possible. At that point, diagnosis can get brand and model specific.
When to call a pro
- You see water leaking inside the door or under the fridge after testing.
- You smell electrical burning or find heat-damaged connectors.
- You suspect a control board failure and do not feel comfortable troubleshooting live voltage circuits.
If you do call, jot down your refrigerator model number (usually on a sticker inside the fresh food compartment). Tell the tech what you already tested. It can save you time and a diagnostic fee.
Fast checklist
- Make sure control lock is off and doors are fully closed.
- Check the dispenser nozzle for a small ice blockage.
- Replace the water filter or confirm a bypass plug works. Reset the filter light if needed.
- Check for kinked supply line and confirm strong water flow from the shutoff valve (and watch out for restrictive saddle valves).
- Thaw a likely frozen door line and raise freezer temp slightly.
- Test the dispenser switch and door switch for reliable operation.
- Inspect and test the water inlet valve at the rear of the fridge (and remember some valves have separate coils for ice and water).
About Marcus Vance
Content Creator @ Grit & Home
Marcus Vance is a lifelong DIY enthusiast and self-taught home renovator who has spent the last decade transforming a dilapidated 1970s ranch into his family's dream home. He specializes in budget-friendly carpentry, room-by-room renovations, and demystifying power tools for beginners. Through his writing, Marcus shares practical tutorials and hard-learned lessons to help homeowners tackle their own projects with confidence.