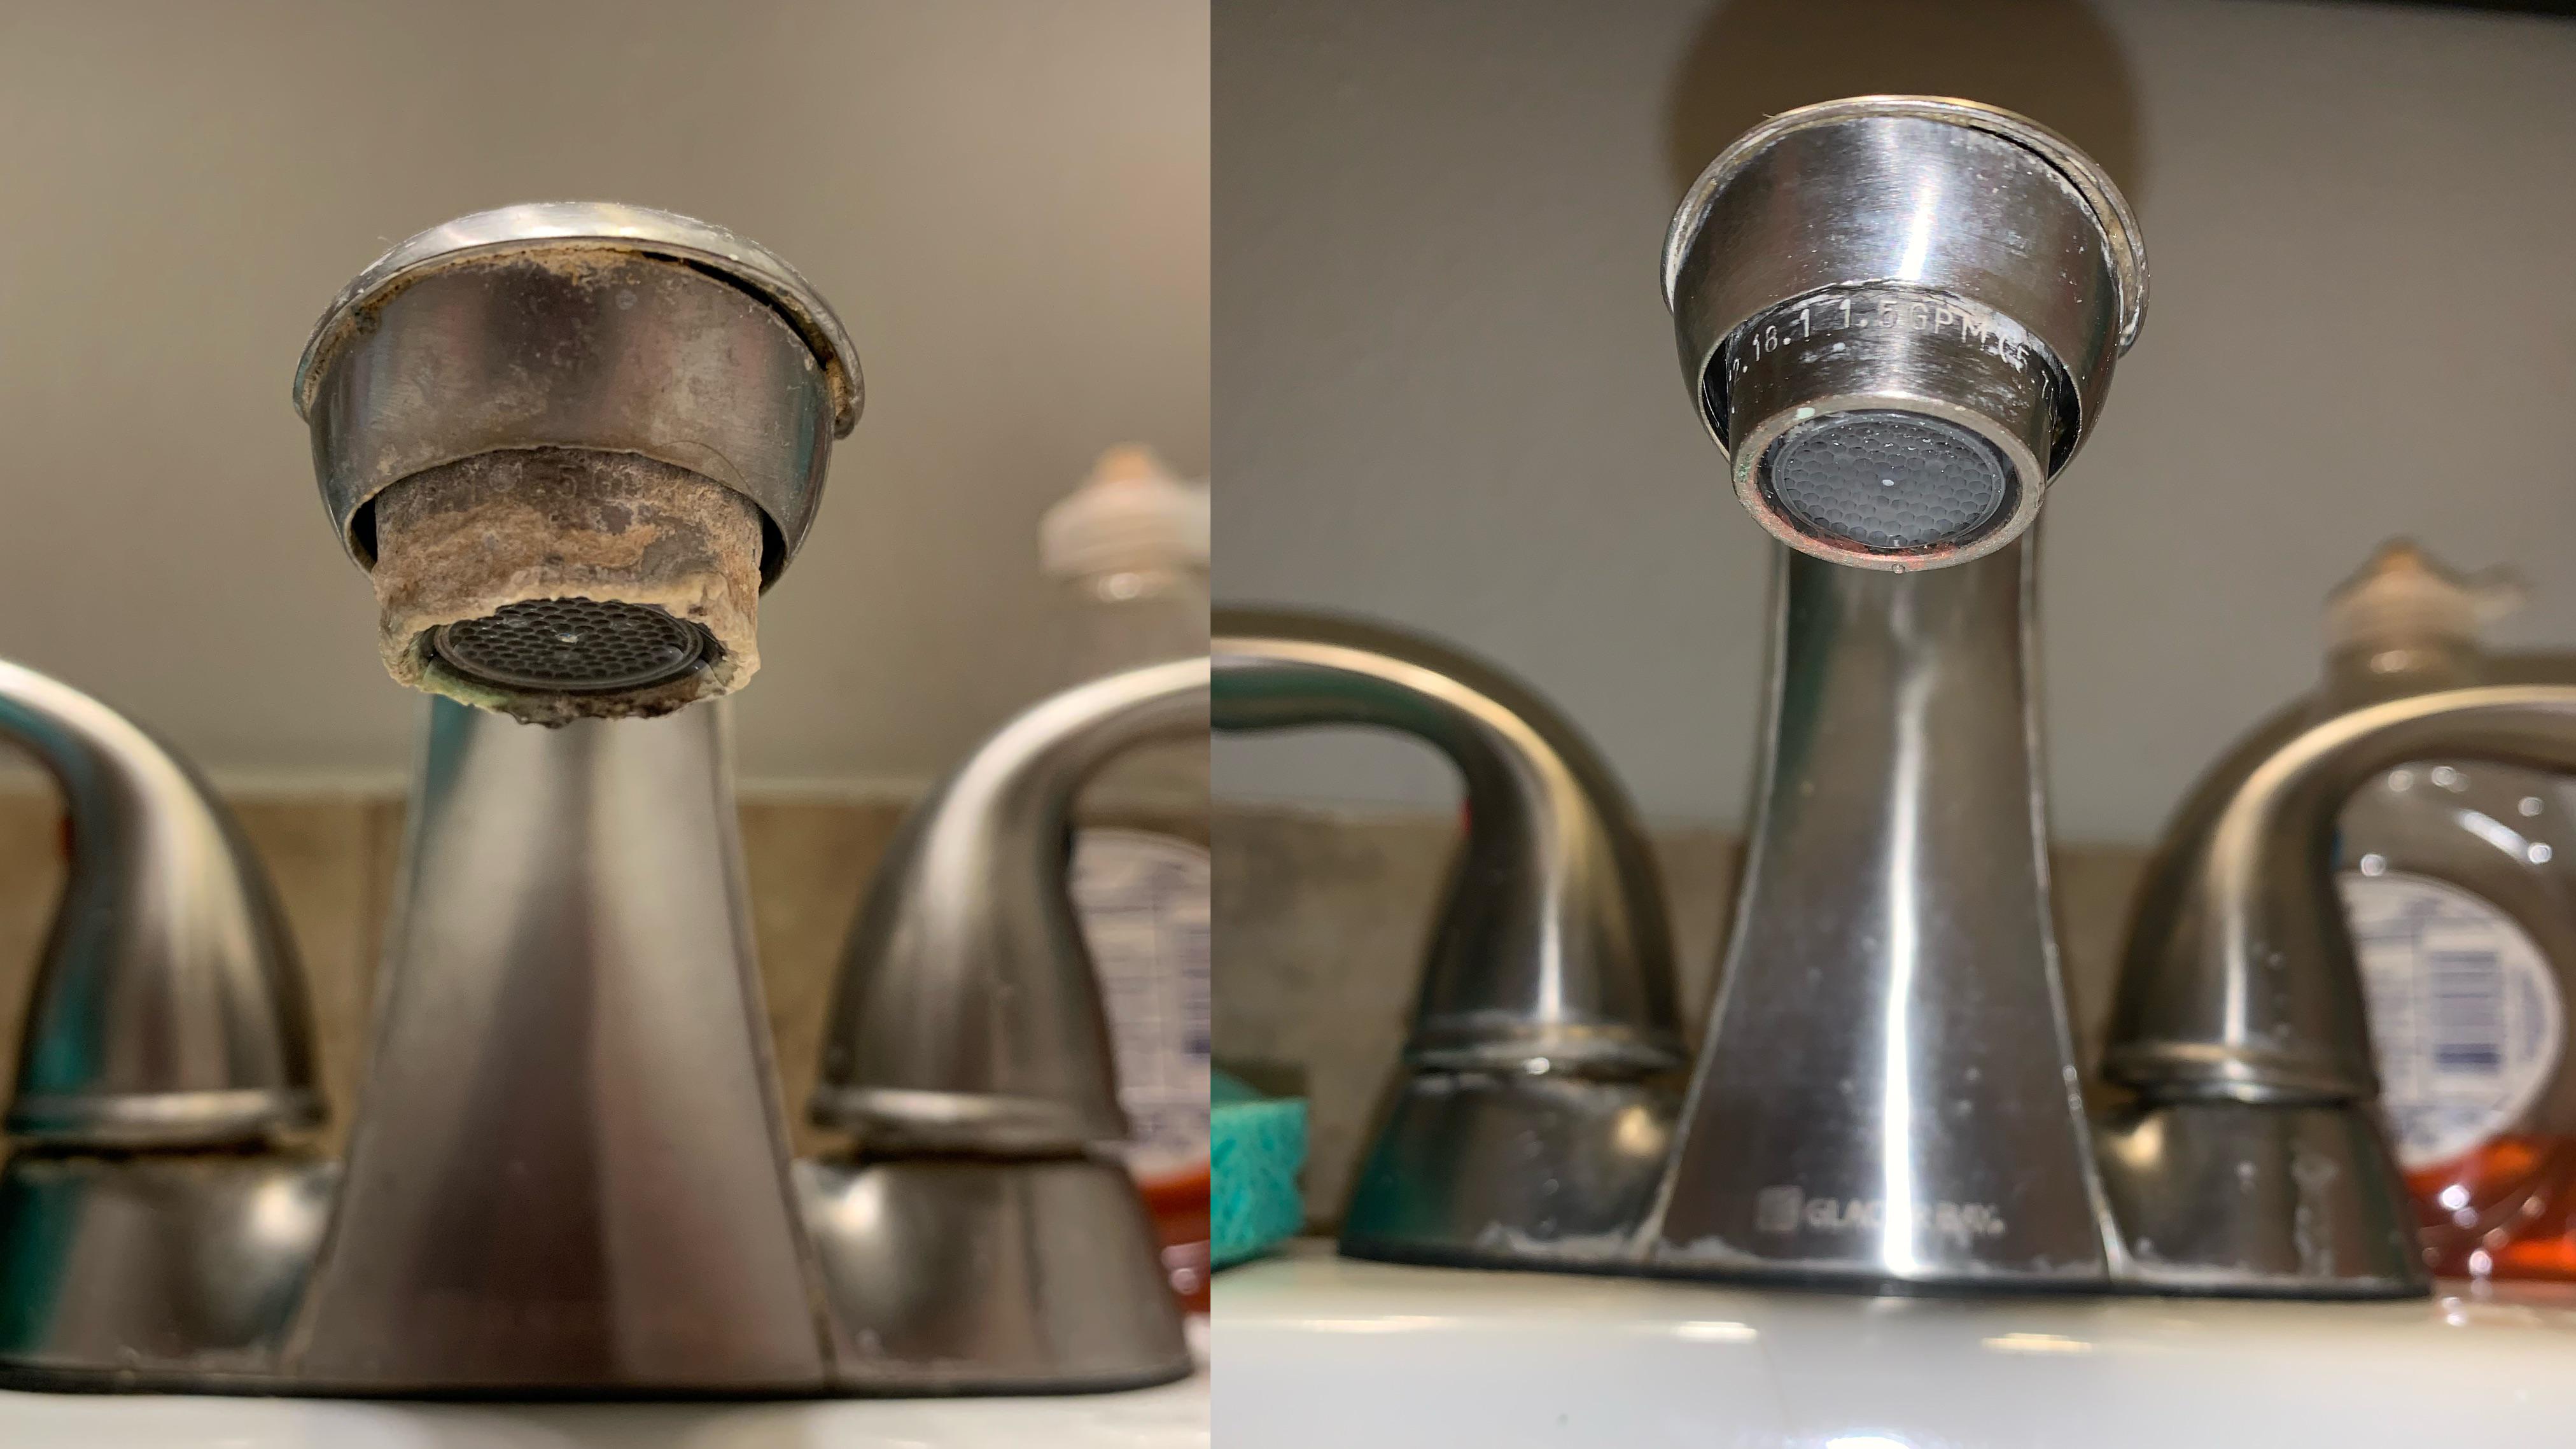
What you are seeing: hard water stains vs soap scum
If your fixtures have chalky white crust, cloudy haze, or rough grit that feels like sandpaper, that is usually mineral buildup from hard water. It is often mostly calcium carbonate, along with other mineral salts (including magnesium) left behind when water evaporates.
Soap scum is the other common culprit, especially in showers. It looks dull, greasy, or grayish and often layers on top of mineral deposits. The good news is you can tackle both, as long as you choose the right tool for the surface.
- Mineral scale: white, crusty, crunchy, often around the base of faucets and where water drips.
- Hard water spots: scattered white dots and rings, especially on chrome and glass.
- Soap scum: dull film that smears when wet and loves shower doors and tile.
Acids vs abrasives: the simple rule
Use acid to dissolve minerals
Minerals are stubborn, but they are not mysterious. Scale is alkaline, so mild acids break it down. For most homes, the workhorses are:
- White vinegar: usually around 4 to 6% acetic acid depending on brand and region. It is slower, but safe for many surfaces.
- Citric acid: often stronger than vinegar at typical mix strengths, low odor, great for glass and showerheads.
- Commercial descalers: faster, but read labels carefully and rinse thoroughly. Many use acids like sulfamic or phosphoric acid, which can be hard on certain finishes if you overdo the dwell time.
Quick safety note: Use ventilation, and wear gloves if you have sensitive skin. Keep acids off nearby natural stone (marble, limestone, travertine) and watch for runoff onto stone countertops, stone tile, or stone thresholds. Acids can etch them.
Use abrasives only when you must
Abrasives do not dissolve scale. They scrape it off. That can be useful on durable surfaces, but it is also how people permanently dull a shiny fixture in one cleaning session. If you reach for abrasion, start with the softest options first.
- Safer “abrasives”: non-scratch sponge, microfiber, soft toothbrush.
- Use with caution: baking soda paste (mild abrasive), melamine foam (magic eraser style) on some finishes.
- Avoid: steel wool, green scrub pads, harsh scouring powders on fixtures.
My neighborly rule: if the surface is meant to be reflective, treat it like a car’s paint. Dissolve first, scrub last.
Surface-by-surface: what is safe and what is risky
Chrome faucets and handles
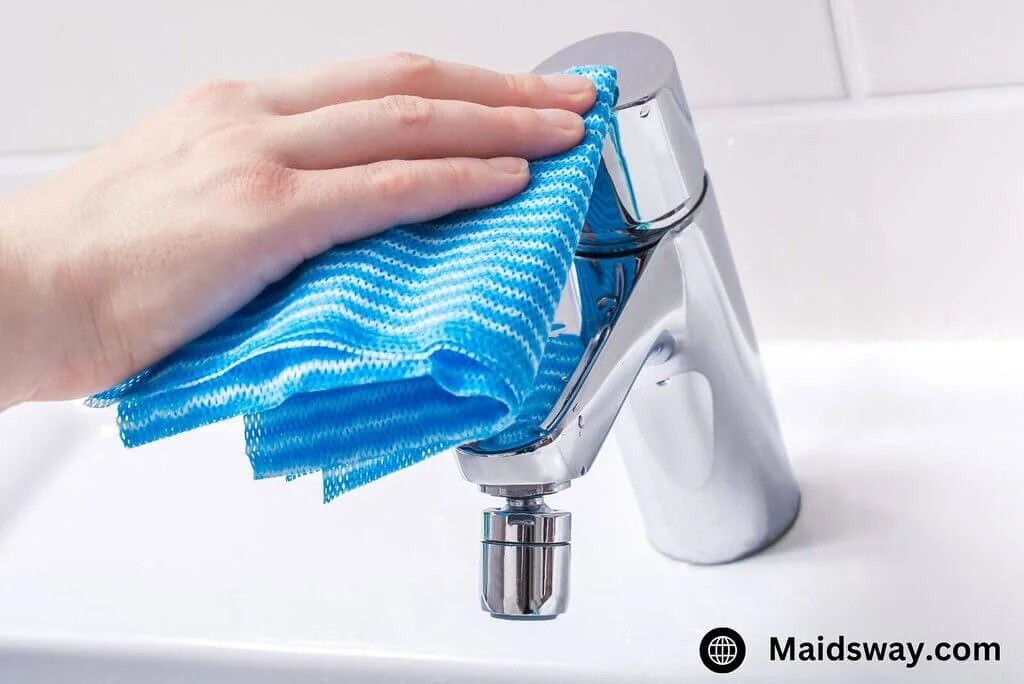
Chrome plating is thin. It cleans up beautifully with mild acid, but it scratches more easily than people think.
- Best: vinegar or citric acid on a soft cloth, then rinse and dry.
- For stubborn spots: baking soda paste applied gently with microfiber, not a scrub pad.
- Avoid: abrasive powders, stiff brushes, steel wool, leaving acid sitting for hours.
Stainless steel (faucets and sinks)
Stainless can handle a bit more persuasion, but it still scratches. Also, many stainless fixtures have a brushed grain that you want to preserve.
- Best: vinegar or citric acid, wipe with the grain.
- Also works: non-scratch sponge, nylon brush for crevices.
- Bleach note: avoid chlorine bleach on stainless when you can, especially prolonged contact. If you must disinfect with a dilute bleach solution, keep it brief and rinse right away.
Glass (shower doors, mirrors, fixtures with glass parts)
Glass is where hard water can make you feel like you are losing your mind. The trick is dwell time and a clean final rinse.
- Best: citric acid solution or vinegar compress, then squeegee.
- For heavy haze: very gentle polishing with a non-scratch pad after the acid has softened deposits.
- Avoid: razor blades on shower glass, especially coated or treated glass, unless the manufacturer approves it. Even then, debris under the blade can leave permanent scratches.
Brass, nickel, bronze, and “special” finishes
Oil-rubbed bronze, matte black, brushed gold, and unlacquered brass often have coatings that do not play nicely with acids or magic-eraser style pads.
- Best: mild dish soap and water first, then spot-test diluted vinegar on an unseen area if you must.
- OK: a damp microfiber with a short vinegar contact time, followed by immediate rinse and dry.
- Avoid: leaving vinegar soaking on these finishes. It can spot or lighten them.
Caulk, grout, and stone nearby
Most of this article focuses on fixtures, but acids can wander. Avoid letting vinegar or descalers sit on grout, and keep them away from natural stone and some sealers. When in doubt, protect surrounding surfaces with a towel and do a careful rinse.
Always spot-test. Manufacturers vary, and one faucet can have multiple materials and coatings.
The go-to method for most fixtures (10 to 20 minutes)
This is the process I use when I want results without playing “guess and scratch” with finishes.
What you need
- White vinegar or citric acid
- Microfiber cloths
- Soft toothbrush or detail brush
- Spray bottle
- Optional: plastic sandwich bag and rubber band (for soaking)
Step-by-step
- Rinse first. Wet the fixture to remove grit that can cause scratches.
- Apply acid and let it sit. Spray vinegar, or use a citric acid solution (about 1 to 2 tablespoons powder per cup of warm water). Let it dwell 5 to 10 minutes.
- Use a “compress” for crusty areas. Wrap a vinegar-soaked cloth around the base of the faucet or the crusty seam where buildup hides. Give it another 10 minutes.
- Brush the details. Use a soft toothbrush around joints, knurling, and under the spout.
- Rinse thoroughly. Get every bit of cleaner off the surface.
- Dry immediately. This is the secret weapon. Drying prevents new spots from forming while you clean.
Spot-free tip: In very hard-water areas, a quick final wipe with distilled water (then dry) can help keep glass and chrome from flashing new spots as it air-dries.
Showerhead and aerator cleanup
If your water pressure has slowly gotten weak, or your shower sprays sideways like a lawn sprinkler, minerals are probably clogging the tiny openings. Cleaning these parts is usually easier than replacing them.
Tools that make this painless
- Strap wrench (best for not scratching showerhead finishes)
- Adjustable wrench (use with a cloth to protect the finish)
- Needle-nose pliers for stubborn aerator screens
- Aerator key for recessed “hidden” aerators on modern faucets
- Old toothbrush and wooden toothpicks for jets
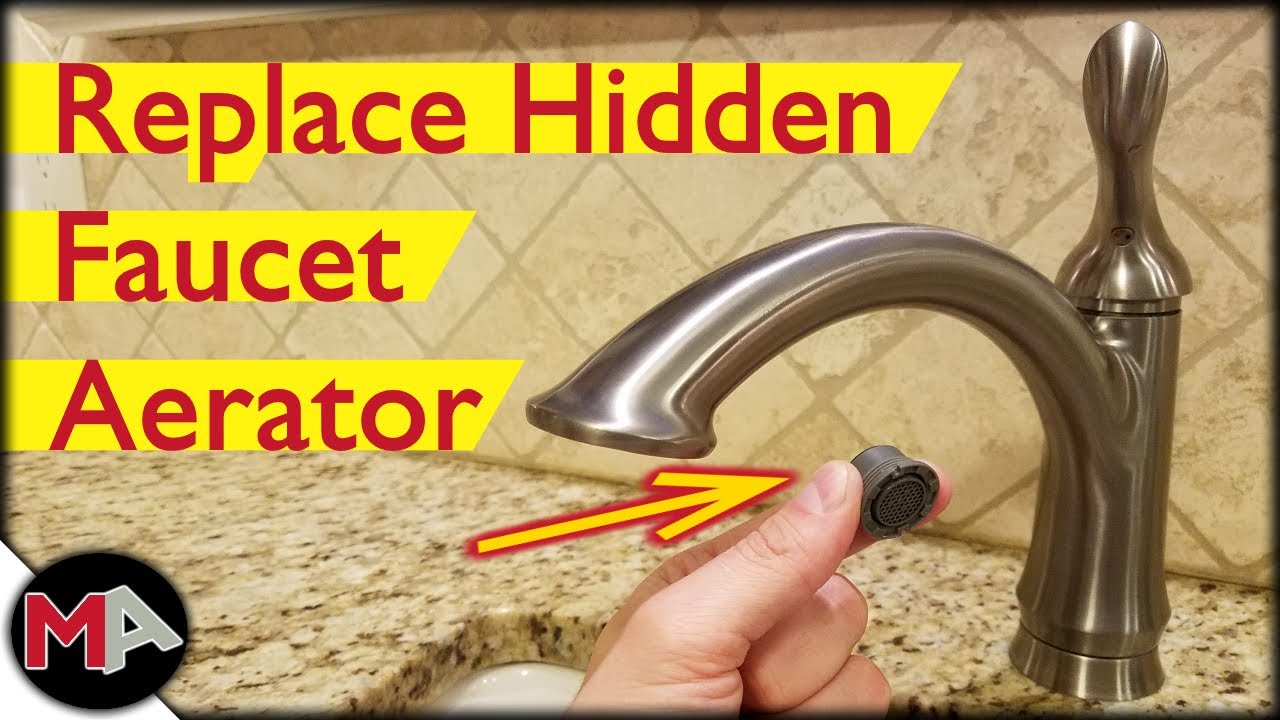
How to clean a faucet aerator
- Plug the drain first. Aerator parts are tiny and love to disappear.
- Remove the aerator. Unscrew it by hand, with pliers wrapped in cloth, or with an aerator key if it is recessed.
- Soak. Drop parts into a bowl of warm vinegar or citric acid solution for 15 to 30 minutes.
- Brush and rinse. Gently scrub the screen and housing, then rinse.
- Reassemble. Put parts back in the same order. Hand-tighten only. Over-tightening can crack plastic inserts.
How to clean a showerhead
- Decide: on or off? If it is easy to remove, take it down. If not, the bag-soak method works well.
- Bag-soak method. Fill a plastic bag with vinegar or citric acid solution, slip it over the showerhead, and secure with a rubber band. Soak 30 to 60 minutes.
- Clear the jets. Use a toothbrush and a toothpick. Avoid metal picks that can enlarge holes.
- Flush. Run hot water for a minute to clear loosened debris.
Quick caution: Some manufacturers recommend avoiding vinegar on certain finishes. If you have a pricey matte or living finish, spot-test or use a product approved by the brand.
Stubborn buildup: what to try next
If vinegar barely makes a dent, you have a few options before you escalate to harsh chemicals.
Step up to citric acid
Citric acid is my favorite “stronger but still reasonable” option. At typical mixing strengths it works faster than vinegar and does not stink up the bathroom. It is also easy to control because you mix it yourself.
Use a commercial descaler selectively
Descalers marketed for bathrooms and fixtures can be effective, especially on heavy scale. The key is to:
- follow label dwell times
- avoid mixing cleaners
- rinse longer than you think you need to
- keep it off sensitive finishes and natural stone unless the label says it is safe
Last resort: gentle mechanical removal
If a mineral ridge is thick, you may need light abrasion after softening. Keep it conservative:
- Soften with acid first.
- Use a non-scratch pad or microfiber with baking soda paste.
- Stop as soon as the surface looks uniform again.
What not to do
- Do not go straight to a green scrub pad. I have dulled a shiny faucet that way. The stain disappeared, but so did the finish.
- Do not let acids dry on the fixture. Dried vinegar can leave its own spot pattern, especially on decorative finishes.
- Do not mix cleaners. For example, bleach plus vinegar (or any acid) can create chlorine gas. Keep products separate and rinse between steps.
- Do not ignore the rinse-and-dry. Cleaning is only half the job. Drying is what keeps the spot from returning immediately.
Prevention that actually works
Hard water is a supply problem, but the mess is a habit problem. You can dramatically cut buildup with a few small routines.
Daily and weekly habits
- Wipe and dry after use. A quick microfiber wipe on the faucet and sink rim can prevent most crust from ever getting started.
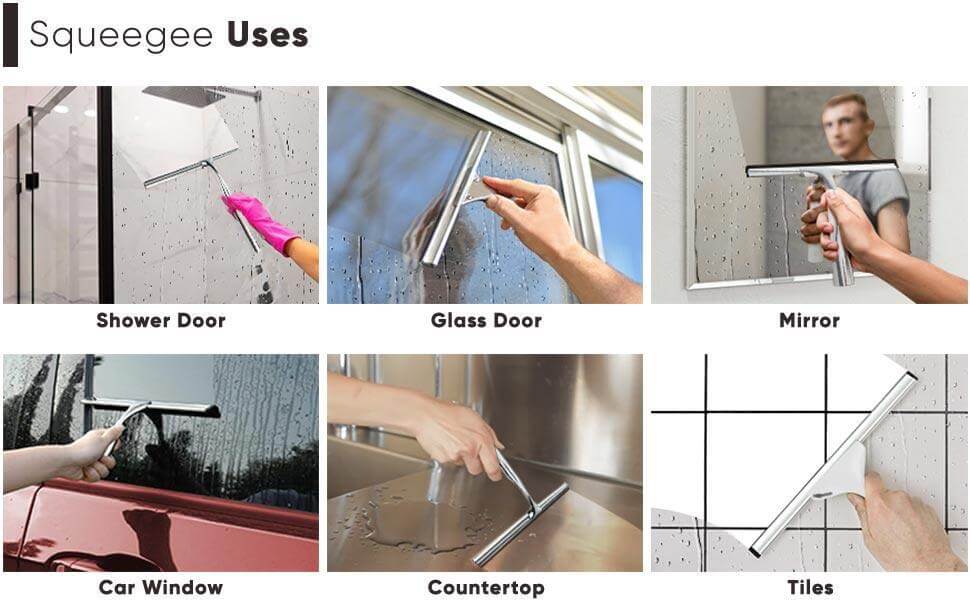
- Squeegee shower glass. Keep a small squeegee in the shower and do a quick pass before you step out.
- Weekly quick spray. Mist fixtures with diluted vinegar (1:1 with water) and rinse after a few minutes. Skip this on sensitive finishes.
Water softening context (the short version)
If you have very hard water, a properly sized water softener reduces the minerals that cause scale in the first place. That means fewer stains, fewer clogged aerators, and less time scrubbing. I am not going to dive into softener troubleshooting here, but if you already have one and still see heavy scale, it is worth checking whether it is actually regenerating and whether the hardness setting matches your water.
Quick reference: cleaner by surface
- Chrome: vinegar or citric acid + microfiber, short dwell time.
- Stainless: vinegar or citric acid, wipe with grain, rinse and dry.
- Glass: citric acid or vinegar compress, squeegee, then dry edges. Distilled-water final wipe helps in very hard-water homes.
- Matte black, bronze, brushed gold: soap and water first, spot-test any acid, avoid abrasives.
- Aerators and showerheads: soak parts, brush gently, flush thoroughly.
- Natural stone nearby: avoid acids and most descalers, use stone-safe products.
When to replace instead of clean
Most fixtures bounce back, but sometimes replacement is the thrifty move.
- Pitted chrome: If the surface is cratered, that is corrosion. Cleaning will not restore shine.
- Flaking finish: Once plating is peeling, chemicals and scrubbing usually accelerate the damage.
- Cracked aerator insert: Aerators are cheap and often sold in multi-packs. Swap it and move on.
My simple maintenance routine
If you want a low-effort plan, here is what I recommend to most homeowners:
- After use: quick wipe of the faucet and sink rim.
- Once a week: 5-minute vinegar or citric acid wipe-down on chrome and stainless, then rinse and dry.
- Once a month: check and rinse faucet aerators. Soak if needed.
- Quarterly: showerhead soak if you notice spray pattern changes.
Hard water does not care how nice your fixtures are. The goal is to stay ahead of buildup so you are cleaning a film, not chiseling a crust.
About Marcus Vance
Content Creator @ Grit & Home
Marcus Vance is a lifelong DIY enthusiast and self-taught home renovator who has spent the last decade transforming a dilapidated 1970s ranch into his family's dream home. He specializes in budget-friendly carpentry, room-by-room renovations, and demystifying power tools for beginners. Through his writing, Marcus shares practical tutorials and hard-learned lessons to help homeowners tackle their own projects with confidence.