🚨 In a DIY emergency or rush?
Skip the details and jump straight to our 30-second cheat sheet for the most crucial info.
Pet urine in carpet is one of those problems that can make a whole room feel “off” even after you clean it. The reason is simple: urine is not just a surface stain. It soaks down into the carpet backing, the pad, and sometimes the subfloor. If you only clean the top fibers, the smell can come back the next humid day like it never left.
I have cleaned up more “mystery spots” than I care to admit, including a few times when I was convinced I got it all, only to catch that faint ammonia odor weeks later. This guide is the process I use now, with the why behind each step so you are not wasting time or money.
Quick safety note: Ventilate the room, wear gloves, keep pets and kids off wet treated areas, and never mix cleaners.
Before you start
Fresh urine is mostly water, but as it dries it concentrates into salts and organic compounds that can bond to carpet fibers and pad. Bacteria then feed on the residue, which is where that sharp “urine” smell can intensify over time.
That is why simple masking sprays usually fail, and why hot water extraction (often called “steam cleaning”) can be hit or miss. It can work, but only if you pair it with the right urine chemistry and you extract thoroughly. The most common failures are weak chemistry, not enough extraction, or over-wetting the pad.
You generally need one of two strategies, and often both:
- Flush and extract as much contamination as possible from the carpet and pad.
- Break down the urine residue with the right chemistry, usually enzymes or bio-enzymatic cleaners.
Supplies
- White paper towels or clean white cotton towels (white helps you see what is coming up)
- A spray bottle
- Enzymatic or bio-enzymatic pet urine cleaner (look for “enzyme” or “bio-enzymatic” on the label, not just “odor remover”)
- Clean water
- Baking soda (optional, for deodorizing after cleaning)
- A wet dry shop vac (highly recommended) or a carpet cleaner with strong extraction
- Nitrile gloves
- A UV flashlight (optional but helpful for locating)
If you do not have a shop vac, you can still do this with towels, but extraction is the difference between “better” and “gone.”
Cleaner choice (so the steps make sense)
Enzyme and bio-enzymatic cleaners: These are designed to break down urine residues. Many products are a mix of enzymes and beneficial bacteria cultures, so follow the label and give them the full dwell time.
DIY mixes: Vinegar and water (1:1) can reduce that ammonia smell short-term and help with some staining, but it often does not solve deep odor in the pad. Also, vinegar can interfere with some enzyme products if you use it back-to-back. If you start with vinegar, rinse and extract well, let the area dry, then use enzymes later (unless your product specifically says it is compatible).
Never mix chemicals: Especially vinegar and bleach.
Step 1: Find the full area
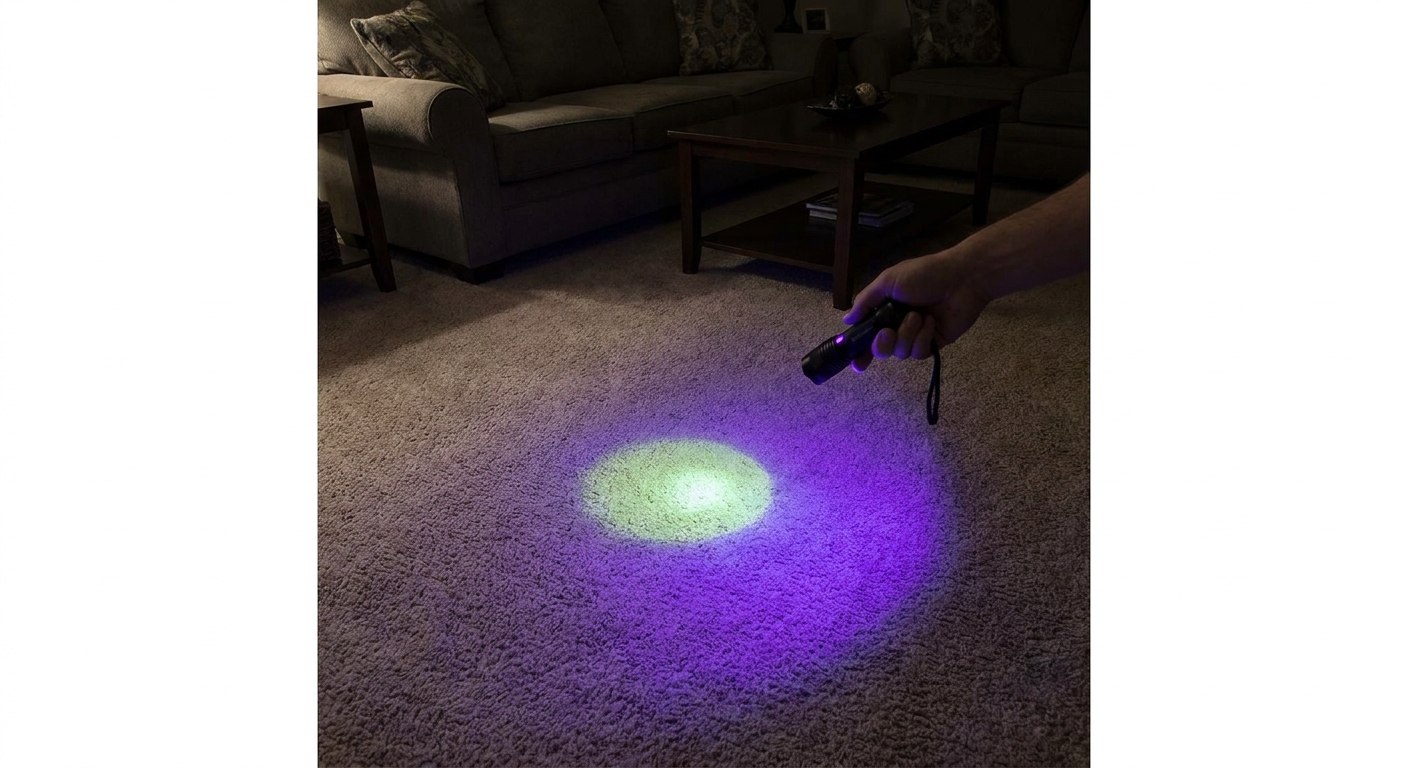
For fresh accidents, you already know the spot. For old odor that comes and goes, use your nose and, if you have one, a UV flashlight in a dark room.
UV note: Urine may fluoresce, but so can detergent residue, some beverages, and optical brighteners in carpet. Treat UV as a locating tool, not definitive proof. Results also vary by carpet color, fiber, and what has been cleaned there before.
Mark the edges with a couple of coins or small bits of painter’s tape so you treat the whole thing, not just the center. Urine often spreads wider underneath than the visible stain up top.
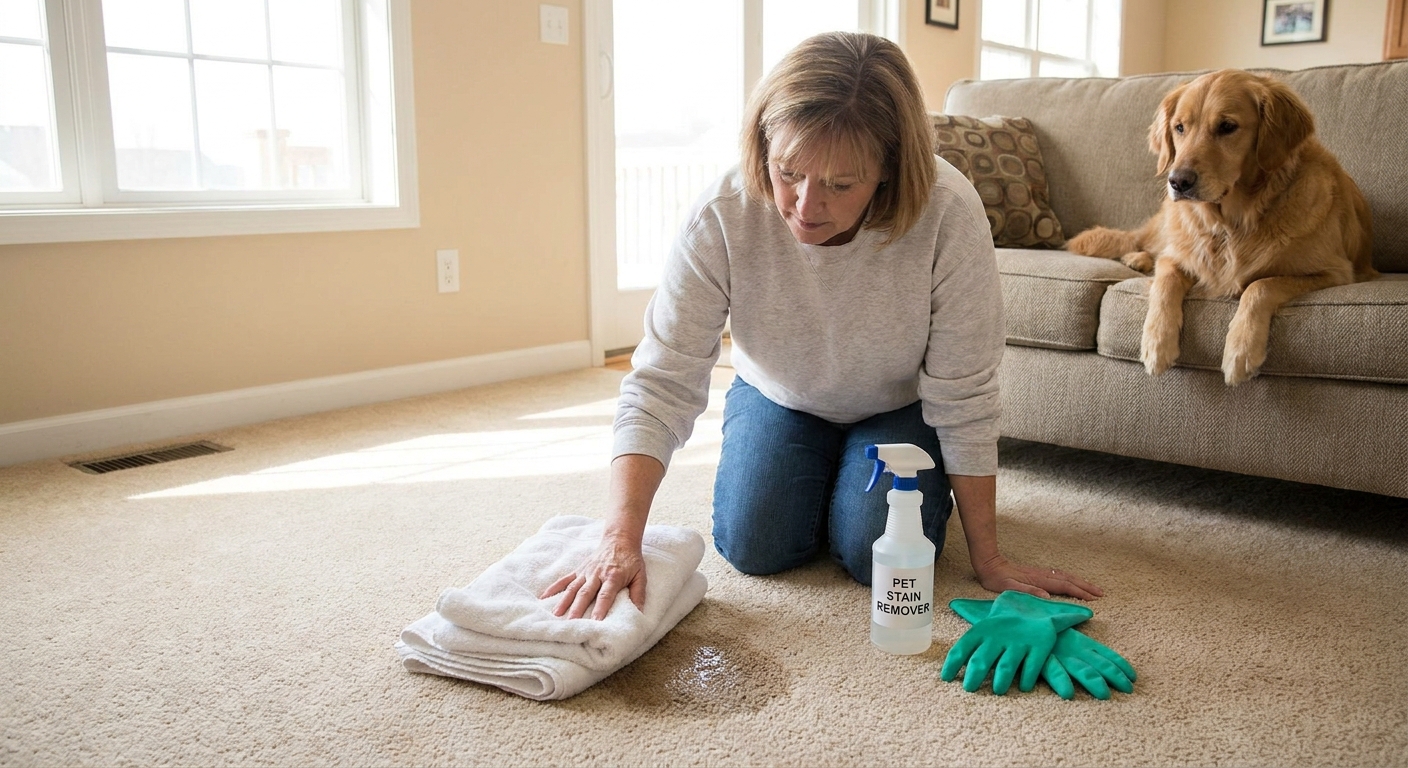
Step 2: Blot right
If the urine is still wet, your first job is to remove as much liquid as possible before you add anything else.
How to blot
- Lay a thick layer of towels on the spot.
- Blot from the outside in to keep it from spreading.
- Stand on the towels with your body weight for 30 to 60 seconds.
- Replace with dry towels and repeat until they come up barely damp.
Do not scrub. Scrubbing drives liquid deeper and can fuzz carpet fibers.
If it is already dry, skip to the colorfastness test and treatment. Dry urine still needs to be rehydrated so the cleaner can reach the residue, but you do that in a controlled way.
Step 3: Test for colorfastness
Before you use any cleaner, test a hidden area like inside a closet or under a piece of furniture.
- Apply a small amount of your chosen cleaner.
- Wait 10 to 15 minutes.
- Blot with a white towel and check for dye transfer or lightening.
If you see color transfer, stop and use a carpet-safe product specifically labeled for your carpet type, or consider calling a pro. Wool, natural fibers, jute backing, and many area rugs can be less forgiving than wall-to-wall synthetic carpet.
Step 4: Treat the spot
For fresh urine
- Blot first as described above.
- Apply enzyme cleaner to the spot and slightly beyond the edges. You want to reach what soaked outward.
- Work it in gently with your fingers in gloves or the back of a spoon. No aggressive brushing.
- Let it dwell per label, often 10 to 30 plus minutes.
- Extract with a shop vac (best) or blot thoroughly with towels.
For old, dried urine
Old urine has crystals and salts that need to be rehydrated so they can be broken down.
- Lightly dampen the area with clean water first. Not soaked, just damp.
- Apply enzyme cleaner generously to reach the pad. You are not misting the surface. You are aiming for saturation down to the contamination.
- Do not over-wet beyond what you can extract and dry, especially if you have a wood subfloor underneath.
- Cover with plastic wrap for a few hours if the product directions allow it. This slows evaporation and improves performance.
- Extract or blot until you pull up as much moisture as possible.
- Dry fast with a fan pointed at the spot.
If the label says to let it air dry naturally, follow that. Some products are designed for that. The big picture is: give the cleaner time to work, then remove moisture so you do not create a new musty smell.

Wicking
Wicking happens when urine in the carpet pad or backing migrates upward as the carpet dries. You clean the top, it looks fine, and then a yellowish ring returns the next day.
How to beat wicking
- Extract deeper. This is where a shop vac shines.
- Treat a wider area than you think. The pad often spreads the liquid outward.
- Repeat the cycle: treat, dwell, extract, dry.
If you have cleaned the surface multiple times and the stain keeps reappearing, that is your sign the pad is still loaded.
Pad and subfloor issues
Carpet is basically a blanket over a sponge. That sponge is the pad, and it can hold a lot of urine.
Clues the pad is contaminated
- The smell is strongest at floor level even after cleaning
- The stain is large or has happened multiple times in the same spot
- The carpet feels stiff or crunchy after drying
- The odor comes back during humid weather
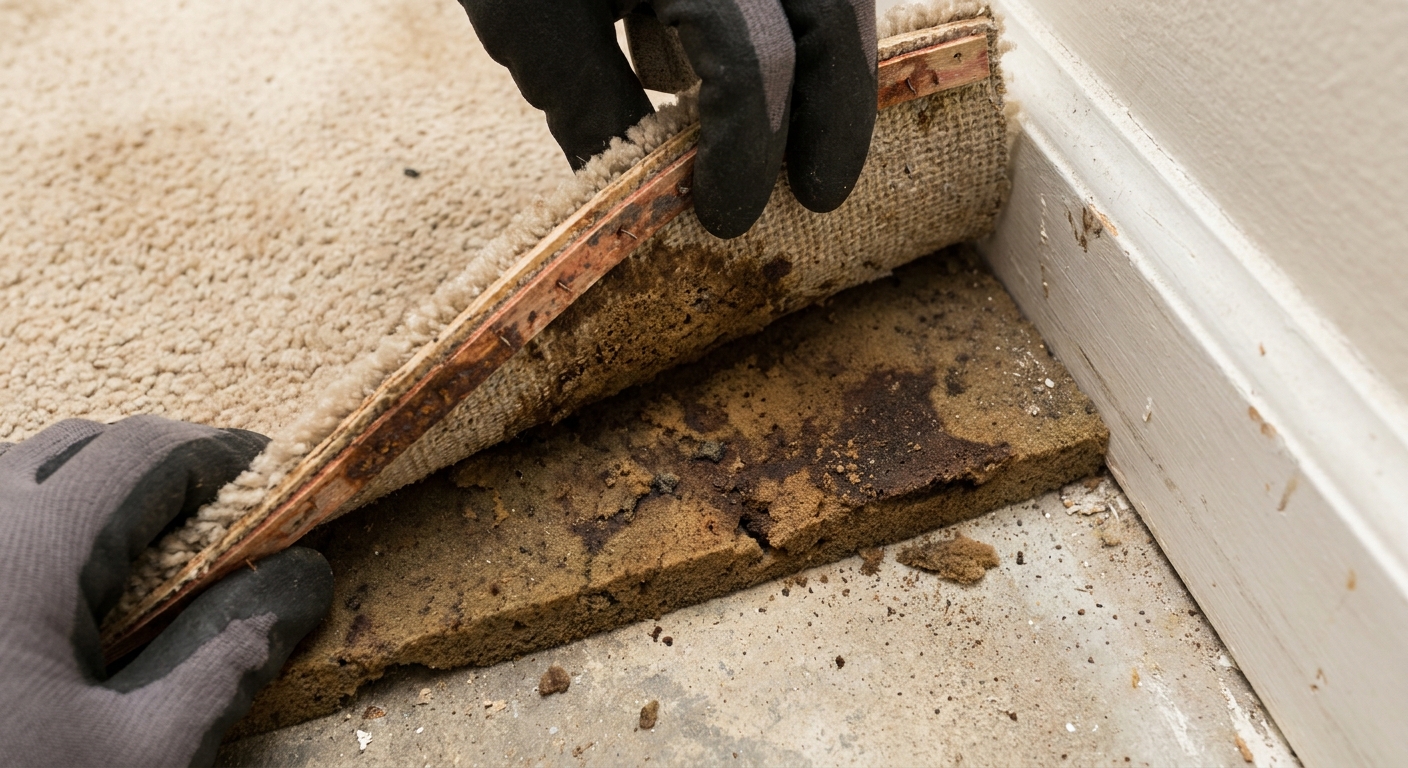
How to check (lift test)
If you can safely pull up a corner of carpet (often possible along a wall), take a look at the underside and pad.
- If the pad is stained or reeks, surface cleaning will be an uphill battle.
- If the subfloor is stained, you will likely need to treat it directly.
DIY-friendly fix: Replace just the affected padding section if the odor is localized. Padding is relatively cheap compared to carpet, and replacing a small section can be the difference between “livable” and “why do we still smell this?”
Step 5: Treat the subfloor
Once urine hits wood or concrete, it can bond and linger. The approach depends on what is underneath.
Wood subfloor
- Clean the area with an enzyme cleaner safe for wood or a dedicated pet odor product intended for subfloors.
- Let it dwell, then wipe and allow to dry completely.
- If odor remains, an odor-blocking, shellac-based primer is often effective at sealing what you cannot fully remove, but only after the area is truly dry. Verify product compatibility, ventilate well, and follow the label.
Concrete slab
- Use an enzyme cleaner that states it works on concrete.
- Scrub lightly, let it dwell, then wet vac or towel up the excess.
- For stubborn odor, repeat treatments. Concrete is porous and may need multiple passes.
If you seal too soon, you can trap moisture and create a new odor problem. Patience here saves you from doing the job twice.
How many rounds is normal?
For fresh accidents, one good treatment with proper extraction often does it. For older spots or repeat offenders, two to four rounds is not unusual, especially if the pad is involved.
A simple schedule
- Day 1: Treat, dwell, extract, dry
- Day 2: Smell test, treat again if needed
- Day 3: Final check in the morning and after the room warms up
Tip: Smell the spot when the carpet is dry and when the room is warm or humid. Odor often hides when things are cool and dry.
Dry and deodorize
Drying
Drying fast matters. Leftover moisture can turn into mildew or a sour smell that gets mistaken for urine.
- Run a fan aimed at the spot for several hours.
- If you have a dehumidifier, run it in that room.
- Avoid closing the room up tight right after cleaning.
Baking soda (optional)
Once the area is mostly dry, you can sprinkle baking soda lightly, let it sit overnight, then vacuum thoroughly. This can help with residual odors, but it is not a substitute for enzyme treatment.
Common mistakes
- Using a carpet shampooer too early: It can spread contamination and soak the pad even more if you do not extract well.
- Using a regular vacuum on wet carpet: Use a wet vac or proper extractor only.
- Overusing heat: Heat can intensify odor if urine is still present, and high heat drying can bake residue in. Stick with lukewarm water unless your product says otherwise.
- Masking scents: Air fresheners and scented sprays can make it seem fixed until the fragrance fades.
- Not treating wide enough: Urine spreads. Treat beyond the visible stain.
- Skipping the pad: If the pad is soaked, the smell will usually win.
When to replace
I am thrifty by nature and I will try to save materials whenever I can. But there are times when replacement is the cheapest option long-term because you stop pouring cleaner, time, and frustration into a losing battle.
Replace the padding when
- The area has been urinated on multiple times
- The pad is stained and smelly when you lift the carpet
- You get wicking no matter how many treatments you do
Replace the carpet when
- The urine has spread across a large area or multiple rooms
- The backing is degraded or the fibers are permanently discolored
- Odor persists after pad replacement and subfloor treatment
If you are already planning a flooring upgrade, sometimes the smartest play is: remove the carpet, treat and seal the subfloor, then install new flooring with a clean slate.
If you smell it but cannot find it
- Check humidity and HVAC: Odors can “wake up” when the room warms up or humidity rises.
- Check nearby targets: Baseboards, the edge of the carpet near walls, and nearby upholstery often get marked too.
- Re-scan smarter: Use UV only in a dark room and treat it as a guide, then confirm by sniffing at floor level.
Quick odor check
- Smell the spot at carpet level after it is fully dry.
- Press a warm, slightly damp towel on the area for 10 seconds, then sniff the towel. This can reveal hidden odor.
- If you have a UV light, re-check for missed edges.
If it still smells like urine, do another enzyme treatment. In most cases it is leftover contamination, not your imagination.
The 30-Second Cheat Sheet
Essential takeaways for: Remove Pet Urine Smell and Stains From Carpet
What to do right now (fresh accident)
- Blot, do not scrub: Stand on thick towels for 30 to 60 seconds, repeat until barely damp. Blot from the outside in to avoid spreading.
- Use an enzyme or bio-enzymatic cleaner: Saturate the spot and slightly beyond the edges.
- Let it dwell: Give it time to work (follow the label).
- Extract: Wet dry shop vac is best. Otherwise blot hard with dry towels. Never use a regular vacuum on wet carpet.
- Dry fast: Fan plus optional dehumidifier. Keep pets and kids off the area until dry.
If the smell keeps coming back
- It is usually in the pad or subfloor. Treat deeper, not just the surface.
- Wicking is real: Stain returns as carpet dries, meaning contamination below is rising back up.
- Plan 2 to 4 rounds of treat, dwell, extract, dry for older spots.
Enzyme cleaner vs DIY
- Best bet: Enzyme or bio-enzymatic cleaner for true urine odor removal, especially old spots.
- DIY (vinegar and water 1:1): Can help short-term ammonia smell and light staining, but often fails if the pad is contaminated. Do not use vinegar right before enzymes unless the product says it is compatible.
- Never mix chemicals (especially vinegar and bleach).
Colorfastness test (do not skip)
- Test cleaner in a hidden area, wait 10 to 15 minutes, blot with a white towel.
- If dye transfers or lightens, stop and use a carpet-safe product or call a pro.
When to replace instead of fighting it
- Replace padding if it is stained or smells after lifting the carpet, or if wicking keeps happening.
- Replace carpet if the area is large, backing is damaged, or odor remains after pad and subfloor treatment.
💡 Tip: Scroll up to read the full article for detailed, step-by-step instructions.
⬆️ Back to topAbout Marcus Vance
Content Creator @ Grit & Home
Marcus Vance is a lifelong DIY enthusiast and self-taught home renovator who has spent the last decade transforming a dilapidated 1970s ranch into his family's dream home. He specializes in budget-friendly carpentry, room-by-room renovations, and demystifying power tools for beginners. Through his writing, Marcus shares practical tutorials and hard-learned lessons to help homeowners tackle their own projects with confidence.