A dripping shower is one of those slow-burn problems. It’s annoying, it wastes water, and it can leave mineral trails down your tile that never seem to scrub off. The good news is that many “leaky shower valve” problems come down to one replaceable part: the cartridge.
If you’ve read our leaky shower valve overview, consider this the hands-on version where we actually do the swap. I’ll walk you through identifying your cartridge, shutting off water safely, pulling trim without cracking it, extracting the old cartridge, and putting everything back together so the handle turns smooth and the drips stop.
Quick prep tip: before you touch anything, snap a couple photos of the handle, trim plate, and stem area. Then lay parts out in order as you remove them. It saves you from the “where did this washer go?” moment later.
What a cartridge does
The cartridge is the internal valve assembly that controls hot and cold mixing and turns the water on and off. In many modern single-handle showers, the cartridge is often the main wear item, but it’s not the only possible culprit.
- Drips after shutoff usually mean worn seals, a scratched sealing surface, or (on some designs) worn seats and springs.
- Stiff or crunchy handle movement is often mineral buildup, dried-out O-rings, or a cartridge starting to bind.
- Temperature swing can happen when the valve can’t mix consistently, especially with pressure-balance valves.
Sometimes you can temporarily improve things by cleaning and lubricating, but if you already have it apart, a new cartridge is usually the best long-term fix.
Before you start: identify the cartridge
This is the part that saves you the most time. Cartridges aren’t universal. The fastest path is to identify the faucet brand and model, then match the cartridge exactly.
How to figure out what you have
- Look for a brand mark on the handle, trim plate, or tub spout. Common ones are Moen, Delta, Kohler, Pfister, and Grohe.
- Pull the handle first if you can’t find a logo. Many valves have an identifying mark on the cartridge stem or retaining ring.
- Take photos as you go and bring the old cartridge to the store. I’ve done the “buy two and return one” routine more times than I want to admit, and bringing the old part prevents that.
Tip from my own mistakes: don’t trust “looks close enough.” A cartridge that’s almost right can cause leaks, poor temperature control, or a handle that won’t seat fully.
Tools and supplies
You don’t need a truck full of plumbing tools, but having the right basics keeps you from chewing up screws and trim.
- New replacement cartridge (and any included O-rings or clip)
- Screwdrivers (Phillips and flathead)
- Allen keys (many handles use a small set screw)
- Adjustable wrench or channel-lock pliers
- Needle-nose pliers (for clips)
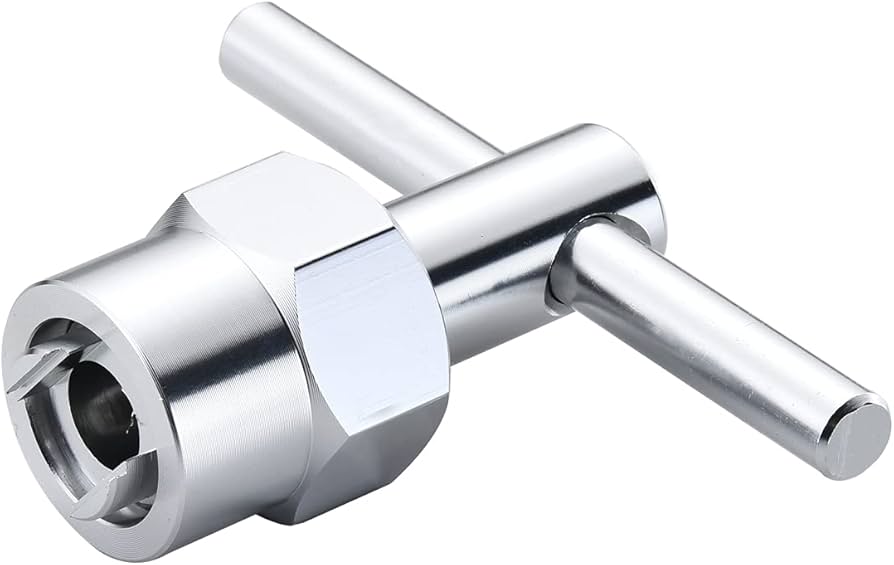
- Cartridge puller (optional but helpful for stuck cartridges)
- Silicone plumber’s grease (manufacturer-approved if possible)
- Rags, small bucket, and painter’s tape
- White vinegar (optional for mineral cleanup)
Avoid: petroleum jelly or mystery grease. Use a manufacturer-approved silicone plumber’s grease so you don’t damage rubber seals.
Step 1: shut off the water
Some showers have integral stops, some don’t. Take 2 minutes to find out which you have.
Option A: stops at the valve
Many newer valves have service stops on the left and right of the valve body. Depending on the brand, they may be slotted (flathead) or hex (Allen). Turn each stop clockwise until it seats and the flow stops. This is often multiple turns, not a quarter turn. Don’t force it once it bottoms out.
Option B: shut off the house
If you don’t see service stops, shut off the main water supply to the house. Then open a lower faucet to relieve pressure.
Confirm it’s off
Turn the shower on. You should get a brief spurt, then nothing. If it keeps running, you’re not fully shut off yet.
Safety note: water in the valve can be hot. Keep your face back, protect your eyes, and have a towel ready when you do the shutoff test.
Step 2: protect the tub and remove the handle
Before you loosen anything, plug the drain or cover it with a rag. Small screws love to fall into drains at the worst moment.
- Tape the area around the trim plate with painter’s tape to prevent accidental scratches.
- Remove the handle: look for a small set screw (often underneath) or a center cap hiding a screw.
- Pull straight out when removing the handle. Wiggling is fine, but don’t pry against tile.
Step 3: remove the trim plate
Most trim plates are held by two screws. Remove them and gently pull the trim plate away from the wall.
If it’s stuck to caulk
- Score the caulk line lightly with a utility knife.
- Use a plastic putty knife to lift an edge.
- Work slowly around the trim plate.
My rule: never use a metal screwdriver to pry on tile or fiberglass. It only takes one slip to leave a permanent scar.
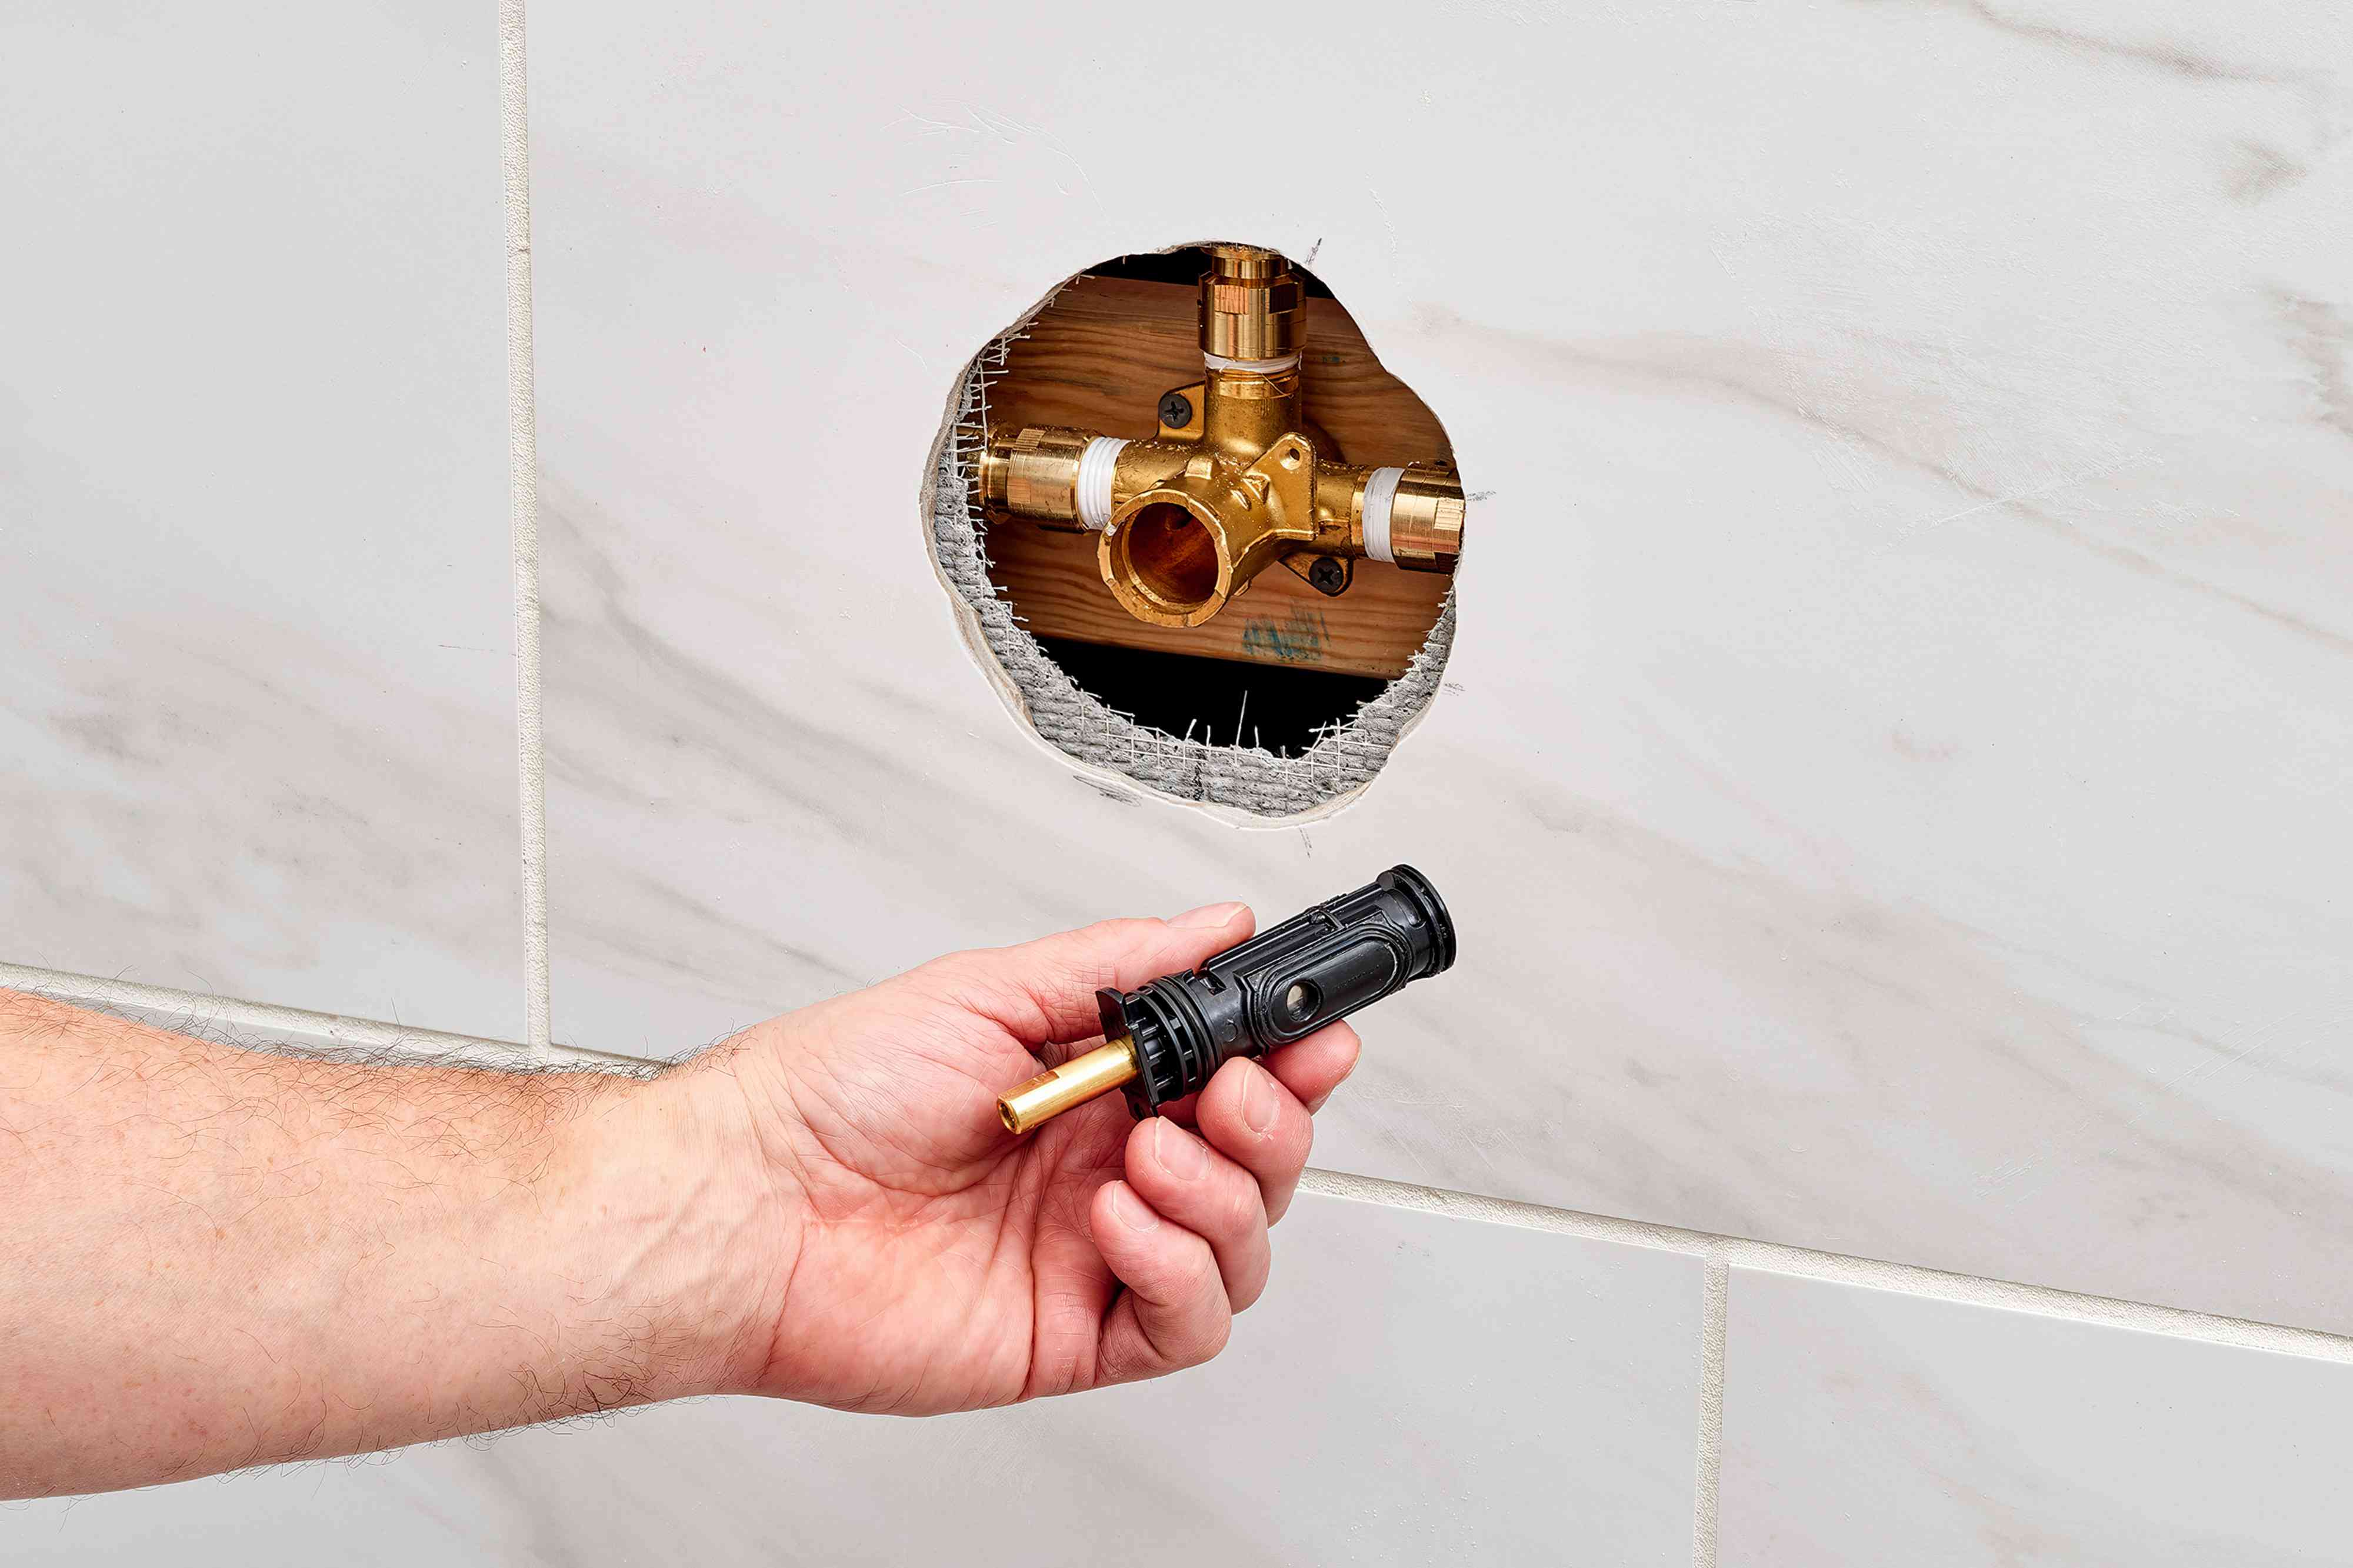
Step 4: find the retainer
Cartridges are held in place one of three ways:
- U-shaped retaining clip that slides out
- Threaded retaining nut that unscrews
- Retaining ring that turns off with a special tool or adjustable pliers
Clean off gunk so you can see what you’re working with. Then remove the retainer carefully and set it aside.
Important: take a photo of the cartridge orientation before you pull it. Some cartridges must go back in a specific way or your hot and cold may reverse.
Also: you may see other parts near the cartridge, like a pressure-balance spool or a temperature limit stop. Don’t remove or adjust anything unless your manufacturer instructions tell you to.
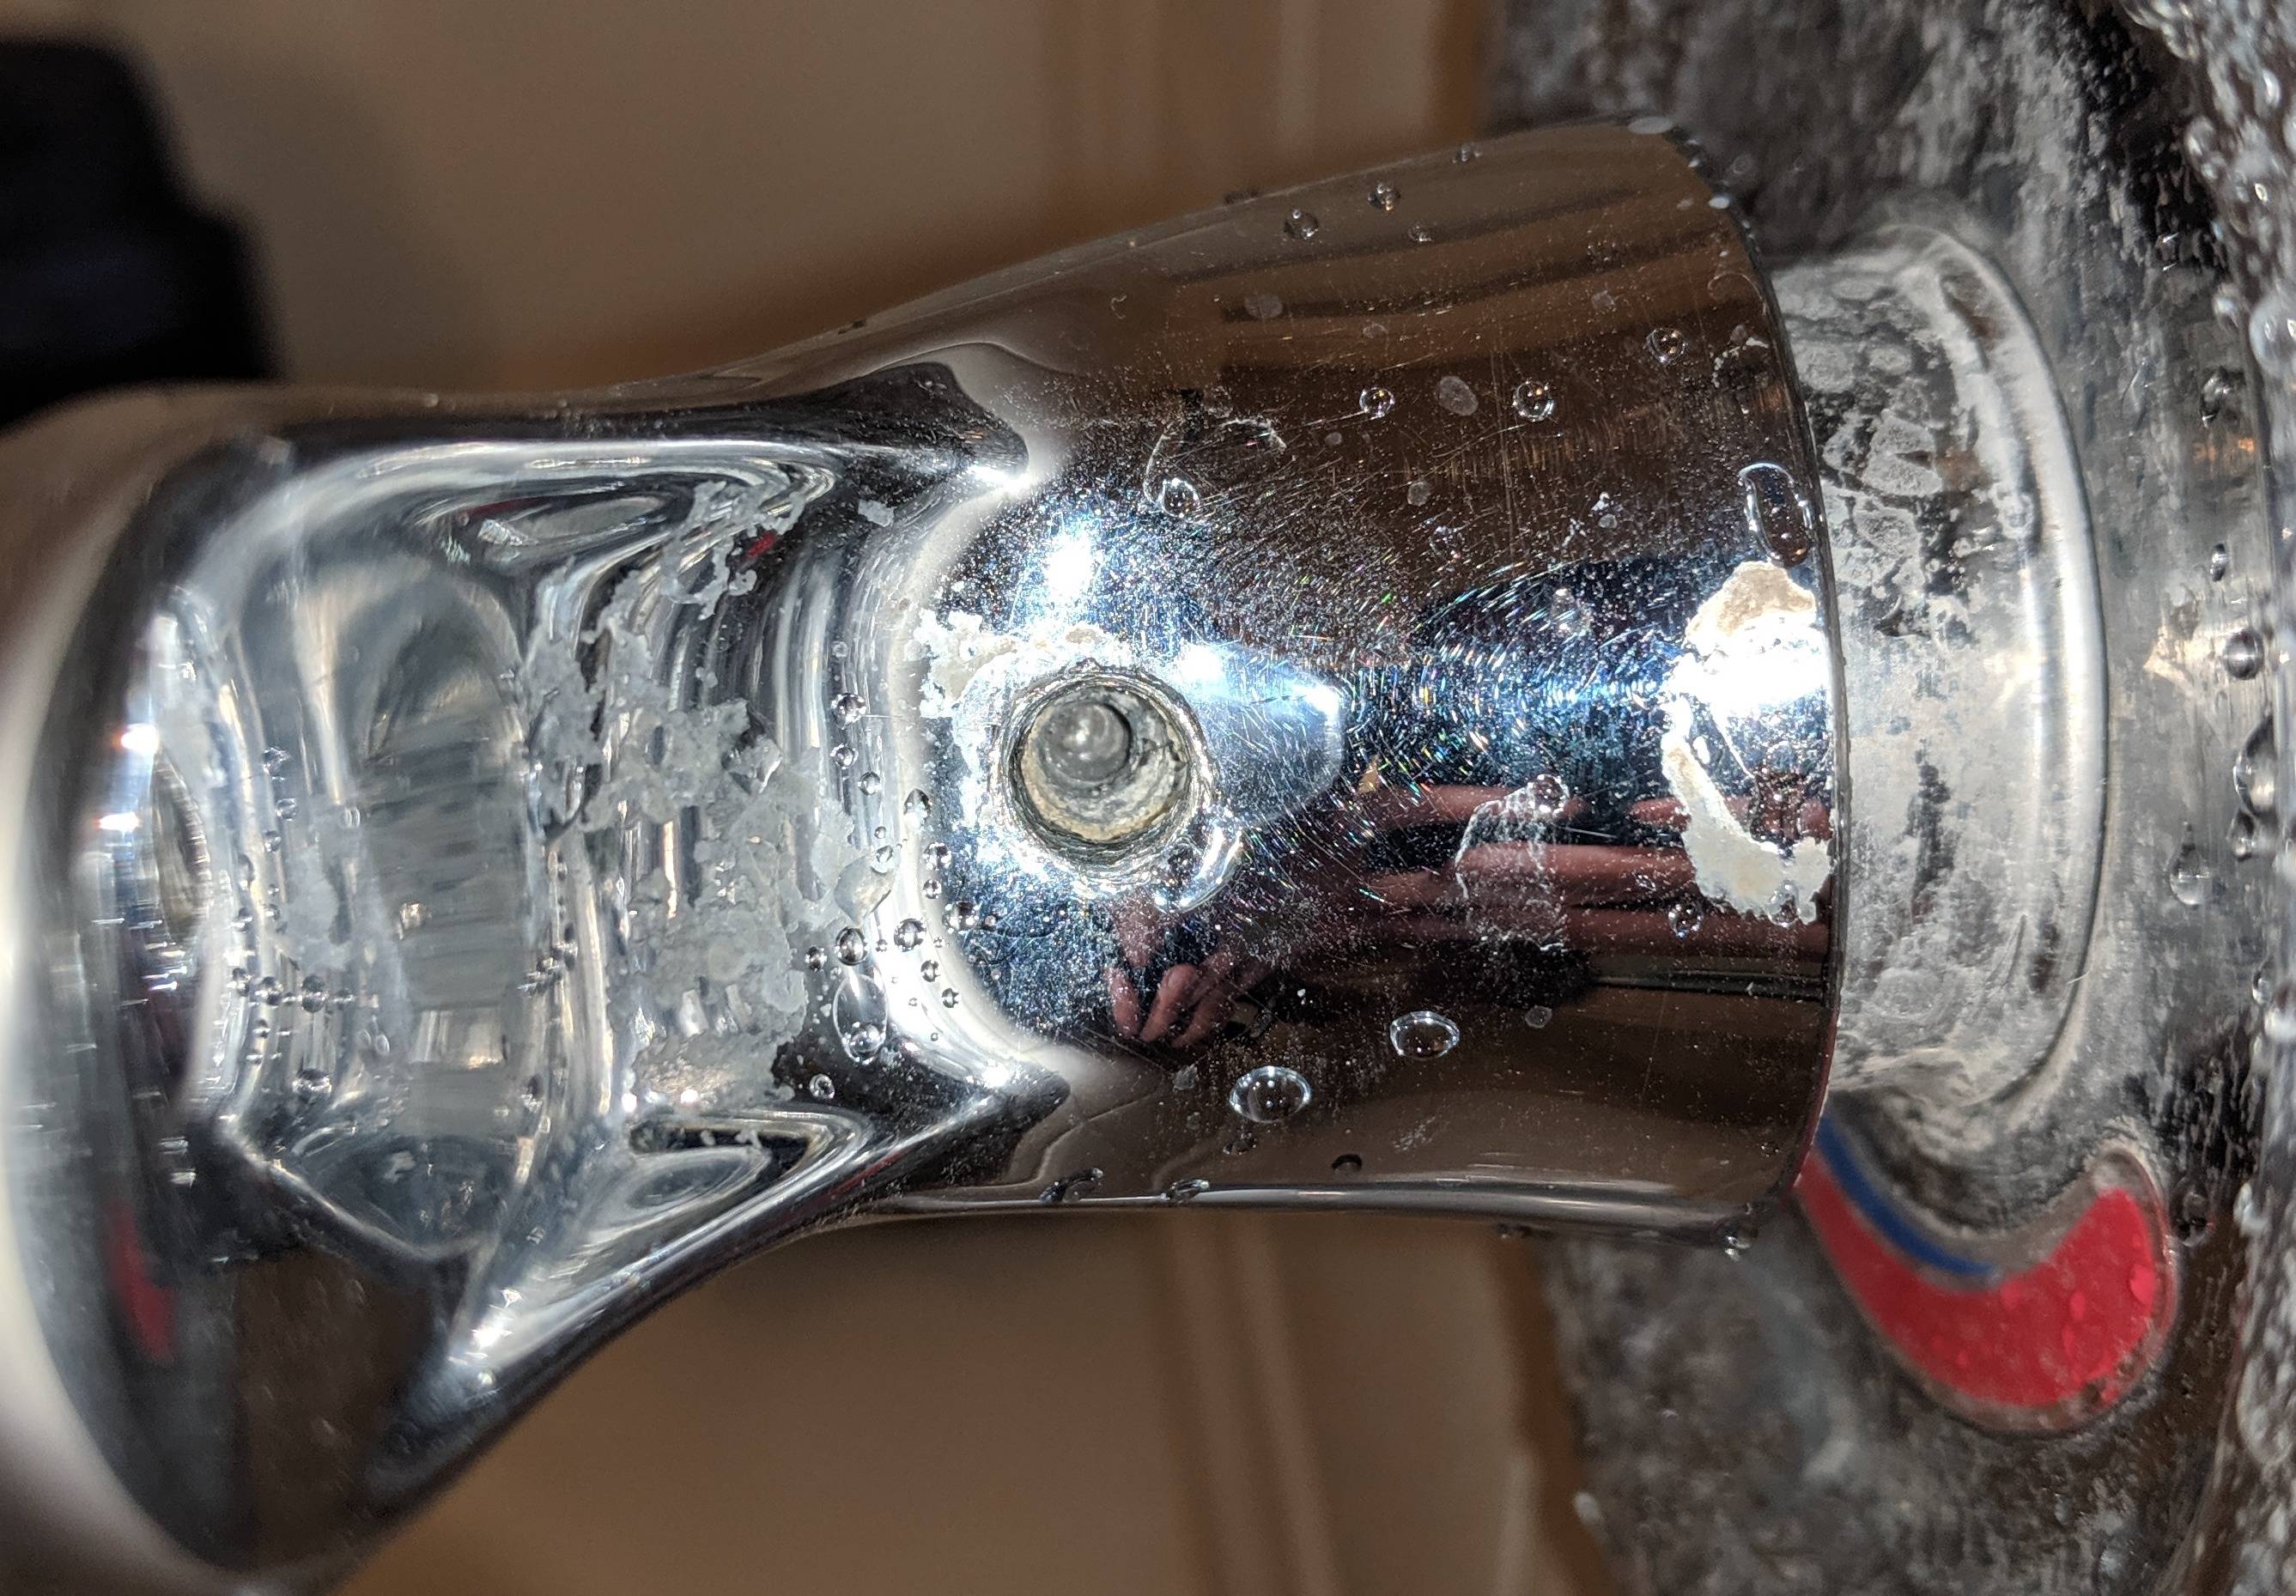
Step 5: pull the old cartridge
This is where DIY projects earn their stripes. Some cartridges slide out like they want to be replaced. Others have been marinating in hard water for 15 years and act like they’re glued in.
Try the gentle method first
- Grab the stem and wiggle while pulling straight out.
- If there are tabs or notches, use them as your grip points.
If it’s stuck
- Use a cartridge puller made for your brand when possible. It applies force evenly and reduces the chance of damaging the valve body.
- Work it back and forth to break mineral buildup.
- If the manufacturer allows it, a vinegar-soaked rag around the opening can help loosen deposits over time. Keep vinegar controlled, avoid letting it run into the wall cavity, and rinse/wipe everything afterward.
Don’t do this: don’t gouge the brass valve body with a screwdriver. If you scar the sealing surfaces, the new cartridge can leak even if it’s brand new.
Step 6: clean and grease
Once the cartridge is out, take a minute to clean what you can see.
- Wipe out grit and mineral flakes with a rag.
- Inspect for broken rubber bits that might prevent a good seal.
- Pro move: lightly stuff a clean rag into the valve opening while you’re cleaning around it, so debris doesn’t fall deeper into the valve body.
- Lightly coat new O-rings and rubber seals with manufacturer-approved silicone plumber’s grease.
Lightly is the key word. You want a thin film so the cartridge seats smoothly, not globs that trap debris.
Note for certain valves: some designs (including some Delta setups) use seats and springs behind the cartridge. If your valve has them and you’re chasing a drip, replacing those at the same time can save you from doing this twice.
Step 7: install the new cartridge
Match the new cartridge to the old one before you install it. The stem shape, keys or notches, and inlet holes should line up.
- Align the cartridge using your reference photo and any molded “top” markings.
- Press it in firmly and evenly until it seats fully.
- Reinstall the retaining clip, nut, or ring exactly as it came out.
If the cartridge won’t seat, stop and check for:
- Debris in the valve body
- Misaligned tabs or keys
- Wrong cartridge model
Step 8: reassemble trim and handle
Put the trim plate back on, then reinstall the handle.
- If you cut through caulk earlier, apply a thin bead of bathroom-rated silicone caulk around the top and sides of the trim plate if needed. Many pros leave the bottom uncaulked so any future leak can escape instead of hiding in the wall.
- Tighten screws snug, not gorilla-tight. Over-tightening can crack plastic trim or strip threads.
- Reinstall the handle and set screw.
One more thing: if your handle has a temperature limit stop (anti-scald setting), confirm it’s positioned correctly after reassembly so the shower can get hot enough without going unsafe.
Step 9: turn water back on and test
Bring the water back slowly. If you have service stops, open them gradually. If you shut off the house, restore water at the main and let air bleed out at a faucet.
Quick flush tip
If you can remove the showerhead easily, run the water for 15 to 30 seconds with the showerhead off (aim the arm into a bucket if possible). This helps flush out any dislodged mineral debris so it doesn’t clog the showerhead screen or flow restrictor. Then reinstall the showerhead.
Leak test checklist
- With the shower off, watch the spout or showerhead for drips for 3 to 5 minutes.
- Turn the shower on and check for leaks around the valve opening behind the trim plate area.
- Cycle hot to cold. Confirm smooth handle movement and stable temperature.
If you see a slow drip that doesn’t stop, the most common causes are a cartridge not fully seated, a missing or twisted O-ring, debris on a sealing surface, or worn seats and springs (on valves that use them).
Troubleshooting
Hot and cold are reversed
On certain brands and models, the cartridge can be installed 180 degrees off. Shut off water again, pull the cartridge, and reinstall in the correct orientation.
Handle is still stiff
Double-check that the handle isn’t rubbing on the trim plate. Also confirm you used silicone grease on the O-rings. If mineral buildup is severe, the valve body itself may have roughness that a new cartridge can’t overcome.
Still dripping after replacement
Make sure the drip isn’t coming from the showerhead connection or tub spout diverter. If the drip is definitely from the valve, you may have:
- A scratched valve body sealing surface
- The wrong cartridge
- A missing retainer clip or improperly tightened retainer nut
- Worn seats and springs (if your valve uses them)
When to call a pro
I’m all for DIY, but there are a few moments to pause and get help:
- The valve body is cracked, badly corroded, or leaks inside the wall
- You can’t shut off water fully
- The cartridge is fused in place and aggressive pulling risks damaging the valve
- You have a very old or uncommon valve and parts aren’t available
A cartridge swap is usually a straightforward Saturday project. But if the valve body is compromised, the correct fix may be a full valve replacement.
Quick recap
- Identify the cartridge before you buy anything.
- Shut off water and verify it’s truly off.
- Remove the trim plate gently and document orientation.
- Extract the cartridge, clean the valve body, and grease the new seals.
- Reassemble and leak test slowly and thoroughly.
If you want a broader diagnosis of shower leaks beyond the cartridge itself, our leaky shower valve article helps you narrow down whether the culprit is the cartridge, the diverter, the seats and springs, or a connection upstream.
About Marcus Vance
Content Creator @ Grit & Home
Marcus Vance is a lifelong DIY enthusiast and self-taught home renovator who has spent the last decade transforming a dilapidated 1970s ranch into his family's dream home. He specializes in budget-friendly carpentry, room-by-room renovations, and demystifying power tools for beginners. Through his writing, Marcus shares practical tutorials and hard-learned lessons to help homeowners tackle their own projects with confidence.