What the anode rod does (and why it matters)
Your water heater tank is basically a big steel can full of hot water. Steel plus water plus time equals rust. The anode rod is the tank’s built-in defense: a sacrificial metal rod (usually magnesium, aluminum, or a zinc-aluminum blend) that corrodes first so the tank corrodes last.
If you replace an anode rod before it is fully spent, you can often add years to a tank’s life. Skip it long enough, and the tank starts eating itself, which is when you get rusty water, leaks, or a full replacement bill.
How often to inspect or replace an anode rod
Manufacturer guidance is often in the 3 to 5 year range, but real-world water conditions vary a lot. Here is a schedule that works well for many homeowners who want to stay ahead of problems:
- First inspection: about 3 years after installing a new water heater (or after you buy a home with an existing heater).
- After that: inspect every 1 to 2 years.
- Inspect sooner if you have softened water, very hard water, or you notice sulfur smells, popping noises, or rusty hot water.
Rule of thumb for replacement
Replace the anode if about 6 inches or more of the steel core wire is exposed, if the rod is worn to under about 1/2 inch thick in spots, or if it is heavily pitted and flaking.
Which anode rod should you buy?
You have a few common options. The goal is corrosion protection without creating new problems like odor.
- Magnesium: Great protection in many homes. Often the best choice for extending tank life, but can contribute to a rotten-egg smell in some water supplies.
- Aluminum (or aluminum alloy): Usually lasts longer in some water conditions, sometimes less protective than magnesium.
- Zinc-aluminum: Often used to help reduce sulfur smells. If your hot water smells like rotten eggs, this is worth considering.
- Powered anode rod: Also called an impressed current anode. This is a modern upgrade that can be a game-changer for persistent rotten-egg smells because it does not “feed” the same reaction that can happen with magnesium. It costs more and needs a nearby outlet, but it is worth knowing about if odor keeps coming back.
- Flexible anode: Sections linked together, made for tight clearances where you cannot lift a full-length rod out.
Match the rod to your heater: most residential tanks use a standard thread size, but not all. Check your manual or match what you remove. If you cannot find a manual, look up the model number on the tank label.
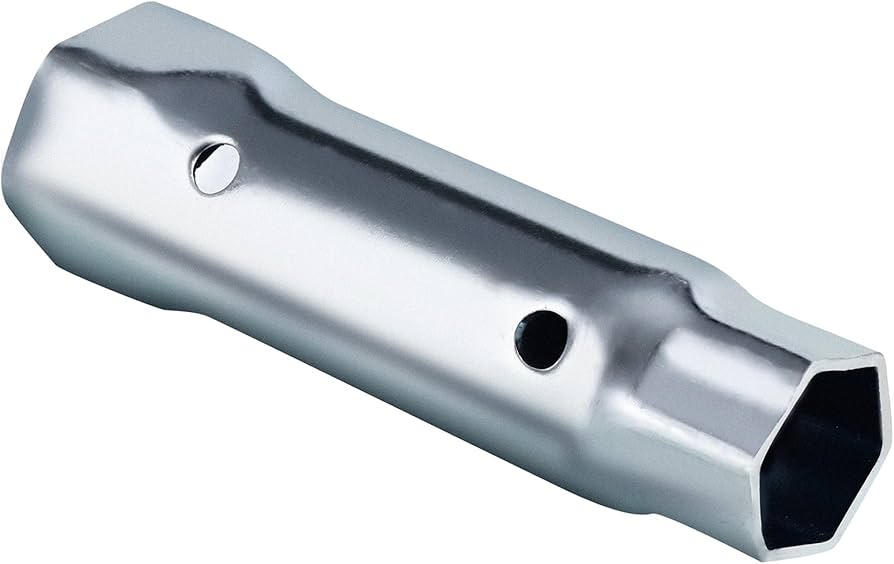
Tools and supplies (what you actually need)
- Socket: typically 1-1/16 inch six-point (common on many heaters), but confirm yours
- Breaker bar: 18 to 24 inches is nice, longer is better for stubborn rods
- Impact wrench (optional but helpful): electric or air
- Ratchet and extensions (helpful for awkward top access)
- Garden hose (optional for lowering water level)
- PTFE tape or pipe thread sealant (details below)
- Bucket and towels
- Work gloves and eye protection
- Non-contact voltage tester (recommended for electric heaters): verify power is really off
- Helper (optional but great): someone to steady the tank while you break the rod loose
Before you start: safety and shutdown steps
Give yourself a calm, safe setup. Hot water and pressurized plumbing do not reward rushing.
1) Turn off the energy source
- Electric water heater: switch OFF the breaker. Do not rely on the thermostat switch alone. If you have a tester, confirm the power is off before you touch anything.
- Gas water heater: set the control to OFF for service (some models have a separate pilot setting). If you smell gas at any point, stop and call a pro.
2) Let it cool (avoid getting cooked)
If the heater has been running, give the water time to cool. The water you drain or spill can be scalding hot. If you need hot water soon, plan this job when you can leave the heater off for a while.
3) Shut off the cold water supply
Close the cold inlet valve above the tank.
4) Relieve pressure
Open a hot water faucet at a nearby sink for a minute. This helps prevent a surprise spray when you crack the anode loose. If pressure does not seem to drop because of check valves or a closed system, you may need additional steps for your setup. If you are unsure, stop and call a pro.
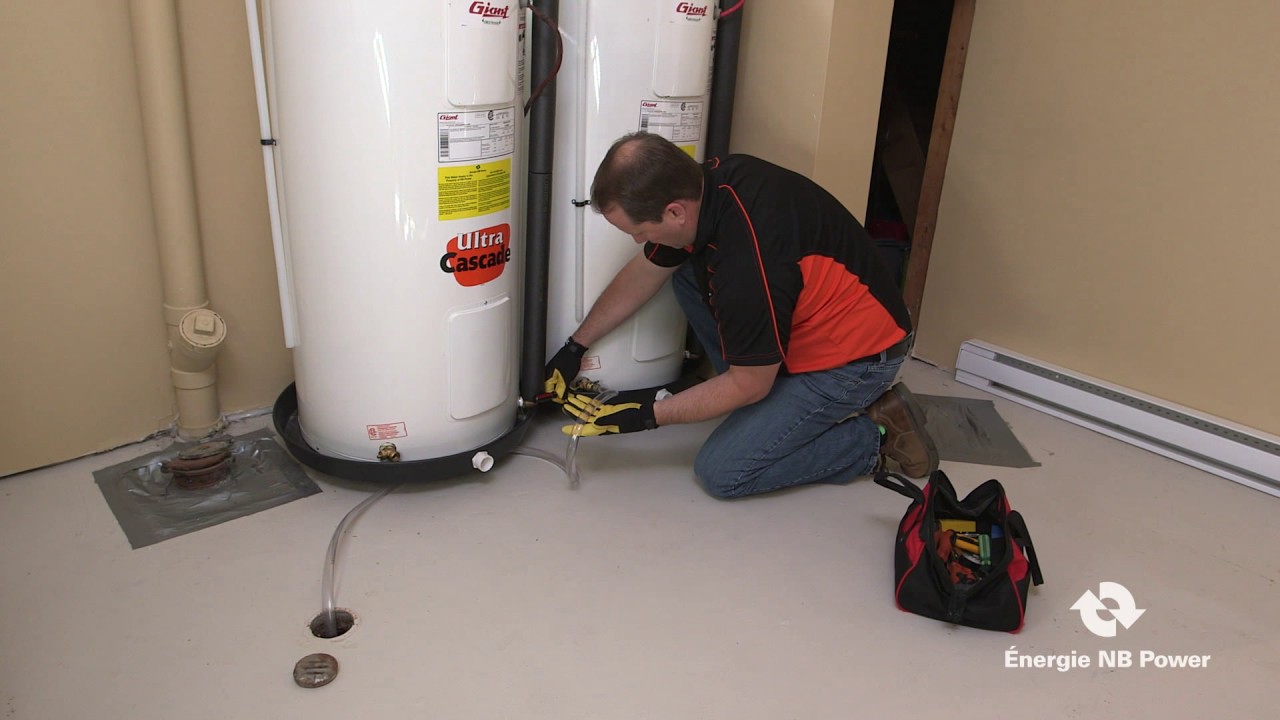
5) Lower the water level a bit (often worth it)
You do not need to drain the whole tank. I often drain 1 to 3 gallons to reduce the mess when the anode comes out. On many heaters the anode port is at the very top, so you are not always “draining below the port,” you are mostly just reducing spill and pressure-related splash.
Scald warning: the water coming out of the hose can be dangerously hot. Keep kids and pets away and route the hose to a safe drain. Also, older plastic drain valves can be finicky. Open them gently and do not force them, because some can fail to close completely once disturbed.
Hook a hose to the drain valve, run it to a floor drain or outside, then open the drain valve briefly.
Where the anode rod is located
Most anode rods are on the top of the tank, threaded into a hex head. Common locations:
- Under a plastic cap on the top sheet metal
- Integrated into the hot water outlet nipple on some models
If you cannot find a hex head on top, look for a capped spot or check whether your heater uses a combo outlet-anode design. With combo designs, you may be loosening a nipple connection, so support the piping and work carefully to avoid creating a leak at a different joint.
Step-by-step: how to replace the anode rod
1) Make space above the heater
You need clearance to lift the rod out. If you have low ceilings, plan on a flexible anode or be ready to bend the old rod as it comes out (it will likely be brittle).
2) Break the anode loose
Use a six-point socket on a breaker bar. Turn counterclockwise to loosen.
- Stabilize the tank: these fittings can be tight from the factory. Put a hand on the tank, wedge a block against it, or have a helper bear-hug it so you do not twist plumbing.
- Use steady pressure: slow force beats jerky force most of the time.
3) Remove the old rod
Once it turns freely, unthread it by hand. Have towels ready for drips. Pull the rod straight up as far as clearance allows.
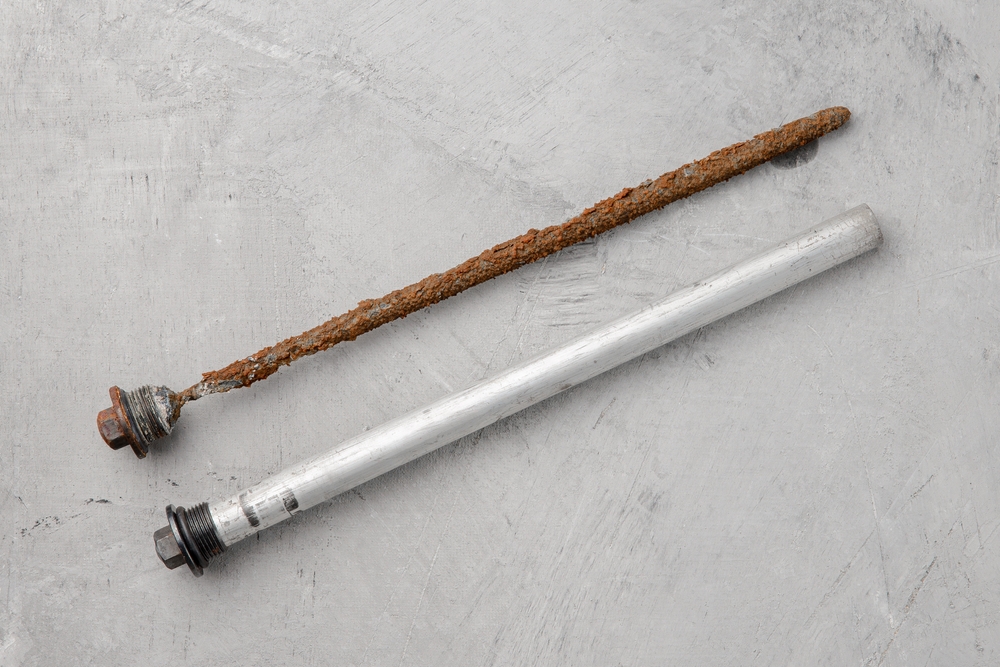
4) Inspect what you pulled out
If the rod is mostly gone or looks like a gnawed stick with the steel core exposed, you caught it just in time.
5) Prep the new rod threads
Wrap threads with PTFE (Teflon) tape (usually 3 to 5 wraps) or apply a thin coat of pipe thread sealant rated for potable water. When using tape, wrap it clockwise as you face the threaded end so it does not unravel while you tighten. Do not use both unless your manufacturer recommends it.
6) Install the new rod
Thread it in by hand first to avoid cross-threading. Then tighten with your socket and ratchet or breaker bar.
7) Restore water, purge air, then restore power or gas
- Close the drain valve gently (do not crank down on older plastic valves).
- Open the cold water supply valve.
- Keep a hot faucet open until the air sputtering stops and you get a steady stream.
- Check for leaks at the anode port.
- Turn the breaker back on (electric) or relight/restore gas operation per the unit instructions.
Important for electric heaters: do not turn power back on until the tank is completely full and air is purged, or you can dry-fire the heating elements.
How to remove a stuck anode rod (safe tricks that work)
Some anode rods feel like they were installed by a gorilla with a cheater pipe. Here are the approaches I use, in order, without damaging the tank or the piping.
Try a longer lever
A longer breaker bar gives you controlled torque. If you use a pipe as a cheater, keep everything straight and stable so you do not round the hex head.
Use an impact wrench (often the cleanest solution)
Short bursts from an impact can break the threads loose without you applying a huge sideways load to the tank. Use a proper impact-rated socket.
Stabilize the tank aggressively
If the tank wants to rotate, you are wasting effort and stressing the plumbing. Have someone brace the tank, or strap it temporarily to a nearby stud if possible.
Light tapping on the wrench
A few firm taps with a hammer on the end of the breaker bar can help shock the threads free. Keep the socket fully seated and square.
Last resorts to avoid
- A torch on the tank fitting: risky around insulation, plastic components, and gas appliances.
- Over-torquing until something gives: sometimes the thing that gives is your plumbing connection or the tank port.

Torque and sealing tips (so it does not leak)
Homeowners ask for a precise torque number, and the honest answer is: it varies by manufacturer and fitting design. If your manual lists a torque spec, follow it.
- General approach: tighten snug, then another 1/8 to 1/4 turn until firmly seated. Do not reef on it like a lug nut.
- Sealant choice: use PTFE tape or a potable-water-rated thread sealant. The goal is sealing and easier future removal, not brute force.
- Leak check: after refilling and purging air, dry the area with a towel and watch for even a slow weep.
If it weeps, try a small additional tighten. If it still weeps, depressurize, remove, re-tape or re-seal, and reinstall.
Common problems and quick fixes
Not enough headroom above the heater
- Buy a flexible segmented anode.
- If you must remove a straight rod, lift and bend carefully as you go, but plan to replace it immediately.
Hot water smells like rotten eggs
A zinc-aluminum anode can help, but the smell is often caused by sulfate-reducing bacteria reacting with certain anodes (commonly magnesium) in certain water conditions. If the odor is mild, swapping anodes may solve it. If it is severe or keeps coming back, you may need disinfection (often done with peroxide or chlorination) or a powered anode rod, plus water chemistry advice from a pro.
Rusty hot water
An anode that is spent can contribute, but rusty water can also indicate the tank has started corroding. Replacing the anode is still worth doing, but be realistic about the heater’s age and condition.
Drain valve drips after you touch it
It happens, especially with older plastic drain valves. Try closing it gently again (do not over-tighten). If it still drips, you may need a cap, a replacement valve, or a plumber. Do not ignore a steady drip.
When to call a pro
I am all for DIY, but there are a few situations where paying for a service call is cheaper than the mistake.
- Gas water heater concerns: if you are not comfortable shutting down gas, relighting safely, or you smell gas at any point.
- Tight clearances: if the heater is wedged into a closet and you cannot get a socket straight on the hex head, a plumber may have specialty tools and the right flexible anode on hand.
- Stuck rod that threatens plumbing: if the tank or pipes start twisting before the anode breaks free.
- Corroded threads or leaking port: if the anode port is damaged or will not seal, you can end up with a bigger leak fast.
- Warranty concerns: if your heater is under warranty and you are unsure what is allowed, check the manual first. Some warranties have maintenance language, and the safest move is to follow the manufacturer’s process.
My practical checklist (print this mentally)
- Power or gas off
- Let water cool (scald risk)
- Cold supply off
- Hot faucet open to relieve pressure
- Drain a few gallons (optional, helps reduce mess)
- Open drain valve gently (older plastic valves can misbehave)
- Six-point socket, breaker bar, tank stabilized
- Remove rod, inspect
- PTFE tape (clockwise) or thread sealant on new rod
- Hand-thread first, then tighten snug plus 1/8 to 1/4 turn
- Refill, purge air, leak check
- Restore power or gas only after the tank is full
If you do this once, you will feel like you unlocked a homeowner superpower. It is one of those maintenance jobs that is not glamorous, but it pays you back for years.
FAQ
Can I replace the anode without draining the tank?
You can, but expect water to spill from the opening. Draining a few gallons and relieving pressure first makes the job cleaner and reduces the chance of a surprise splash.
Is it normal for the anode to be hard to remove?
Yes. Many are installed very tight at the factory and then “glued” by mineral buildup. A breaker bar or impact wrench is commonly needed.
Will a new anode stop all tank noise?
Not always. Popping and rumbling is often sediment on the bottom of the tank. An anode helps with corrosion, while flushing helps with sediment. If your tank is noisy, consider doing both as separate maintenance steps.
About Marcus Vance
Content Creator @ Grit & Home
Marcus Vance is a lifelong DIY enthusiast and self-taught home renovator who has spent the last decade transforming a dilapidated 1970s ranch into his family's dream home. He specializes in budget-friendly carpentry, room-by-room renovations, and demystifying power tools for beginners. Through his writing, Marcus shares practical tutorials and hard-learned lessons to help homeowners tackle their own projects with confidence.