What a cleanout cap is, and why it leaks
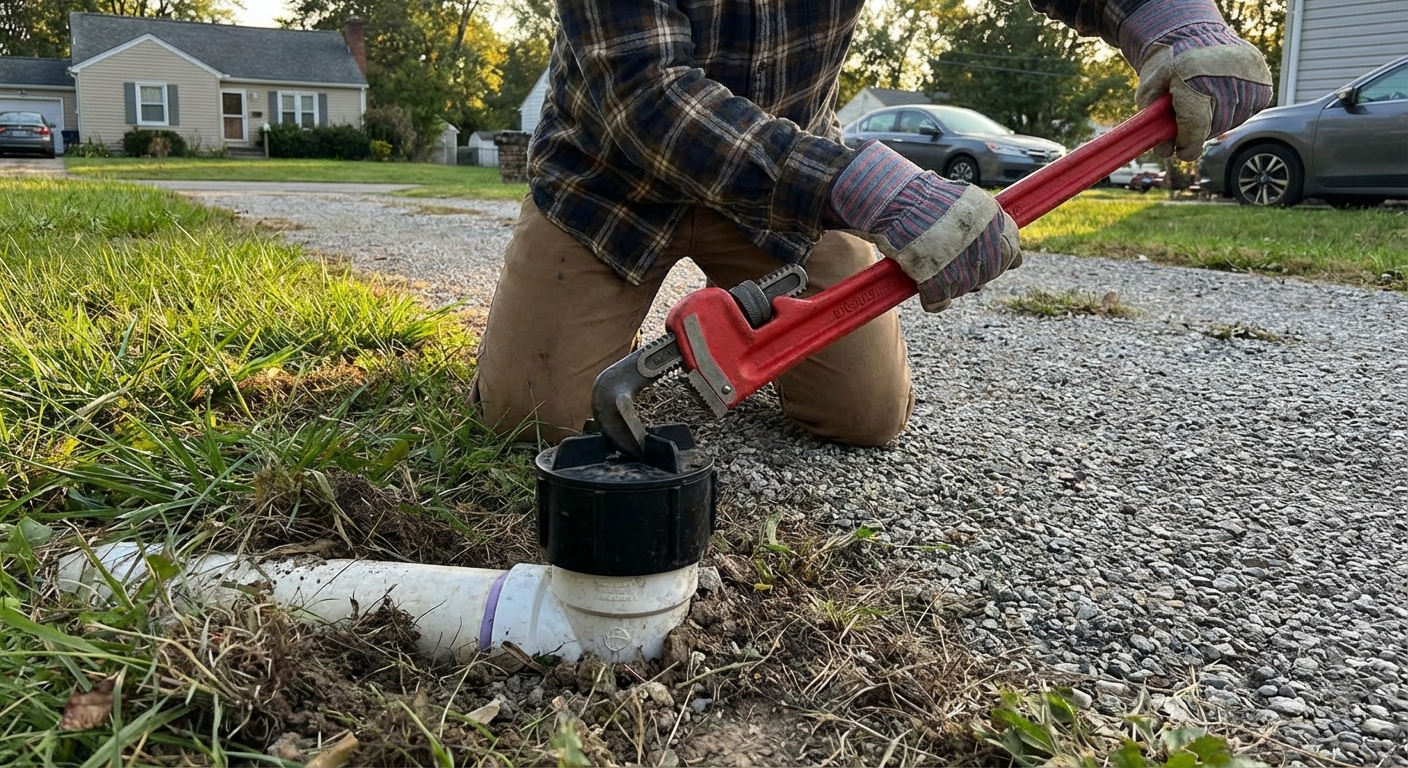
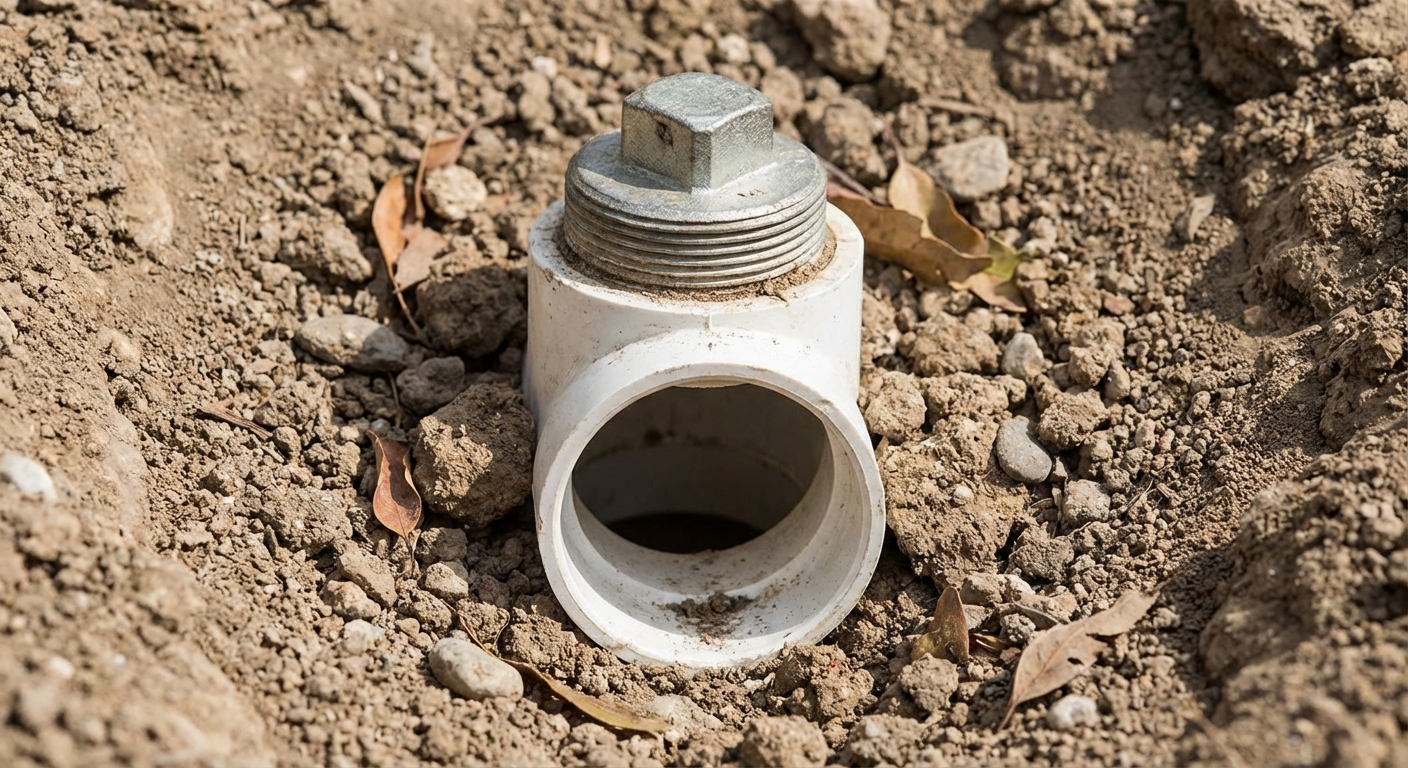
A sewer cleanout is an access point to your home’s main drain line. It is usually a short piece of pipe with a removable cap or plug, located outside near the foundation, in a yard box, in a basement, or sometimes in a garage slab. The cap’s job is simple: seal in sewer gas and keep wastewater inside the pipe, while still letting you (or a plumber) open the line for snaking or camera inspection.
Quick terminology note: I will say “cap” and “plug” depending on the style, but I am talking about the same cleanout access point.
When that cleanout cap is leaking, loose, or stuck, it is usually one of these issues:
- The seal is failing (worn gasket, cracked O-ring, damaged threads).
- The cap is not seated correctly (cross-threaded, debris on sealing surface).
- The cap was overtightened and the fitting or cap cracked.
- The line is backing up and wastewater is building up to the level of the cleanout, which can force seepage out at the weakest point.
One more caveat: recurring wetness around a cleanout is not always just a bad cap. It can also be a cracked riser, groundwater infiltration, or a failing joint nearby. Keep that in mind if you fix the cap and the area still stays wet.
First: identify what type of cap you have
This matters because the fix and the “correct tightness” are different.
Threaded cleanout cap
Most common. The cap screws into female threads on the cleanout fitting. It might be PVC (often square head), ABS (black plastic), brass, or cast iron. Some rely primarily on thread fit and thread engagement to seal. Others incorporate an O-ring or gasket to do the real sealing.
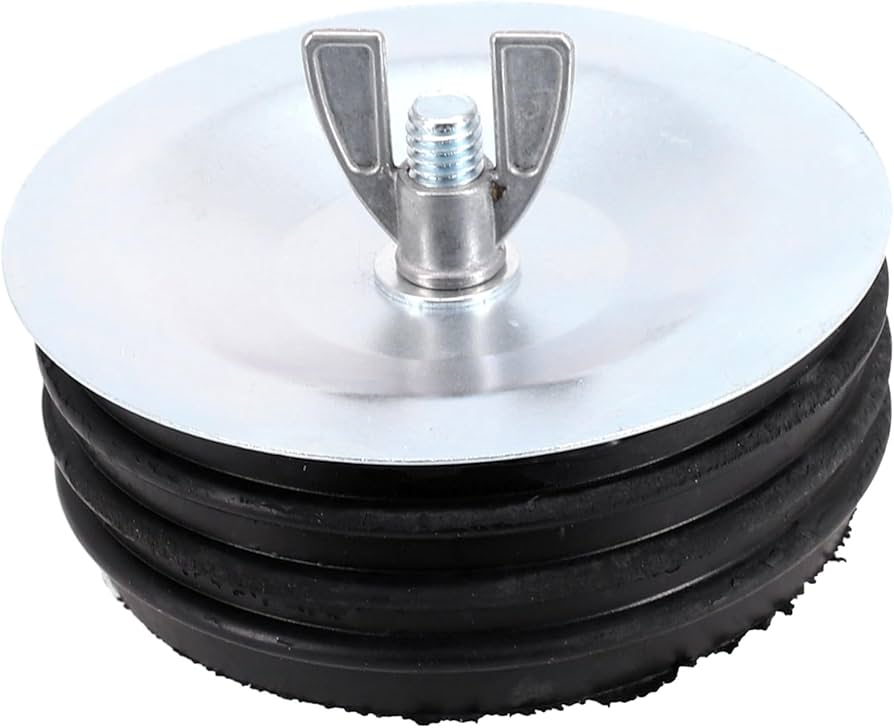
Plug-style cleanout (mechanical test plug)
This looks like a rubber plug with metal plates and a wing nut or hex nut that expands the rubber to seal. These are often used temporarily, but sometimes they get left in place. They can work fine, but they are more sensitive to aging rubber and overtightening.
Tools you may need
- Gloves and eye protection
- Rags, bucket, and disinfectant
- Adjustable wrench or cleanout wrench (square head), or a socket (hex head)
- Replacement cap or plug (and gasket or O-ring if applicable)
- Silicone plumber’s grease for O-rings and gaskets (not petroleum jelly)
Safety check before you touch anything
I know it is tempting to just crank on it. Do these quick checks first, because a cleanout can release a nasty surprise if the line is backed up.
- Stop running water in the house. No flushing, no laundry, no dishwasher.
- Look for backup clues: gurgling toilets, slow drains, sewage smell indoors, water around a floor drain, or wet spots near the cleanout.
- Wear PPE: nitrile gloves, eye protection, and old clothes. Keep a bucket, rags, and disinfectant nearby.
- Assume stored backup is possible. A blocked line can dump wastewater when you loosen the cap, even though drain lines are not normally pressurized.
If you suspect a main line blockage (more on the signs below), treat the cleanout like a backed-up access point and open it slowly, or call a plumber.
If you open it and sewage comes out
- Do not keep opening it. Retighten it carefully if you can do so safely.
- Stop all water use in the home.
- Contain and disinfect what spilled. Keep kids and pets away.
- Call a plumber. You likely have a main line blockage that needs snaking, jetting, or inspection.
Fix 1: cap is loose and seeping
For threaded caps
- Clean the area with a rag so you can see where moisture is coming from.
- Tighten by hand first. If it spins easily and never “snugs,” it may be cross-threaded or the threads are damaged.
- Finish with a wrench gently: often a quarter turn to a half turn past hand-tight is plenty, but it varies by fitting and cap style.
Torque caution: A cleanout fitting is not a lug nut. Overtightening is a classic DIY mistake that can crack the female fitting, especially on older PVC that has seen sun and freeze cycles. If you crack the fitting, you just turned a small seep into a real repair.
For plug-style caps
- Snug the nut until the plug stops weeping, then stop.
- Do not keep tightening just because. You can deform the rubber or warp the plates, and the plug can start leaking again later.
Fix 2: cap leaks even when tight
If the cap is tight but you still see moisture, you are likely dealing with a failed seal, damaged threads, or a hairline crack.
Reseat and inspect
- Open the cap slowly. Turn it a little, pause, and listen. If you hear rushing water or see liquid rising at the opening, stop. That is a strong sign of a downstream blockage.
- Inspect the cap for cracks, flattened O-rings, missing gaskets, or worn threads.
- Inspect the cleanout fitting (female threads). Look for cross-thread damage, debris, or cracking around the hub.
- Clean the sealing surfaces. A little grit can keep a cap from sealing.
Replace the gasket or O-ring
Many modern cleanout plugs and some threaded caps use an O-ring or flat gasket to make the seal. If yours has one and it looks flattened, cracked, or missing, replace it.
- Bring the cap to the hardware store to match the size.
- Use silicone plumber’s grease (not petroleum jelly) on O-rings to help sealing and future removal.
- Reinstall and tighten to snug, not extreme.
Teflon tape or pipe dope?
This is where people get mixed results.
- If your cap seals on an O-ring or gasket, tape is usually unnecessary and can prevent proper seating if overapplied.
- If your cap relies mostly on thread fit, a few wraps of PTFE tape or a thin coat of non-hardening thread sealant can help, but it is not a cure for damaged threads or a cracked fitting.
- Make sure any pipe dope is plastic-safe if you are using it on PVC or ABS. Some traditional petroleum or solvent-based products can degrade plastics over time.
- Never use adhesives or solvent cement on a cleanout cap, and avoid hard-setting sealants that can effectively glue the cap in place. Cleanouts are meant to be opened.
Fix 3: cap is stuck and will not budge
Stuck cleanout caps are common, especially on older brass or cast iron caps, and on plastic caps that were overtightened years ago. The goal is to increase grip and break the bond without cracking the fitting.
Safe steps that work
- Confirm the tool fit. Use the correct size wrench for a square head, or a properly sized socket for a hex head. Sloppy tools round corners fast.
- Stabilize the fitting if possible. If the cleanout riser is above ground, hold the pipe steady to avoid twisting and cracking joints.
- Use steady pressure, not jerky force. I have snapped a PVC cap head before by yanking too hard. Learn from my mistake.
- Tapping technique: with the wrench under tension, lightly tap the wrench handle with a rubber mallet to help break it free.
- Penetrating oil for metal caps only. If it is brass or cast iron, a small amount on the threads can help. Keep penetrants off plastic components when you can, and wipe off excess.
- Heat caution: heat can help on metal, but be careful near plastic fittings, dry leaves, and enclosed spaces. A heat gun is safer than an open flame, and even then I treat this as a last resort.
If it still will not move
Stop before you break the cleanout tee or wye in the ground. A broken cleanout fitting can turn into digging and a bigger bill. At this point, a plumber can use specialty tools or remove and rebuild the cleanout correctly.
When seepage means a bigger problem
A cleanout cap can leak because the seal is bad. But it can also leak because the line is trying to tell you something: there is a restriction downstream and wastewater is stacking up when water is used.
Red flags of a blockage
- Leak happens only when you run water (shower, laundry, multiple flushes).
- Multiple fixtures slow at the same time, especially the lowest drains.
- Toilet bubbles when a sink drains, or you hear gurgling.
- You see dirty water or solids at the cleanout when you crack it open.
- The area around the cleanout is consistently wet, not just after heavy rain.
If you hit two or more of these, treat the cap leak as a symptom. The right move is usually a main line snake, hydro jetting, or a camera inspection to check for roots, a belly in the line, or a collapsed section.
Replacement: when a new cap is smartest
Sometimes the most budget-friendly fix is simply replacing the cap or plug, especially if the threads are chewed up or the head is rounded off.
Buying the right replacement
- Match material when you can: PVC to PVC, ABS to ABS. Metal caps on plastic fittings can be fine, but cross-threading risk is higher.
- Match size: common sizes are 3 inch and 4 inch for the main cleanout, but do not guess. Measure the pipe or bring the old cap.
- Look for an O-ring style if compatible. In my experience, it seals better and opens easier later.
Install tips
- Start threads by hand and turn backward slightly until you feel the thread “drop” into place, then tighten forward. This helps prevent cross-threading.
- Use silicone grease on the O-ring if present.
- Tighten to snug. If you need to muscle it hard, something is off.
Quick troubleshooting guide
| What you see | Most likely cause | What to do |
|---|---|---|
| Cap wet around threads, no other symptoms | Dirty threads, failing gasket or O-ring, cap not seated | Reseat, clean threads, replace gasket or cap |
| Cap leaks only during heavy water use | Partial blockage downstream | Reduce water use and schedule snaking, jetting, or camera inspection |
| Cap will not tighten and spins | Cross-threaded or stripped threads | Replace cap, inspect fitting threads for damage |
| Cap head rounded, cannot grip | Tool slippage, worn head | Replace cap and consider a plumber to avoid breaking the fitting |
| Crack in fitting or riser | Overtightening, age, UV, movement | This is a repair job, often involving cutting and replacing sections |
When to call a plumber
I am all for DIY. But sewer cleanouts sit at the intersection of mess, health risk, and expensive downstream consequences. Call a pro if:
- You suspect a main line backup or you see wastewater at the cleanout.
- The cap is stuck and you are close to breaking the fitting.
- You see cracks in the cleanout tee, wye, or pipe.
- You have recurring seepage even after replacing the seal.
A quick camera inspection can save you from repeatedly “fixing the cap” when the real problem is roots or a sagging line.
Septic note
If you are on a septic system, you may still have cleanouts, but layouts and problem spots can differ (tank inlet, filter, baffles, or the line to the drainfield). The cap and sealing advice here still applies, but recurring backups often need a septic-specific check too.
My prevention checklist
- Once a year, open and re-seat the cap during dry weather when you are not dealing with an emergency.
- Clean threads and add a light film of silicone grease to O-rings.
- Keep the cleanout accessible. Do not bury it under mulch, pavers, or landscaping fabric.
- If you have trees near the sewer line, consider a periodic camera inspection or root maintenance plan.
About Marcus Vance
Content Creator @ Grit & Home
Marcus Vance is a lifelong DIY enthusiast and self-taught home renovator who has spent the last decade transforming a dilapidated 1970s ranch into his family's dream home. He specializes in budget-friendly carpentry, room-by-room renovations, and demystifying power tools for beginners. Through his writing, Marcus shares practical tutorials and hard-learned lessons to help homeowners tackle their own projects with confidence.