If your shower diverter is stuck, only partially switching, or refusing to send water where you want it, you are not alone. I have fought this exact battle in my 1970s ranch more times than I care to admit, and the fix is usually simpler than it feels in the moment.
This page will help you figure out which kind of diverter you have, what is most likely causing the problem, and what you can safely try before you start replacing parts.
First: what kind of diverter do you have?
The troubleshooting steps depend on the diverter style. Most homes fall into one of these common setups.
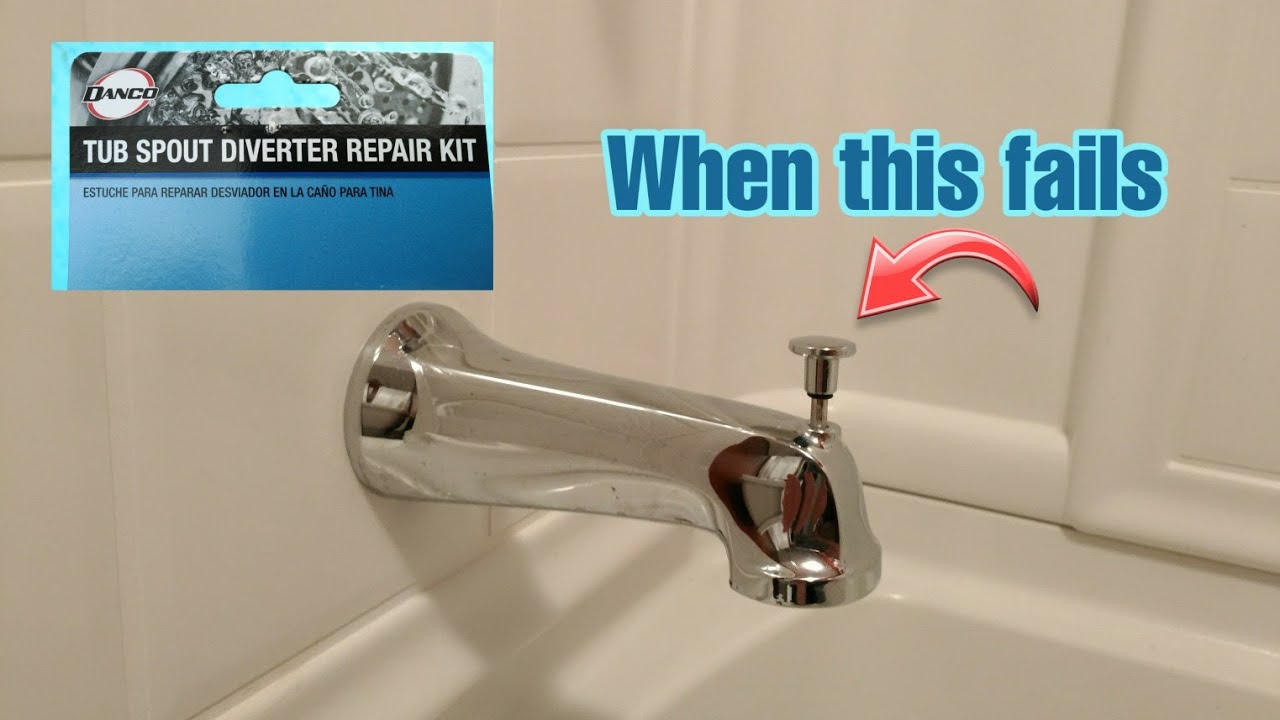
1) Tub-spout diverter (pull-up knob or ring)
- You turn the water on with one handle (or a temperature and volume control).
- You switch to shower by pulling up a knob on the tub spout, or by twisting or pulling a ring on the spout.
- When the water shuts off, the diverter often drops back down. Some stay up until you run water again and the pressure changes.
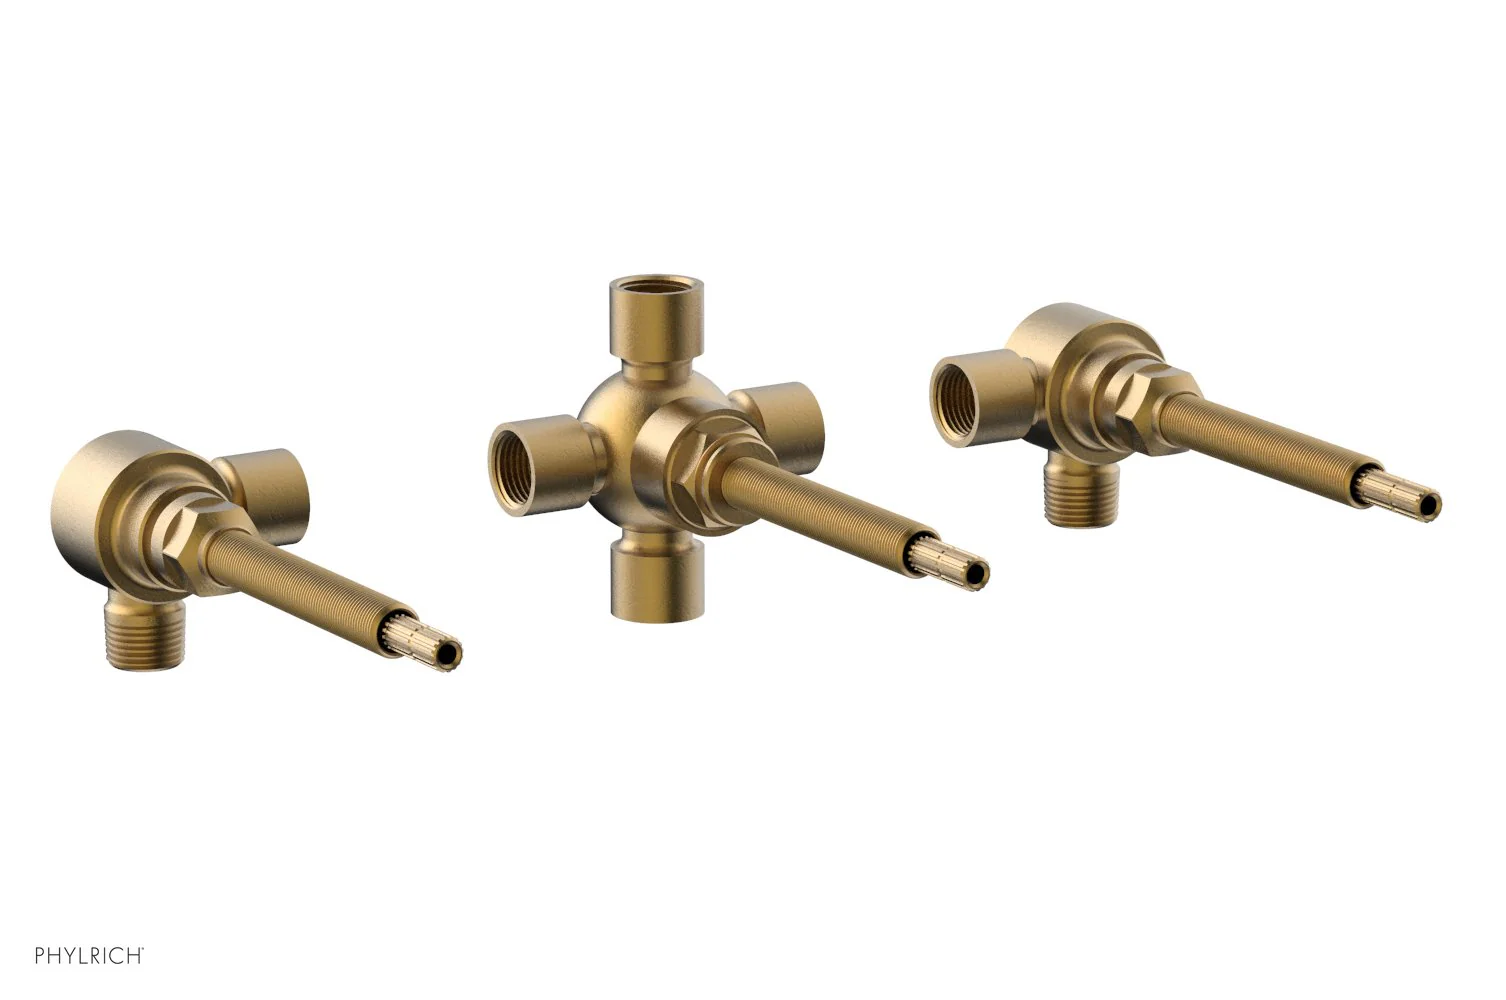
2) Three-handle or two-handle setup with a separate diverter handle
- Hot and cold are separate handles (common in older bathrooms).
- A third handle or knob in the middle is the diverter that routes water to the tub or shower.
- The diverter is inside the valve behind that center handle, not in the tub spout.
3) Single-handle valve with an integrated diverter
- There is a main handle for on and off and temperature.
- A small pull knob, button, or lever on the trim (or near it) sends water to the tub spout, shower head, handheld, or a mix.
- The diverter is usually a small cartridge behind the trim.
What the symptoms usually mean
Here is the quick translation from what you see to what is probably happening.
- Diverter stuck up or stuck down: mineral buildup, a swollen rubber seal, or a worn internal gate.
- Water still comes out of the tub spout while showering: worn diverter seal, debris in the diverter seat, or a failing cartridge or diverter stem. It can also be a tub spout plumbing issue (more on that below).
- Diverter knob feels loose or “does nothing”: stripped linkage on a spout diverter, broken stem, or worn internal parts.
- Hard to pull up or rotate: scale buildup and corrosion, especially with hard water.
- Random temperature swings when switching: more likely a cartridge or pressure-balance issue in the main valve, not the diverter itself.
Before you touch anything
If you rent
Stick to non-invasive steps: cleaning the spout exterior, soaking the tub spout outlet in vinegar, and gently exercising the diverter. Avoid removing handles, spouts, or opening access panels unless your lease allows it. A diverter repair can turn into “we need to shut the building water off” fast.
If you own
Turn water off at the tub or shower supply stops if you have them, or at the main if you do not. Stuff a rag in the tub drain so tiny screws or clips do not disappear into plumbing limbo.
Call a pro now if
- You see water leaking behind the wall, through drywall, or into a ceiling below.
- The handle is loose and the valve body moves in the wall.
- You cannot shut off the water fully.
- Old galvanized or brittle plumbing is involved and you are not comfortable applying force.
Fixes for tub-spout diverters
Tub-spout diverters are convenient because most problems are right in front of you. The downside is they collect scale and wear out faster than people expect.
Step 1: flush debris and exercise the diverter
- Turn water on to the tub.
- Pull the diverter up and push it down 10 to 15 times.
- While it is running, tap the spout gently with the handle of a screwdriver (light taps only). Sometimes a bit of grit is wedged at the seal.
If the diverter starts working but feels gritty or sticks again later, you are likely dealing with mineral buildup.
Step 2: vinegar soak for mineral buildup
This is my favorite cheap-first move for hard water homes.
- Fill a plastic bag with white vinegar.
- Slip it over the tub spout so the spout outlet is submerged.
- Secure with a rubber band and let it soak 30 to 60 minutes.
- Remove the bag, run hot water, and work the diverter up and down.
Tip: If your diverter has a rubber pull-up knob, keep vinegar off it as much as possible. Some rubbers do not love long acid baths.
Step 3: check for a restricted tub spout outlet
If the tub spout is partially blocked with scale, back pressure can mess with diverter performance. Look inside the spout outlet for crusty buildup. Clean it gently with an old toothbrush and vinegar.
Step 4: replace the tub spout
When the internal gate or seal is worn, cleaning only buys time. Replacement is often under $30 to $60 (more for fancy finishes) and usually takes 15 to 30 minutes if nothing is seized.
How to remove a tub spout
Before you pull or twist, score and peel any old caulk where the spout meets the wall. That little bead can be stronger than you think, and it loves taking paint, drywall paper, or grout sealer with it.
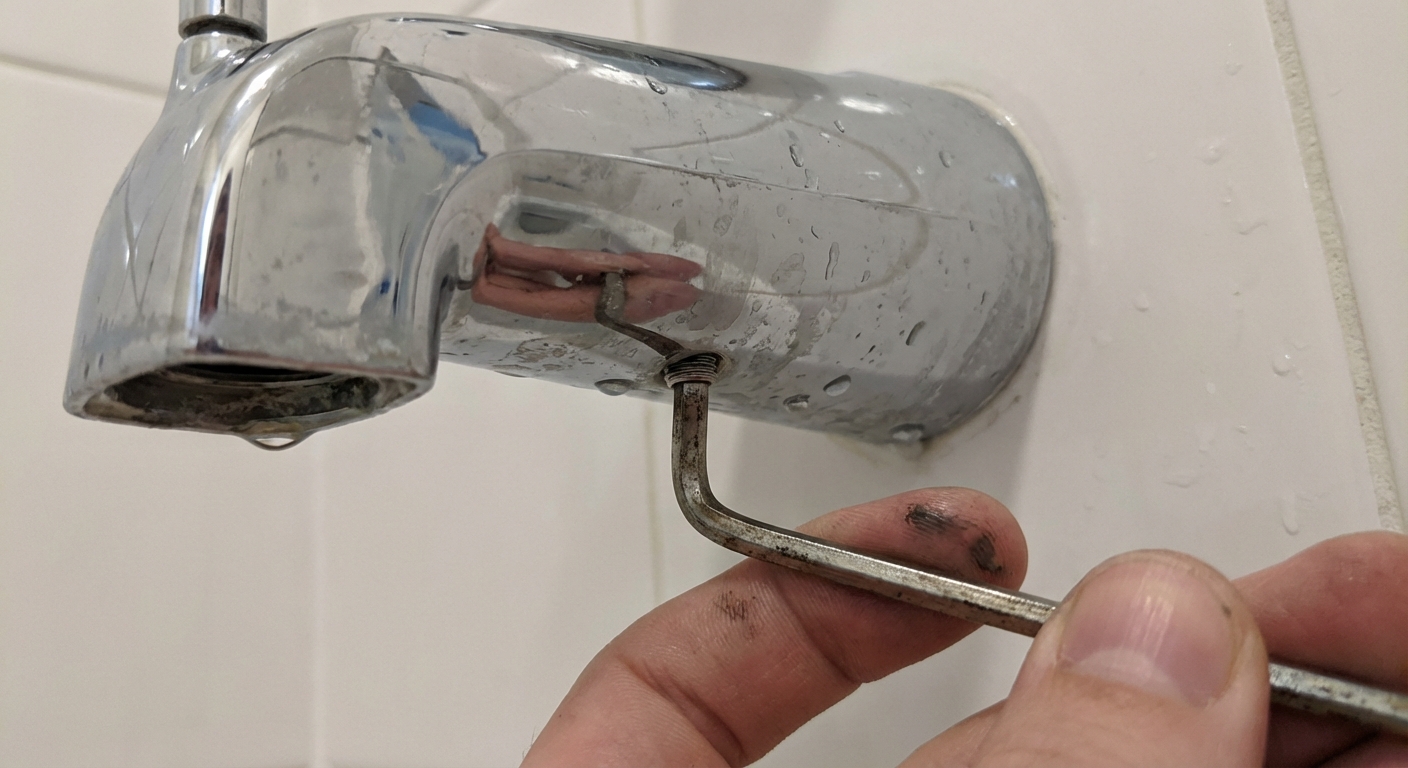
- Set-screw spout: Look underneath for a small hex screw. Loosen it with an Allen key, then pull the spout straight off.
- Threaded spout: No set screw. The spout unscrews counterclockwise from a threaded pipe coming out of the wall.
Quick ID tip: If you do not see a set screw, try a gentle twist. If it feels like the pipe in the wall is moving, stop. That is your sign to slow down and reassess (or call for help) before you create a behind-the-wall leak.
My hard-learned lesson: Wrap the spout with a rag before using pliers. One slip on chrome will haunt you every time you take a bath.
Install basics
- Bring the old spout with you to match length and connection type.
- For threaded spouts, use PTFE thread tape on the pipe threads (clockwise as you face the pipe).
- When threading the new spout on, be gentle. If you have reason to suspect a loose nipple or questionable plumbing behind the wall, do not torque it like a lug nut.
- For set-screw spouts, make sure the copper stub-out is smooth and the spout seats fully against the wall before tightening.
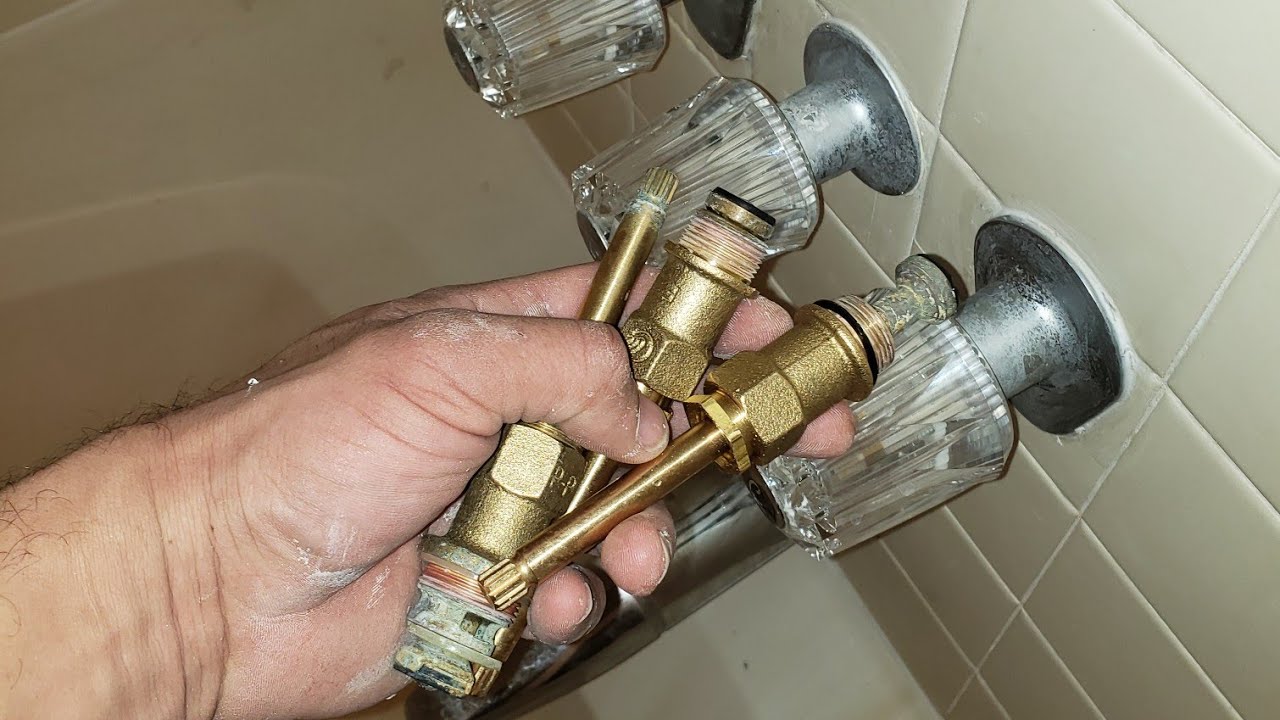
Fixes for three-handle setups
On older three-handle tubs, the diverter is its own valve. These can last a long time, but when they act up, the usual culprits are worn washers, a deteriorated seat, or a stem that is packed with scale.
Common causes
- Mineral buildup on the diverter stem: makes it hard to turn and prevents full switching.
- Worn washer or O-ring: allows water to leak past when it should be blocked.
- Damaged valve seat: the metal seat inside the valve body gets pitted, so a new washer still will not seal.
Basic repair overview
- Shut off water to the tub.
- Remove the diverter handle and trim plate.
- Use the correct deep socket (often 27 to 32 mm) or a dedicated shower valve socket set to remove the diverter stem.
- Inspect and replace worn washers and O-rings on the stem.
- If the seat is removable and damaged, replace the seat with a matching part.
- Reassemble and test.
Note: Some seats are not removable. If it does not want to come out, do not force it. Cracking an old valve body is a fast way to turn a “Saturday fix” into a wall-opening event.
Reality check: On some older valves, parts availability can be the whole game. If you cannot identify the brand, take the stem to a plumbing supply house. The folks behind the counter are wizards at matching old parts.
Integrated diverters in single-handle valves
Some tub and shower systems have a diverter built into the valve trim, like a small pull knob on the faucet handle assembly, or a separate diverter lever above the main handle. In those setups, the diverter is typically a small cartridge.
Signs the diverter cartridge is the issue
- The diverter moves normally, but water barely shifts.
- The diverter does not stay engaged.
- Switching works only when water pressure is low.
Replacement basics
- Turn off water.
- Remove the handle and trim to access the diverter cartridge.
- Pull and replace the cartridge with the exact match (brand and model matter).
- Use plumber’s grease only if the manufacturer allows it.
If you are unsure of the brand, snap a clear photo of the trim and the cartridge and bring it to a plumbing supplier. Guessing here is an expensive hobby.
Why water still comes from the tub spout
A little dribble is common, especially on older spout diverters. But if you are losing a lot of flow, it is worth fixing because you are paying to heat water that is not helping you rinse shampoo.
Most common reasons
- Worn diverter seal: the rubber gate no longer seats tightly.
- Scale on the sealing surface: even a thin crust can keep it from sealing.
- Tub spout drop or pipe restriction: a restricted line to the tub spout can prevent the diverter from fully taking over, even if the diverter is decent.
- Shower outlet restriction: a partially blocked shower head (or flow restrictor issues) can increase back pressure and make spout dribble worse on some installations. It is usually a helper, not the main villain.
Plumbing note that saves a lot of frustration
If your tub spout is fed with PEX, has a too-long run, uses a bunch of fittings, or necks down to a smaller inside diameter, diverters tend to be finicky. Many manufacturers specify 1/2 inch copper or iron pipe to the tub spout for a reason. If you have chronic “shower plus tub flow” even after replacing a spout diverter, the piping to the spout is worth investigating.
Quick test: Unscrew the shower head and test with the shower arm open into the tub. If the diverter suddenly behaves better, clean or replace the shower head. If nothing changes, focus on the diverter or the tub spout piping.
Signs the valve behind the wall is failing
Sometimes the diverter is innocent and the main mixing valve or cartridge is the real problem. Here are the red flags that point deeper into the wall.
- Water leaks only when the valve is on and you see moisture behind trim plates or on adjacent drywall.
- Handle is hard to turn even when the diverter is not involved.
- Temperature control is erratic or the hot and cold reverse suddenly.
- You cannot fully shut off the water at the handle and the tub spout drips constantly.
- Grinding or crunching feel in the handle that returns quickly after cleaning.
If you have these symptoms, plan for a cartridge replacement at minimum. In older three-handle systems, it could be multiple stems, seats, or even a valve body that is too corroded to trust.
Tools and supplies
- Allen key set (for set-screw spouts)
- Adjustable wrench or channel-lock pliers (use a rag to protect finishes)
- White vinegar and an old toothbrush
- PTFE thread tape (threaded spouts)
- Deep socket (often 27 to 32 mm) or a shower valve socket set (often needed for stems)
- Replacement tub spout or replacement stem and washer kit (as needed)
My thrifty order of operations
- Exercise the diverter and flush debris.
- Vinegar soak to dissolve scale.
- Clean the shower head and test without it.
- Replace the tub spout diverter (most common win).
- If tub spout flow persists, consider the tub spout piping and restrictions (PEX, fittings, stub-out issues).
- For three-handle systems, pull the diverter stem and replace washers and seats (without forcing a stuck seat).
- If symptoms point behind the wall, replace the cartridge or call a plumber.
That sequence keeps you from tearing into a wall because of a $25 spout that simply wore out, which is a mistake I have made exactly once.
FAQ
Can I use WD-40 to free a stuck diverter?
I avoid it in plumbing that carries water you bathe in. It is generally not recommended for potable-water-contact components, and it can swell or damage some rubber and plastics. For a tub-spout diverter, vinegar and cycling the mechanism are safer first steps. If you disassemble a stem, use plumber’s grease only where appropriate and only on parts that call for it.
How long should a tub spout diverter last?
In average conditions, many last 5 to 10 years. In hard water areas, it can be less. If yours is old and leaking badly to the tub during showers, replacement is often the best use of time.
Why does the diverter not stay up?
On a spout diverter, a worn gate or weak internal friction can cause it to drop. On some systems, low water pressure or restrictions (either at the shower outlet or in the tub spout piping) can also affect how well it stays engaged.
About Marcus Vance
Content Creator @ Grit & Home
Marcus Vance is a lifelong DIY enthusiast and self-taught home renovator who has spent the last decade transforming a dilapidated 1970s ranch into his family's dream home. He specializes in budget-friendly carpentry, room-by-room renovations, and demystifying power tools for beginners. Through his writing, Marcus shares practical tutorials and hard-learned lessons to help homeowners tackle their own projects with confidence.