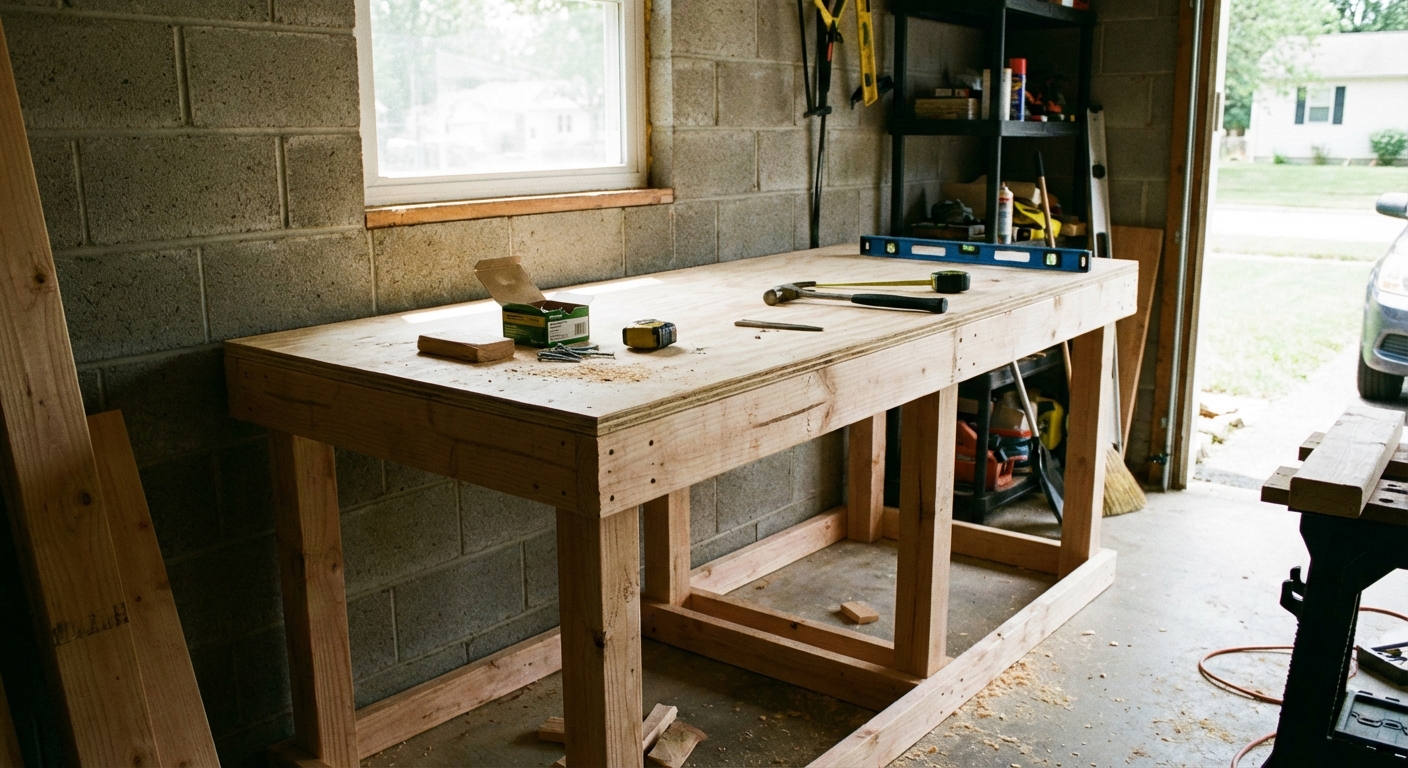
My first “real” workbench was a wobbly folding table that I kept swearing I would replace “next weekend.” You already know how that goes. A solid bench changes everything: cuts get cleaner, projects go faster, and your back stops doing that thing where it files a complaint after 20 minutes.
This build is my go-to because it is simple, strong, and forgiving. It uses dimensional lumber (2x4s) and a plywood top, so you can buy everything in one trip and build it with beginner-friendly tools.
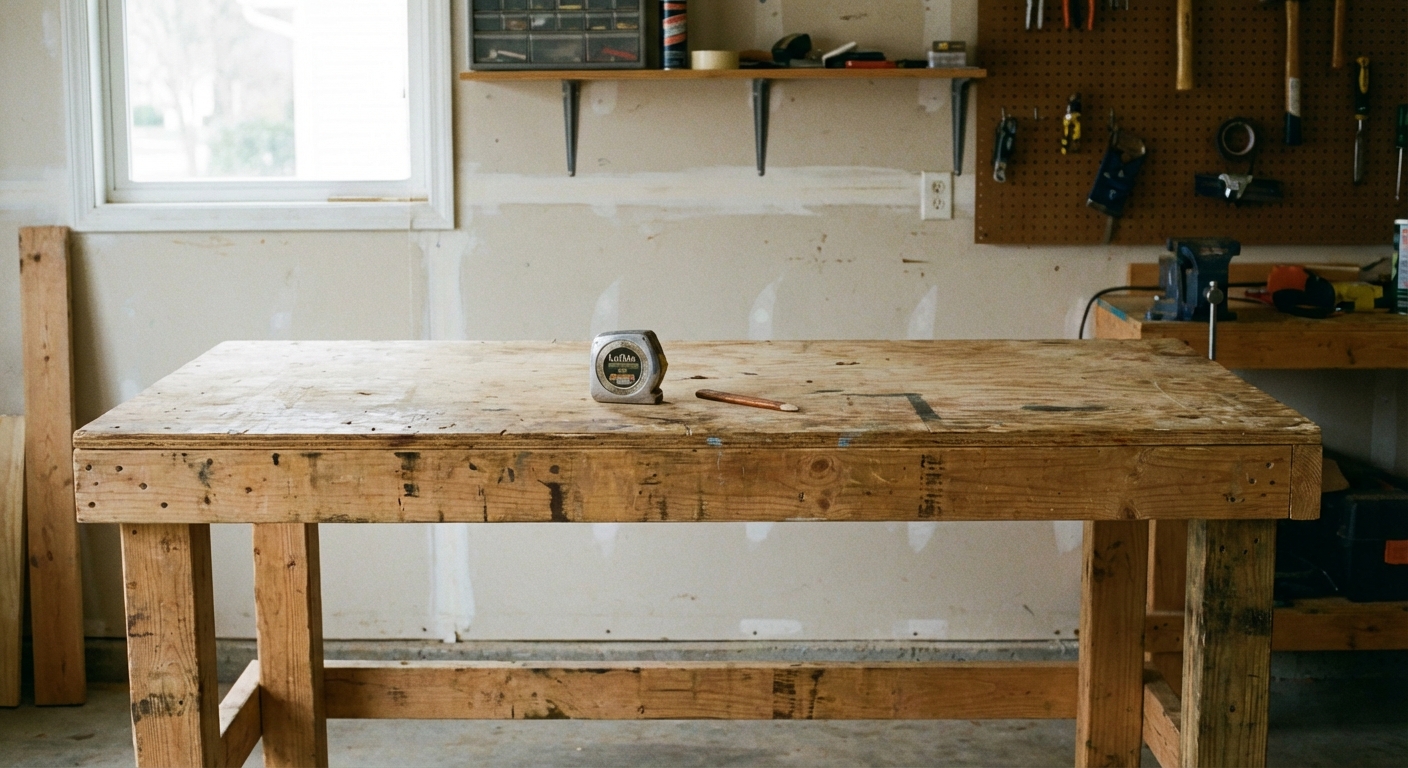
Workbench size and plan
This plan is for a bench that is:
- Length: 6 ft (72 in)
- Depth: 24 in
- Height: ~34 1/2 in (comfortable for most people)
If you want a different size, keep the same construction and adjust the long rails and the plywood. The basic idea is a 2x4 frame, four legs mounted inside the corners, a lower shelf frame, and a stiff plywood top.
Materials and tools
Shopping list (budget-friendly)
- 2x4 studs: 10 to 12 total, 8 ft long (choose the straightest you can find)
- Plywood top: one sheet 3/4 in plywood (or 23/32 in), cut to 72 in x 24 in
- Optional lower shelf: 1/2 in plywood, cut to 72 in x 24 in (plus four corner notches, details below)
- Fasteners: 3 in construction screws (or 3 in deck screws), plus 1 1/4 in screws for plywood
- Wood glue: optional but recommended for a stiffer frame
- Finish (optional): polyurethane, wipe-on poly, or a simple oil-based sealer
- Leveling feet or shims (optional): great for uneven garage slabs
Tool list
- Measuring tape and pencil
- Speed square
- Drill/driver with bits (pilot bit and a driver bit)
- Miter saw or circular saw (either works)
- Clamps (helpful, not mandatory)
- Sander or sanding block (optional)
Beginner note: If you are using a circular saw, clamp a straight board down as a guide. It is the cheapest way to get clean, repeatable cuts.
Cut list (exact dimensions)
All 2x4s are standard construction lumber (actual size 1 1/2 in x 3 1/2 in).
Top frame
- Long rails: 2 pieces @ 72 in
- End rails: 2 pieces @ 21 in
- Center support: 1 piece @ 21 in
Why 21 in end rails? They fit between the long rails to make the depth: 21 + 1 1/2 + 1 1/2 = 24 in overall depth. The long rails run the full 72 in length.
Legs
- Legs: 4 pieces @ 33 3/4 in
This yields ~34 1/2 in finished height with a 3/4 in top. If you want a taller bench (great for detail work), bump legs to 35 3/4 in for about 36 1/2 in overall.
Lower shelf frame (optional but recommended)
- Long rails: 2 pieces @ 72 in
- End rails: 2 pieces @ 21 in
- Optional center support: 1 piece @ 21 in (nice if you will store heavy bins)
Plywood
- Top: 72 in x 24 in (3/4 in)
- Shelf (optional): 72 in x 24 in (1/2 in), with four corner notches
Shelf fit note: This shelf panel sits on top of the lower 2x4 frame, so it actually has something to rest on. Because the legs sit inside the corners, you will notch the shelf plywood so it can slide around the legs. It is quick, and it does not need to be pretty.
Step-by-step build
1) Pick straight 2x4s
At the store, sight down each stud like you are looking down a rifle. Put the twisted ones back. A workbench built from bananas will always feel like a banana.
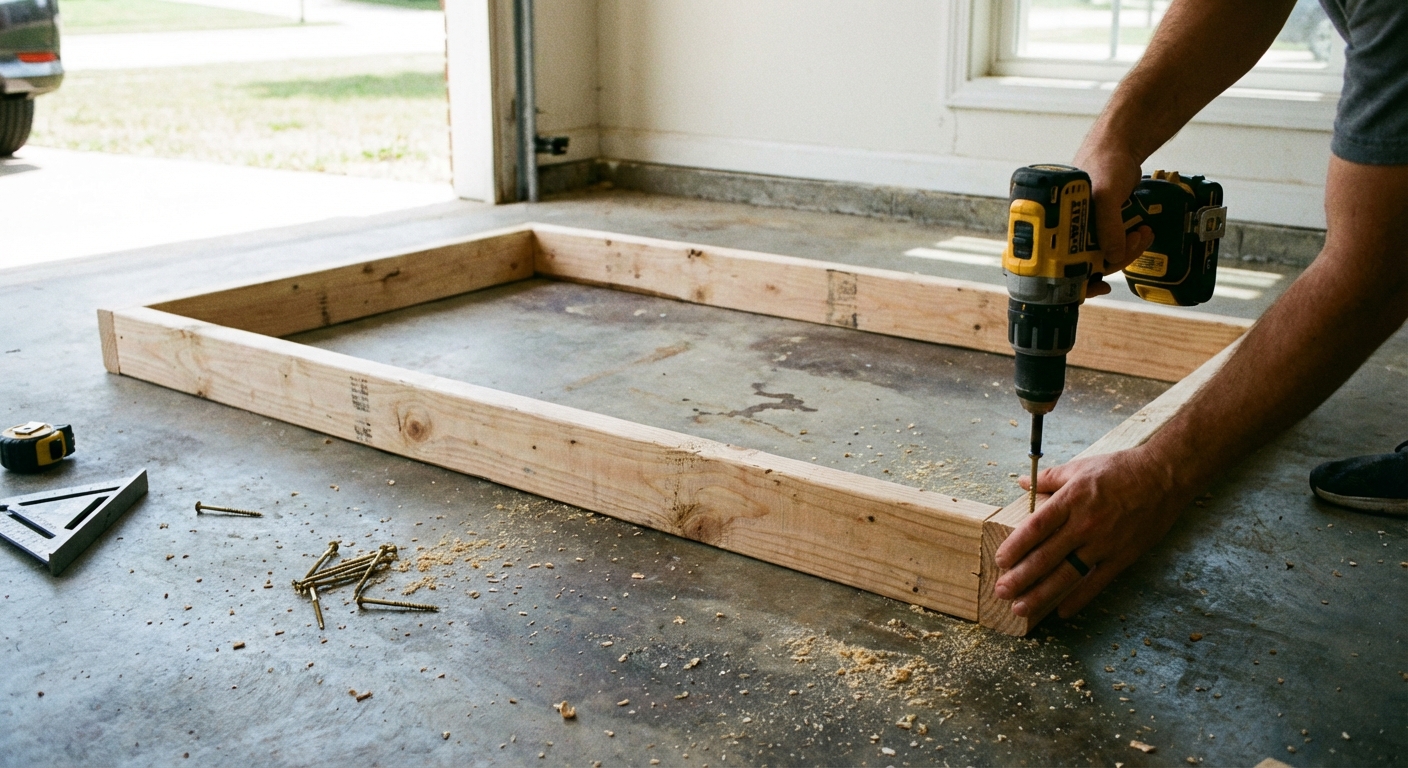
2) Build the top frame
- Lay out two 72 in long rails parallel.
- Place two 21 in end rails between them to form a 72 in x 24 in rectangle.
- Check for square by measuring corner-to-corner (diagonals should match).
- Pre-drill and drive two 3 in screws per joint. Add glue if you want extra stiffness.
- Add the 21 in center support halfway down the length. Screw through the long rails into the center support ends.
3) Attach the legs (inside corners)
To keep the bench strong and the plywood top perfectly sized, mount all four legs inside the top frame corners. The legs will be recessed by 1 1/2 in from the outside faces, and that is totally fine.
- Stand a leg inside one corner so it touches both rails.
- Clamp the leg in place if you have clamps.
- Pre-drill, then drive two or three 3 in screws through the frame into the leg from each side you can access.
- Repeat for all four legs.
My honest mistake: On an early bench, I skipped pilot holes and split two legs near the top. Pre-drilling takes an extra minute and saves you from that sickening crack sound.
4) Build and install the lower frame
This is what stops the bench from racking side-to-side. Even if you do not add a plywood shelf, the lower frame is worth it.
- Assemble the lower rectangle the same way as the top: two 72 in rails and two 21 in end rails.
- Decide shelf height. I like 6 to 8 inches off the floor so I can sweep under the bench.
- Mark that height on each leg, then clamp the shelf frame in place.
- Screw through the frame into each leg (two screws per connection).
Note: Because the legs are inside the corners, the lower frame wraps around the outside of the legs. That is exactly what we want for strength.
5) Add the plywood top
- Set the 3/4 in plywood on the top frame and align edges flush.
- Pre-drill and drive 1 1/4 in screws every 8 to 10 inches around the perimeter and along the center support.
- If you want a super-smooth top, break the edges with sandpaper so you do not catch sleeves or skin on sharp plywood corners.
Optional upgrade: If you have the budget, add a second layer of 1/2 in plywood on top for a thicker, more replaceable work surface. Screw it down, do not glue it. Someday you will want to swap it out.
6) Cut and install the shelf (optional)
This version is beginner-simple: the shelf sits on top of the lower frame like a lid. No cleats, no extra supports, no plywood doing a surprise gravity test.
- Cut the shelf panel to 72 in x 24 in (1/2 in plywood is plenty for most storage).
- Mark the notch locations by setting the panel on the lower frame and tracing where each leg hits the corners.
- Cut out the notches. Each notch will be about 3 1/2 in x 3 1/2 in (the width of a 2x4). Cut them slightly oversized (like 3 5/8 in) if you want an easier fit.
- Set the shelf in place on the lower frame. Screw it down with a few 1 1/4 in screws around the edges.
Tip: Do not go wild with screws. A shelf you can remove later is handy if you ever add casters or need to fish a cord through the frame.
Optional add-ons
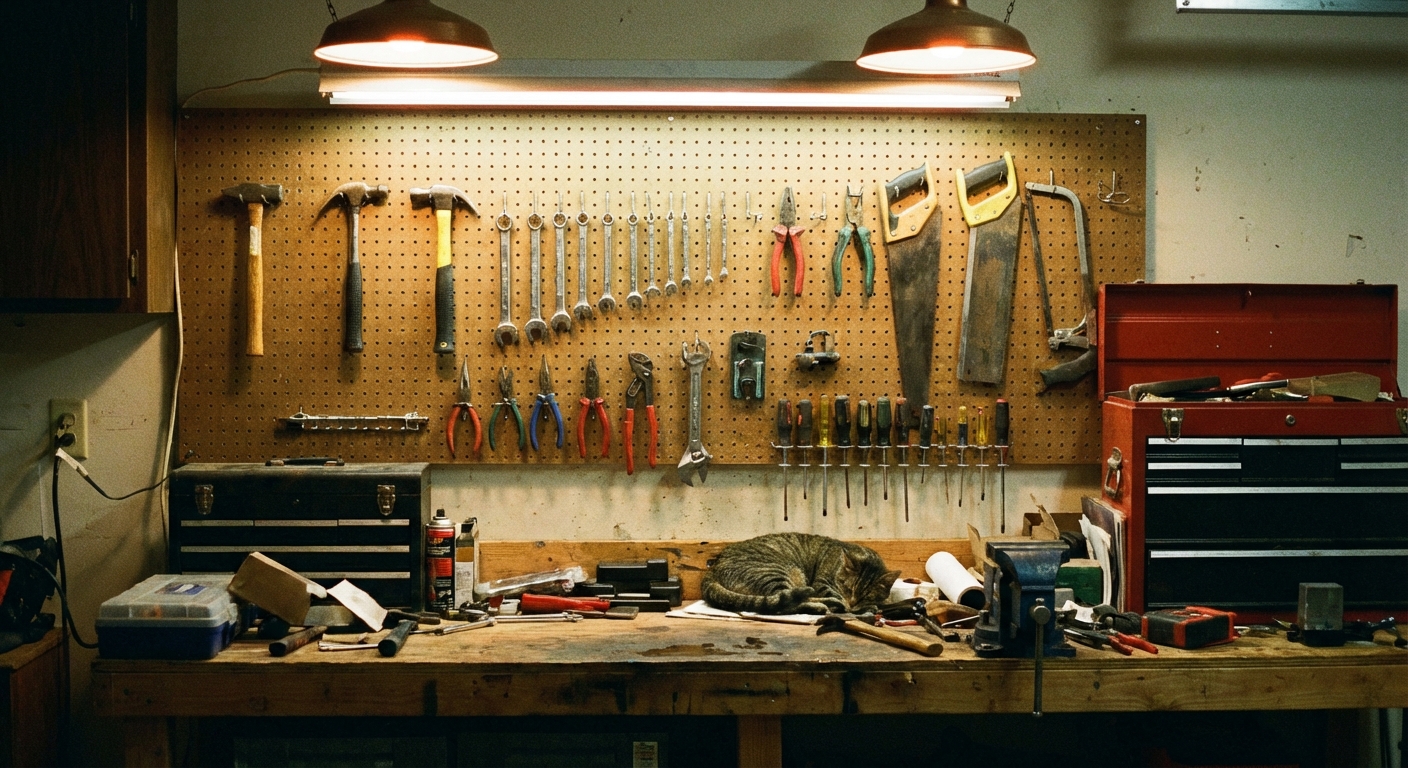
Pegboard back
If your bench sits against a wall, pegboard is a game-changer for keeping tools visible and off the top.
- Use 1/4 in pegboard cut to length (common height is 24 to 36 inches).
- Mount two or three vertical 1x2 or 1x3 furring strips to the wall studs first, then screw the pegboard to those strips. That spacing gives hooks room to seat.
- Keep the bottom edge a few inches above the benchtop so debris does not pile into the holes.
Power strip mount
Mount a surge-protected power strip to the front edge or underside of the bench, then route the cord along a leg with cable clips. If you run a shop vac or miter saw a lot, you will wonder how you lived without it.
Casters (mobile bench)
If your garage needs to park a car at night, a rolling bench is gold. Use heavy-duty locking casters rated for the weight you will store. For the best stability, install casters on chunky 2x4 pads under each leg so the hardware has more bite.
Front apron for clamping
If you clamp constantly, add a second 2x4 along the front edge (stacked vertically) so you have a thicker bite for clamps. This also stiffens the whole bench.
Simple vise
A basic 6 in to 8 in bench vise bolted through the top (with washers under the plywood) turns this into a real work station. Place it on the side that matches your dominant hand.
Make it sturdy
- Pre-drill near board ends: reduces splitting and keeps joints tight.
- Check for square as you go: especially before you install the plywood top.
- Stop the wobble at the floor: shim low legs, or add adjustable leveling feet.
- Brace if needed: If your bench still racks, add a diagonal brace on the back or screw the back edge into wall studs.
If your garage floor is like mine, meaning it has “character,” shims are not a failure. They are normal life in a real workshop.
Finishing options
You can use this bench unfinished, and many people do. If you want easier cleanup and less stain absorption, pick one:
- Wipe-on polyurethane: easy, forgiving, and protects against glue drips.
- Oil-based sealer: good protection, longer dry time.
- Hardboard sacrificial skin: screw down a sheet of 1/8 in hardboard on top. When it gets wrecked, replace it.
Quick safety checklist
- Wear eye protection when cutting and drilling.
- Support long boards so they do not pinch the blade.
- Keep your hands away from cut lines and let blades stop fully before setting tools down.
- If mounting to the wall, locate studs properly and use the right fasteners for your wall type.
FAQ
Is this strong enough for a miter saw or small benchtop planer?
Yes. The 2x4 frame, center support, and 3/4 in top handle typical homeowner shop tools well. If you have a heavier tool or you plan to pound on metal, add a second center support and consider doubling the plywood top.
Can I build this without a miter saw?
Absolutely. A circular saw works fine. The key is using a straightedge guide and measuring carefully so your rails match.
What is the best height for a workbench?
Most people like 34 to 36 inches for general DIY. If you do detailed handwork, go a bit taller. If you do heavy hand-planing, a bit lower can feel better. The nice thing about this plan is you can change leg length in one cut.
Next steps
Once this bench is built, you will start seeing the garage differently. Add a pegboard, mount a power strip, and give yourself one dedicated spot where projects can live without taking over the kitchen table.
If you build it, do yourself a favor and write the final bench height and your cut list on a scrap of wood and toss it on the shelf. Future you will thank you when you decide you need a second bench for the other wall.
About Marcus Vance
Content Creator @ Grit & Home
Marcus Vance is a lifelong DIY enthusiast and self-taught home renovator who has spent the last decade transforming a dilapidated 1970s ranch into his family's dream home. He specializes in budget-friendly carpentry, room-by-room renovations, and demystifying power tools for beginners. Through his writing, Marcus shares practical tutorials and hard-learned lessons to help homeowners tackle their own projects with confidence.