
🚨 In a DIY emergency or rush?
Skip the details and jump straight to our 30-second cheat sheet for the most crucial info.
I remember the first time I heard the words “slab leak” from a plumber. It landed like a brick. Not because I thought the house was doomed, but because I could already picture the domino effect: flooring, dust, concrete, and a repair that never stays “just plumbing.”
If you are here, you probably already suspect a leak under the slab and you are trying to choose the repair method, not diagnose the problem. In most homes, the choices boil down to three: open the slab for a spot repair, line the pipe from the inside, or reroute the line above the slab. Each can be the “right” fix in the right situation.
Quick comparison: disruption, fit, and what you pay for
Before we get into the weeds, here is the practical way I think about it as a homeowner: you are not only paying to stop the leak. You are paying for access, risk reduction, and restoration.
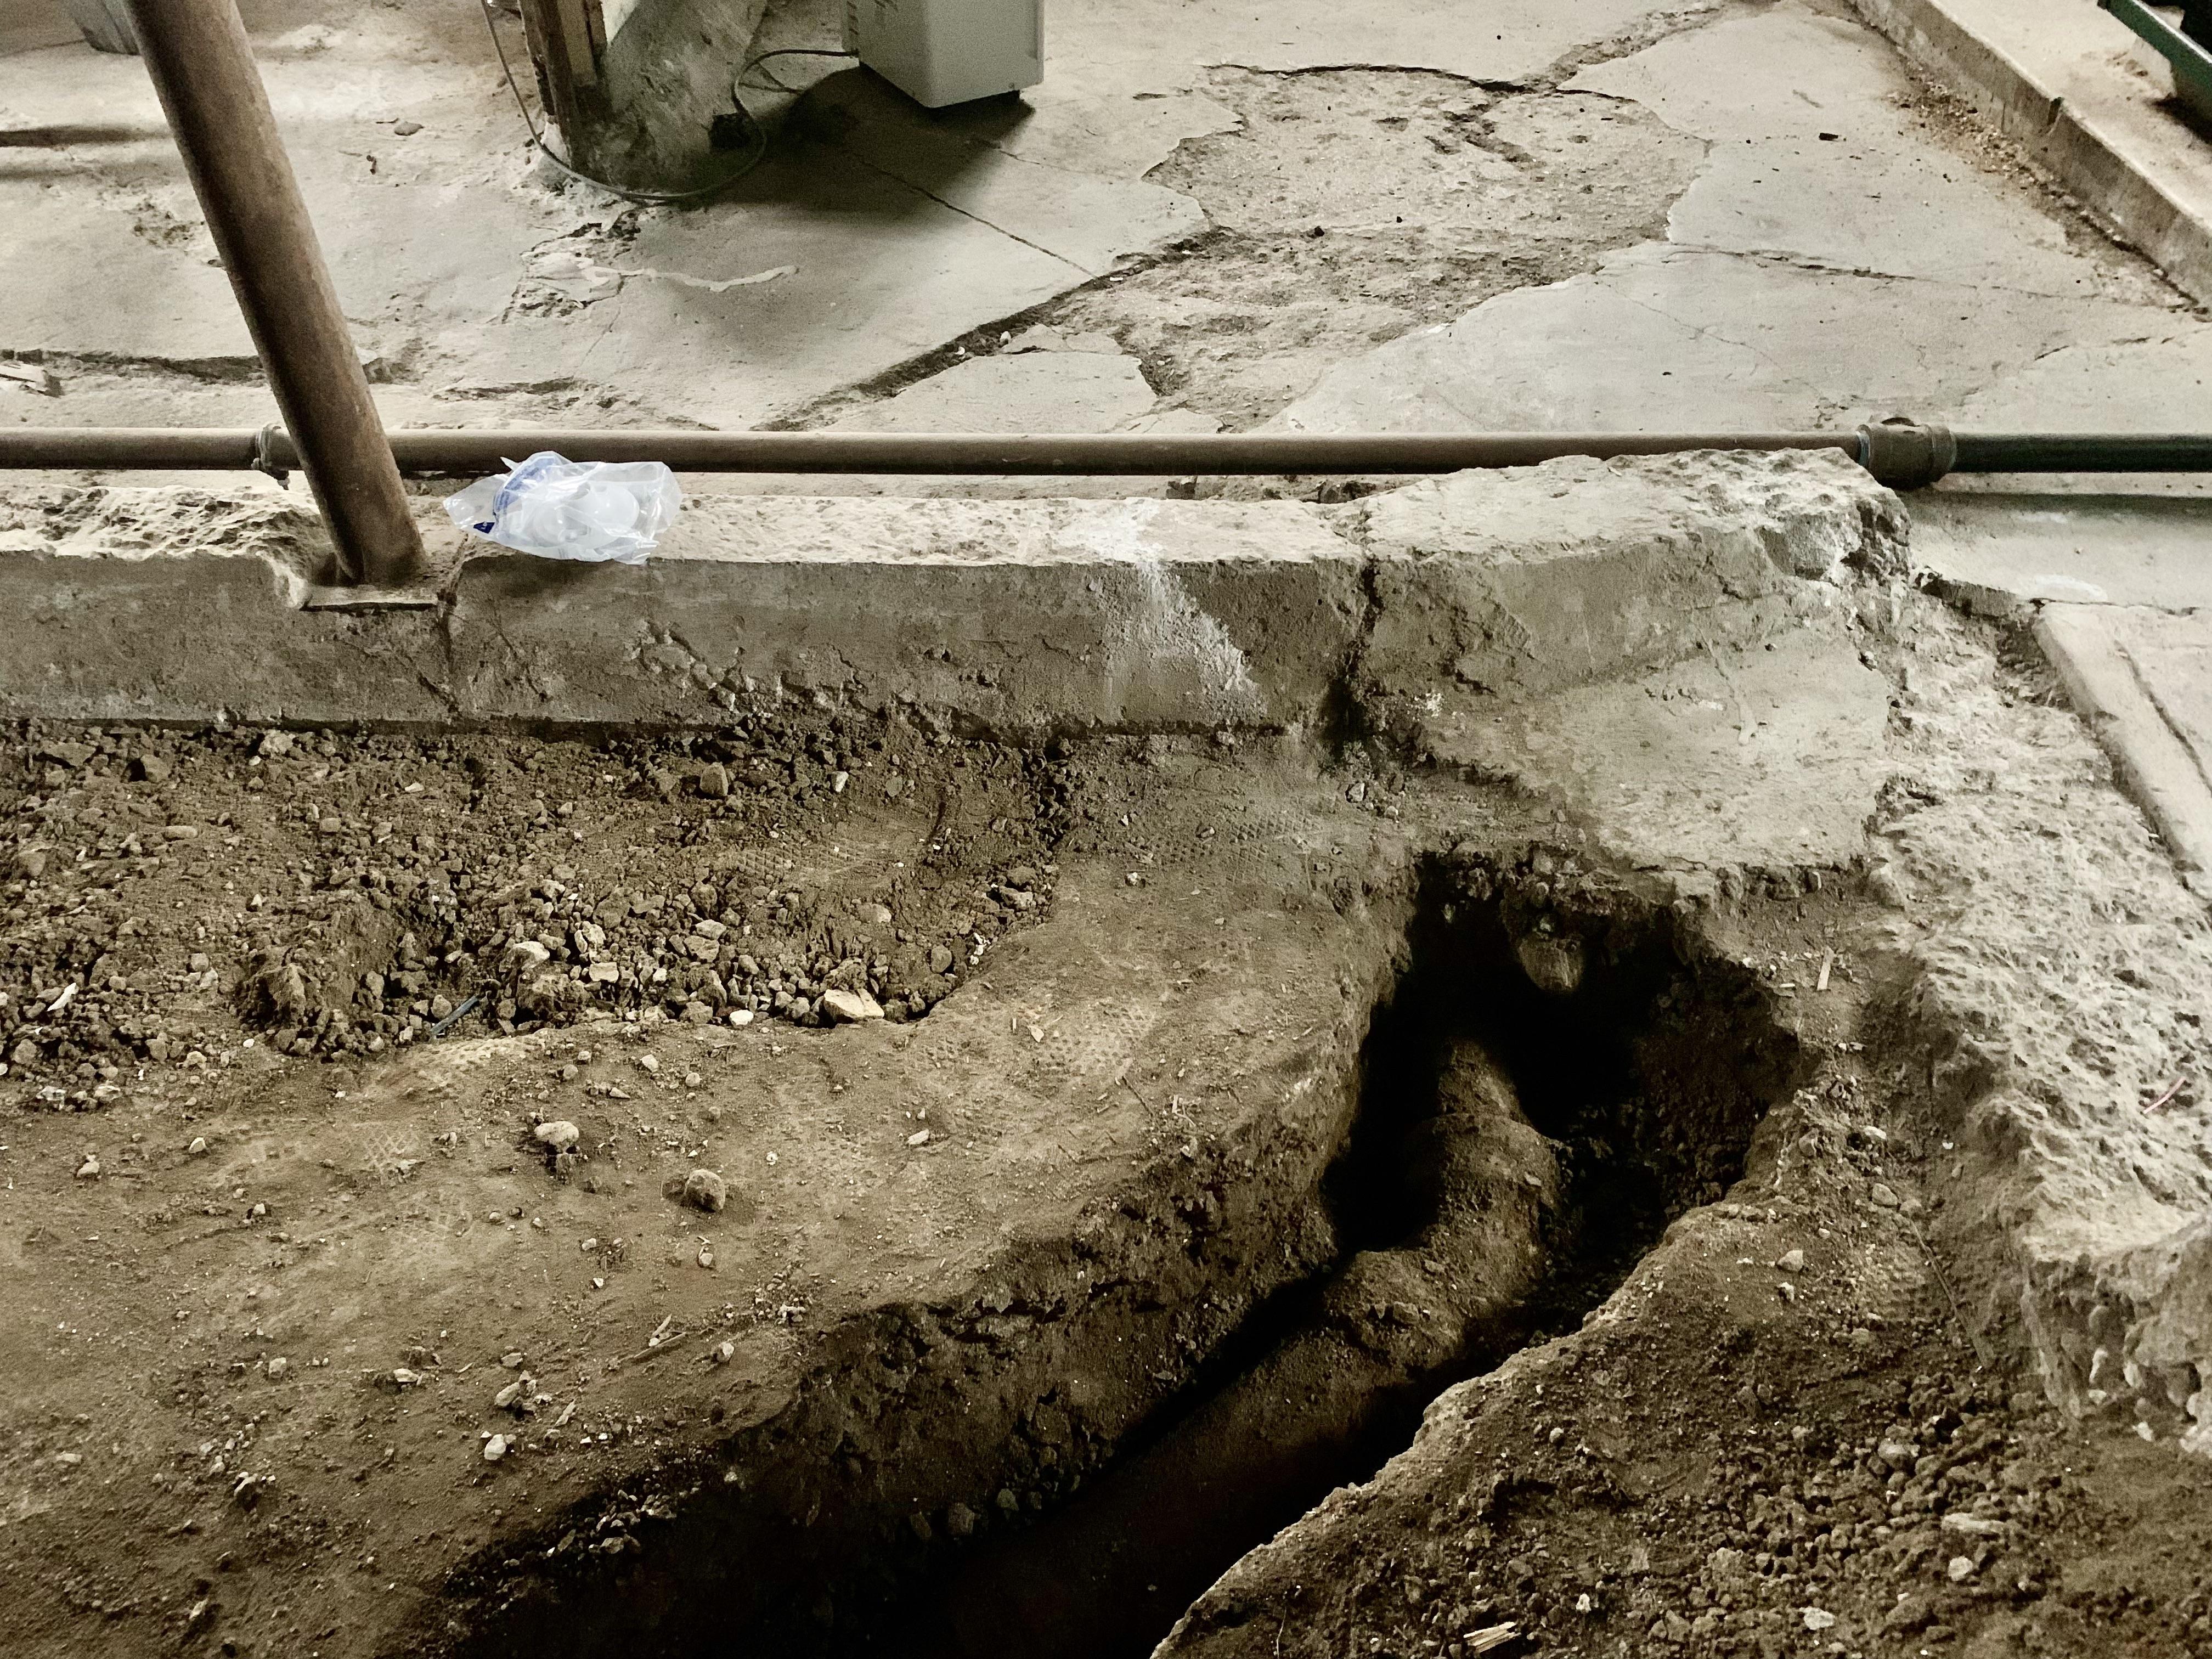
- Spot repair (open slab): Biggest mess in one small area. Best when the leak location is very confident and the rest of the pipe is in decent shape.
- Lining (pressure-rated epoxy or structural liner systems): Minimal demo. Best when the pipe is a good candidate and you want to rehabilitate a longer run without cutting concrete.
- Reroute (abandon under-slab line): Avoids slab demo, but adds drywall work and patching. Best when the under-slab system is old, leak-prone, or you want a long-term reset.
Two quick clarifiers that change the answer
Supply line leak vs drain leak
When most people say “slab leak,” they mean a pressurized water supply line leaking under the slab. That is the scenario I am focused on here, because it is the one that can quietly run up your water bill and saturate everything.
A drain or sewer line problem under a slab is a different animal. Those repairs often involve camera inspection, cleanouts, and drain-specific lining methods. Do not assume a sewer CIPP conversation automatically translates to a pressurized domestic water line.
Pipe material matters
The pipe under your slab helps determine what is realistic. Older copper with a history of pinholes tends to push homeowners toward reroutes. Some materials and mixed-material transitions can complicate lining or make it a non-starter. If a contractor is recommending a method without clearly stating what pipe you have and why the method fits that material, I slow the process down.
Option 1: Spot repair by opening the slab
This is the old-school approach: find the leak, cut and break concrete, dig down, fix the pipe, then patch the slab and restore the floor.
What it disrupts
- Flooring removal: Tile, hardwood, vinyl plank, carpet, or glued-down engineered flooring may need to come up. Matching later can be the real headache.
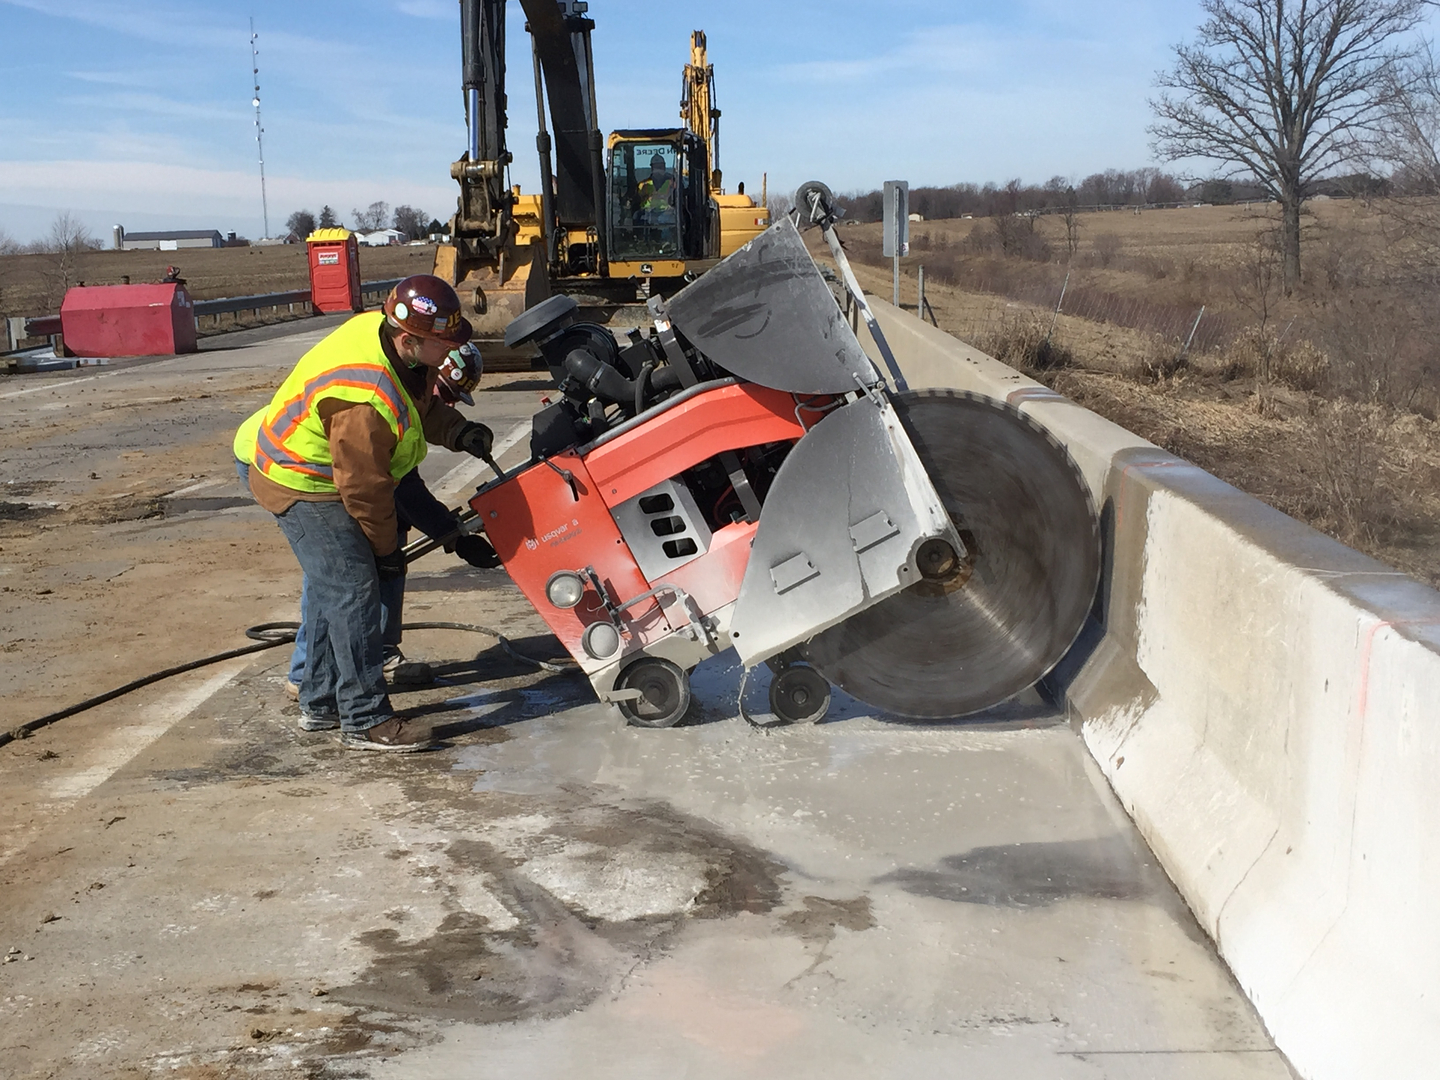
- Concrete cutting and breaking: Dust, noise, vibration. If you have finished space, you want serious containment.
- Time without water: Often same day for the plumbing portion, but restoration can stretch the timeline.
- Potential surprises: Rebar, post-tension cables, radiant heat tubing, or tight pipe spacing can change the plan fast.
A safety note on post-tension slabs
If your home is on a post-tension slab, do not treat sawcutting like a casual first step. Hitting a tensioned cable can be dangerous. A good crew verifies what they are cutting into before they cut.
When a spot repair makes sense
- The plumber is high-confidence on the leak location and can explain how they confirmed it.
- The piping is relatively modern and the leak looks isolated, not part of widespread corrosion or failing joints.
- The leak is near an edge, closet, or less-visible area, where floor restoration is simpler and cheaper.
- You need the fastest “get water back on” solution and accept the risk of future leaks elsewhere.
What drives cost
- How certain the leak location is: The more exploratory the demo, the more it costs.
- Concrete thickness and reinforcement: Thicker slabs and heavy reinforcement take longer and require heavier tools.
- Floor type and reinstallation: Tile and glued flooring often cost more to remove and replace. Matching existing finishes can add significant cost.
- Soil conditions under slab: Some soils cave easily. Some are rocky. Both slow things down.
- Number of leaks: One leak is one thing. A second leak a month later is a different financial reality.
My practical caution as a DIY guy
Homeowners sometimes hear “spot repair” and assume it is the cheapest path. Sometimes it is. But if your slab has to be opened in a finished room, the restoration can cost as much as or more than the plumbing. Ask for an estimate that separates: plumbing work, concrete patch, and finish-floor repair.
Option 2: Pipe lining for pressurized water lines
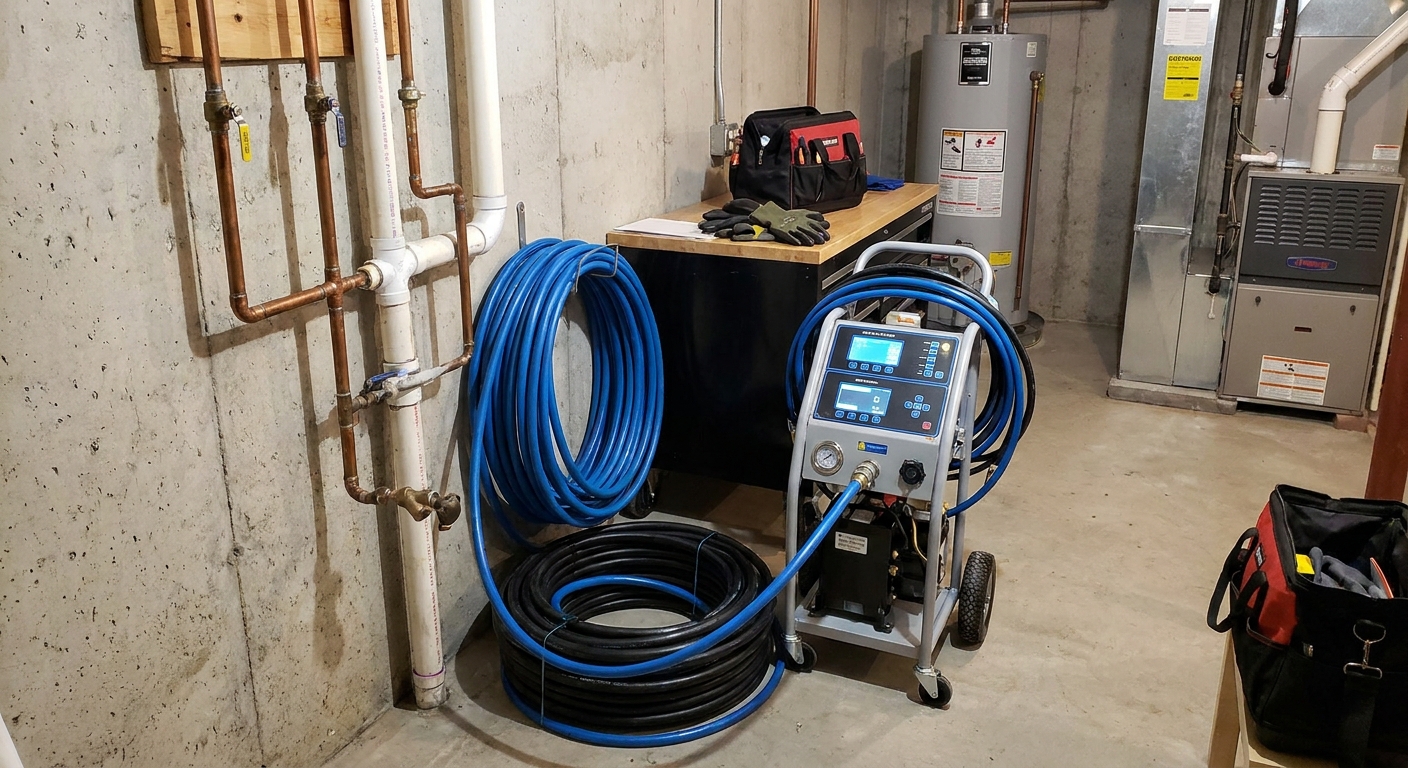
“Lining” means rehabilitating the pipe from the inside. A contractor cleans and preps the pipe, then applies a lining that cures into a new interior surface. This is more common in drain and sewer rehabilitation. For pressurized domestic water lines, lining exists, but it is more specialized and not available or accepted everywhere.
In the real world, you will usually hear about spray-in-place epoxy or other pressure-rated liner systems intended for potable water contact. The details matter here.
One important availability caveat
Whether lining is an option depends on jurisdiction, pipe type, and local approval. If you are considering lining for potable water, confirm the product is certified for potable water contact (commonly NSF/ANSI 61, if applicable where you live) and that it is permitted by your local authority and plumbing code requirements.
What it disrupts
- Access points, not trenches: Contractors typically need access at fixtures, manifolds, or strategic pipe sections. You may have a few small openings instead of a big slab trench.
- Water shutoff window: Cleaning and curing takes time. Plan on being without water for part of the day or longer depending on the system.
- Temporary odor or fumes: Some lining products have noticeable odors during application and curing. Ventilation matters.
When lining can be a good fit
- You want to avoid tearing up floors and the pipe run is otherwise a good candidate.
- The problem appears to be pinholes or internal corrosion along a longer section, not one obvious bad joint.
- The contractor can document pipe condition and prep, not just promise results.
When lining might not be appropriate
- Collapsed, heavily scaled, or structurally compromised pipe: Lining is not magic. The base pipe has to be cleanable and stable enough.
- Bad fittings and joints: If the leak is at a fitting that is already failing mechanically, lining may not solve the underlying problem.
- Unknown pipe material or mixed materials: Compatibility matters, and you want a contractor who can explain what they are lining and why it will bond.
What drives cost
- Total length being lined: Longer runs, more cost.
- Number of bends and branches: Complexity raises labor and risk.
- Cleaning and prep difficulty: The less cooperative the inside of the pipe, the more time and tooling it takes to prep.
- Verification and warranty: Better contractors document their work and offer meaningful warranties. That is not free.
Questions I would ask before agreeing to lining
- What exact product are you using, and is it approved for potable water where I live (for example, NSF/ANSI 61 if required)?
- Is this a pressure-rated system intended for domestic water lines, not a drain-only liner?
- How do you clean and dry the line before lining? How do you verify prep was successful?
- How do you confirm the leak location and that lining will cover it?
- What is the expected service life and what does your warranty actually cover?
- What happens if lining fails later? Can the line still be rerouted or replaced without making things worse?
Option 3: Reroute the line above the slab
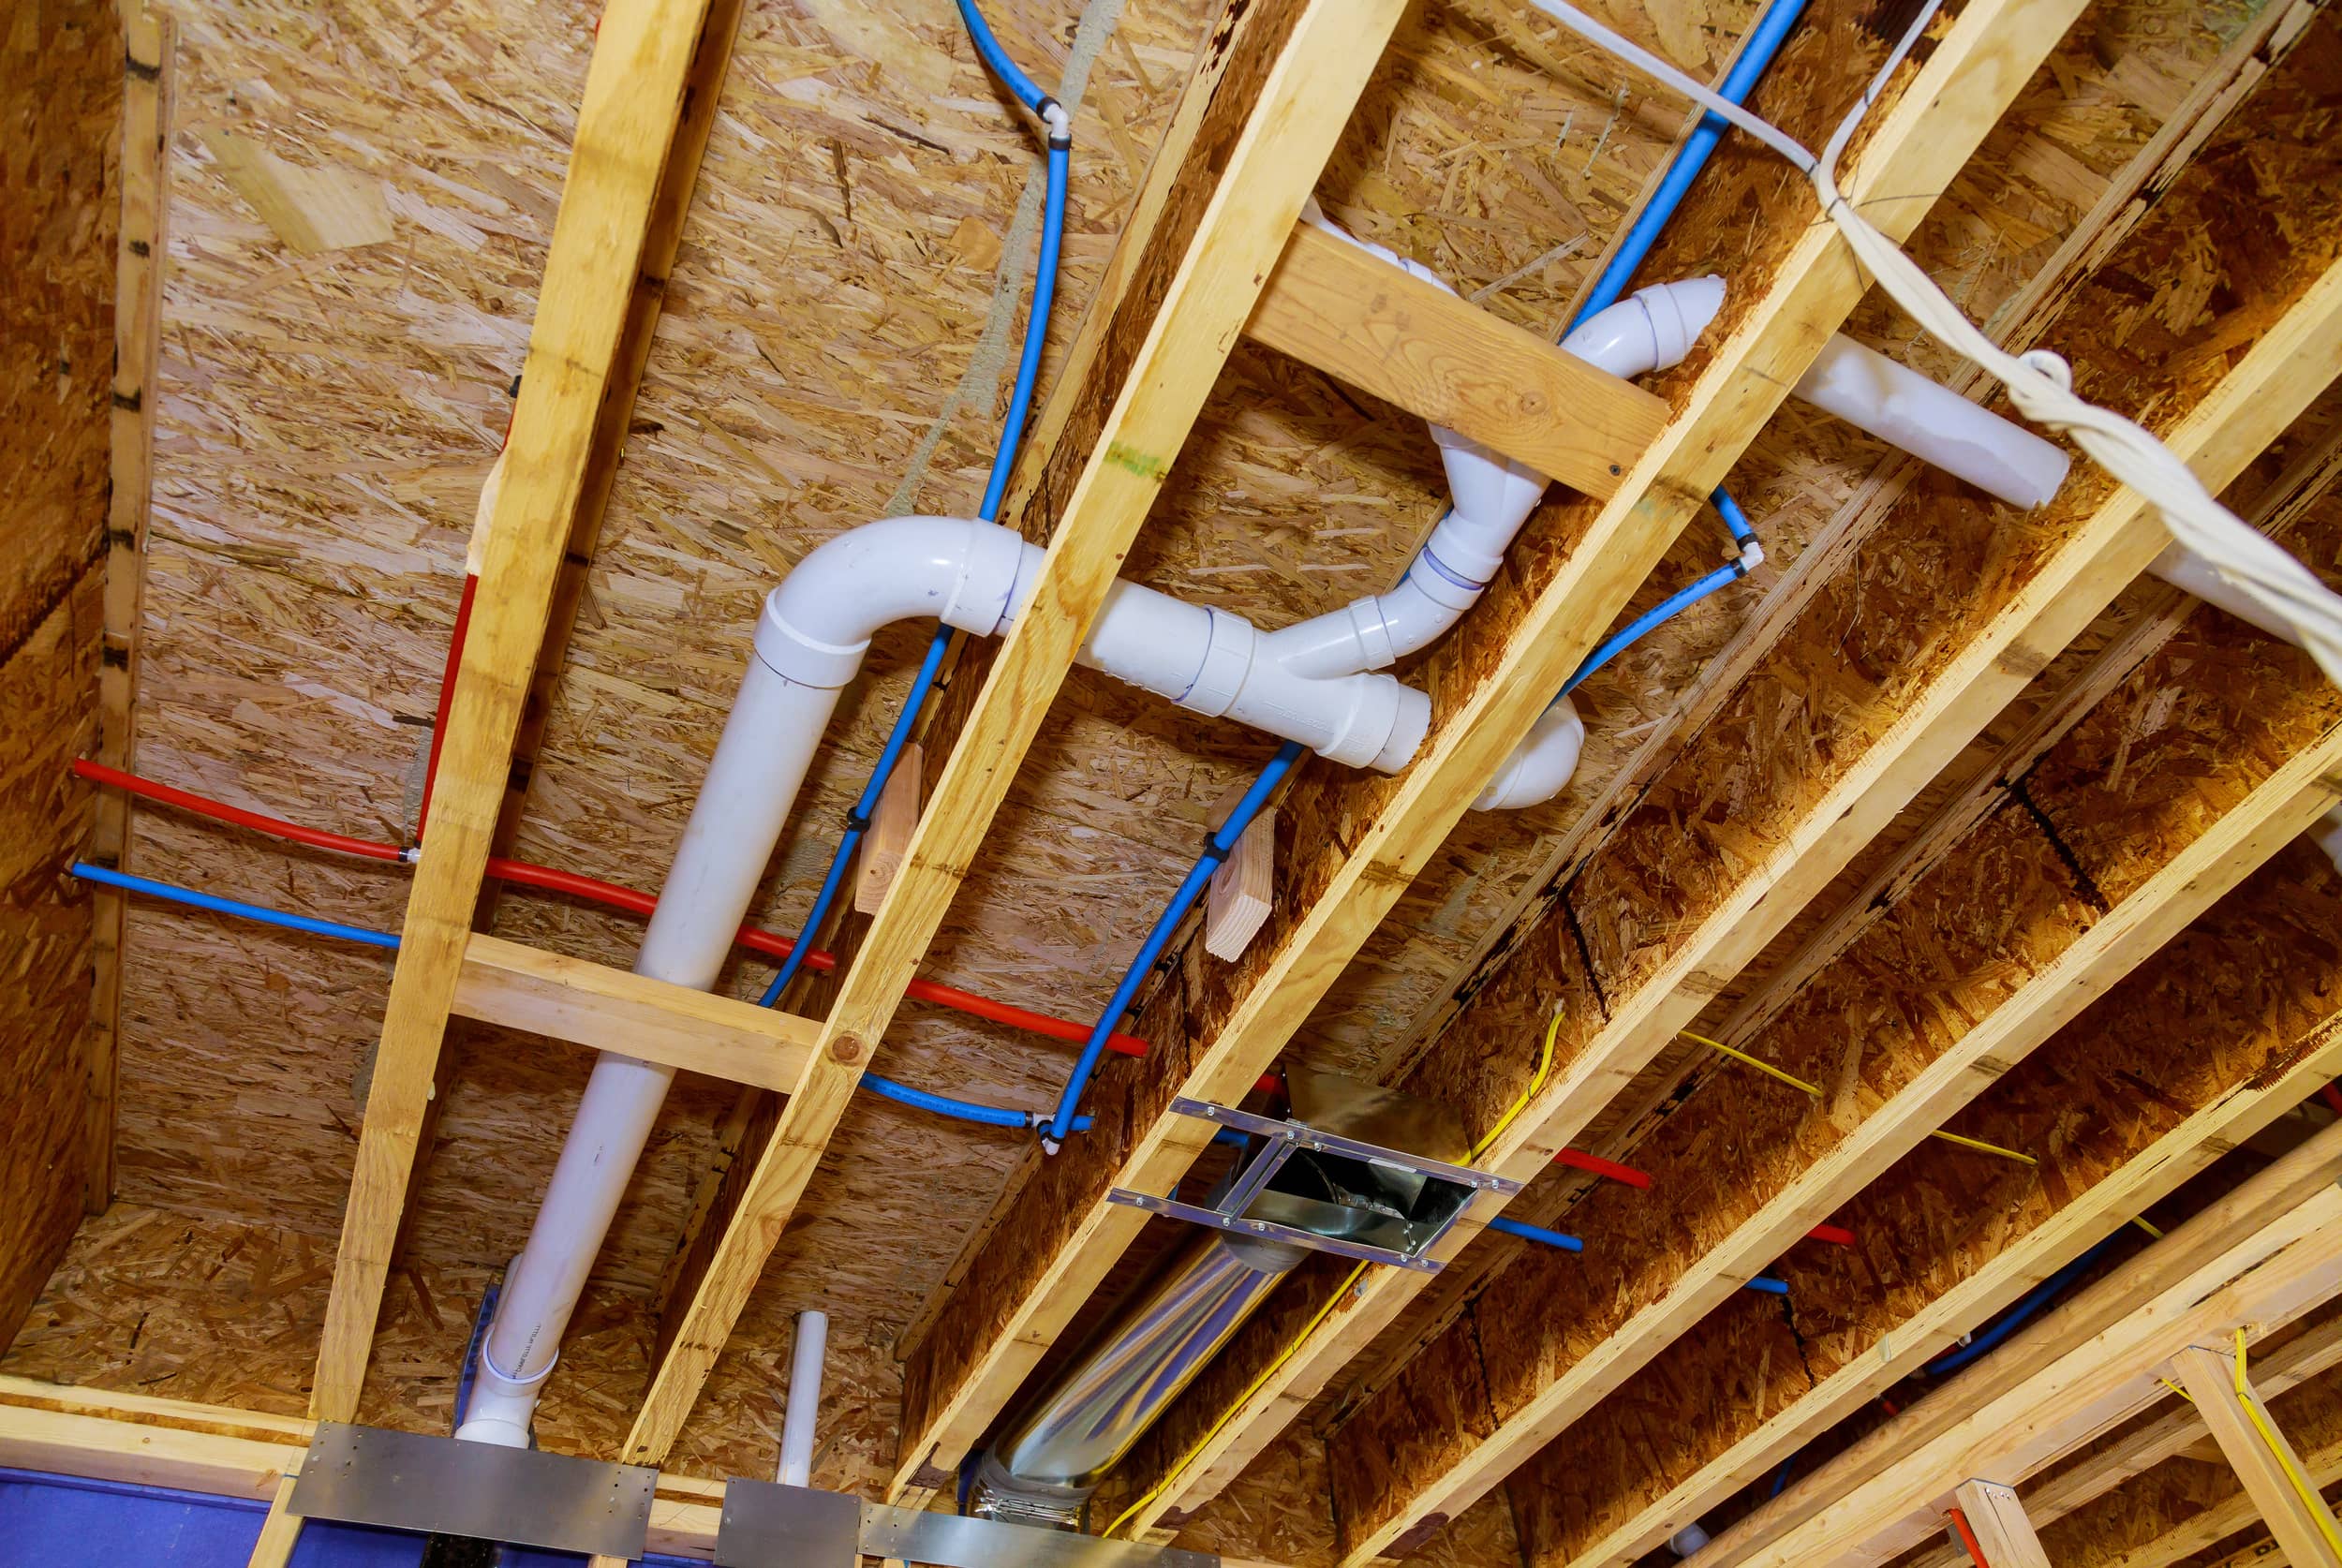
Rerouting means abandoning the leaking under-slab section and running a new line through walls, ceilings, or attic space. Many plumbers prefer this for older systems because it addresses the big fear with slab leaks: the next leak.
What it disrupts
- Drywall openings: Expect access holes in walls and ceilings. A good crew makes neat cuts. A rushed crew makes patching miserable.
- Attic work: In many homes, new lines run through the attic. That can mean insulation disturbance and some tight-space labor.
- Cabinet or vanity access: Supply lines often need to pop down into bathrooms and kitchens, which can mean temporary fixture removal.
When reroute is usually the smartest long-term play
- Your under-slab piping is older copper with corrosion or a history of pinhole leaks.
- The leak is hard to locate precisely, or it is in a spot that would be extremely expensive to demo and restore.
- You are already remodeling and walls or ceilings are going to be opened anyway.
- You want a repair that reduces the odds of another slab leak in the same line next year.
What drives cost
- How many fixtures are on that line: One bathroom group is different than a whole-house trunk line.
- Routing complexity: Two-story homes, tight framing, and long runs add labor.
- Material choice: Copper versus PEX and the type of fittings used change both cost and future serviceability.
- Patch and paint quality: Some plumbers include only the plumbing holes. Some coordinate full drywall repair. Get clarity.
- Local code requirements: Strapping, nail plates, fireblocking, and insulation protection all matter and take time.
One homeowner detail people miss
If the reroute will run through the attic, ask about temperature protection for your climate. In cold areas, that is freeze protection. In hot climates, attic heat can stress materials and raise water temperature at the tap. You want to hear the plan: burial in insulation when appropriate, routing away from vents and heat sources, and whether insulation sleeves are included.
How to choose: a simple checklist
If I were sitting at your kitchen table with three quotes, this is how I would sort them.
1) How confident is the leak location?
- High confidence: spot repair becomes more attractive.
- Low confidence: reroute or lining can reduce the risk of paying for exploratory demo.
2) What is the age and condition of the system?
- One-off damage in otherwise good pipe: spot repair can be reasonable.
- Corrosion or repeated leaks: reroute or a more comprehensive rehab is often cheaper over the next few years.
3) Where is the leak relative to finishes you care about?
- Under expensive tile or hardwood: factor floor restoration heavily. Reroute may be less painful overall.
- In a utility area or closet: spot repair disruption is easier to swallow.
4) Are you remodeling anyway?
If walls are coming open already, reroutes get dramatically easier and cleaner. Timing matters.
Questions to ask your plumber
Slab leak work is one of those areas where the best question is often: “Walk me through it.” You are listening for a clear sequence and clear boundaries.
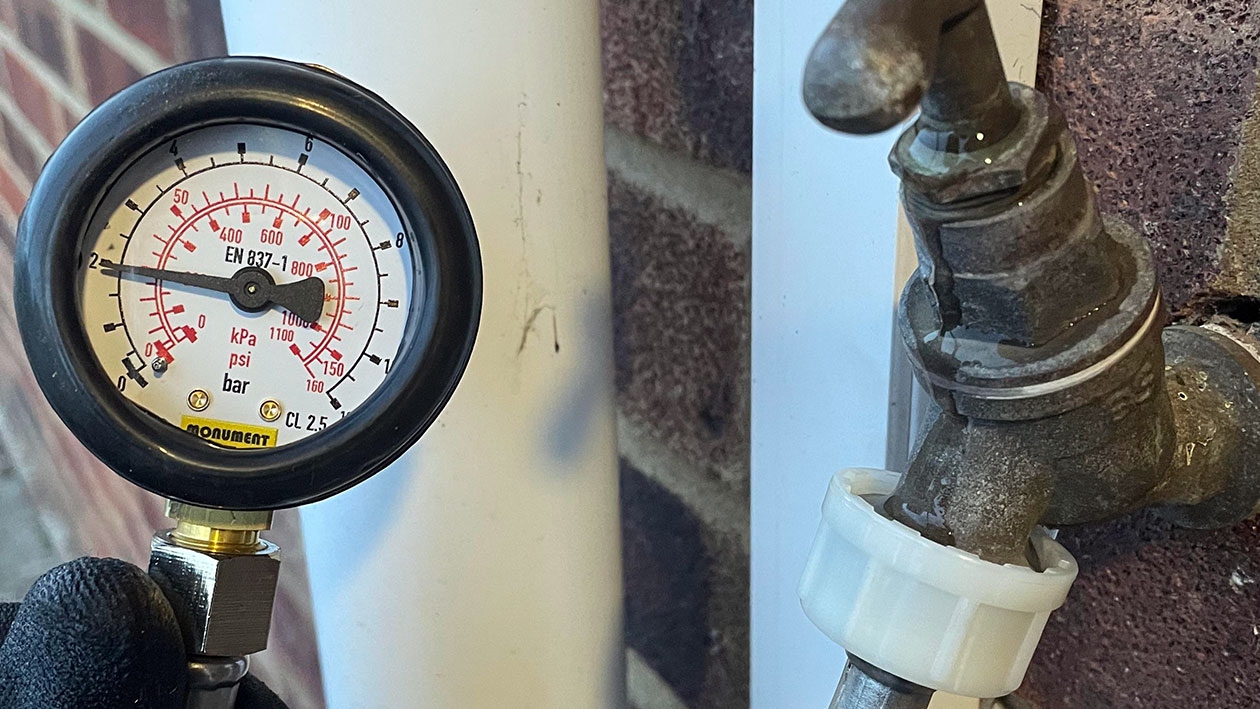
- How did you confirm it is a slab leak and not something else? You are not asking for warning signs. You are asking for their proof.
- How are you locating the leak? Acoustic listening, pressure testing, thermal imaging, tracer gas, and isolation testing all exist. Not every job needs every method, but “we’ll just start jackhammering” should make you pause.
- What exactly is included in your price? Plumbing repair only, or also concrete patch, floor repair, drywall patch, texture, paint, and cleanup?
- If you open the slab and do not find the leak, then what? Get the contingency plan and pricing in writing.
- Are you planning a repair or a replacement of that section? A clamp or short patch is different than replacing a longer run with new pipe and fittings.
- Will the new work meet current code? Especially relevant for reroutes, material transitions, and support requirements.
- What warranty do you provide? Ask what voids it, what paperwork you get, and whether it covers labor as well as materials.
- Will you pressure test after the repair? And will they document the test?
- Do you work with a leak detection specialist? Sometimes it is the same company, sometimes separate. Either is fine if the plan is solid.
Hiring red flags I watch for
- No written scope: If “repair slab leak” is the whole scope, expect surprises and finger-pointing later.
- Vague locating plan: If they cannot explain how they will confirm the leak location before cutting, you may be paying for guesswork.
- Mushy restoration responsibility: If nobody owns the concrete patch and finish repairs on paper, it usually lands in your lap.
- Warranty that sounds good but says little: “Lifetime” does not mean much without clear terms and exclusions.
- Pushy urgency without proof: Yes, leaks are urgent, but pressure should not replace explanation.
Cost talk: what to budget for beyond the repair
I cannot give an honest single number that fits every home, because labor rates and slab conditions vary wildly. But I can tell you what commonly inflates the total bill, even when the plumbing portion seems reasonable.
- Finish restoration: flooring replacement, tile matching, grout work, baseboards, transitions, and paint.
- Dust containment and cleanup: worth paying for, especially in lived-in homes.
- Access complexity: moving vanities, toilets, water heaters, built-ins, or appliances for access.
- After-hours or emergency work: nights and weekends cost more.
- Multiple mobilizations: one crew for plumbing, another for concrete, another for flooring, another for drywall. Coordination saves money.
If you are comparing quotes, ask each bidder to separate costs into buckets: diagnosis and location, plumbing repair, and restoration. That makes “cheap” quotes reveal what they left out.
What I would do in common scenarios
Scenario: one leak, newer home, accessible flooring
If the leak location is confident and the pipe system is not showing broader failure, a spot repair can be perfectly reasonable.
Scenario: older copper under slab, pinhole leaks, or repair history
I would strongly consider a reroute so you are not paying for multiple slab openings over the next few years.
Scenario: finished floors you cannot match, leak under a showcase space
Reroute is often the least emotionally painful. Paying a drywaller is usually easier than replacing half a room of discontinued tile.
Scenario: you want minimal demo and the line is a confirmed candidate
If the contractor can clearly explain product, prep, certification, local approval, and warranty, lining can be a low-disruption option.
FAQ
Is a spot repair a permanent fix?
It permanently fixes that leak. It does not guarantee the rest of the under-slab line will not develop a new leak later, especially if corrosion or poor water chemistry is part of the story.
Will rerouting reduce water pressure?
It can if the new piping is undersized, poorly routed, or has too many restrictive fittings. A competent plumber sizes the pipe correctly and routes cleanly. Ask them to explain sizing choices.
Can I stay in the house during slab leak work?
Usually yes, but it depends on the method and location. Spot repairs can be loud and dusty. Reroutes mean openings in walls and ceilings. Lining can mean extended water shutoffs and noticeable odor during curing.
Should I file a homeowner’s insurance claim?
It varies by policy and endorsements, but insurance often treats this as two parts: the plumbing repair and the damage. Many policies cover resulting damage (like wet flooring) but not the pipe repair itself. Before you start demo, call your insurer and ask what documentation they want and whether they require pre-approval for mitigation.
Bottom line
If the leak is well located and the plumbing system is otherwise healthy, opening the slab for a spot repair can be the simplest path. If you are trying to avoid tearing up finished floors and your pipe is a good candidate, lining can reduce disruption, but it is specialized work and you should confirm local approval and potable-water certification. If your under-slab plumbing is aging or you are worried about repeat leaks, rerouting above the slab is often the most future-proof choice, even if it means drywall work.
Whatever route you pick, insist on a clear scope, clear restoration responsibilities, and a plan for what happens if the first attempt does not find or fully resolve the leak. That is how you keep a slab leak from turning into a full-blown renovation you did not budget for.
The 30-Second Cheat Sheet
Essential takeaways for: Slab Leak Repair Options: Spot Repair, Lining, or Reroute?
The fastest way to choose a slab leak repair method
- Spot repair (open slab): Best when the leak location is high-confidence and the rest of the pipe is in good shape. Biggest disruption is concrete cutting plus flooring restoration.
- Pipe lining (pressure-rated lining): Best when the pipe is structurally sound enough to clean and coat, and you want minimal demolition. Biggest risks are poor prep, a pipe that is not a good candidate, and local approval.
- Reroute above slab: Best when pipes are old, corrosion is likely, or you want to reduce the chance of repeat slab leaks. Biggest disruption is drywall openings and patching.
What drives the price (more than homeowners expect)
- Access and restoration: flooring replacement, drywall patch and paint, tile matching, baseboards, transitions.
- Confidence in leak location: low confidence can mean exploratory demolition and multiple visits.
- Pipe condition and complexity: long runs, many bends/branches, old materials, and tight framing raise labor.
Questions to ask any plumber
- How did you confirm the leak is under the slab?
- How are you locating the leak and how confident are you?
- What is included: plumbing only, or also concrete, flooring, drywall, paint, cleanup?
- If you open the slab and do not find the leak, what is the plan and cost?
- Will you pressure test after the repair and document it?
- What is the warranty and what does it actually cover?
My default rule of thumb
If your home has older under-slab piping or you have had prior leaks, reroute is often cheaper over the next few years than repeated spot repairs. If the pipes are newer and the leak is precisely located, a spot repair can be totally reasonable.
💡 Tip: Scroll up to read the full article for detailed, step-by-step instructions.
⬆️ Back to top
About Grit
Content Creator @ Grit & Home
Grit is Grit & Home’s little blue clay courier, delivering big questions about the place you call home. Expect practical ideas, a raised eyebrow, and a satchel full of curiosity.