🚨 In a DIY emergency or rush?
Skip the details and jump straight to our 30-second cheat sheet for the most crucial info.
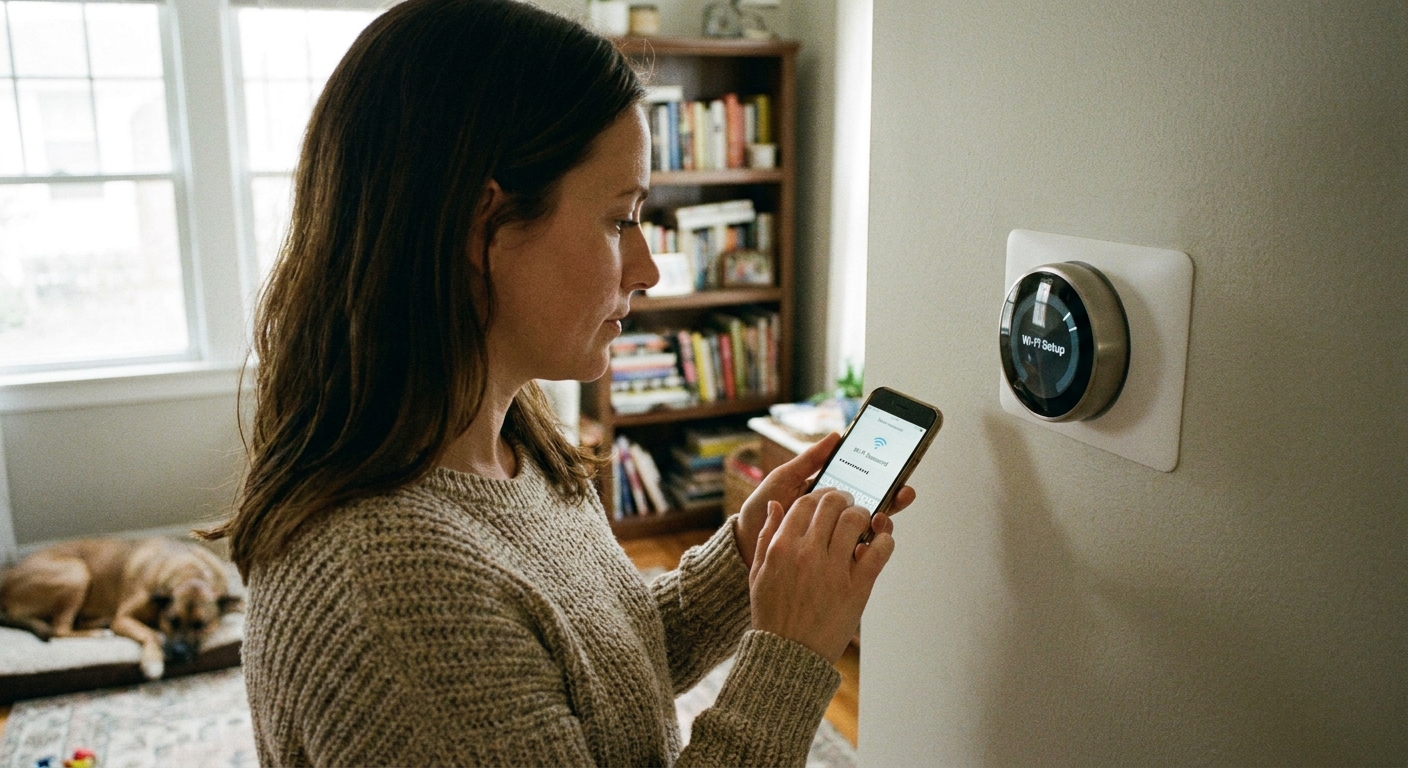
Nothing makes a smart thermostat feel “not so smart” like watching it fail on the last step: connecting to Wi-Fi. I have been there, phone in one hand, tiny on-screen keyboard in the other, and a thermostat that swears my password is wrong.
The good news is most connection failures fall into three buckets: the Wi-Fi band (2.4 vs 5 GHz), the app and account setup, or power problems that look like Wi-Fi. Let’s work through them in the order that fixes the most issues with the least effort.
Quick compatibility checklist
Take 60 seconds here. It can save you an hour of chasing the wrong problem.
- Your thermostat supports your network type. Many thermostats only support 2.4 GHz Wi-Fi, not 5 GHz. And almost none support 6 GHz (Wi-Fi 6E/7) yet.
- Your Wi-Fi security mode is compatible. Most devices expect WPA2 (or WPA2/WPA3 mixed). Some older models struggle with WPA3-only networks.
- Your SSID and password are “simple.” Avoid weird characters (especially quotes, backslashes, or emojis) while testing. Also watch for trailing spaces and copy/paste surprises. Some devices have character limits even if your phone does not.
- You are not on a captive portal network. Networks that require a browser sign-in page (common in hotels and some guest networks) usually will not work for thermostats.
- Your router is not isolating devices. Settings like “AP isolation,” “client isolation,” or some guest networks can block device-to-device discovery during setup.
- Your phone is on the same network you are trying to join. During setup, keep your phone on your home Wi-Fi, not cellular (unless the app tells you otherwise).
- Power is stable at the thermostat. If you see low battery warnings, random reboots, or the device freezes during setup, you might have a C-wire or power-steal issue.
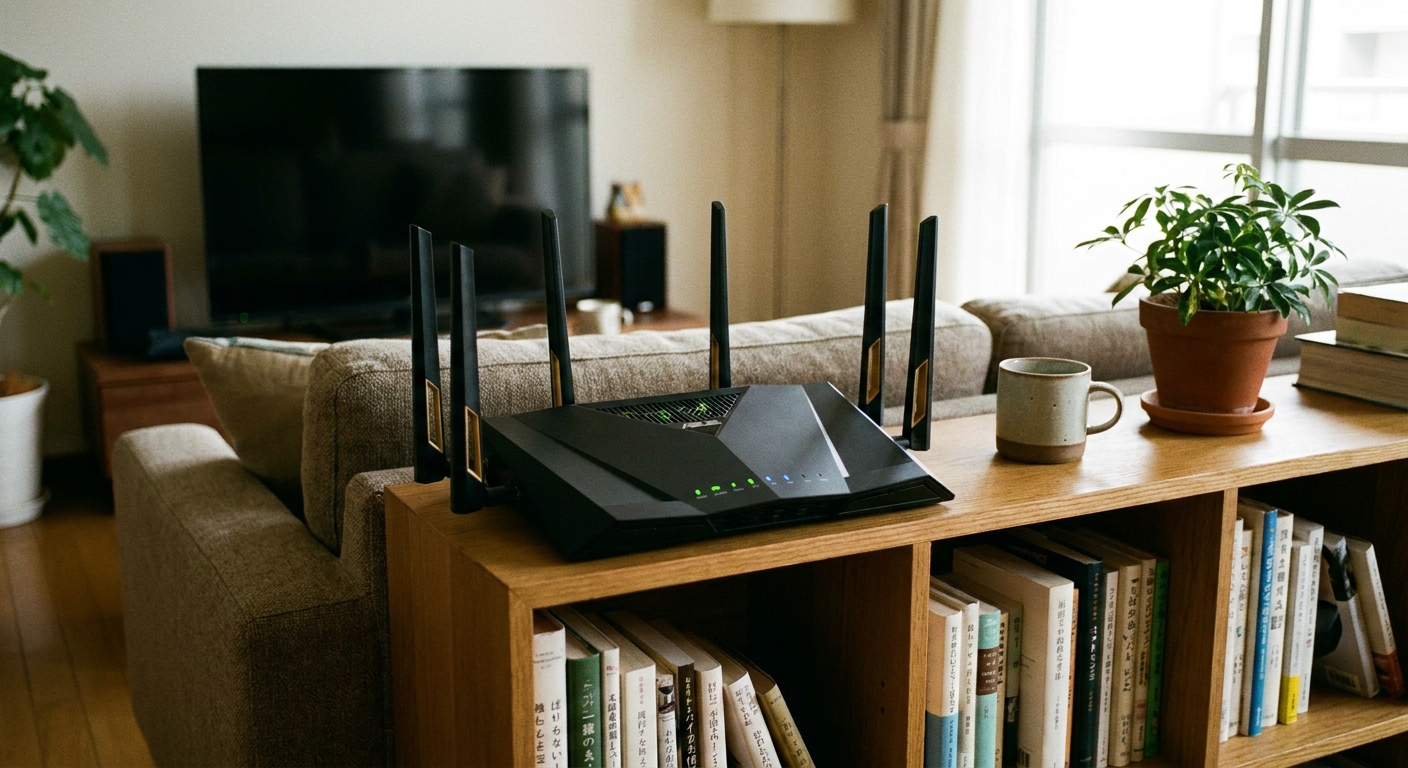
Start with 2.4 GHz vs 5 GHz
Here’s the plain-English version: 2.4 GHz goes farther and is easier for smart home gear. 5 GHz is faster, but shorter range and not always supported.
How to tell which band you need
- Check the thermostat’s setup screen or product specs first.
- If you see 802.11 b/g, that is 2.4 GHz.
- If you see 802.11 a/ac, that usually indicates 5 GHz capability.
- If you see 802.11 n or 802.11 ax, those can be 2.4 and/or 5 (and ax can also be 6 GHz on some routers). In other words: those labels alone do not guarantee which band your thermostat actually uses, so the spec sheet is your best friend.
Fixes for a shared network name (band steering)
Many newer routers use the same SSID for multiple bands. Convenient for phones, confusing for some thermostats.
- Temporarily disable 5 GHz (and 6 GHz if your router has it) in router settings, connect the thermostat, then re-enable them.
- Create a dedicated 2.4 GHz SSID (example: MyHouse_2G) and use that for smart devices.
- Move closer to the router during setup if possible, or open the door to the mechanical room. Weak signal can sometimes show up as a generic “wrong password” style error.
- Heads up on some ecosystems: a few thermostats want 2.4 GHz for setup even if they can use 5 GHz later.
How to access router settings
If “disable 5 GHz” sounds like wizard talk, here’s the quick version. You can usually get into your router settings one of two ways:
- Router app: open the router’s mobile app (common with mesh systems and ISP gateways).
- Web browser: type your router’s IP address into a browser on a device connected to your Wi-Fi. Common ones are 192.168.0.1 or 192.168.1.1. If you are not sure, look for a sticker on the router or check your phone’s Wi-Fi details for “Router” or “Gateway.”
Once you are in, look for Wireless, Wi-Fi, or Advanced, then settings like bands, band steering, guest network, or AP/client isolation.
Restart order that actually helps
If you only do one “classic” troubleshooting move, do it this way. The order matters because the modem needs to come online before the router can properly re-establish the internet connection.
Do this power cycle in order
- Unplug the modem (or the gateway if it is a combo unit) and the router.
- Wait 60 seconds. Yes, a full minute.
- Plug the modem back in. Wait until it is fully online (usually 2 to 5 minutes, until the “online” light is steady).
- Plug the router back in. Wait another 2 to 3 minutes.
- Reboot the thermostat from its settings menu if it has one. If not, gently remove it from the wall plate for 10 seconds and snap it back on only if your model is designed for that.
If the thermostat connects after this, you likely had a stuck DHCP lease or router hiccup, not a bad thermostat.
App fixes: login, permissions, updates
I have wasted time “fixing Wi-Fi” when the real problem was the app. Smart thermostats are basically a three-part handshake: thermostat, phone, and cloud account.
1) Confirm the right account
- Log out, then log back in.
- If you have multiple emails, double-check which one owns the thermostat.
- If you recently changed your password, update it in the app first.
2) Check app permissions (especially on iPhone)
- Bluetooth: many thermostats use BLE for initial pairing.
- Location: some apps require it to detect nearby devices or to choose the right Wi-Fi during setup.
- Local network access (iOS): if blocked, the app may not see the thermostat on your LAN.
3) Update what you can
- Update the thermostat app.
- Update your phone OS if you are behind.
- If the thermostat supports an update before it is fully online, follow the app prompts. Often, your phone downloads the update using its internet connection (Wi-Fi or cellular) and then sends it to the thermostat over Bluetooth or a temporary setup connection.
Remove and re-add the thermostat
When setup fails repeatedly, you can wind up with a half-registered device in the app, or the thermostat keeps trying to rejoin with bad saved info. Starting fresh often fixes it.
Reset and re-add
- Delete the thermostat from the app (remove device).
- Forget the thermostat’s temporary setup network on your phone, if it created one.
- Factory reset the thermostat using its reset menu (wording varies: “Reset,” “Factory reset,” “Reconfigure Wi-Fi”).
- Restart your phone (sounds basic, but it clears cached pairing data).
- Start setup again and connect using 2.4 GHz if available.
Thrifty tip: If your router supports it, set up a separate 2.4 GHz “smart home” network once, then every future smart device install gets easier.
When it looks like Wi-Fi but it is power
This is the part that surprises a lot of homeowners. A thermostat can have enough power to light the screen, but not enough power to keep its Wi-Fi radio stable. The result: dropped connections, failed pairing, or it connects for a day then disappears.
Power symptoms that mimic “bad Wi-Fi”
- Thermostat reboots randomly or freezes during setup.
- Wi-Fi connects, then disconnects every few minutes or hours.
- Battery-powered models show low battery warnings even though they are “wired.”
- The HVAC system does odd stuff like short cycling or the fan runs when it should not.
What the C-wire does
The C-wire is the common return path that gives the thermostat steady 24V power. Without it, many smart thermostats try to “sip” power through other wires (power stealing). That can work, but it is not always reliable, especially with older furnaces, some heat pump setups, or sensitive control boards.
What you can check safely
- Turn off HVAC power at the breaker before touching thermostat wiring.
- Pull the thermostat face and see if a wire is connected to a terminal marked C .
- If there is an unused wire in the bundle behind the thermostat, you may be able to use it as a C-wire, but it must also be connected to C at the furnace control board.
Safety note: If you are not comfortable working around the control board, or your wiring does not match the guide, this is a good moment to call an HVAC pro. Ten minutes for them can save you a cooked fuse or a fried control board.
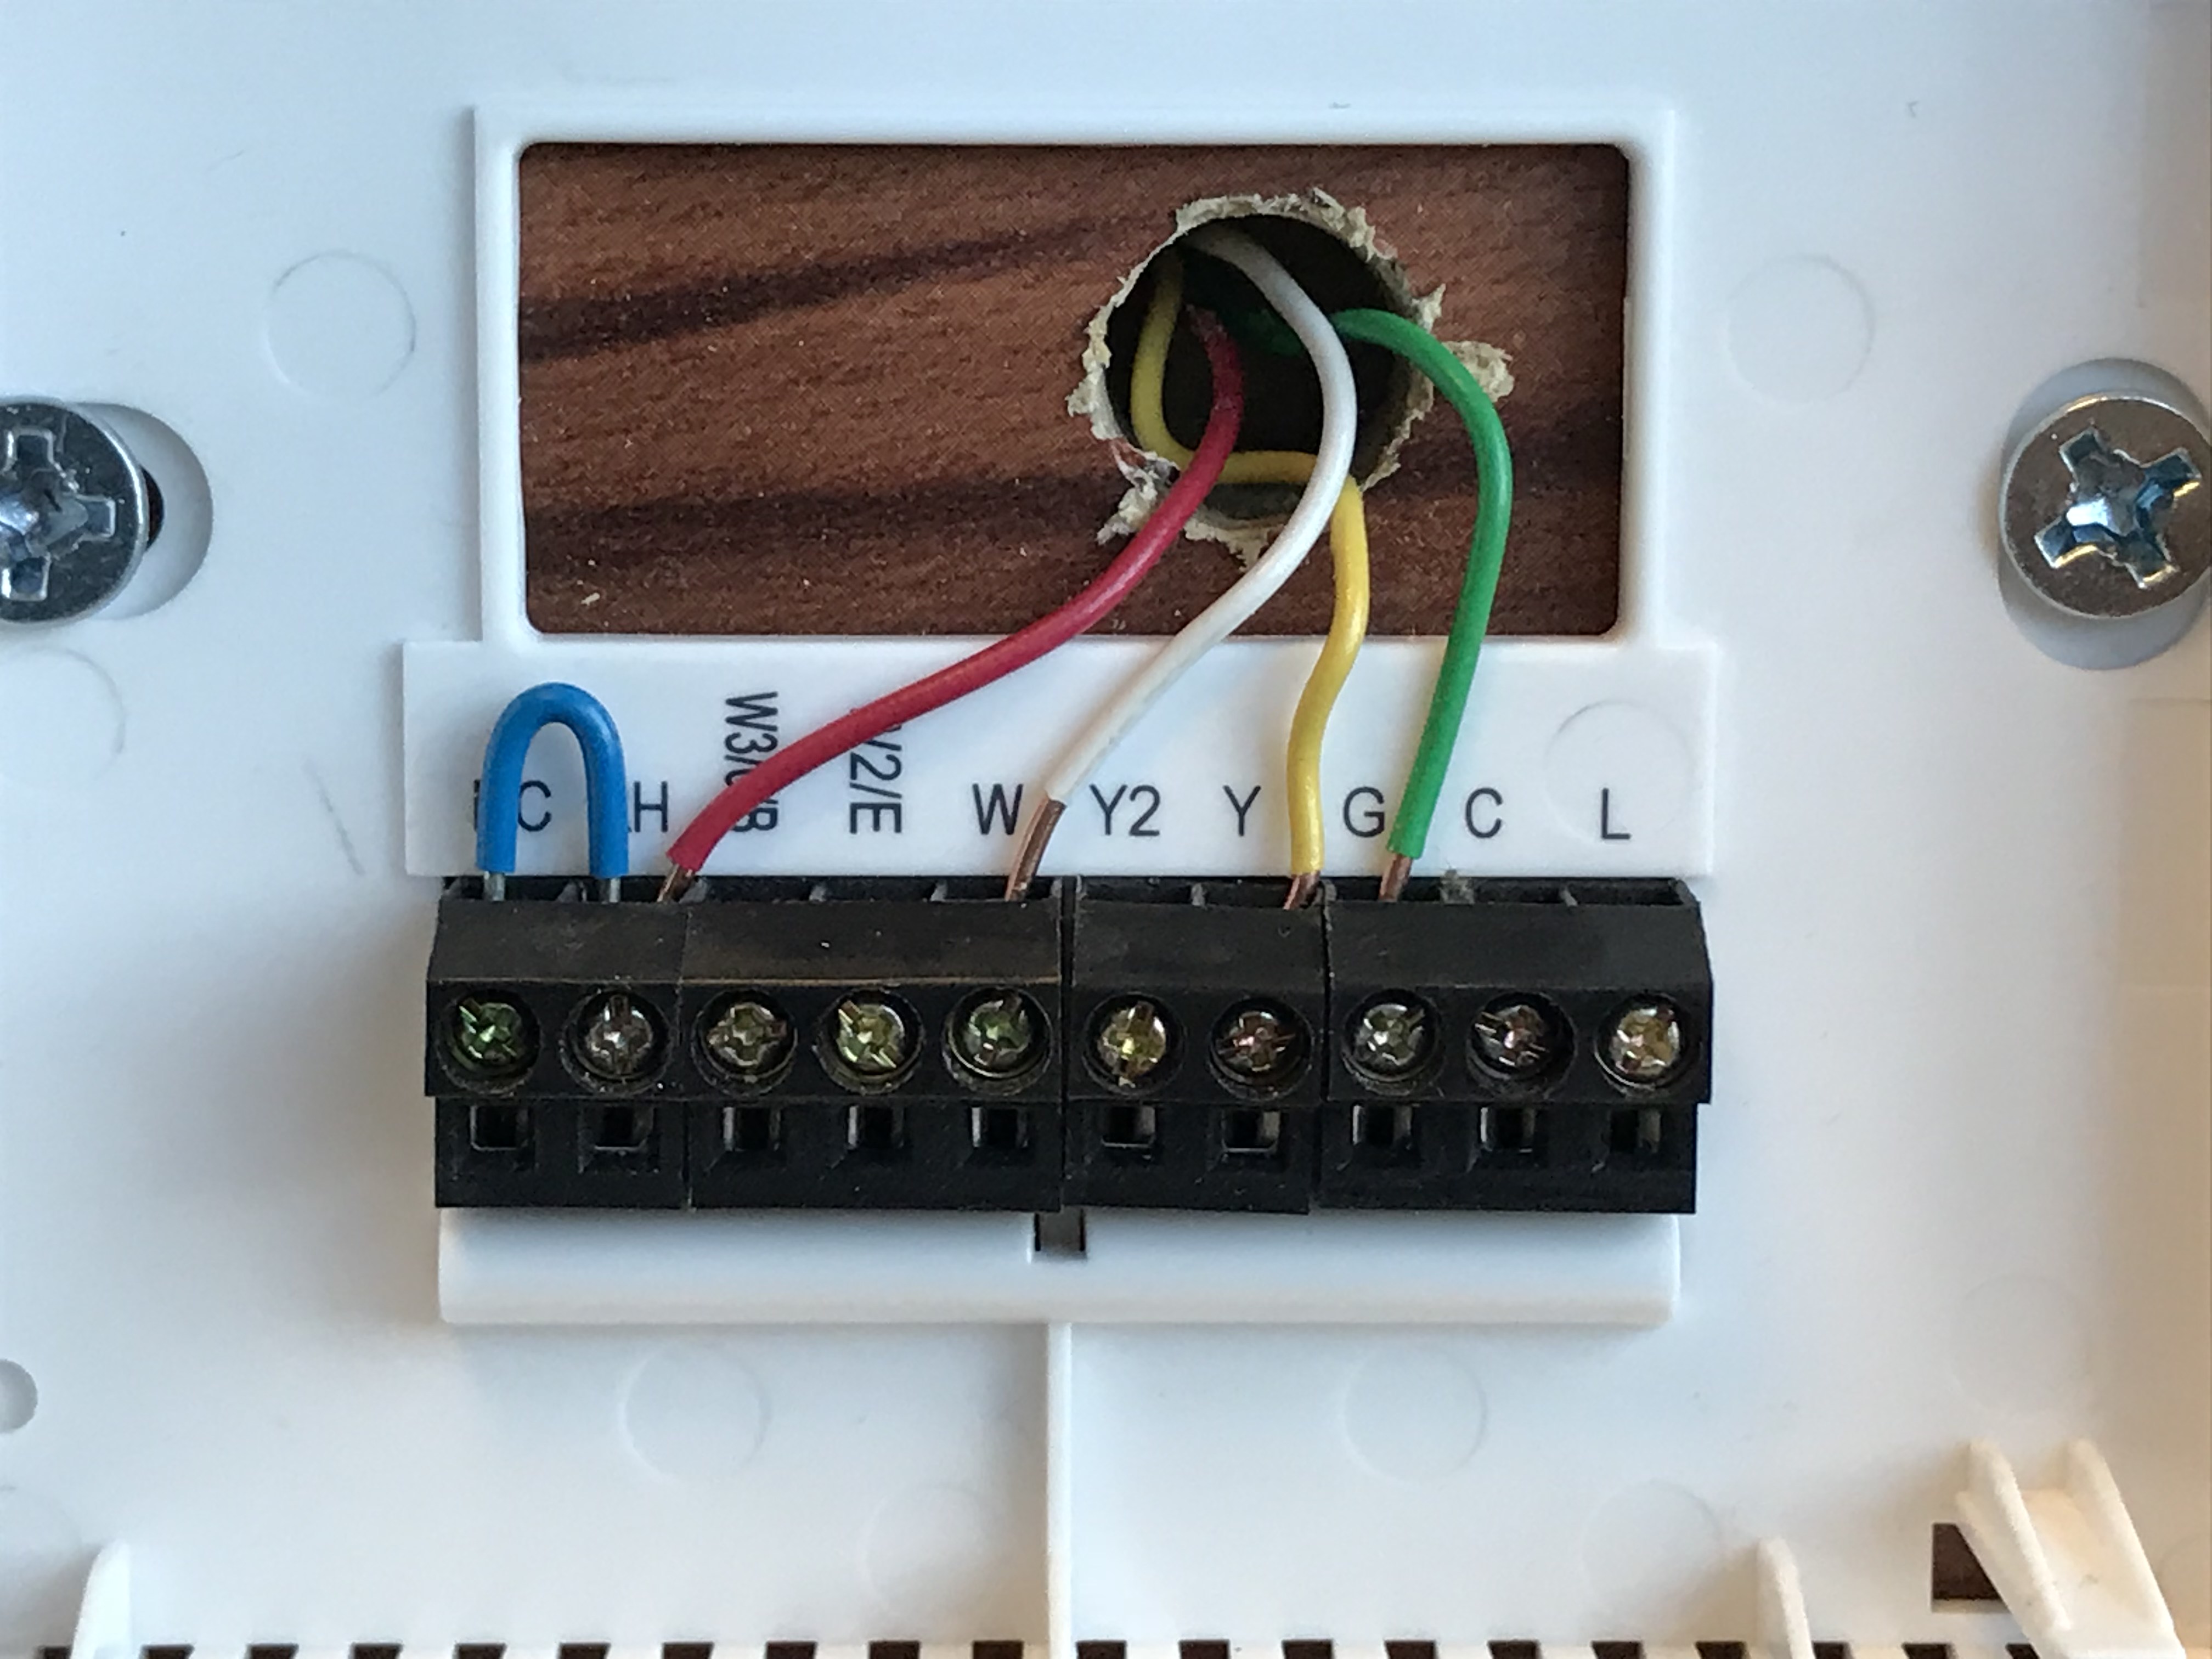
If you do not have a C-wire
- Use the manufacturer’s C-wire adapter kit (often included or sold separately). This is usually the cleanest fix.
- Run a new thermostat cable if you can access the wall cavity or basement. More work up front, fewer headaches forever.
- Confirm your thermostat supports power stealing on your HVAC type. Some systems play nicer than others.
My honest DIY lesson: I once chased “router issues” for a week. The real fix was adding a C-wire adapter because the thermostat’s Wi-Fi chip was browning out whenever the furnace kicked on.
Router settings that block thermostats
If you have confirmed 2.4 GHz, restarted correctly, and the app is behaving, it is time to look at the router configuration.
Check these settings
- WPA mode: Use WPA2 or WPA2/WPA3 mixed. Avoid WPA3-only while troubleshooting.
- Guest network: A guest network is not automatically bad, but many guest networks enable client isolation by default. Use your main network for setup unless you know the guest network allows device-to-device connections.
- Captive portal: If the network requires a browser sign-in page, most thermostats cannot complete that step.
- Client isolation / AP isolation: Turn it off for the network you are using.
- MAC filtering: If enabled, add the thermostat’s MAC address or disable filtering.
- Firewall or “IoT security” features: Some routers block onboarding traffic. Temporarily disable advanced security features to test.
- DNS filtering / parental controls: These can block the thermostat from reaching its cloud servers.
Mesh Wi-Fi note
Mesh systems are great, but onboarding can be finicky. Try these if you have mesh:
- Temporarily turn off extra nodes and set up using just the main router.
- Disable band steering during setup.
- Move the thermostat or phone closer to the primary node for pairing.
Optional advanced tip
If your 2.4 GHz network is packed (apartment buildings, lots of smart devices), interference can cause flaky setup. Trying a different 2.4 GHz channel (1, 6, or 11) can help, but only if you are comfortable in router settings.
Still not connecting? Last pass
At this point, you are doing a “clean room” test to separate thermostat problems from network problems.
- Try a phone hotspot (2.4 GHz if your phone allows it). If the thermostat connects to the hotspot but not your home Wi-Fi, your home router settings are the issue.
- Try a different phone for setup. If it works on another phone, it is likely permissions or cached pairing data.
- Move the router temporarily closer (or use a long Ethernet cable for a short test). If it connects only when close, you have a signal problem, not an app problem.
- Check HVAC power stability again. If connection drops when heating or cooling starts, think C-wire, not Wi-Fi.
If none of that works, check the thermostat manufacturer’s compatibility checker and wiring guide for your exact HVAC type (gas furnace, boiler, heat pump with aux heat, etc.). A wiring mismatch can prevent stable power and cause all sorts of “network-looking” behavior.
The 30-Second Cheat Sheet
Essential takeaways for: Smart Thermostat Won’t Connect to Wi-Fi? Fix App, Router, and Power Issues
Fast fixes (do these in order)
- Use 2.4 GHz Wi-Fi. Many smart thermostats will not join 5 GHz (and almost none join 6 GHz). If your router uses one SSID for all bands, temporarily disable 5 GHz (and 6 GHz if present) or create a separate 2.4 GHz SSID.
- Restart in the right order: unplug modem + router (60 seconds) → plug in modem (wait fully online) → plug in router (wait) → reboot thermostat.
- App basics: confirm you are logged in to the correct account, allow Bluetooth + Location + Local Network permissions, update the app and phone OS.
- Clean re-pair: delete device from app → factory reset thermostat → restart phone → add device again.
Compatibility checklist
- Wi-Fi security: WPA2 or WPA2/WPA3 mixed (avoid WPA3-only while troubleshooting).
- No captive portal: networks that require a browser sign-in page usually will not work.
- No isolation: avoid guest networks with client/AP isolation, or disable isolation on the network you are using.
When “Wi-Fi issues” are actually power issues
- If the thermostat reboots, drops Wi-Fi randomly, or only fails when the HVAC runs, suspect missing C-wire or unreliable power stealing.
- Fix options: add a C-wire, install the manufacturer’s C-wire adapter, or run new thermostat cable.
One quick test
Try a phone hotspot. If the thermostat connects to the hotspot but not your home Wi-Fi, the router settings or bands are the culprit.
💡 Tip: Scroll up to read the full article for detailed, step-by-step instructions.
⬆️ Back to topAbout Marcus Vance
Content Creator @ Grit & Home
Marcus Vance is a lifelong DIY enthusiast and self-taught home renovator who has spent the last decade transforming a dilapidated 1970s ranch into his family's dream home. He specializes in budget-friendly carpentry, room-by-room renovations, and demystifying power tools for beginners. Through his writing, Marcus shares practical tutorials and hard-learned lessons to help homeowners tackle their own projects with confidence.