
🚨 In a DIY emergency or rush?
Skip the details and jump straight to our 30-second cheat sheet for the most crucial info.
Smoke alarms are one of those things you only notice when they are annoying or scary. A random chirp at 2 a.m. A full-volume alarm while you are making toast. Or worse, a unit that is completely silent when you press the test button.
This guide is built for real life: you tell me the symptom, and we work the problem in a safe, methodical order. I cover battery-only alarms and hardwired alarms (including interconnected systems where one alarm sets off the rest).
Quick vocabulary that helps: a chirp usually means maintenance or trouble (battery, end-of-life, fault). A full alarm is the loud, continuous alert meant to get you moving.
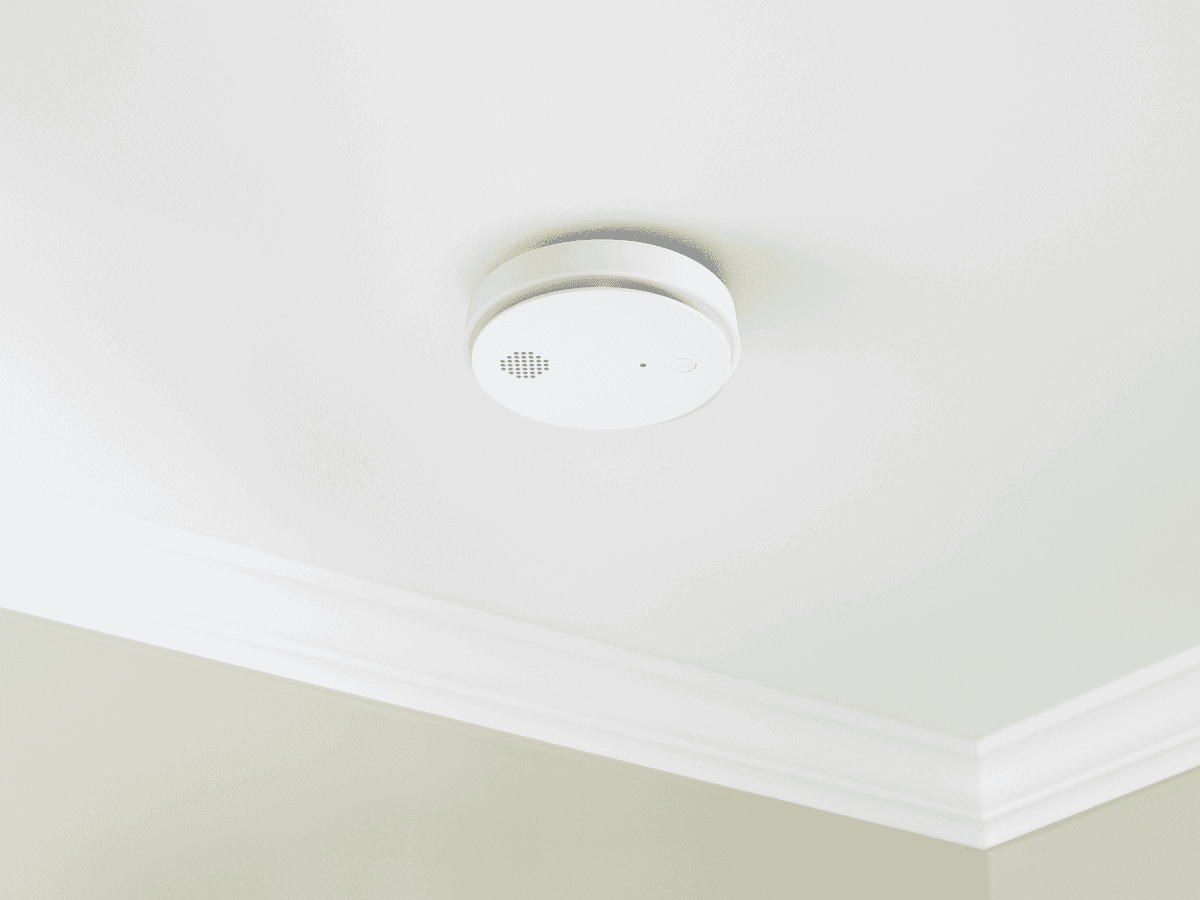
Safety first: before you start
If your alarm is sounding and you are not 100 percent sure it is a false alarm, treat it as real until proven otherwise.
- If you see smoke or smell something off: get everyone outside and call 911.
- If you are confident there is no fire: silence the alarm, ventilate the area, and troubleshoot.
Know what you have
- Battery-only smoke alarm: the alarm mounts to a bracket and runs only on a removable battery.
- Hardwired smoke alarm: the alarm is connected to house power (typically 120V) and usually has a backup battery. When you twist it off the bracket you will see a wiring plug.
- Interconnected system: multiple alarms communicate. When one alarms, several or all will alarm.
Tools that make this easier
- Step stool
- Fresh batteries (use the type stamped inside the alarm)
- Vacuum with soft brush attachment
- Compressed air (optional)
- Flashlight
- Painter’s tape and a marker (to label which unit was acting up)
Start here: symptom map
If you are not sure what the beeps mean, use this to get pointed in the right direction.
- Constant chirping (every 30 to 60 seconds): low battery, dirty sensor, end-of-life, or a battery drawer that is not fully closed.
- Full alarm with no smoke: cooking aerosols, humidity, dust, insect contamination, poor placement, or a failing unit.
- Intermittent beep (not a regular chirp): manufacturer trouble code, carbon monoxide warning (combo units), or a system communication issue.
- Dead silence (no test sound): no power, bad battery, tripped breaker, loose wiring plug, or a failed alarm.
- Interconnect chaos (all alarms going off): one initiating unit, an interconnect wiring issue, or an interconnect compatibility problem.
Symptom 1: Constant chirping
The classic “one chirp every minute” is usually a maintenance warning, not an emergency. Here is the order that fixes it most often.
Step 1: Replace the battery (for real)
- Use a fresh battery. I have chased chirps for an hour with a “new” battery that had been rolling around in a junk drawer.
- Match the battery type exactly (9V, AA, CR123A, sealed lithium, etc.).
- Make sure the battery door fully closes. Some models chirp if the door is not latched even if the battery is fine.
- Avoid rechargeables unless your manual explicitly says they are allowed. Many alarms do not like their voltage curve.
- If the terminals look bent or dirty, fix that first. A loose connection can act like a weak battery.
Step 2: Clean the alarm
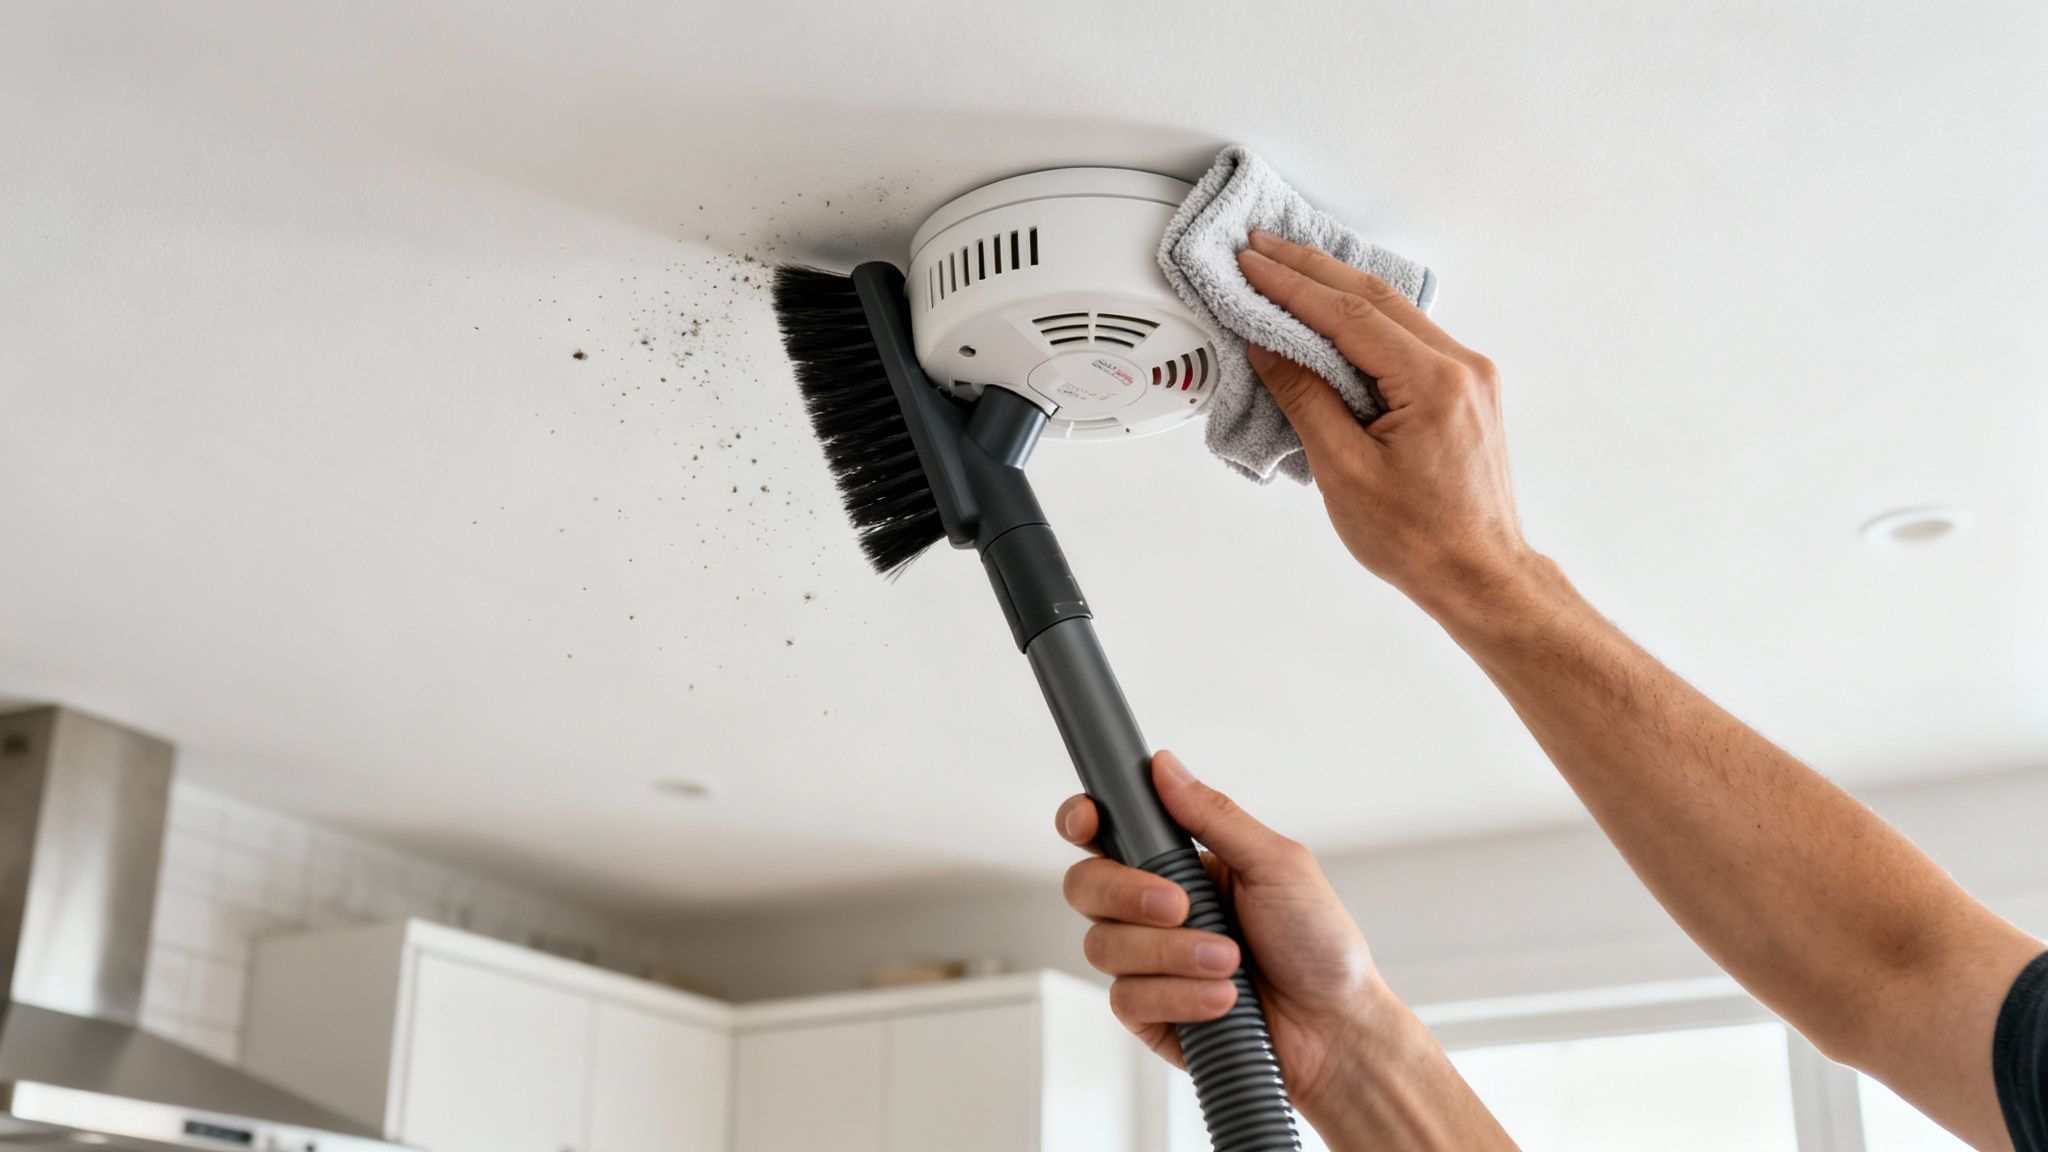
Dust and tiny bugs can cause low-level sensor noise that the alarm reads as trouble.
- Vacuum around the vents with a soft brush.
- Use short bursts of compressed air through the vent openings.
- Wipe the outside with a dry microfiber cloth. Do not spray cleaner into the alarm.
Step 3: Do a full reset
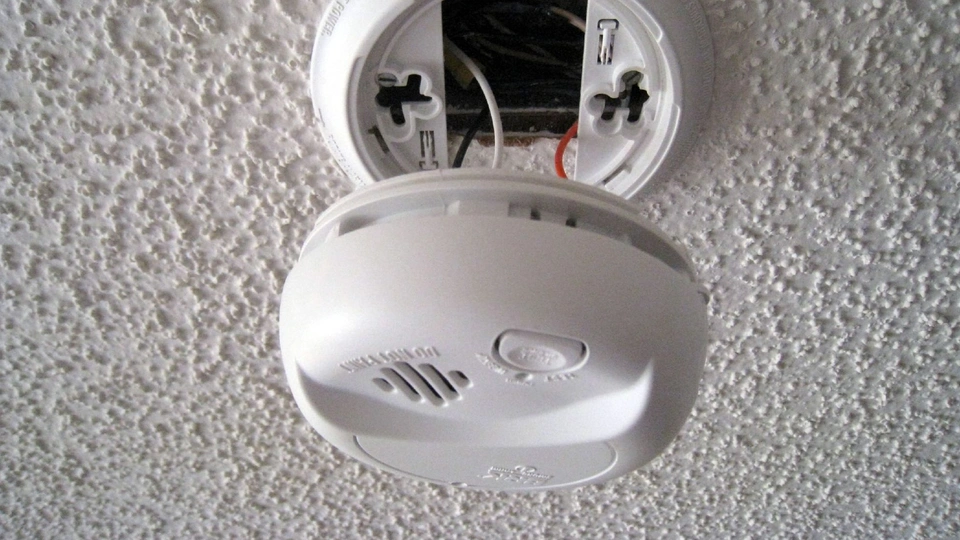
This clears residual charge and many stubborn chirps, especially on hardwired units. Not every brand uses the exact same reset process, so if your manual has different steps, follow that.
- Battery-only: remove the alarm from the bracket, remove the battery, hold the test button for 15 to 30 seconds (if the manual allows it), reinstall the battery, then test.
- Hardwired: turn off the breaker for the alarm circuit, twist the alarm off, unplug the wiring harness, remove the backup battery, hold the test button for 15 to 30 seconds (common on many models), reinstall battery, plug harness back in, reinstall, turn breaker on, then test.
Step 4: Check end-of-life (EOL)
Most smoke alarms are designed to be replaced at 10 years, but always check the label or manual. Combo smoke/CO units can have a different service life for the CO sensor (often 7 to 10 years depending on model), and sealed-battery models still expire even if you cannot replace the battery.
- Find the manufacture date on the back.
- Look up the EOL pattern for your exact model. End-of-life chirps and lights vary by brand.
- If it is near or past the replacement age, replacement is usually the correct fix, even if it “seems fine.”
My thrifty rule: I will spend time cleaning and resetting a 2-year-old alarm. I will not spend an hour arguing with a 12-year-old one.
Symptom 2: Full alarm with no smoke
False alarms are usually about air quality and placement. Smoke alarms are sensitive, and that is the point, but they should not punish you for boiling pasta.
Common causes
- Cooking aerosols: frying, broiling, toaster smoke
- Steam and humidity: showers, humidifiers, kettle steam
- Dust: sanding, drywall work, sweeping near the alarm
- Insects: small bugs getting into the sensing chamber
- Alarm type vs location: ionization alarms often nuisance-alarm more near kitchens than photoelectric models
Fixes that work
- Ventilate first: open a window, run the range hood, use a fan to move air away from the alarm.
- Clean the alarm: vacuum and compressed air as described above.
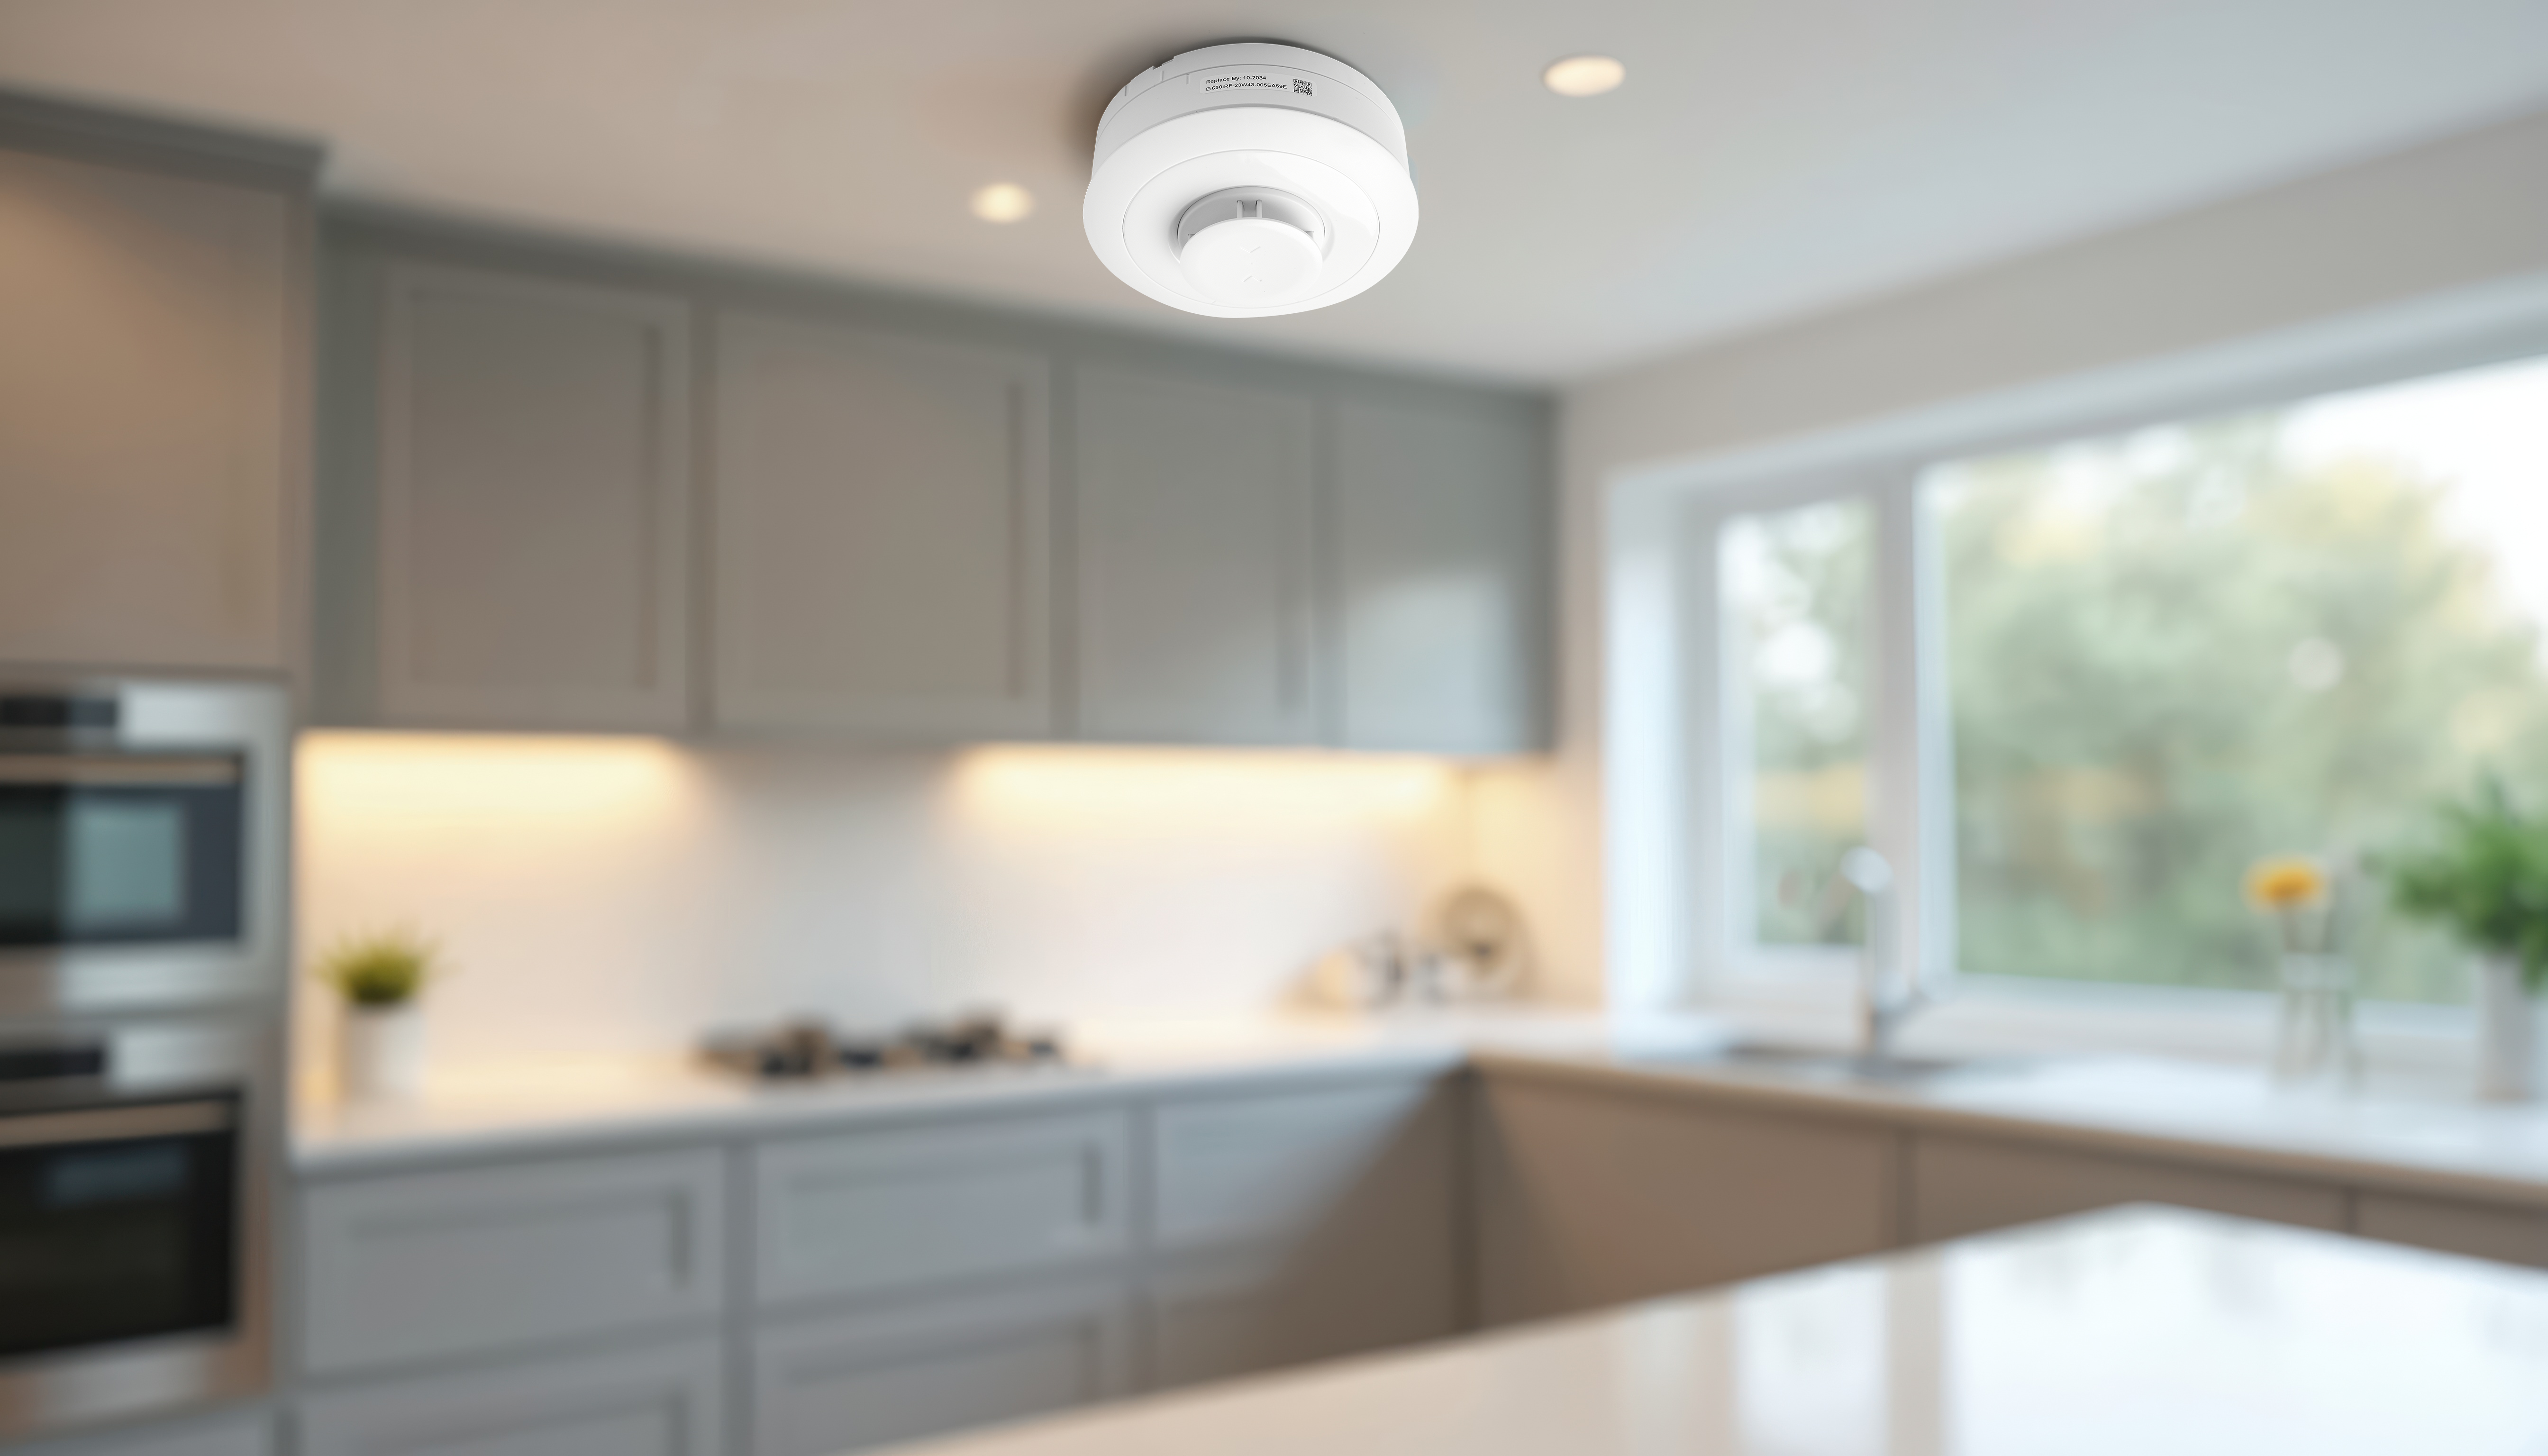
- Check placement: many manufacturers recommend keeping alarms about 10 feet from cooking appliances if possible. If your layout or code makes that unrealistic, focus on strong ventilation, use the hush feature correctly, and consider a photoelectric alarm near the kitchen.
- Consider photoelectric near kitchens: they tend to be less trigger-happy with cooking particles. If you have an interconnected system, replace with a model that is compatible with your existing interconnect setup.
What not to do
- Do not remove the battery “just while cooking.” That is how alarms stay disabled for months.
- Do not paint the alarm or cover it with plastic except temporarily during dusty work, and remove the cover immediately afterward.
If it keeps happening
If a clean, properly placed alarm still false-alarms repeatedly, it may be failing. Replacement is usually cheaper than the stress and the temptation to disable it.
Symptom 3: Intermittent beeps
Here is where people get stuck, because the beeps do not sound like “low battery,” and search results are all over the place. Your best friend is the beep code chart for your exact model.
Step 1: Identify the model
- Pull the alarm down and look for the model number on the back.
- Search the model number plus “manual” and “beep code.”
- Many alarms use different patterns for low battery, sensor fault, end-of-life, or interconnect trouble.
Tip: Some alarms have an LED that flashes in a pattern along with the beeps. Count both, then match the manual.
Step 2: Combo smoke/CO units are different
Combo units can beep for carbon monoxide events or CO sensor faults. If it is an actual CO alarm (not a chirp), treat it seriously: get fresh air and follow the device instructions. If anyone has headache, nausea, or dizziness, get outside and call emergency services.
Step 3: Clear the common trouble causes
- Replace the battery
- Clean the alarm vents
- Reset the alarm (full power reset for hardwired units, if your manual recommends it)
- Replace if end-of-life
Symptom 4: Dead silence
A silent alarm is the one that worries me most. Troubleshoot it like you would a dead outlet: verify power, verify connections, then consider replacement.
Battery-only alarms
- Install a fresh battery and confirm correct orientation.
- Check for a plastic pull-tab or battery isolator (common on new units).
- Hold the test button for a full 5 to 10 seconds. Some models delay before sounding.
- If still dead, replace the unit.
Hardwired alarms
- Check the breaker: find the circuit labeled smoke alarms (sometimes tied to bedroom lights or a hallway circuit in older homes). Reset the breaker fully off then on.
- Check the green LED: many units show a solid green light when they have AC power.
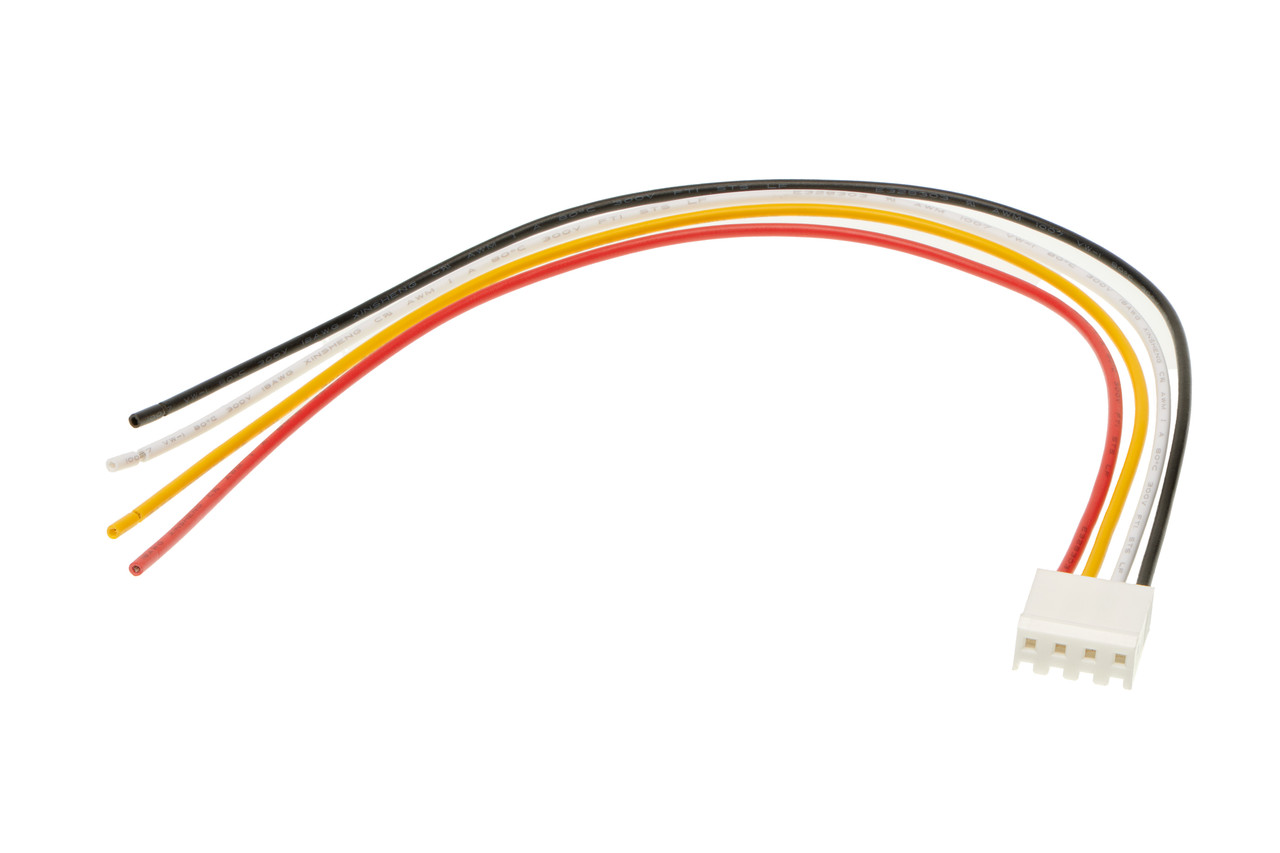
- Verify the wiring harness is fully plugged in: with power off, pull the alarm down and confirm the connector is seated.
If one hardwired alarm is dead
It is often a failed unit or a loose harness at that specific location. Swap locations with a known-good alarm only if the models are identical and the connectors match, and only with the breaker off. If the problem follows the alarm, replace it. If the problem stays with the ceiling location, call an electrician.
Symptom 5: Interconnect issues
Interconnected alarms are great when they work, and infuriating when they do not. The main goal is to find the initiating alarm, the one that started the chain reaction.
Step 1: Silence and isolate
- Press Hush or Silence on the alarm that is actively sounding, if accessible.
- If they keep re-triggering and you have confirmed there is no fire, turn off the breaker feeding the smoke alarms.
- Leave the alarms mounted if possible, then work one by one.
Step 2: Find the initiating unit
- After things calm down, look for a unit with a different LED behavior or a memory indicator (varies by brand).
- If your units are newer, some will announce “Smoke” or “Carbon Monoxide” or show a code light.
- Mark the suspect unit with painter’s tape so you do not lose track.
Step 3: Clean, reset, and check placement first
Most interconnect chaos is caused by one alarm reacting to steam, dust, or a failing sensor, then pulling the whole system with it.
Step 4: Watch for interconnect compatibility problems
Hardwired interconnect systems can be picky. The issue is not that alarms share the same power circuit. The issue is whether the alarms are designed to communicate with each other on the interconnect wire.
- Use the compatibility list from the manufacturer.
- Mixing brands or mixing certain generations within a brand can cause nuisance alarms or communication faults.
- If your home has a mix from past replacements, consider replacing the full set with a matched system.
Step 5: If it keeps happening, consider an electrical issue
A damaged interconnect conductor, loose neutral, or backfeed issue can create weird behavior. That is where DIY should stop.
Placement checks
If you are fighting nuisance alarms or random chirps, these environmental fixes solve more problems than you would think.
- Avoid dead air corners: manufacturer instructions typically recommend mounting away from corners where airflow is poor.
- Keep away from bathrooms: steam is a repeat offender.
- Keep away from supply registers and ceiling fans: strong airflow can either prevent smoke from reaching the sensor or blow cooking aerosols right into it.
- During renovations: cover alarms temporarily during sanding and drywall work, then uncover and clean them immediately afterward.
Reset steps
Battery-only reset
- Twist the alarm off the mounting bracket.
- Remove the battery.
- Hold the test button for 15 to 30 seconds if your manual recommends it.
- Install a fresh battery.
- Reinstall the alarm and press test.
Hardwired reset (with backup battery)
- Turn off the smoke alarm breaker.
- Twist the alarm off and unplug the wiring harness.
- Remove the backup battery.
- Hold the test button for 15 to 30 seconds if your manual recommends it.
- Reinstall the backup battery.
- Plug the harness back in, remount the alarm, turn the breaker on.
- Test the unit.
Small lesson learned the hard way: on many models, if you skip the “hold the test button” step, some units keep chirping because the internal charge never fully drains.
When to replace
Replacement is not a failure, it is maintenance. Replace the unit if any of these are true:
- It is at or past its rated service life (often 10 years for smoke alarms). Check the back label or manual. Combo smoke/CO units may have a different CO sensor life.
- It fails the test even with known-good power and a fresh battery.
- It keeps false-alarming after cleaning, reset, and a placement check.
- The casing is yellowed and brittle, or the vents are clogged and cannot be cleaned.
- The manual indicates an end-of-life code.
Call an electrician
I am all for DIY, but smoke alarms touch life safety and house wiring. Call a licensed electrician if:
- You have hardwired alarms with no power and the breaker is not tripped, or it trips repeatedly.
- The wiring harness is damaged, the ceiling box is loose, or you see scorched wiring.
- Interconnected alarms behave erratically after you replace batteries, clean, and reset, especially if the system is older.
- You suspect your home has improperly wired interconnects or mixed wiring at the ceiling boxes.
- You are not comfortable working on a ladder near electrical boxes.
If you suspect carbon monoxide or have any symptoms like headache, nausea, or dizziness, get outside and call emergency services. Do not troubleshoot CO events in the house.
FAQ
Why does my smoke alarm chirp with a new battery?
Most commonly: the battery door is not fully latched, the battery type is wrong, the terminals are not making solid contact, the alarm is dirty, the unit needs a reset, or it is end-of-life.
Can one bad alarm make all the others go off?
Yes. In an interconnected system, one initiating alarm can trigger the whole network. Focus on identifying the initiating unit first.
Is it okay to remove a hardwired alarm to stop the noise?
You can remove it for troubleshooting, but do not leave it down. Turn off the breaker before unplugging the harness, and reinstall and test when you are done.
Photoelectric or ionization?
Many homeowners prefer photoelectric units near kitchens because they generally reduce nuisance alarms. Follow local code, NFPA guidance, and manufacturer instructions, and keep models compatible if you have hardwired interconnects.
The 30-Second Cheat Sheet
Essential takeaways for: Smoke Alarm Troubleshooting
First, safety
- If you see smoke or smell burning, evacuate and call 911.
- If it is clearly a nuisance alarm, ventilate the area and then troubleshoot.
Fast fixes by symptom
- Chirp every 30 to 60 seconds: replace battery with a fresh one, clean vents with vacuum, do a full reset (remove power and battery, hold test 15 to 30 seconds if your manual allows), then check the manufacture date. Replace if near 10 years old (check the label, combo smoke/CO units may differ).
- Full alarm with no smoke: open windows, run exhaust fan, clean alarm, check placement (too close to kitchen or bathroom steam). Consider switching to a photoelectric model near kitchens.
- Random intermittent beeps: find model number on back, look up the manual beep code, then clean, reset, and replace if it indicates sensor fault or end-of-life.
- Dead silence on test: battery-only: fresh battery and retest. Hardwired: check breaker, confirm harness is plugged in (power off first). Replace the unit if it still fails.
- All alarms go off (interconnect): silence, then identify the initiating unit (odd LED or memory indicator). Clean and reset that alarm first. If behavior continues, you may have an interconnect compatibility issue or wiring trouble.
Hardwired reset (quick steps)
- Breaker OFF
- Unplug harness, remove backup battery
- Hold TEST 15 to 30 seconds (if your manual recommends it)
- Reconnect battery and harness
- Breaker ON, then TEST
Call an electrician if
- Hardwired alarms have no power and the breaker is fine, or the breaker keeps tripping
- You see damaged wiring or scorching
- Interconnected alarms stay erratic after batteries, cleaning, and full reset
💡 Tip: Scroll up to read the full article for detailed, step-by-step instructions.
⬆️ Back to top
About Marcus Vance
Content Creator @ Grit & Home
Marcus Vance is a lifelong DIY enthusiast and self-taught home renovator who has spent the last decade transforming a dilapidated 1970s ranch into his family's dream home. He specializes in budget-friendly carpentry, room-by-room renovations, and demystifying power tools for beginners. Through his writing, Marcus shares practical tutorials and hard-learned lessons to help homeowners tackle their own projects with confidence.