If your smoke detector screams every time you sear a steak or toast a bagel, you are not alone. In my first year renovating our 1970s ranch, I installed a new alarm “right where the old one was” and spent the next month waving a dish towel at it like I was landing a plane. The good news is you can usually fix cooking-related false alarms with placement, the right detector type, and a little maintenance. No tape over the alarm. No missing batteries. We keep the safety, and we ditch the nuisance.
First, know what sound you are hearing
A lot of people say “it keeps going off,” but there are two very different problems.
Chirping vs full alarm
- Chirping every 30 to 60 seconds is usually a low battery, a loose battery drawer, or an end-of-life warning (common around 10 years). That is not “cooking smoke.” Replace the battery or the unit as needed.
- A full, loud alarm during cooking is typically triggered by visible smoke, steam, or aerosolized cooking oils.
Make sure it is a false alarm
Most “cooking” alarms are triggered by one of three things: visible smoke, steam, or aerosolized cooking oils. That last one gets people. High heat and pan frying can put tiny particles into the air that look like smoke to some alarms.
Quick safety check
- If you see heavy smoke, smell something electrical, or the alarm will not stop, treat it as real. Turn off the heat, ventilate, and check for anything burning. If you are unsure or it is getting worse, get everyone out and call emergency services.
- If your alarm has voice alerts (some combo units do), note whether it says “smoke” or “carbon monoxide.” Cooking typically should not trigger a CO alarm. If it repeatedly indicates CO, take it seriously: ventilate, stop using fuel-burning appliances, and have them checked. If anyone feels dizzy, nauseated, or gets a headache, leave the house and seek help.
- If the unit is old (10 years is a common replacement point), it can become overly sensitive or unreliable. Many alarms also chirp to tell you they are at end-of-life even if the batteries are fine.
Why cooking sets off some alarms
There are two main smoke sensing technologies in homes. The type you have matters a lot near kitchens.
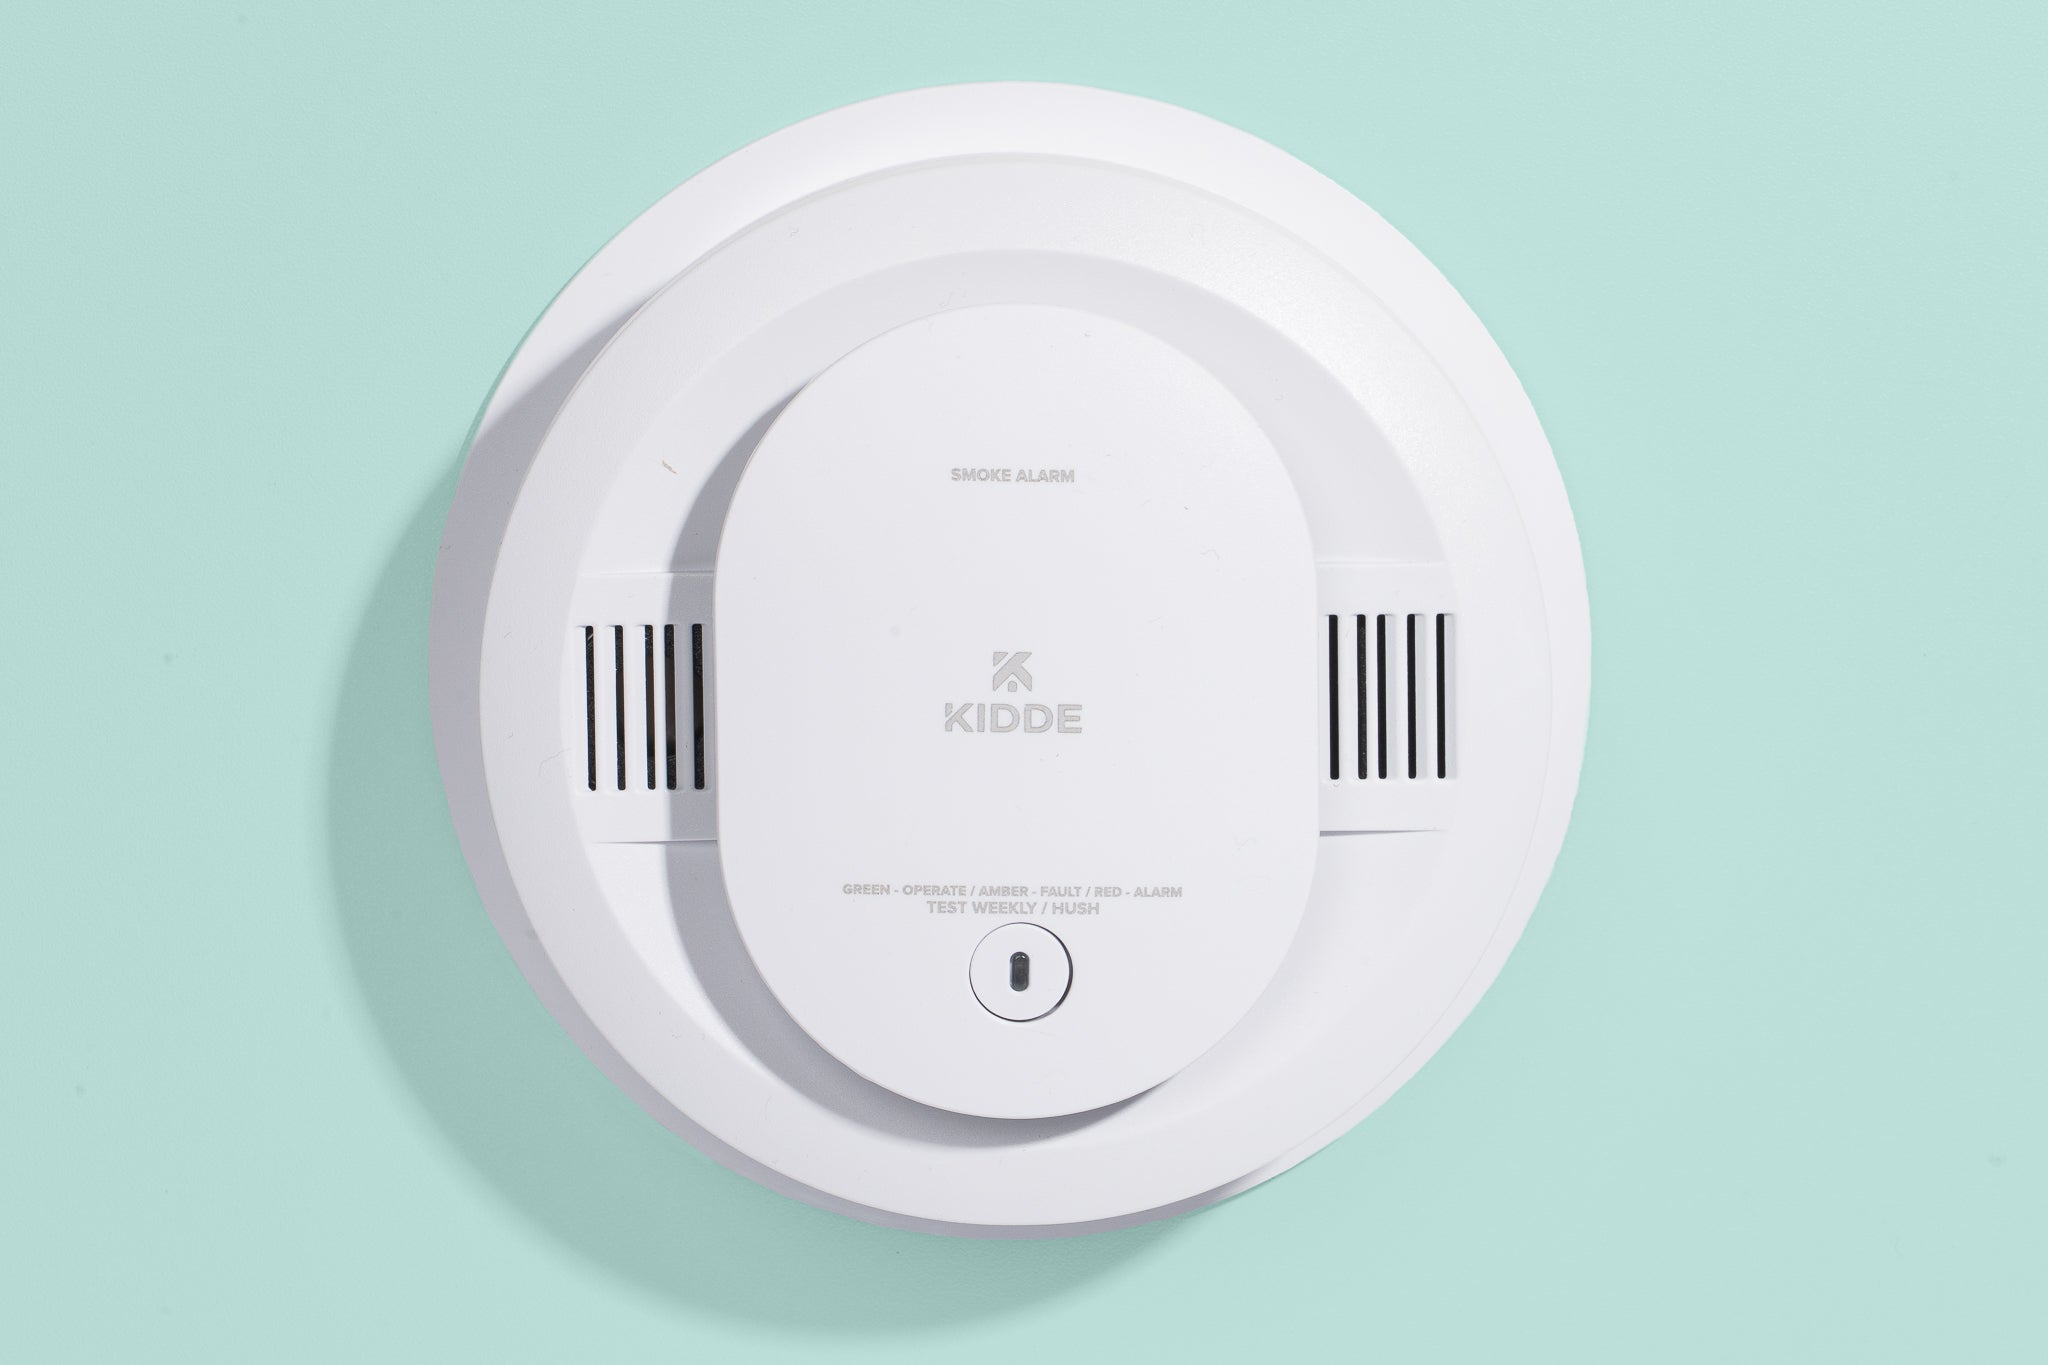
Ionization: fast for flames, trigger-happy near kitchens
Ionization units are more likely to alarm from fast, small particles, including those produced by cooking aerosols and some steam events. If your alarm goes off from toast, bacon, or a hot cast iron pan, this is often the culprit.
Photoelectric: fewer nuisances in many homes
Photoelectric alarms tend to be less prone to nuisance alarms from typical cooking compared with ionization, and they respond well to smoldering fires. Many fire safety authorities and professionals favor photoelectric technology in living areas because reducing nuisance alarms helps prevent people from disabling alarms.
Dual sensor and “smart” alarms
Dual sensor models combine technologies. Some newer alarms also include better filtering or intelligent detection to reduce nuisance alarms. If your budget allows, these can be a nice middle ground.
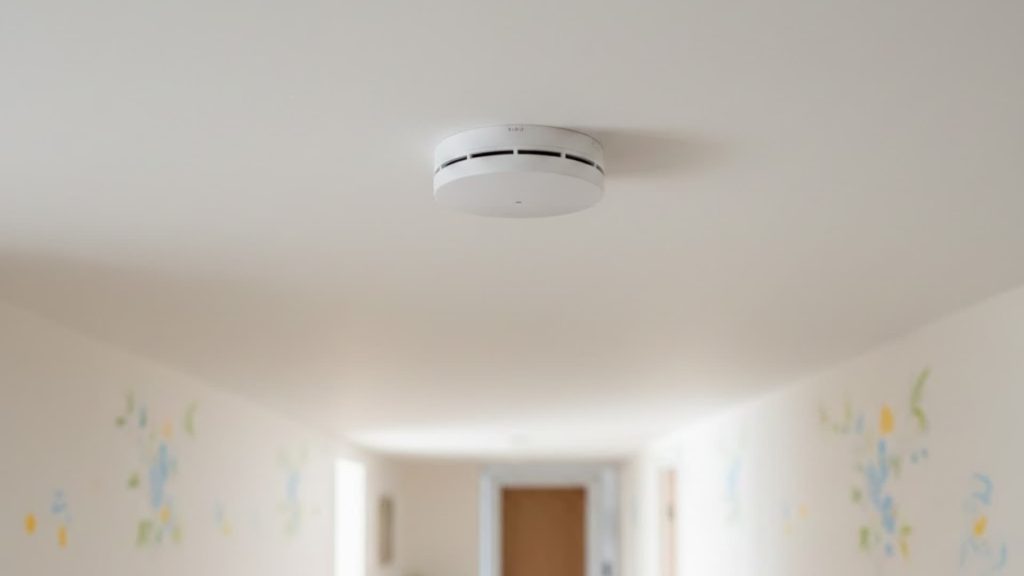
Fix #1: Put the detector in the right spot
Placement is everything. In a lot of older homes, a smoke alarm ends up right outside the kitchen doorway or directly in the path of cooking air currents. That is basically asking it to alarm.
Placement rules of thumb
- Avoid placing smoke alarms in the kitchen or too close to cooking unless your local code or the manufacturer instructions specifically require it. Many homes place smoke alarms in adjacent areas, not over the stove.
- Aim for 6 to 10 feet from cooking appliances where possible, or follow the specific distance in your alarm’s manual. Ten feet is a common nuisance-alarm reduction guideline, but some models and layouts allow different minimums.
- Stay out of dead air corners. Avoid placing within about 4 inches of where the wall meets the ceiling, unless the manufacturer says otherwise. Dead air can delay detection.
- Avoid weird air currents. Do not place an alarm in the direct path of the range hood exhaust, next to a supply vent blasting at it, or where a ceiling fan pushes steam right into it.
Ceiling vs wall mounting
Most alarms prefer the ceiling, but many can be wall-mounted if you follow the manual’s spacing rules (for example, keeping the alarm a few inches down from the ceiling). The box will tell you the exact clearances. When in doubt, go by the manufacturer diagram.
If you cannot move it far, move it a little
Even shifting an alarm 3 to 6 feet can change the airflow enough to stop the constant cooking alarms. When I moved one unit away from the kitchen opening and out of the “steam corridor” between the stove and hallway, the nuisance alarms stopped immediately.
Tip: If the alarm is hardwired, you can usually relocate it with an old-work electrical box and proper wiring techniques. If you are not comfortable, this is a great small job for a licensed electrician.
Fix #2: Use the right alarm near the kitchen
If your alarm is within about 10 feet of the stove, or in the adjacent hallway where cooking air drifts, detector type matters as much as distance.
Good choices near kitchens
- Photoelectric smoke alarm in the adjacent hallway or nearby area, positioned to meet local code and the manufacturer’s spacing guidance.
- Interconnected alarms (hardwired with battery backup, or wireless interconnected) so that a real fire anywhere alerts the whole home.
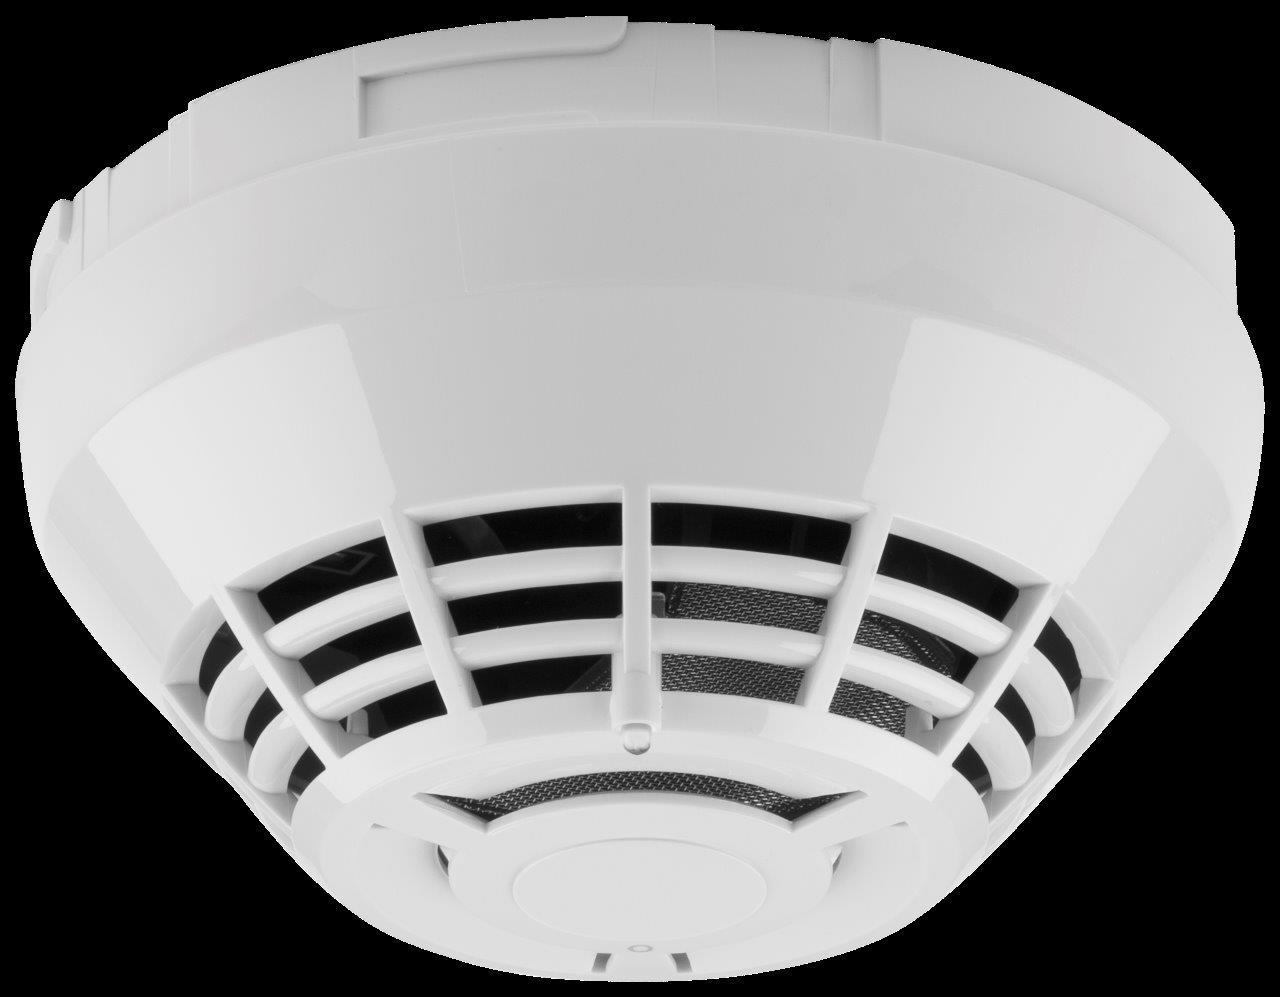
Consider a heat alarm in the kitchen (where allowed)
A heat alarm (sometimes called a heat detector) is designed for spaces where smoke and steam are expected, like kitchens or garages. It alarms when temperatures rise rapidly (rate-of-rise) or when a fixed temperature threshold is reached, depending on the model.
- Do not substitute heat alarms for required smoke alarms in bedrooms and hallways. Heat alarms are typically supplemental and are not a replacement for smoke detection where it is required.
- Check your local code and the manufacturer instructions before installing.
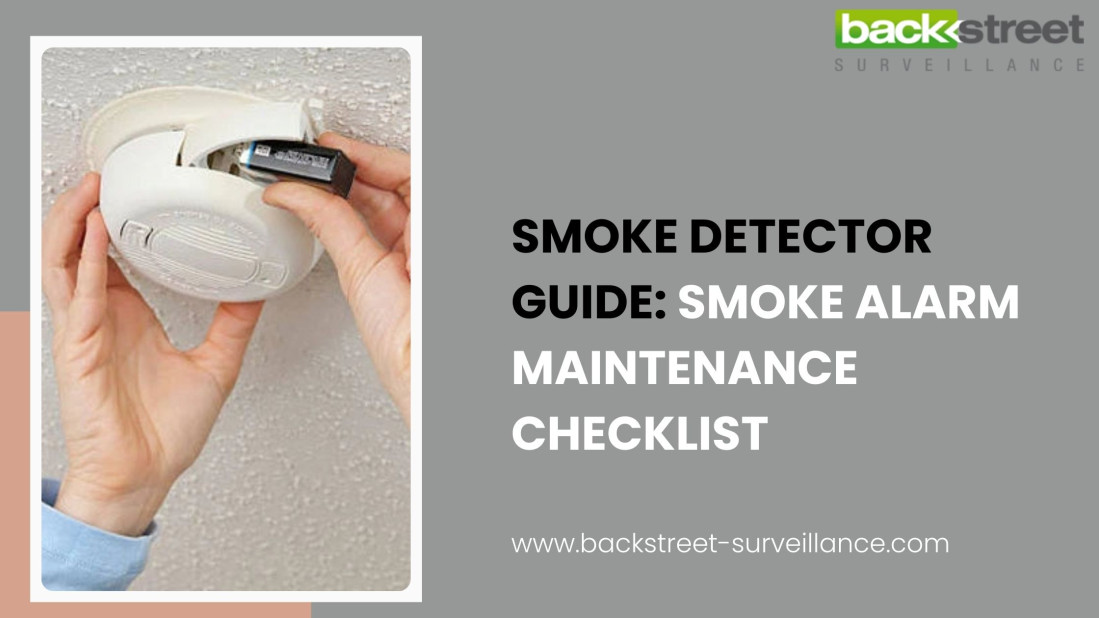
Fix #3: Clean the alarm
Over time, kitchen air carries fine grease and dust that can get into the sensing chamber. That buildup can make an alarm more sensitive or more erratic.
Simple cleaning routine (5 minutes)
- Turn off power at the breaker if the alarm is hardwired.
- Remove the alarm from the bracket.
- Vacuum the outside vents with a soft brush attachment.
- Use compressed air to blow through the vent slots, short bursts only.
- Wipe the exterior with a dry or lightly damp cloth. No cleaners, no sprays.
- Reinstall, restore power, and press the test button.
My rule: If the alarm is close enough to the kitchen to get greasy, I clean it twice a year, the same weekend I change HVAC filters.
Fix #4: Use the hush button correctly
Most modern smoke alarms include a hush or silence feature that temporarily reduces sensitivity or quiets the alarm for a short period. This is built for situations like minor cooking smoke.
Hush button rules
- Use hush only after you confirm there is no fire.
- Ventilate first. Turn on the range hood, crack a window, and move smoky pans outside if needed.
- If you are using hush constantly, treat that as a signal that placement or detector type needs to change.
If your current unit does not have hush, upgrading to one that does is a small quality of life improvement that keeps you from doing the “towel helicopter” routine.
Fix #5: Improve ventilation habits
Before you start rewiring ceilings, try these small changes. They often fix the problem on their own.
- Run the range hood early, 1 to 2 minutes before high heat cooking, and keep it running for a few minutes after.
- Use the back burners when possible. They are usually closer to the hood intake and farther from nearby alarms.
- Cover splatter. A screen cover reduces airborne grease that can irritate smoke sensors.
- Open a window on the opposite side of the kitchen to create a gentle cross breeze.
Fix #6: Replace old or wrong alarms
If your alarm is older, it may be time. Smoke alarms are not forever tools. Sensors degrade, get contaminated, and become less reliable.
Replace if any of these are true
- The alarm is 10 years old (check the manufacture date on the back) or it is giving an end-of-life chirp pattern.
- You have repeated nuisance alarms even after cleaning and improving ventilation.
- The alarm is an older ionization model placed near the kitchen and you can swap to photoelectric or a newer nuisance-resistant model.
- The alarm is not interconnected and your home would be safer with linked alerts.
Pro tip for thrifty DIYers: Interconnect compatibility can be picky. Hardwired interconnect systems often require compatible models, and wireless interconnect typically requires the same brand ecosystem. If you replace one unit in a set, check compatibility or consider replacing the whole set so everything plays nicely together.
What not to do
I get it. A screaming alarm while you are trying to get dinner on the table can push anyone over the edge. These “fixes” create real risk.
- Do not remove the battery or unplug hardwired units.
- Do not cover the alarm with plastic, tape, shower caps, or anything else.
- Do not relocate required alarms out of code-compliant areas just to quiet them down. Adjust placement thoughtfully, or add a heat alarm in the kitchen where appropriate.
Quick troubleshooting checklist
If it chirps
- Replace the battery (and make sure the battery door fully closes)
- Clean dust from the unit
- Check the date and replace if it is near end-of-life
If it goes off when you fry or sear
- Run the hood on high and use back burners
- Clean the alarm
- Swap near-kitchen units to photoelectric
- Increase distance from the stove (aim for 6 to 10 feet, or per the manual)
If it goes off when you boil water or shower nearby
- Increase distance from the kitchen or bathroom doorways
- Move it out of the direct steam path
- Check for ceiling fans or HVAC vents pushing steam toward it
If it goes off randomly
- Check age and replace if near 10 years
- Clean thoroughly
- Consider electrical issues if it is hardwired and behaving erratically (an electrician can help)
My “no drama” setup
Every layout is different, but for many typical houses and ranch layouts, this combo reduces nuisance alarms while keeping strong coverage:
- Photoelectric smoke alarms in bedroom areas and the hallway outside the kitchen
- Interconnected alarms throughout the home (compatible models, same system)
- A heat alarm in the kitchen if allowed and if nuisance smoke is unavoidable
- A working range hood that vents outdoors, used early and often
Quick disclaimer: Always follow the manufacturer instructions and local code. If you are unsure about placement, wiring, or interconnect compatibility, compare your layout to the install diagrams or ask a licensed electrician or local fire safety professional. It is a small step that can prevent big mistakes.
About Marcus Vance
Content Creator @ Grit & Home
Marcus Vance is a lifelong DIY enthusiast and self-taught home renovator who has spent the last decade transforming a dilapidated 1970s ranch into his family's dream home. He specializes in budget-friendly carpentry, room-by-room renovations, and demystifying power tools for beginners. Through his writing, Marcus shares practical tutorials and hard-learned lessons to help homeowners tackle their own projects with confidence.