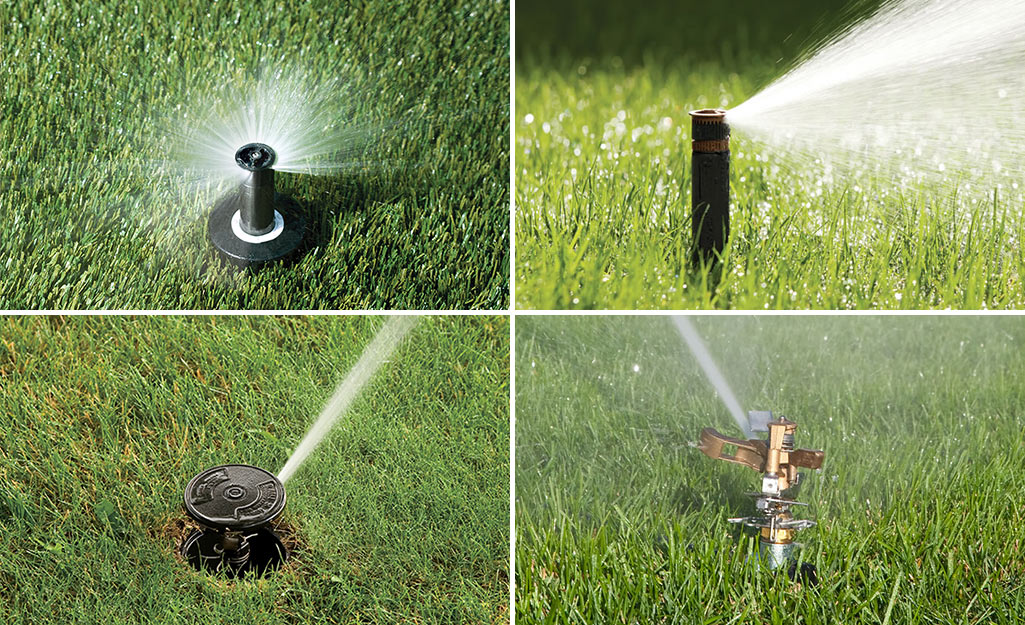
If a sprinkler head won’t pop up, only dribbles, or turns your lawn into a mini geyser, you often do not have a “whole system” problem. Most of the time it is a head-level issue: grit stuck in the nozzle, a cracked body, a broken riser, or a seal that has finally given up.
That said, a systemwide restriction can show up as one “bad” head first. If several zones suddenly seem weaker, do a quick check that your main shutoff is fully open and that any regulator, filter, or backflow device is not partially closed or clogged.
I like sprinkler repairs because they are one of the few weekend chores where you can usually diagnose, fix, and test in under an hour. Let’s walk through the most common failures in the order that saves the most time and the most money.
Before you touch anything: quick safety and setup
- Turn the zone off at the controller, then wait a minute for pressure to bleed down.
- Bring a towel and a small container for muddy parts and tiny screws.
- Dig smart: use a hand trowel and open a wide “donut” around the head so you can pull it straight up without snapping fittings.
Leave the controller plugged in, but make sure the zone is OFF. If you are working near wiring, keep wet hands away from connections. If you are digging near unknown plumbing or anything that looks like mainline supply, shut water off at the main first.
Fast diagnosis: what are you seeing?
Head won’t pop up at all
- Debris jammed in the stem or nozzle
- Low pressure in that zone (too many heads, partially closed valve, kinked line)
- Broken riser or fitting underground so pressure dumps into soil
Head pops up but barely sprays
- Clogged filter screen or nozzle
- Wrong nozzle type for that head or zone (or a damaged nozzle)
- Pressure loss in the zone from a hidden leak
Water leaking around the head when the zone is running
- Cracked sprinkler body
- Loose head on the riser
- Broken swing joint or riser
Water leaking when the zone is off
- Low-head drainage (water in the line draining downhill)
- Valve not closing fully (not a head problem, but it shows up at the head)
Tools and parts that make this easy
- Hand trowel and a small brush or old toothbrush
- Sprinkler pull-up tool (optional, but handy)
- Spare nozzle(s) and filter screen(s) for your brand
- 1/2-inch riser(s) and or a swing joint (common repairs)
- PTFE thread tape or thread sealant rated for plastic threads
- A replacement head that matches your existing style and height
Fix #1: Clean the nozzle and filter (most common)
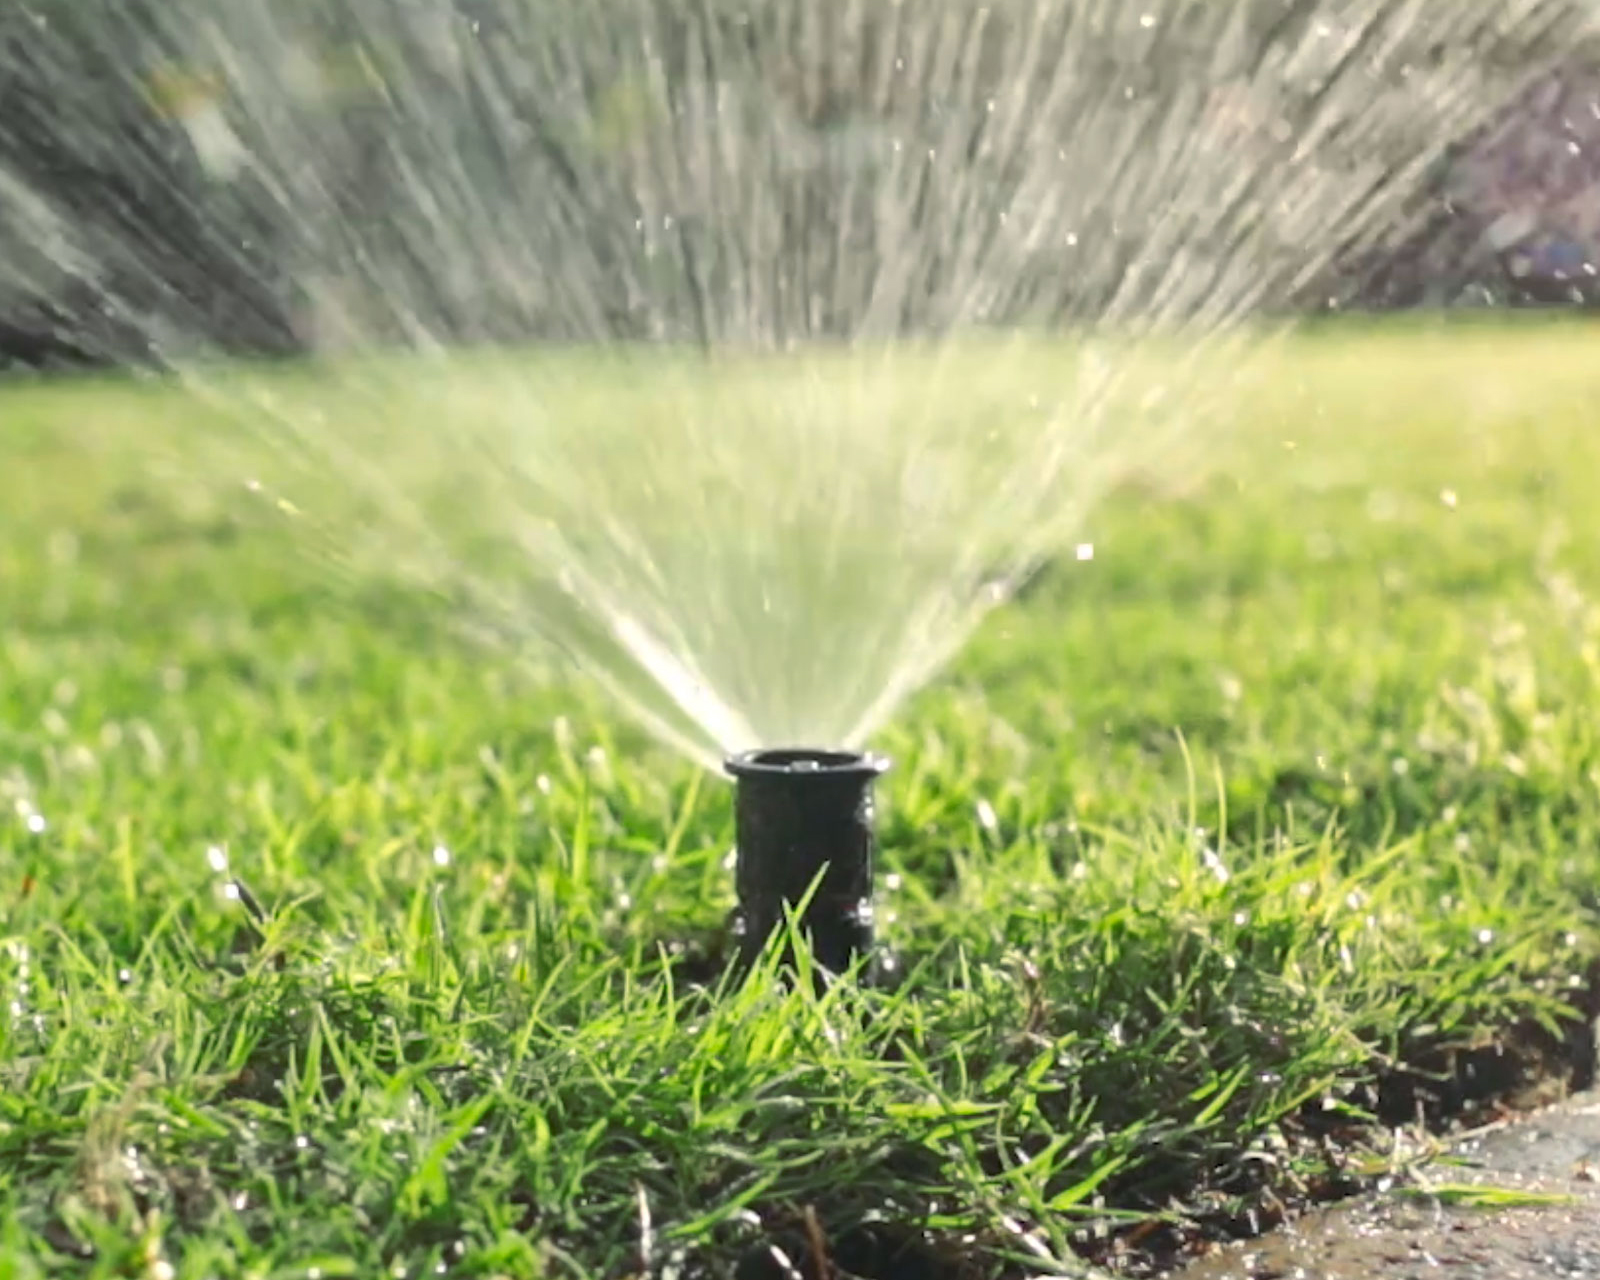
If a head pops up but sprays weak, crooked, or not at all, start here. A single grain of sand can wreck the spray pattern.
What to do
- Pull the stem up and grip the shaft tightly. Do not hold only the nozzle. Once the nozzle is removed, there is no lip to grab, and the spring can snap the stem down fast.
- Unscrew the nozzle (usually counterclockwise) while you keep the stem pulled up. Keep fingers clear of pinch points.
- Remove the filter screen under the nozzle if your model has one.
- Rinse everything. If the nozzle is crusted with mineral buildup, soak it in white vinegar for 15 to 30 minutes, then rinse.
- Flush the line: with the nozzle still off, turn the zone on for 2 to 3 seconds. Stand back. This blasts debris out of the body before you reassemble.
- Reinstall the screen and nozzle, then test.
Marcus tip: That quick “flush the line” step has saved me from cleaning the same nozzle twice. Just do not run it long enough to wash out the soil around the head.
Quick rotor note: Rotors have nozzles and screens too, but they also have arc and radius adjustments. If you are cleaning a rotor nozzle, avoid poking metal tools into the nozzle orifice. A soft brush and a rinse are safer.
Fix #2: Free a stuck pop-up stem
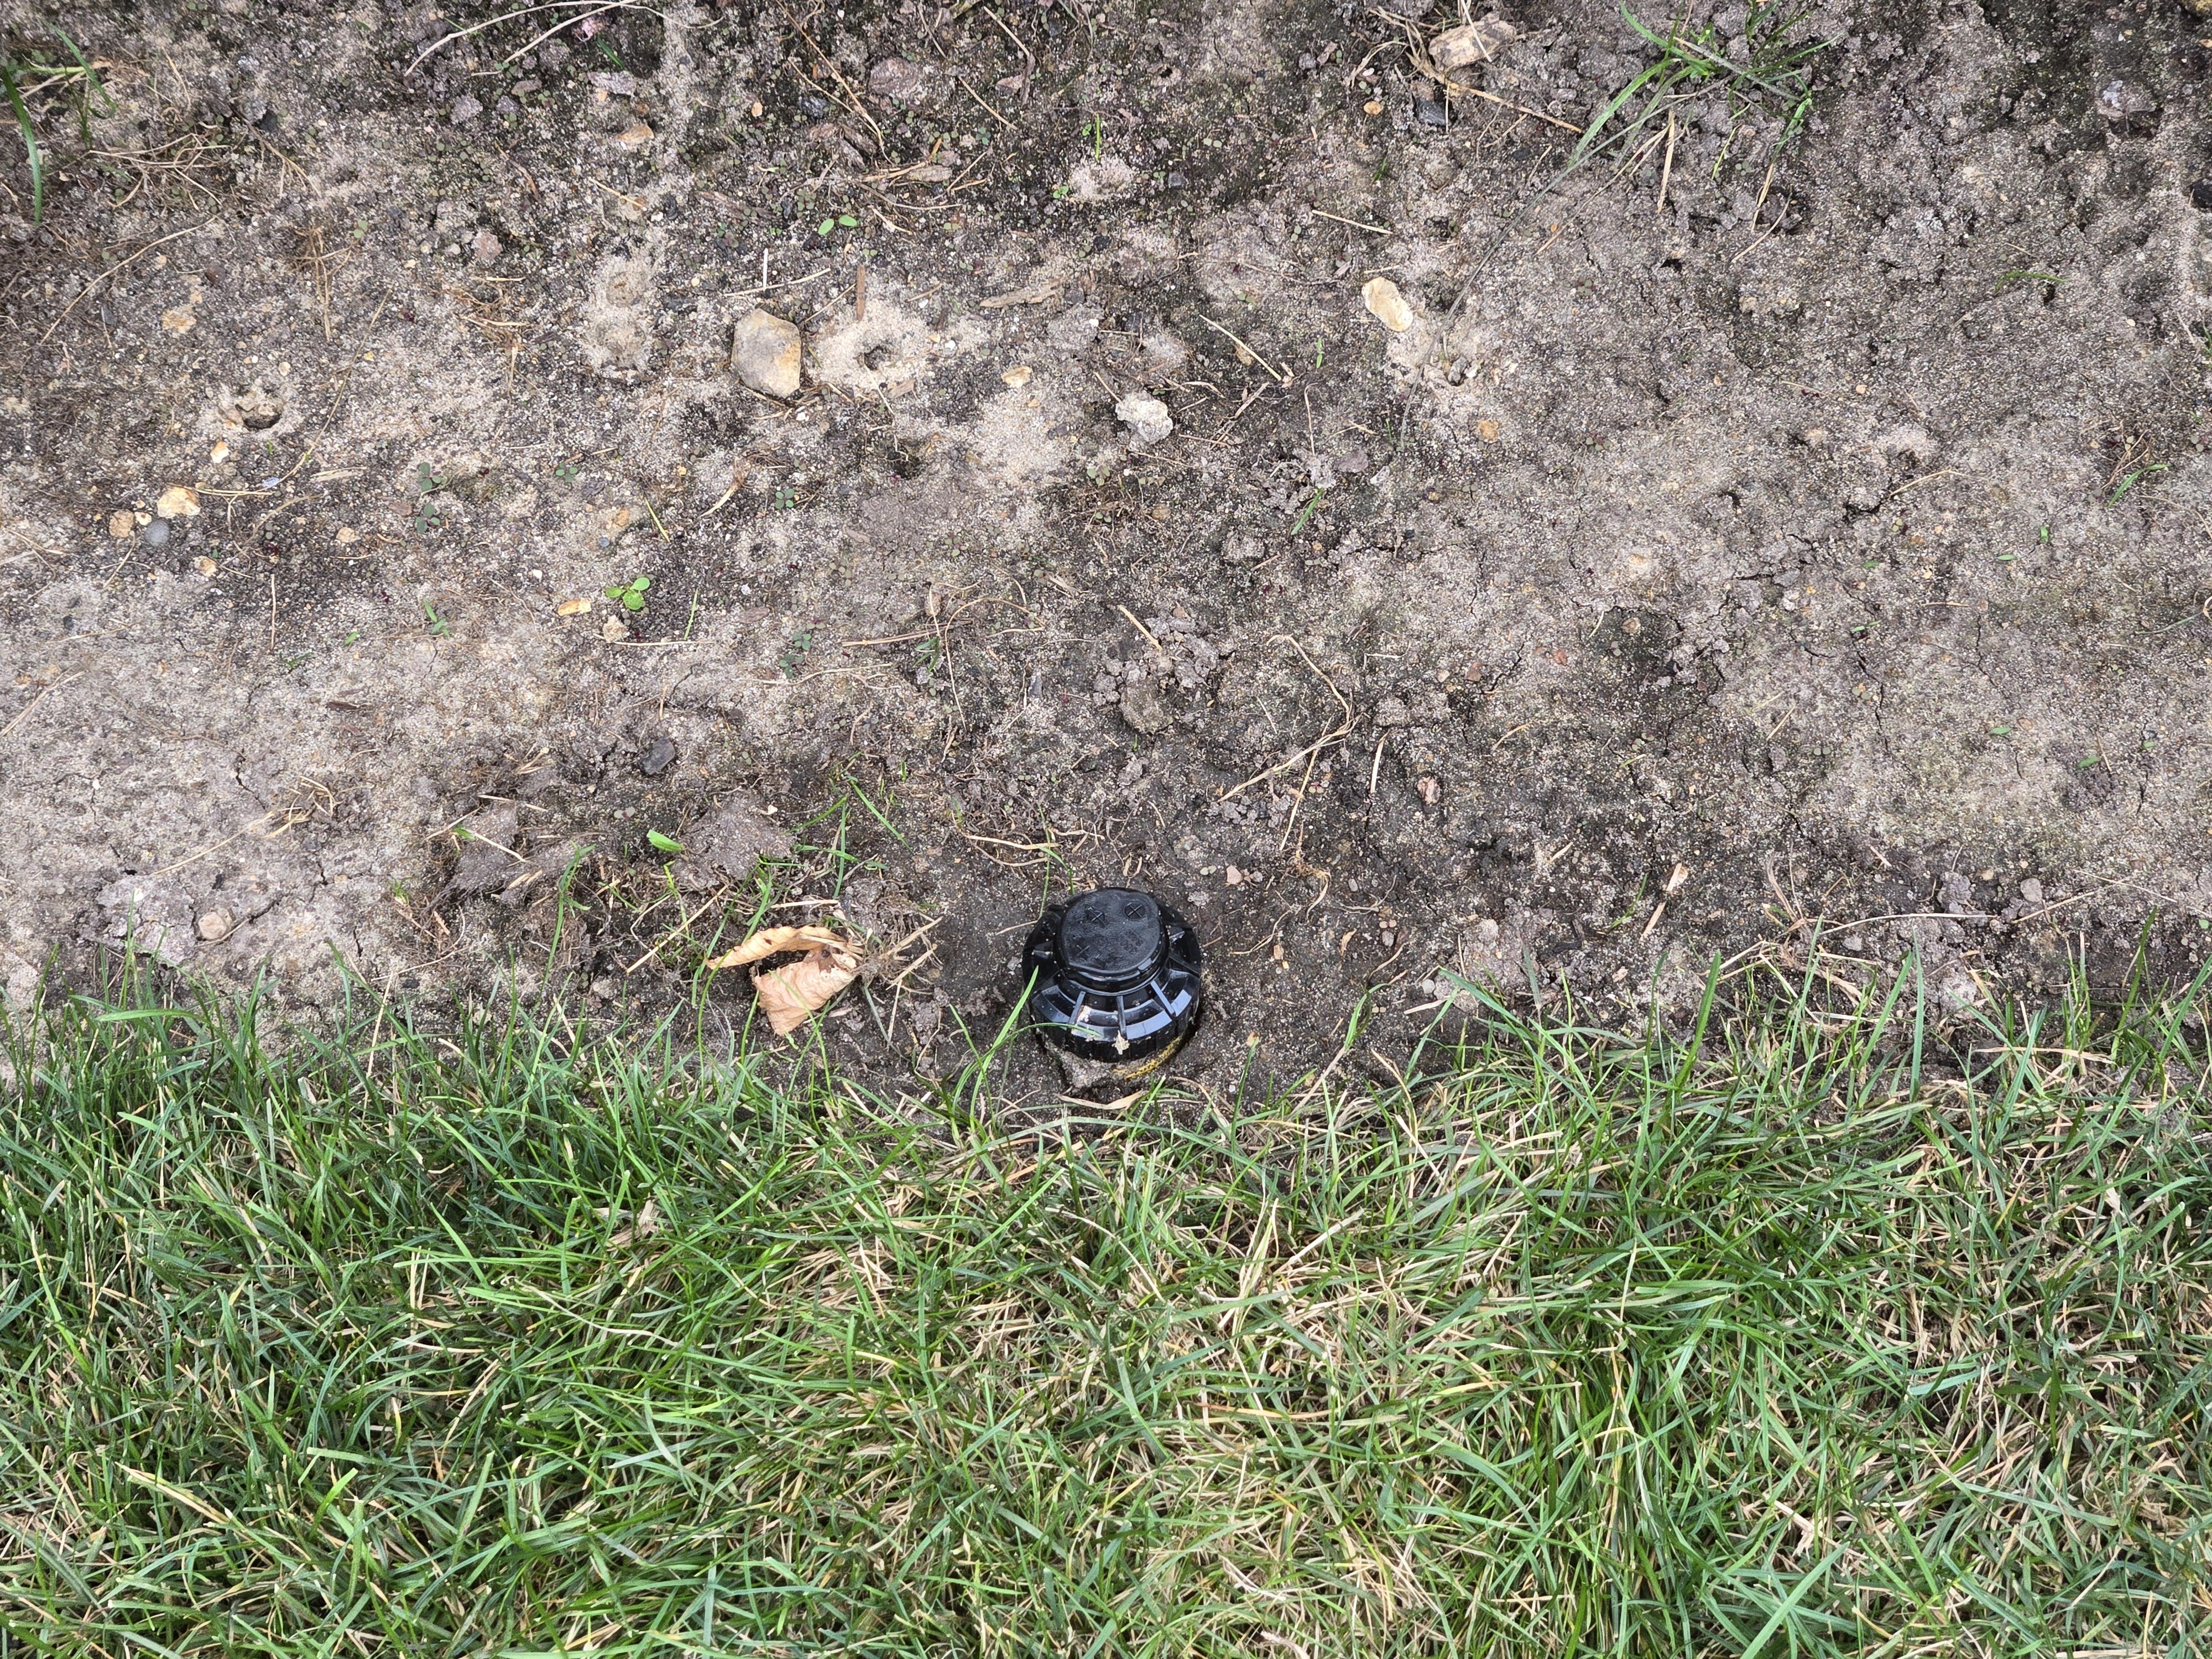
If the head won’t rise, the stem may be jammed with grit or the head may be buried too deep after mowing, edging, or topdressing.
Try this first
- Clean around the cap: scrape away packed mud and thatch from the top edge.
- Lift and wipe: pull the stem up and wipe the exposed shaft with a damp rag.
- Rinse, then test again.
If it is buried
- Dig down until the cap is sitting slightly above the soil line.
- Repack soil gently around the body so it is stable, then level the top.
A buried head is a double problem: it struggles to pop up and it becomes a dirt vacuum every time it retracts.
Fix #3: One zone has low pressure (and one head is the “canary”)
Homeowners often blame the head that looks worst. Sometimes that head is innocent and simply the first one to show the symptom of a pressure issue.
Signs it is a zone pressure problem
- Multiple heads in the same zone are weak
- Rotors barely turn, sprays look misty, or coverage shrinks everywhere
- The zone used to work fine, then slowly got worse
What you can check without special tools
- Partially closed shutoff or backflow assembly: confirm handles are fully open.
- Zone valve not opening fully: in the valve box, make sure the manual bleed screw is snug (not leaking) and the valve is not partially stuck. A high-pitched hissing or squealing while the zone is running can point to a restriction or a valve issue. If water continues to move through the zone when it is supposed to be OFF, a torn diaphragm or debris in the valve is likely.
- Too many heads after a DIY add-on: if someone added two extra sprays to “fill a dry spot,” the last heads on the line usually suffer first.
If only one head is weak and the rest are strong, go back to cleaning, the riser, or the head itself.
Fix #4: Stop leaks at the head (cracks, loose threads, bad seals)
Leak at the top while running
If water sprays from under the cap or around the nozzle, the nozzle may be cross-threaded, the cap may be cracked, or the internal seal may be worn.
- Hand-tighten the nozzle. Do not crank it down with pliers.
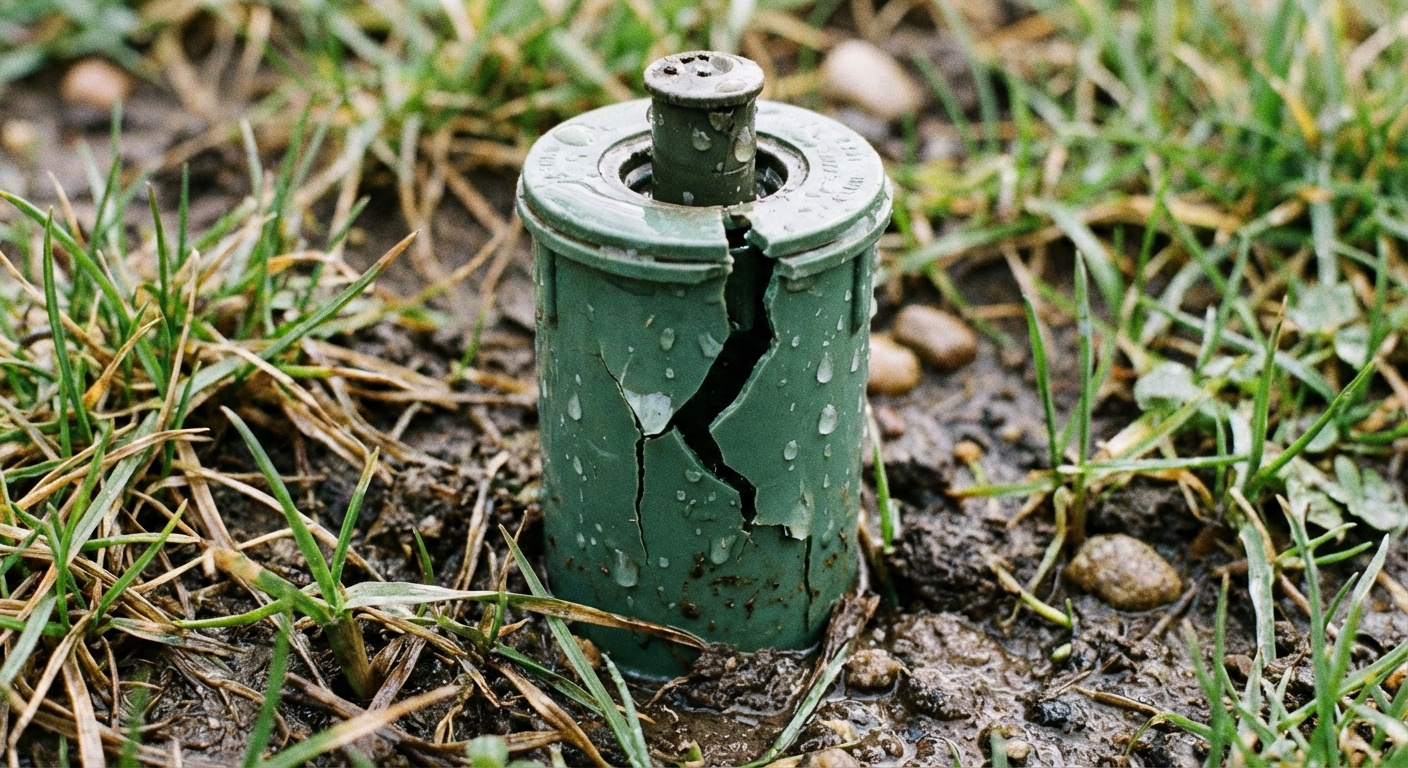
- Inspect the cap and body for hairline cracks. Sun and freeze cycles make plastic brittle over time.
- Replace the wiper seal only if your model sells a rebuild kit and the body is otherwise solid. On many basic spray heads, replacement is cheaper than rebuilding.
Leak at the base while running
Water pooling around the body typically means the head is loose on the riser or something underneath is broken.
- Dig enough to expose the connection.
- Try to tighten the head onto the riser by hand. If it spins freely and never tightens, the threads may be stripped.
- If tightening does not stop it, assume a cracked riser, swing joint, or elbow until proven otherwise.
Fix #5: Broken riser or swing joint (the hidden “pressure dump”)
This is the classic case where the head does not pop up because the water is escaping underground instead of building pressure in the body.
How to confirm
- The area around the head turns swampy fast
- You see sand and silt bubbling up near the base
- The head wobbles because the soil below washed out
Repair steps
- Dig a wider hole and expose the fitting below the head.
- Unscrew the head. If the riser comes out in pieces, you found the issue.
- Replace with a new riser or a flexible swing joint (my preference). Swing joints take the hit from mowers and foot traffic instead of cracking hard pipe.
- Use PTFE thread tape (3 to 4 wraps clockwise) or a plastic-rated thread sealant. Do not overwrap or over-tighten plastic female threads, since that can crack the fitting.
- Reinstall the head, set height, and test before backfilling.
Thrifty note: If the head is old and you already have it off, replacing the entire head is often only a few dollars more than rebuilding a brittle one.
Leak when the system is off: drainage vs. a valve problem
If a head oozes or trickles for minutes after the zone shuts off, it might be normal drainage. If it continues dripping long after, you likely have a valve that is not fully closing.
Low-head drainage (normal on slopes)
- Only the lowest heads in that zone leak after shutdown
- It stops once the line empties
Fix: Swap that lowest head for a check valve head (or add a check valve feature if the manufacturer offers it). This holds water in the line so it does not drain downhill.
Valve not closing (not normal)
- Multiple heads drip for a long time
- You notice soggy spots even when the controller has not run
Fix: This is usually debris in the valve or a worn diaphragm. It is a separate repair from the sprinkler head, but the symptom often shows up at the head first.
When to replace the sprinkler head
I love repairing things, but sprinkler heads are inexpensive wear parts. Replace the head if you see any of the following:
- Cracked body or cap
- Stripped threads on the inlet or nozzle
- Persistent sticking even after cleaning and flushing
- Uneven spray pattern caused by a warped nozzle seat
- The head is a mismatched type compared to the zone (for example, one high-flow rotor mixed into a spray zone)
Replacement tips that prevent headaches
- Match the body style and height (4-inch spray, 6-inch spray, rotor, etc.).
- Match the nozzle or at least the flow rate so you do not unbalance the zone.
- Set the head flush: top of cap slightly above soil, not buried, not sticking up as a trip hazard.
Winterization mistakes that cause spring leaks
If your problems show up right after winter, freeze damage is a prime suspect. A few common issues:
- Incomplete blowout: water left in heads and fittings expands and cracks plastic.
- Compressor pressure too high: blasting a residential system with excessive PSI can damage seals and components. Most systems need airflow volume more than raw pressure. Follow your manufacturer and local guidance, and if you DIY, many pros keep air pressure regulated to a conservative range (often around 40 to 50 PSI for poly, lower for some PVC setups) and blow zones in short cycles so heads do not overheat.
- Controller not set correctly: a surprise run during a cold snap can freeze water in exposed heads.
If you see a clean split in the head body or riser after winter, skip the rebuild and replace the damaged parts.
A simple test routine after any fix
- Run the zone for 30 to 60 seconds.
- Watch the repaired head first, then scan the nearby heads for changes.
- Check for bubbling water at the base.
- Adjust the spray direction and radius if needed.
- Backfill carefully and tamp lightly so the head stays level.
That last step matters. A head that is leaning today is usually the head that gets snapped off by the mower next week.
When to call a pro
Most head repairs are DIY-friendly, but it is time to bring in help if:
- You suspect a mainline leak (constant wet area even with all zones off)
- You have multiple zones with pressure issues and cannot find a simple cause
- The valve manifold is buried, flooded, or requires re-plumbing
For everything else, start with cleaning and flushing. Very often, that is the whole story.
About Marcus Vance
Content Creator @ Grit & Home
Marcus Vance is a lifelong DIY enthusiast and self-taught home renovator who has spent the last decade transforming a dilapidated 1970s ranch into his family's dream home. He specializes in budget-friendly carpentry, room-by-room renovations, and demystifying power tools for beginners. Through his writing, Marcus shares practical tutorials and hard-learned lessons to help homeowners tackle their own projects with confidence.