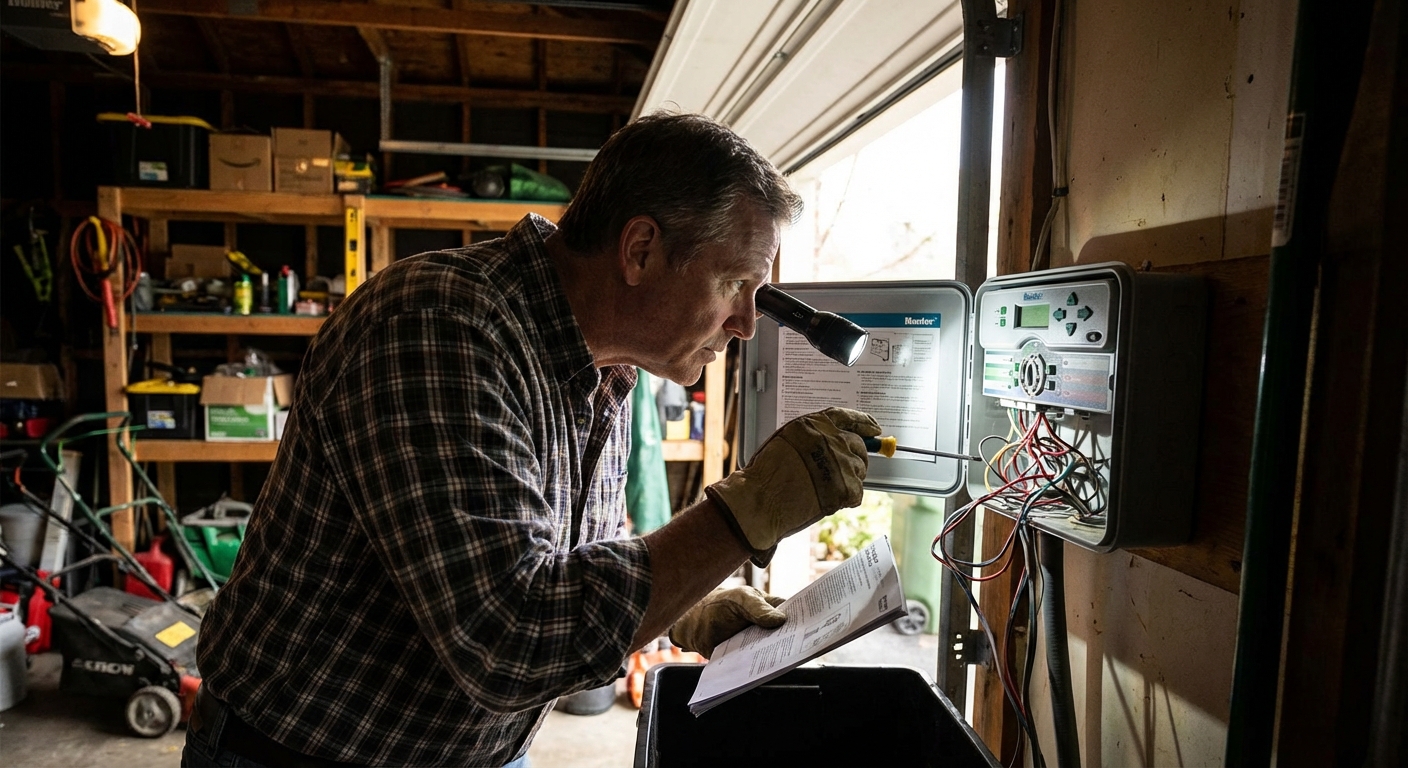
If your sprinklers suddenly stop running, it is easy to blame the valves or sprinkler heads. But a surprising number of “dead sprinkler” calls come down to the timer itself: no power, a blown fuse, a tripped sensor, or one setting that got bumped during a storm or outage.
This guide stays focused on the controller and timer side of the system, not zone valves. We will walk through the same checks I do at my own 1970s ranch: start with power, confirm the transformer and fuse, verify wiring basics at the terminals, do a couple of simple multimeter tests you can run from the controller, bypass sensors, and finish with a clean reset and reprogram.
Safety note: Irrigation controllers mix low-voltage wiring with household power. If your controller is hardwired or you see burnt insulation, melted plastic, or water inside the cabinet, shut power off at the breaker and consider calling a pro.
Before you touch anything: quick triage
- Is the display blank? Think power, transformer, or an internal fuse.
- Display is on but nothing runs? Think programming, rain sensor, master valve setting, or wiring at the terminals.
- Only one zone runs or zones act “mixed up”? Think wiring mistakes, loose common wire, or a short that is taking the controller into protection mode.
- Works manually but not on schedule? Think start times, run times, watering days, seasonal adjust, or controller clock and date.
Grab a small flashlight, a flathead screwdriver, and if you have one, a multimeter. A basic $20 multimeter is one of the best DIY purchases you can make for irrigation and home troubleshooting.
Step 1: Confirm the controller is getting power
For plug-in controllers
- Make sure the outlet works by plugging in a lamp or phone charger.
- Check for a tripped GFCI outlet nearby, especially in garages, basements, and exterior outlets.
- If the controller is on an outdoor receptacle, confirm the in-use cover is closing properly and water is not getting into the outlet.
For hardwired controllers
- Check the breaker. If it trips again immediately, stop and call an electrician.
- Open the controller panel only if you are comfortable working near line voltage. When in doubt, do not.
My rule: If the display is blank, do not chase wiring in the yard yet. Prove the controller has proper power first.
Step 2: Check the transformer (a common failure)
Most irrigation controllers use a transformer to step household voltage down to low voltage, commonly around 24 VAC. When the transformer fails, the controller can go totally dead or act glitchy.
Signs of a bad transformer
- Controller display is blank, but the outlet has power.
- You hear buzzing or feel the transformer running unusually hot.
- The controller resets randomly after storms or power flickers (sometimes this points to moisture or a short, but the transformer is still worth testing early).
How to test it
- Look for two low-voltage wires from the transformer going into the controller, often labeled 24VAC.
- With a multimeter set to AC voltage, measure across the two transformer output leads.
- Many systems read about 24 VAC. It is also common to see something like 24 to 28 VAC with little or no load. Always check the transformer label and your controller manual for the expected range.
If you read 0 VAC or a very low number, the transformer is likely bad. Replace it with the exact voltage and the VA rating recommended by the controller manufacturer (or an approved equivalent).
Thrifty tip: Do not buy a “close enough” universal transformer unless you are 100 percent sure the specs match. The wrong voltage can cook the controller or cause weird behavior.
Step 3: Inspect and replace the controller fuse
Many controllers have a small automotive-style blade fuse inside. It is there to protect the controller when a zone wire gets nicked by a shovel or a splice fills with water and shorts.
What to do
- Unplug the controller or shut off its breaker.
- Remove the fuse and inspect it. If the metal link is broken or burnt, replace it.
- Use the same amperage rating printed on the fuse. Common examples you may see include 0.75A, 1A, 2A, or 3A, but the correct answer is whatever your controller specifies.
If the new fuse blows immediately: That usually means a short in the field wiring or a miswire at the terminals. Leave the controller powered off and move to the wiring steps below before trying another fuse.
Step 4: Check terminals and do basic meter tests
You do not need to dig up valves to do useful wiring diagnostics at the controller.
Confirm these common terminal issues
- Loose common (C/COM) wire: If the common wire is loose or corroded, zones may not run at all or they may run inconsistently.
- Stray copper strands: One tiny strand touching another terminal can short a zone.
- Wrong wire under the screw: If you recently worked in the controller box, a zone wire can get moved by accident.
- Master valve or pump start settings: If your system uses a master valve, it often lands on an MV or PUMP terminal. Many controllers also have an MV enable or disable setting. If the controller is expecting an MV and it is disabled (or enabled when you do not have one), watering can fail depending on the model.
Quick cleanup procedure
- Power off.
- One wire at a time, loosen the screw, pull the conductor out, trim back to clean copper, and reinsert.
- Keep about 1/4 to 3/8 inch of bare copper exposed, no more.
Multimeter test 1: Ohms check (find cut wires or bad solenoids)
This is the best controller-side test to spot a bad solenoid or damaged field wire without touching a shovel.
- Power off the controller.
- Set your multimeter to Ohms (resistance).
- Place one probe on COM and the other probe on a zone terminal (Zone 1, Zone 2, etc.).
- Healthy readings vary by valve and wiring run, but many systems fall roughly in the 20 to 60 ohms range.
- What it means:
- Very high or OL: likely a broken wire, bad splice, or a disconnected solenoid.
- Very low (near 0): likely a short in the wire or solenoid.
- One zone way different than the rest: start your digging there, not at random.
Multimeter test 2: VAC output test (prove the controller is firing a zone)
If the controller appears fine but valves will not open, this test tells you if the controller is actually sending power out.
- Set the multimeter to AC volts.
- Start a zone manually at the controller.
- Measure between COM and that zone’s terminal while it is running.
- You will often see roughly 24 VAC when the controller is calling that zone (check your manual for your model’s expected output).
- If you have ~24 VAC but the zone does nothing: the controller is probably fine and the problem is likely in the field wiring, a splice, or the valve solenoid.
- If you do not have voltage output: double-check programming, sensor lockout, MV settings, and controller health.
Organized DIY win: If you have more than a few zones, label the wires with small pieces of tape as you go. Future you will thank you.
Step 5: Sensor bypass test
If your controller display looks normal but it refuses to water, a sensor input is a prime suspect. Many systems have a rain sensor, freeze sensor, or a wireless sensor receiver that tells the controller “do not water.” A failed sensor, cut sensor wire, or a wet sensor that never dries can stop everything.
Common clues
- Controller shows RAIN, SENSOR, SEN, or OFF BY SENSOR.
- Manual watering will not start, or it stops immediately.
- This began after a storm or a recent roof or gutter project.
How to bypass safely
- Locate the sensor terminals, often labeled SEN, SENSOR, or RS.
- Many controllers require a small jumper between the sensor terminals when no sensor is installed. If that jumper is missing or corroded, the controller may think the sensor is active.
- For a temporary test, follow your controller manual to bypass the sensor, or move the sensor switch to BYPASS if your model has it.
Important: Do not leave a failed sensor bypassed permanently if you rely on it to prevent watering in freezing conditions. Use bypass as a test to confirm the cause, then repair or replace the sensor.
Step 6: Quick manual start test
Before you go deep, run one zone manually. It is a fast way to separate a scheduling problem from an electrical or sensor problem.
- Most controllers have a Manual or Test function, or a way to start a station from the dial and buttons.
- If zones run manually but never on schedule, your wiring and valves are probably fine and you should focus on programming.
- If manual start fails too, focus on sensors, MV settings, power, fuse, transformer, and terminal wiring.
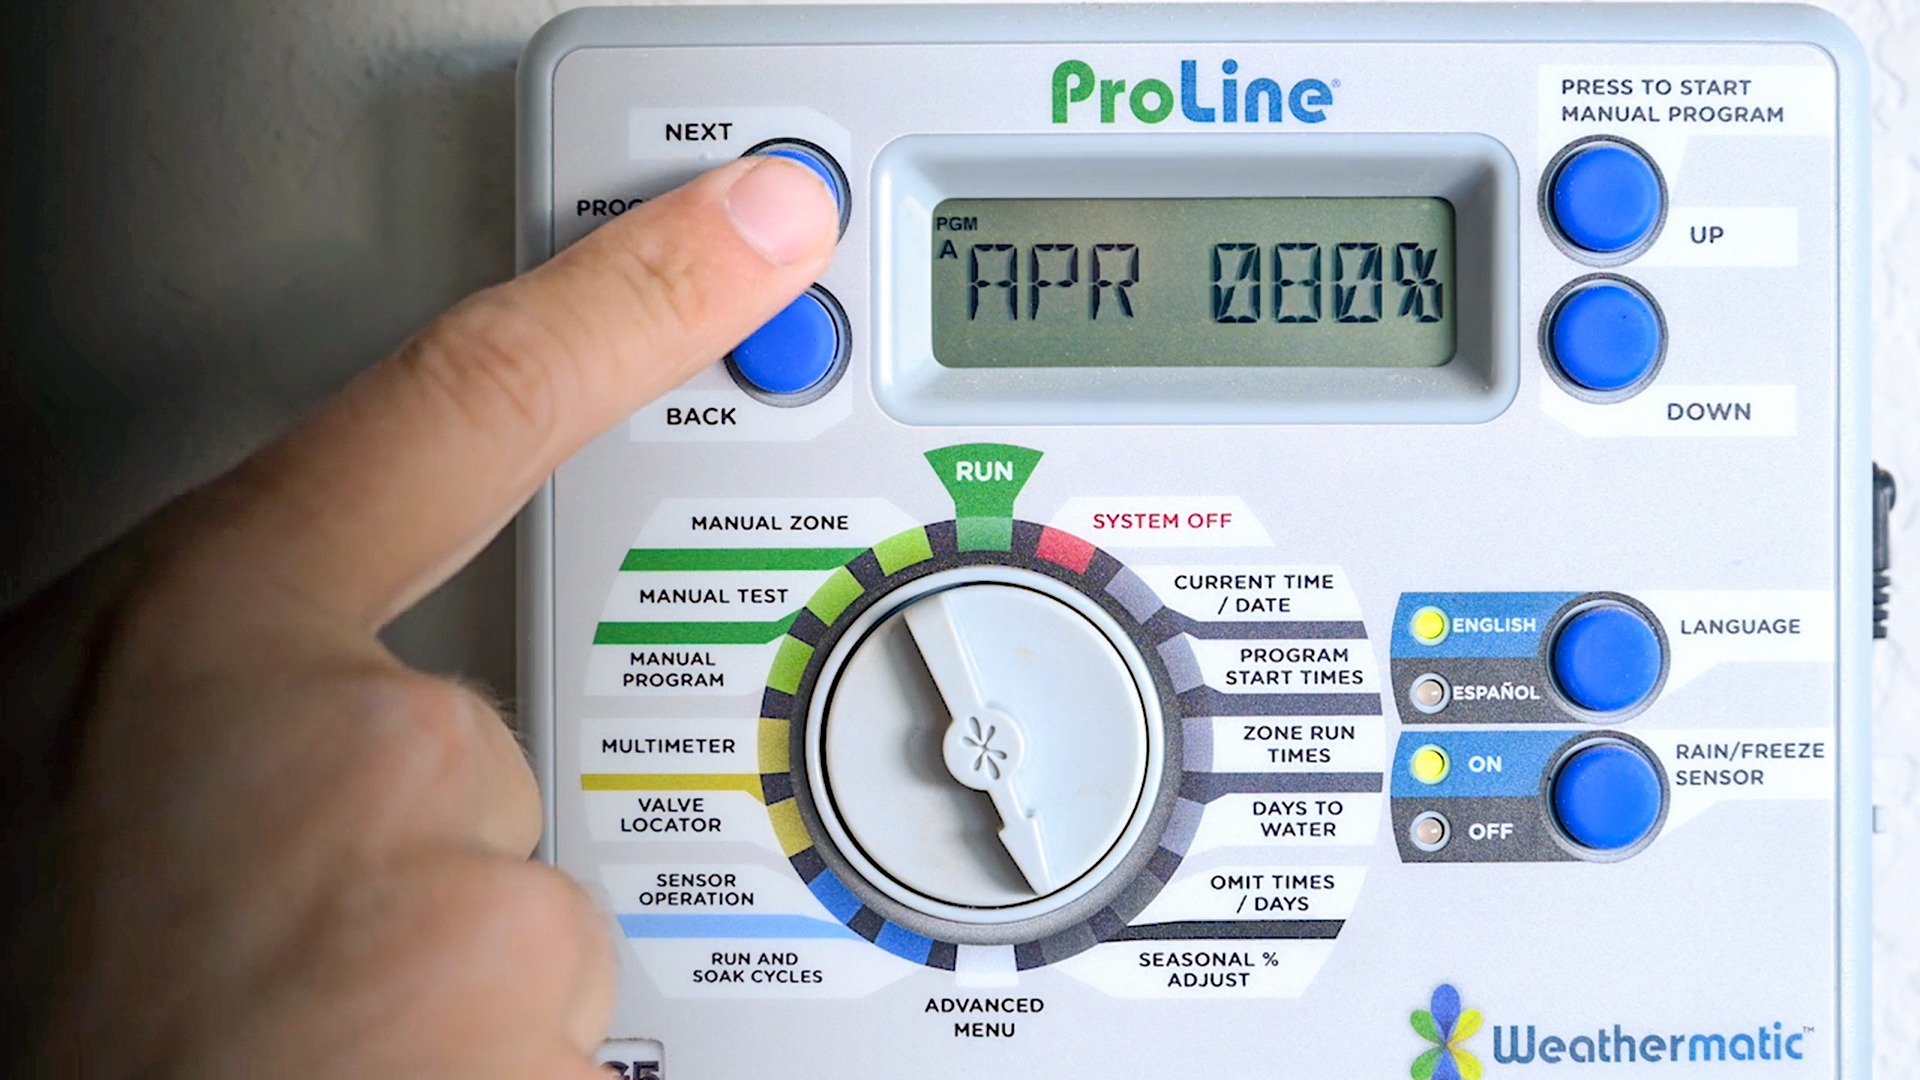
Step 7: Programming checks
I have lost more time than I care to admit chasing “electrical problems” that were really one accidental setting.
Check these in order
- Controller mode: Make sure it is set to RUN/AUTO, not OFF or RAIN DELAY.
- Date and time: Power outages can reset the clock on some models.
- Start times: Many controllers water based on start times. Too many start times can repeat watering; zero start times means nothing runs.
- Watering days: Verify the correct days are enabled, or that odd or even restrictions match your city rules.
- Run times: Confirm each zone has a non-zero runtime.
- Seasonal adjust: If seasonal adjust is set to 0 percent, the controller may effectively water for 0 minutes.
- Programs A/B/C: Make sure you are editing the program you actually use. It is very easy to set up Program B perfectly while Program A is the one assigned to run.
Step 8: Reset options
If the controller is frozen, the buttons do nothing, or the display is garbled, a reset can bring it back. Controllers vary, so check your manual for the exact reset procedure.
Three reset levels to try
- Soft reset: Unplug for 30 to 60 seconds, then plug back in. For hardwired units, shut the breaker off for 30 to 60 seconds, then turn it back on. This can clear a glitch.
- Factory reset: Restores defaults and clears programming. Use this when the controller is behaving erratically and you are ready to reprogram from scratch.
- Battery check (if applicable): Some controllers use an internal battery for the clock. A dead battery can cause time and date to reset repeatedly.
My organized approach: Before a factory reset, take quick photos of your current settings: programs, start times, run times, and days. Those photos have saved me from re-building schedules from memory more than once.
Step 9: When to replace the controller
Sometimes replacement is the most budget-friendly move, especially if your controller is older and parts are hard to find.
Replace the controller if you see any of these
- Burn marks, melted terminals, or a persistent electrical smell.
- The transformer output is correct and the fuse is good, but the controller stays dead.
- Multiple zones trigger at once without being programmed that way, even after a reset.
- The display works but output to zones is inconsistent and you have ruled out sensor and programming issues.
When you shop, match the number of zones and decide if you want Wi-Fi features. For many homeowners, a simple, reliable controller is still the sweet spot. Fewer features often means fewer headaches.
Quick troubleshooting checklist
- Outlet or breaker confirmed good
- Transformer output near the rated value (often about 24 VAC)
- Fuse good and correct amperage
- Common wire tight and clean
- No stray copper strands touching other terminals
- Ohms check from COM to each zone looks reasonable (often roughly 20 to 60 ohms)
- Zone output VAC test shows voltage when a zone is running
- Rain or freeze sensor bypass test passes
- Mode set to RUN/AUTO, not OFF or rain delay
- Start times, run times, days, and seasonal adjust verified
- Soft reset or factory reset completed if needed
If you get stuck, tell me what brand and model you have, what the display shows, and what happens when you try a manual start. With those three details, you can usually narrow the cause down fast.
About Marcus Vance
Content Creator @ Grit & Home
Marcus Vance is a lifelong DIY enthusiast and self-taught home renovator who has spent the last decade transforming a dilapidated 1970s ranch into his family's dream home. He specializes in budget-friendly carpentry, room-by-room renovations, and demystifying power tools for beginners. Through his writing, Marcus shares practical tutorials and hard-learned lessons to help homeowners tackle their own projects with confidence.