When a sprinkler zone will not turn on, it feels like it should be a simple fix. Sometimes it is. Other times you end up staring at a controller that says it is running, while the yard stays bone dry.
I have been there. On my own 1970s ranch rehab, I learned the hard way that irrigation problems are usually one of four things: the controller is not actually calling that zone, the valve is not opening, the wiring is not delivering power, or water is not getting through.
Below is the exact troubleshooting order I use because it narrows the problem fast and keeps you from replacing parts you do not need.
First, a quick safety and sanity check
- Power: Make sure the controller has power and is not rebooting or showing an error.
- Water: Confirm your main water supply to irrigation is on.
- One zone or many: If all zones are dead, start with water supply, controller power, and the master valve or pump start relay. If it is one zone, start with programming and the zone valve.
Pro tip: Pick one “known good” zone and run it for 30 seconds. If that one runs but your problem zone does not, you can stop worrying about the water source and focus on the zone circuit and valve.
Step 1: Confirm the controller is actually calling the zone
This is the easiest win, and it gets overlooked all the time after power outages, battery swaps, or seasonal shutdown.
Check these settings
- Correct program: Many controllers have Program A/B/C. Make sure your start times are on the program that includes the dead zone.
- Start times: You typically want one start time per program. Multiple start times can make run times confusing, but they usually still run. Still worth confirming.
- Run time: Verify the zone has a non-zero run time.
- Zone is enabled: Some smart controllers let you disable a station.
- Rain delay / pause: Turn off any rain delay or “suspend watering” feature.
- Seasonal adjust: If seasonal adjust is set to 0%, the controller may show it is running but deliver no watering time.
- Sensor input: A rain sensor or weather sensor can shut watering down if it is tripped or wired incorrectly.
Use Manual Run (the best test)
Set the controller to Manual and run only the problem zone for 2 to 5 minutes. Manual run takes scheduling out of the equation. If it works on manual, your issue is programming or sensor related. If it does not work on manual, keep going.
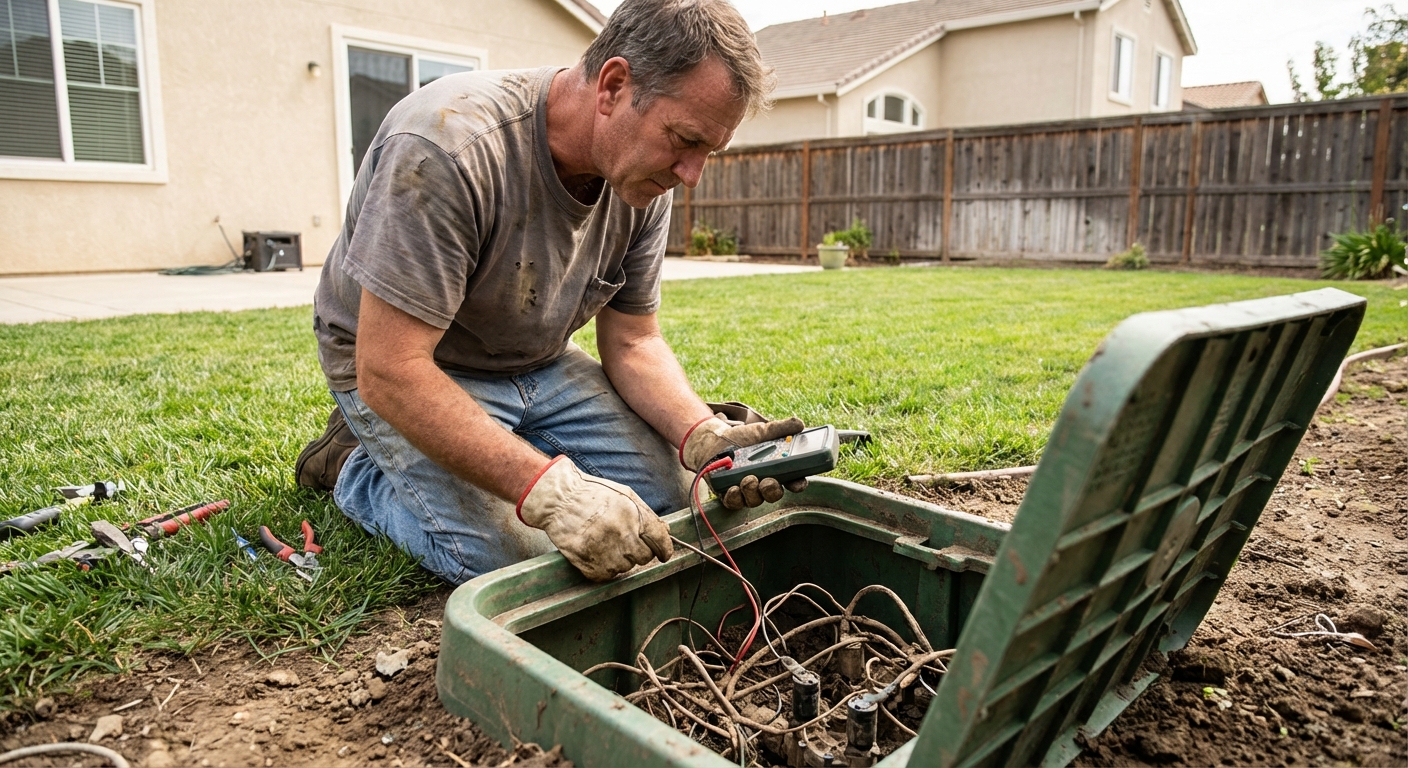
Step 2: Prove whether the valve can open (manual bleed test)
Every zone is controlled by a valve. If the valve is stuck shut, has debris, or the solenoid is dead, the controller can “run” all day and nothing happens.
Find the right valve
Locate your valve box in the yard (sometimes two or three boxes). If you do not know which valve is which, that is okay. We are going to test them one at a time.
Manual bleed: the quickest mechanical check
- Turn the controller off for the moment.
- At the valve, try a manual bleed. Many valves have a small bleed screw. Crack it open slowly.
- Alternative: turn the solenoid a quarter turn counterclockwise to open the valve manually.
What you are looking for:
- If the zone turns on manually: Water supply and valve internals are likely okay. The problem is usually the solenoid, wiring, or controller output.
- If it does not turn on manually: The issue is usually water supply to that manifold, a closed isolation valve, severe clogging, or a damaged valve diaphragm.
Important: After manual testing, tighten the bleed screw and return the solenoid to snug. Do not over-tighten. Hand tight is usually enough.
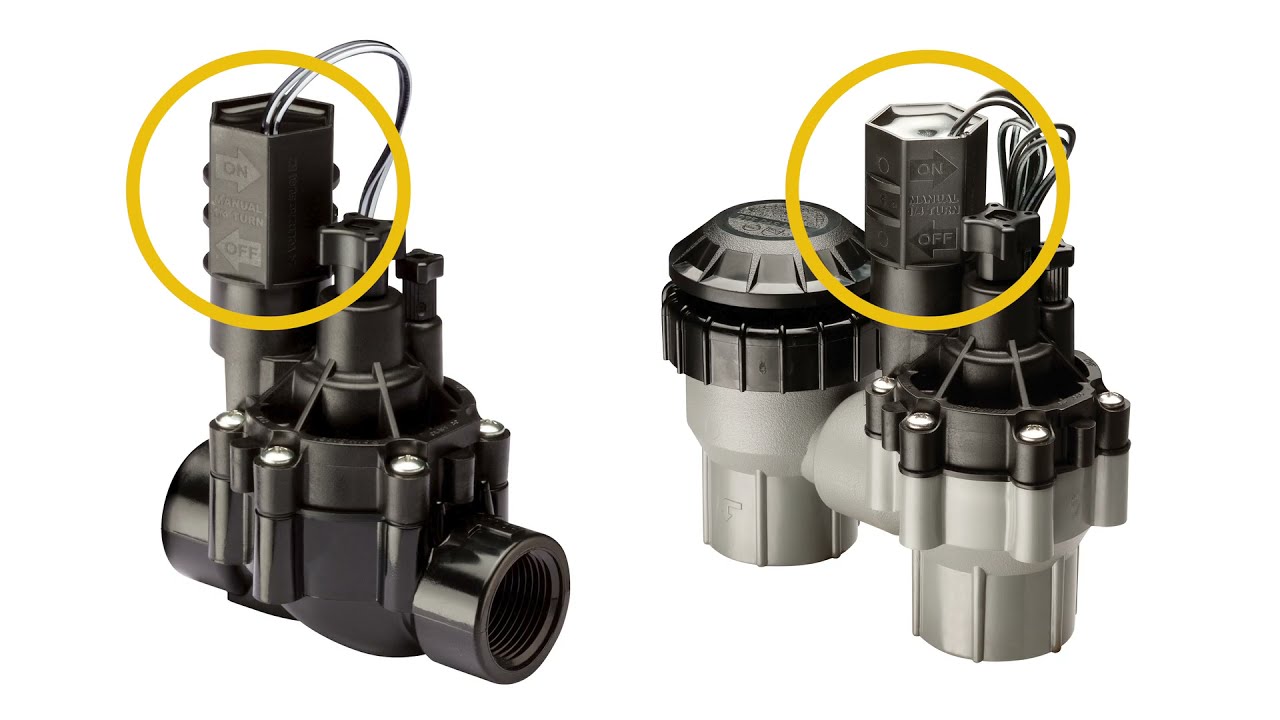
Step 3: Check the solenoid (the most common single-zone failure)
The solenoid is the little coil on top of the valve that opens it when the controller sends power. If your zone works when you manually open the valve but not from the controller, the solenoid is a prime suspect.
Easy checks before you buy anything
- Look for damage: cracked body, corrosion, or chewed wires in the box.
- Confirm wire connections: Tug gently on each wire nut. If a wire slips out, you found a problem.
- Swap test (if valves match): If you have another identical valve nearby, you can swap solenoids between zones. If the problem “moves” with the solenoid, replace it.
Multimeter test (best answer)
If you have a basic multimeter, set it to resistance (ohms) and test across the two solenoid wires (zone wire and common). Typical readings vary by brand, but many 24-volt irrigation solenoids land roughly in the 20 to 60 ohms range.
- Infinite / OL: open circuit, solenoid coil is dead.
- Very low resistance: shorted coil, also bad.
- Normal resistance: solenoid may be okay, move to wiring and controller output.
Note: Specs vary. If you can find your valve or solenoid model, use the manufacturer range as your truth.
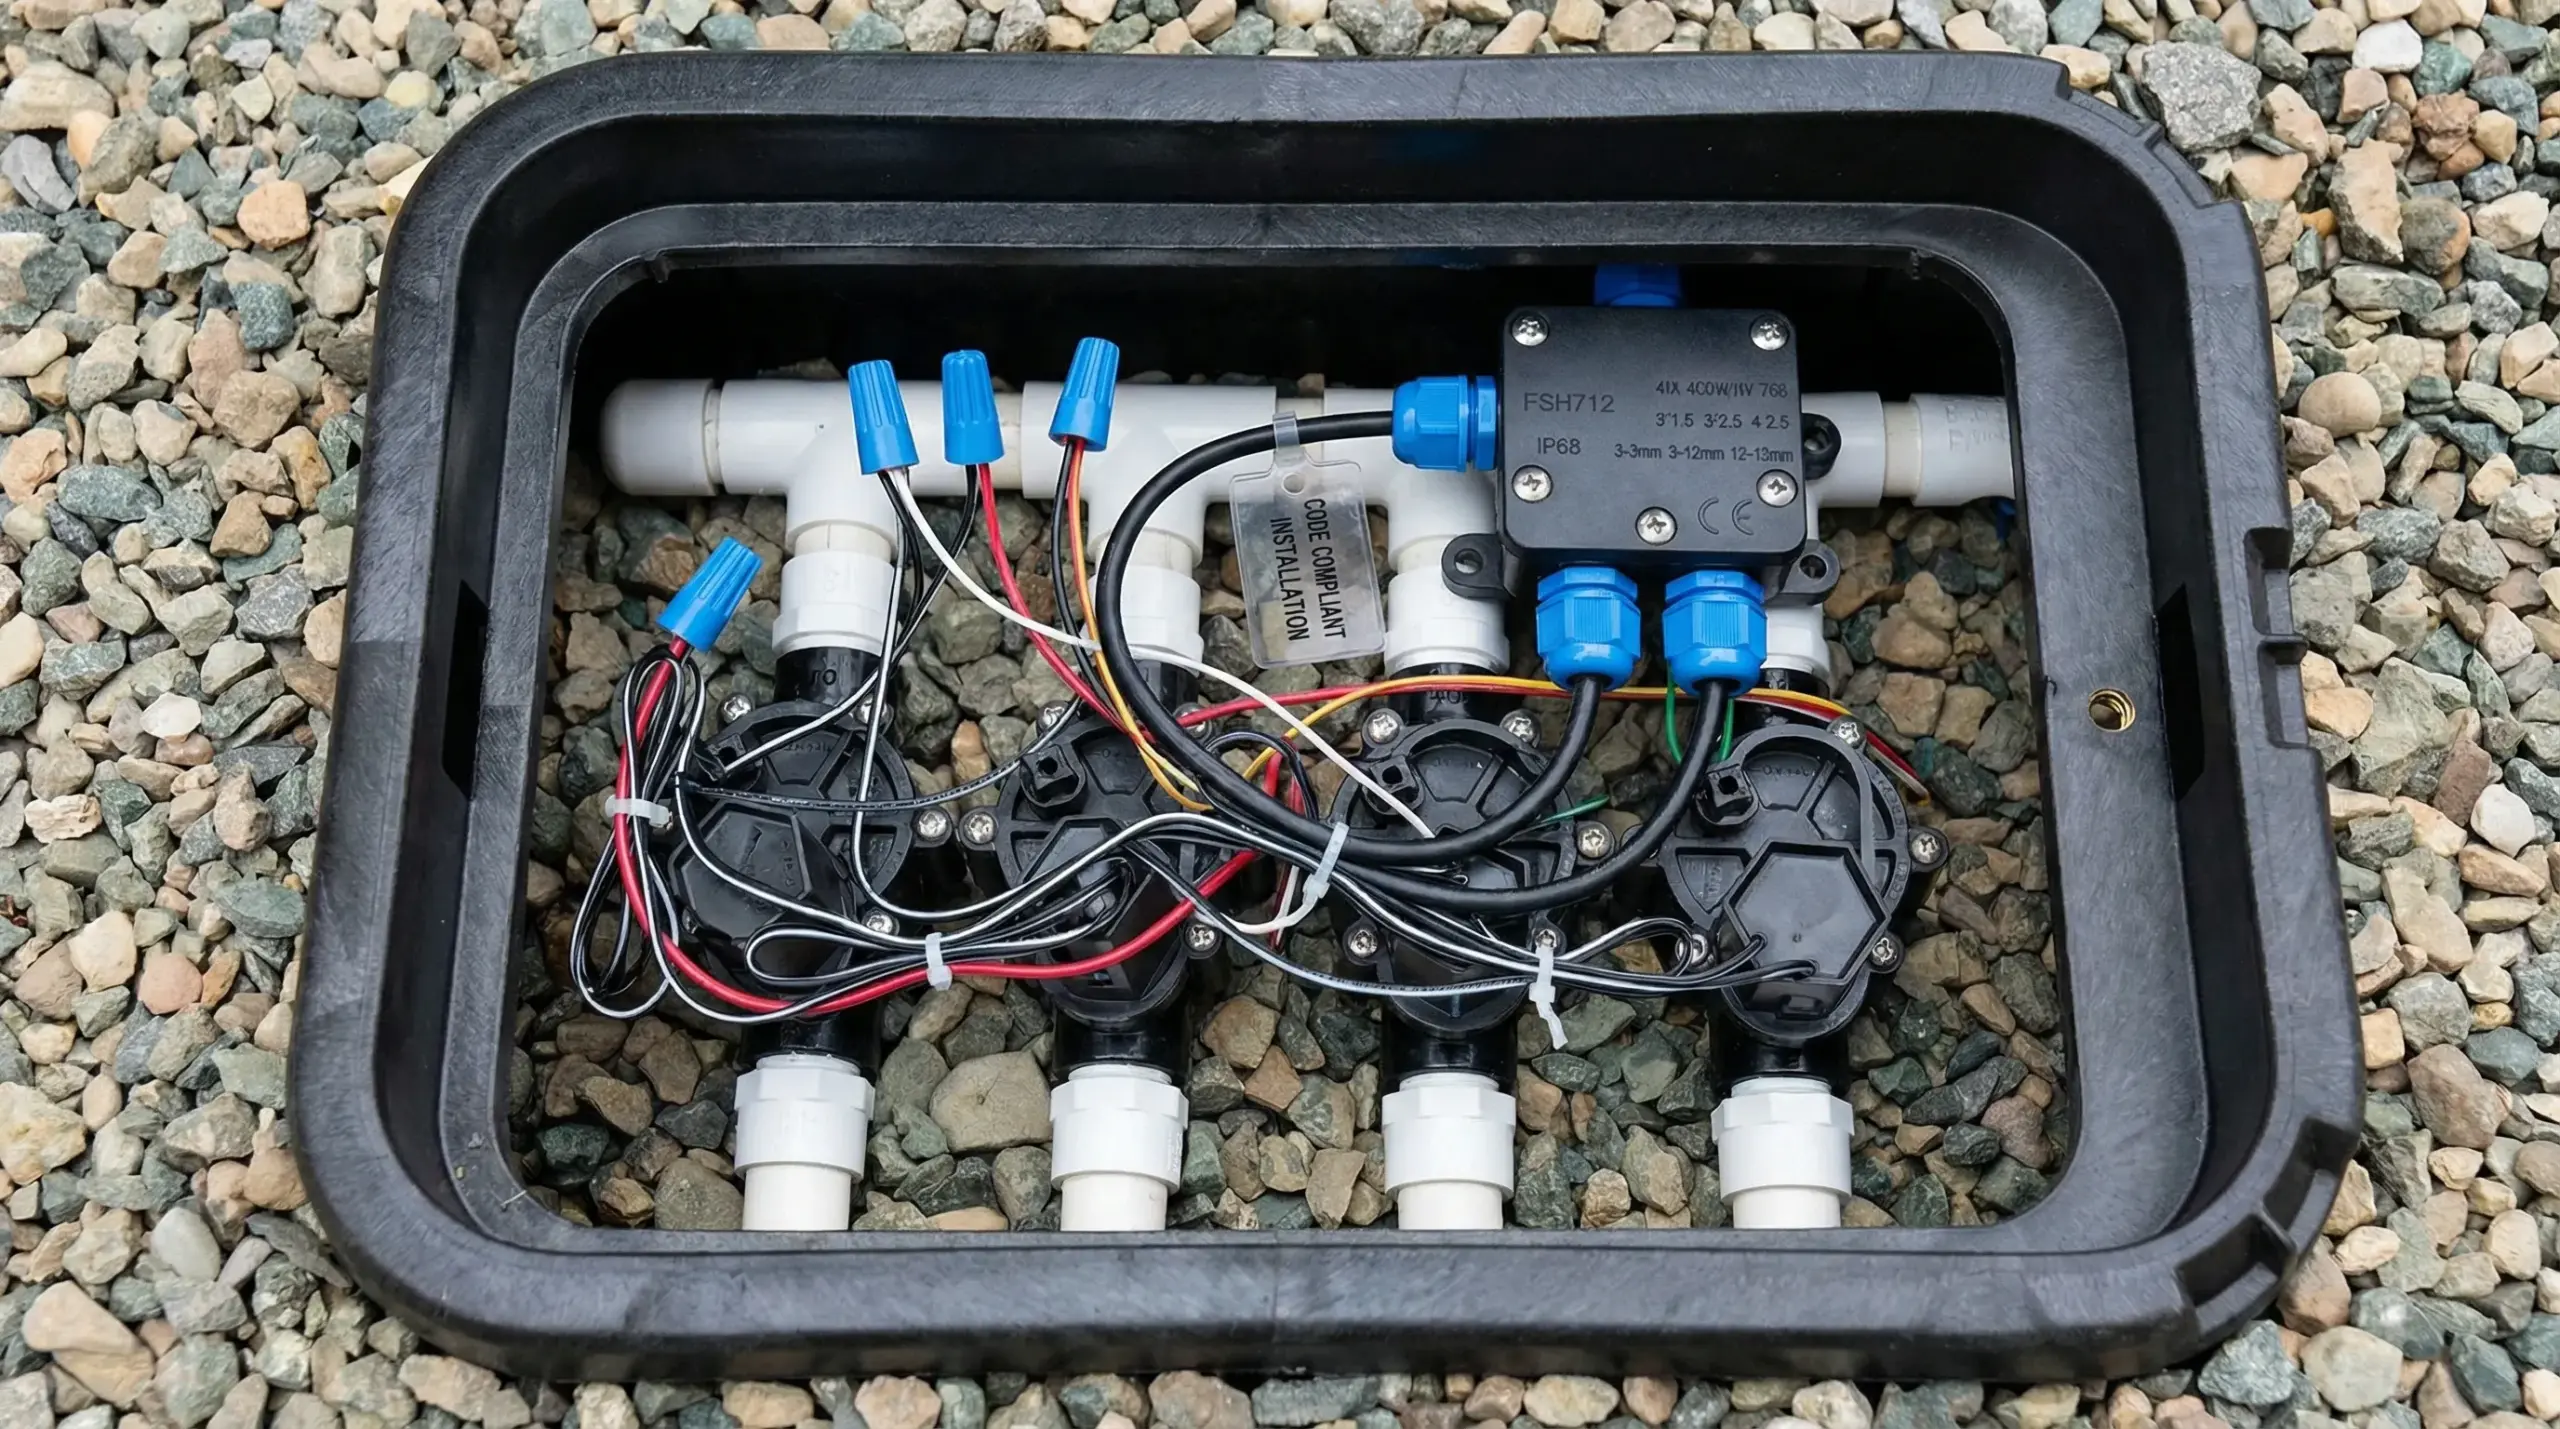
Step 4: Inspect wiring from controller to valve
Irrigation wiring lives in wet boxes and gets nicked by shovels, aerators, edging tools, and critters. A wiring fault can kill one zone while everything else runs fine.
Start at the valve box
- Open the wire nuts and check for green copper corrosion.
- Re-strip wires if needed and reconnect with waterproof wire connectors.
- Make sure the common wire is firmly connected. A loose common can create weird, intermittent issues.
Check at the controller
- Verify the zone wire is landed on the correct terminal.
- Make sure the common wire is secure and not sharing a loose terminal with multiple conductors poorly.
Continuity testing (when you suspect a break)
If you suspect the wire is cut between the controller and valve, you can do a continuity check with a multimeter, but it is easiest if you can disconnect both ends of the conductor. If the reading is open, you likely have a break and may need to locate and repair the damaged section or run a new wire.
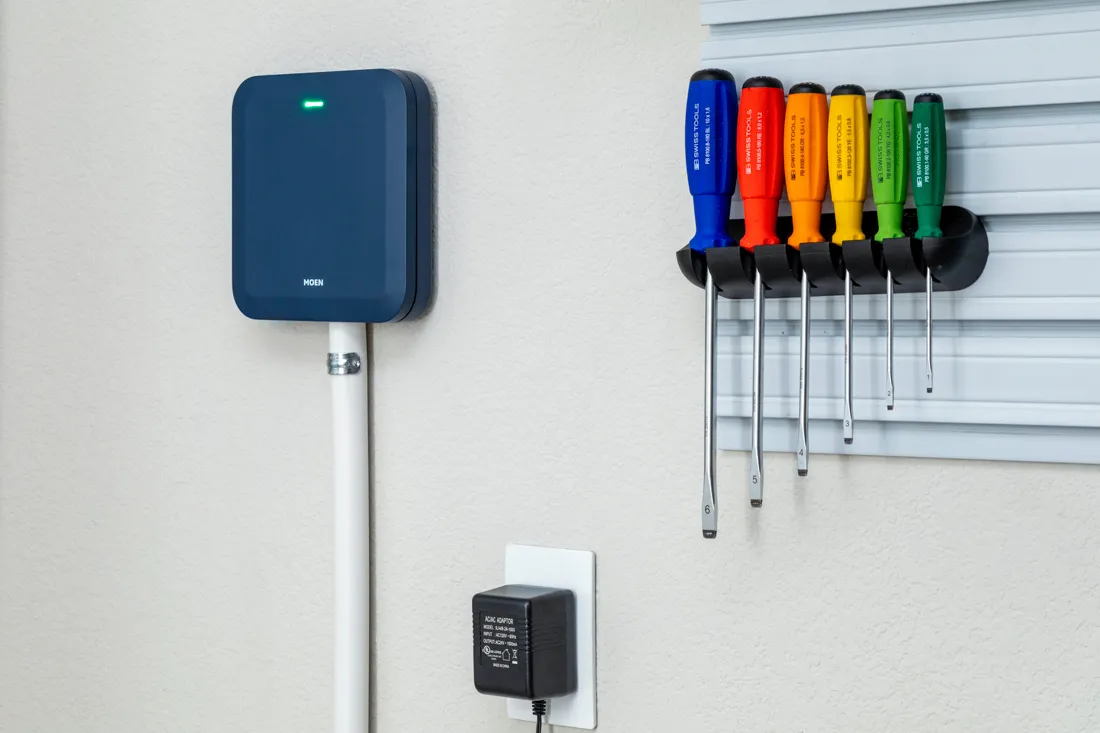
Step 5: Test controller output (is the station sending power?)
Most residential irrigation controllers send ~24 volts AC to open a valve. A controller can partially fail so that only one station output is dead.
How to test
- Set the controller to run the problem zone manually.
- With a multimeter set to AC volts, measure between the problem station terminal and the common terminal.
- You should see roughly 24 VAC while that zone is running.
If you get voltage at the controller but the valve will not open: wiring or solenoid problem.
If you do not get voltage at the controller on that station: controller output is bad, or the controller is not truly commanding that station due to programming or sensor lockout.
On a budget: if the controller has an unused station terminal, you can temporarily move the zone wire to that terminal and run that station as a test. If the zone now works, your original station output is likely failed.
Step 6: Confirm water supply and backflow hardware
If manual bleed did nothing, shift your attention to water getting to the valves at all. This is especially common after winterization or plumbing work.
Check the obvious valves
- Irrigation shutoff: Find the irrigation supply valve and confirm it is fully open.
- Any inline isolation valves: Some systems have a ball valve near the manifold.
- Partially closed valves: A valve that is only half open can make sprinklers barely dribble, which can look like a dead zone.
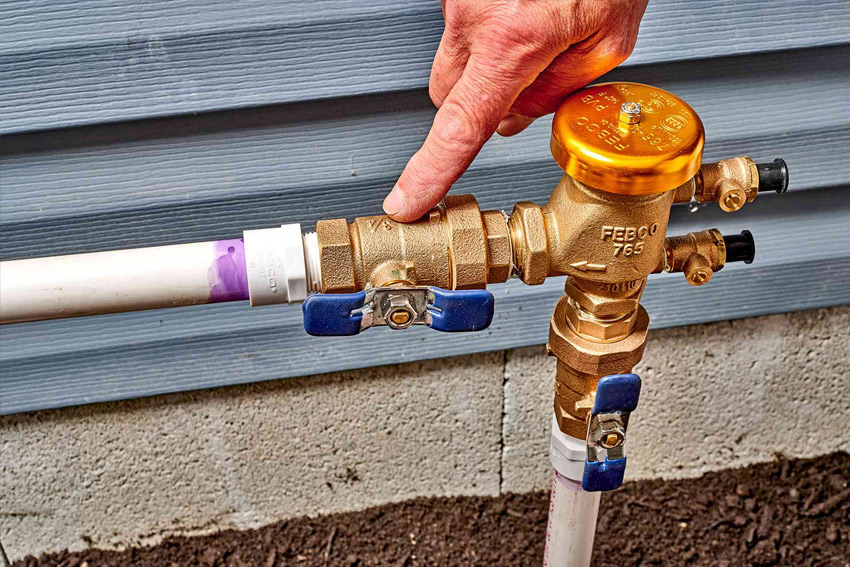
Vacuum breaker / backflow preventer issues
Depending on your setup, a pressure vacuum breaker (PVB) or another backflow device can leak or fail to seal properly, dumping water instead of feeding zones.
- Look for water spraying or steady dripping from the backflow assembly while a zone is supposed to run.
- Make sure test cocks are closed and any shutoff handles are fully open.
- If it leaks only when a zone runs, the internal check or poppet may be dirty or worn.
Step 7: Look for leaks that steal pressure
Sometimes a zone technically turns on, but a broken line or fitting underground dumps the flow and your heads barely pop up, or not at all.
Signs of a broken lateral line
- A sudden soggy area or a new low spot in the lawn.
- Water bubbling up near a head or along a trench line.
- Zone runs and you hear water, but heads do not rise.
Quick isolation trick
If your zone has a mix of heads, walk the line while the zone is supposed to run. Listen for rushing water and watch for soft ground. Most breaks show themselves within a minute or two once the zone is pressurized.
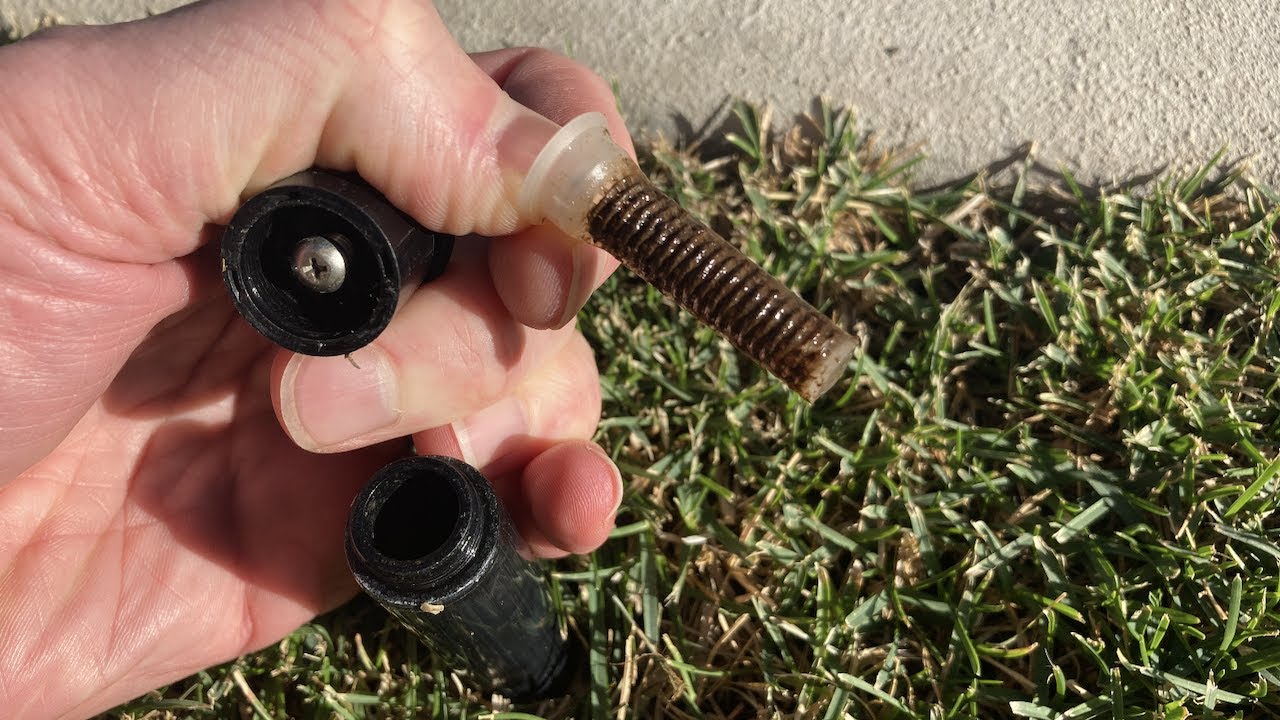
Step 8: Head and nozzle issues (when only part of the zone seems dead)
If the valve opens and the zone runs, but one section stays dry, the culprit is often right at the head.
Common head problems
- Clogged nozzle or filter: Dirt, sand, or scale can block flow.
- Stuck riser: Grass and grit can keep a pop-up from rising.
- Broken head or cracked body: Creates a mini geyser and robs pressure from other heads.
- Misadjusted rotor: It may be watering the sidewalk while your lawn stays thirsty.
Quick fixes
- Unscrew the nozzle, rinse it, and flush the line briefly before reinstalling.
- Clean or replace the small filter screen if your model uses one.
- Replace cracked heads instead of trying to glue them. Glue rarely holds under pressure.
Seasonal startup checklist (prevents most spring headaches)
If you winterize or shut down your irrigation, spring startup is when most “my zone won’t turn on” problems begin. Here is the checklist I follow so I do not spend my Saturday chasing preventable issues.
Before you turn on the water
- Inspect the backflow assembly and confirm drain caps and test cocks are in the correct position.
- Open valve boxes and look for obvious broken wires or cracked fittings.
- At the controller, confirm date/time and remove rain delay.
Turning the water on (slow is the secret)
- Open the irrigation shutoff valve slowly to prevent water hammer.
- Check for leaks at the backflow preventer and any exposed piping.
Zone-by-zone testing
- Run each zone manually for 1 to 2 minutes.
- Clean clogged nozzles and straighten tilted heads.
- Verify coverage and adjust arcs as needed.
I keep a simple note in my phone that lists which valve box holds which zones. That tiny bit of organization saves a lot of kneeling in wet grass later.
When it is time to call a pro
I am all for DIY, but irrigation can get technical fast when you are dealing with buried wiring faults, multiple manifolds, or backflow preventer repairs that require testing.
- If you suspect a failed backflow preventer, many areas require a licensed tester.
- If you have no 24 VAC output on multiple stations, the controller transformer or internal board may be failing.
- If you cannot locate a valve box or the system layout is unknown, a service call can be cheaper than hours of guessing.
Fast diagnosis cheat sheet
- Zone runs on Manual at controller? Programming, rain sensor, seasonal adjust.
- Zone runs when you manually open valve? Solenoid, wiring, controller output.
- Zone will not run even when manually opened? Water supply, closed isolation valve, clogged or damaged valve internals.
- Zone runs but heads do not pop up? Leak, broken head, low pressure, clogged nozzles.
If you want, tell me your controller brand, whether the zone works when you crack the bleed screw, and whether other zones run. With those three details, you can usually pinpoint the failure in one more step.
About Marcus Vance
Content Creator @ Grit & Home
Marcus Vance is a lifelong DIY enthusiast and self-taught home renovator who has spent the last decade transforming a dilapidated 1970s ranch into his family's dream home. He specializes in budget-friendly carpentry, room-by-room renovations, and demystifying power tools for beginners. Through his writing, Marcus shares practical tutorials and hard-learned lessons to help homeowners tackle their own projects with confidence.