
🚨 In a DIY emergency or rush?
Skip the details and jump straight to our 30-second cheat sheet for the most crucial info.
Small courier. Big home questions.
If your tankless water heater is leaking, your first job is to figure out whether you are seeing normal condensate (common on high-efficiency condensing units) or a true plumbing leak. One is usually a drain routing issue. The other can quietly damage cabinets, drywall, and the unit itself.
If you do not know what you have, here is a quick clue: if the venting is PVC and there is a condensate drain line coming off the heater, it is likely a condensing model. It is not a perfect rule, so confirm on the rating plate or in your manual.
When to shut it off immediately
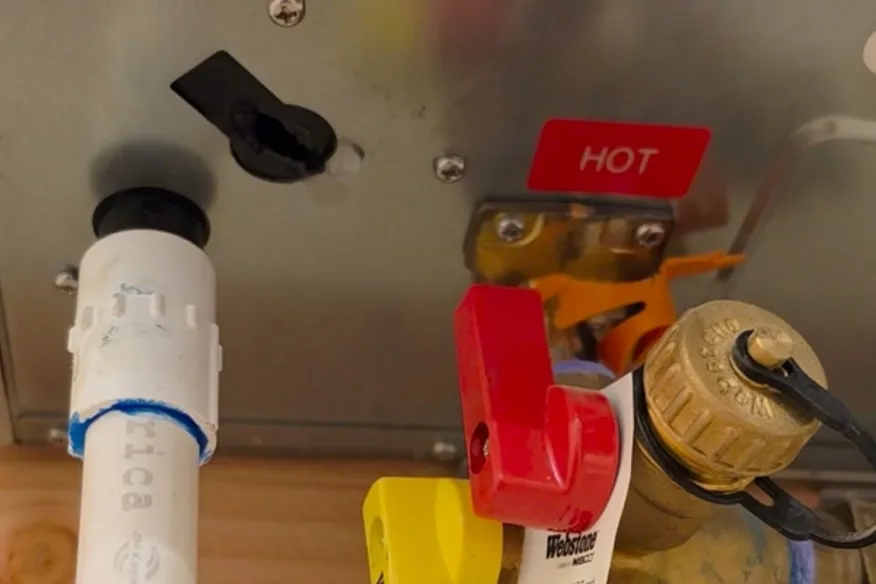
Tankless units do not store much water in a tank, but they can still leak continuously under line pressure. Shut the unit down and stop the water if any of these are true:
- Water is spraying or actively running from a fitting or pipe.
- You see water near wiring, outlets, or the unit’s control board.
- The leak is from inside the case and you cannot clearly trace it to an external connection.
- You smell gas or suspect combustion issues (gas units). Leave the area and contact your gas utility or a qualified technician.
Quick shut-off order
- Turn off power to the unit at the switch or breaker.
- Turn off the cold water supply to the heater (usually a valve on the inlet line).
- If you have a gas unit and the leak is significant, turn off gas at the gas shutoff valve near the unit.
If you cannot stop the leak at local valves or you are not sure which valve is which, use your home’s main water shutoff and call a pro.
Condensate or real leak?
Many newer tankless models are condensing. They intentionally pull extra heat out of exhaust, and that creates water called condensate. That water must drain away through a condensate line, trap, or pump.
Signs it is probably condensate
- The unit is labeled condensing or has a condensate drain port and tubing.
- Dripping happens only when the unit is running or shortly after hot water use.
- The water looks clear and you see moisture around the condensate tubing, trap, or pump.
Signs it is a true leak
- Water drips even when no one uses hot water.
- Drips form at a threaded joint, union, valve stem, inlet filter cap, or relief discharge.
- You see green, white, or rusty staining on copper, brass, or steel parts.
Important: Condensate can be mildly acidic. Depending on your setup, manufacturer instructions, and local code, it often needs to be routed properly and sometimes run through a neutralizer before draining into certain plumbing materials.
Find the exact drip point
Leaks love to travel along pipes and brackets before they drip, so the wet spot on the floor is rarely the source. Here is a simple way to follow the breadcrumb trail without taking the unit apart.
Tools that help
- Flashlight
- Dry paper towels or tissue
- A few drops of food coloring (optional, for condensate checks)
- Small bucket
Step-by-step
- Dry everything you can reach under and around the unit.
- Run hot water at a faucet for 3 to 5 minutes so the heater is actively operating.
- Use a paper towel touch test at each suspect point. Touch the towel to the joint and look for the first sign of moisture.
- If you have a condensate line, watch it while the unit runs. Condensate should move through the drain tubing to a proper drain, pump, or termination point.
- After you stop the faucet, wait 5 to 10 minutes and check again. Some leaks only show once parts cool down.
Common causes and fixes
1) Service-valve unions or inlet and outlet fittings
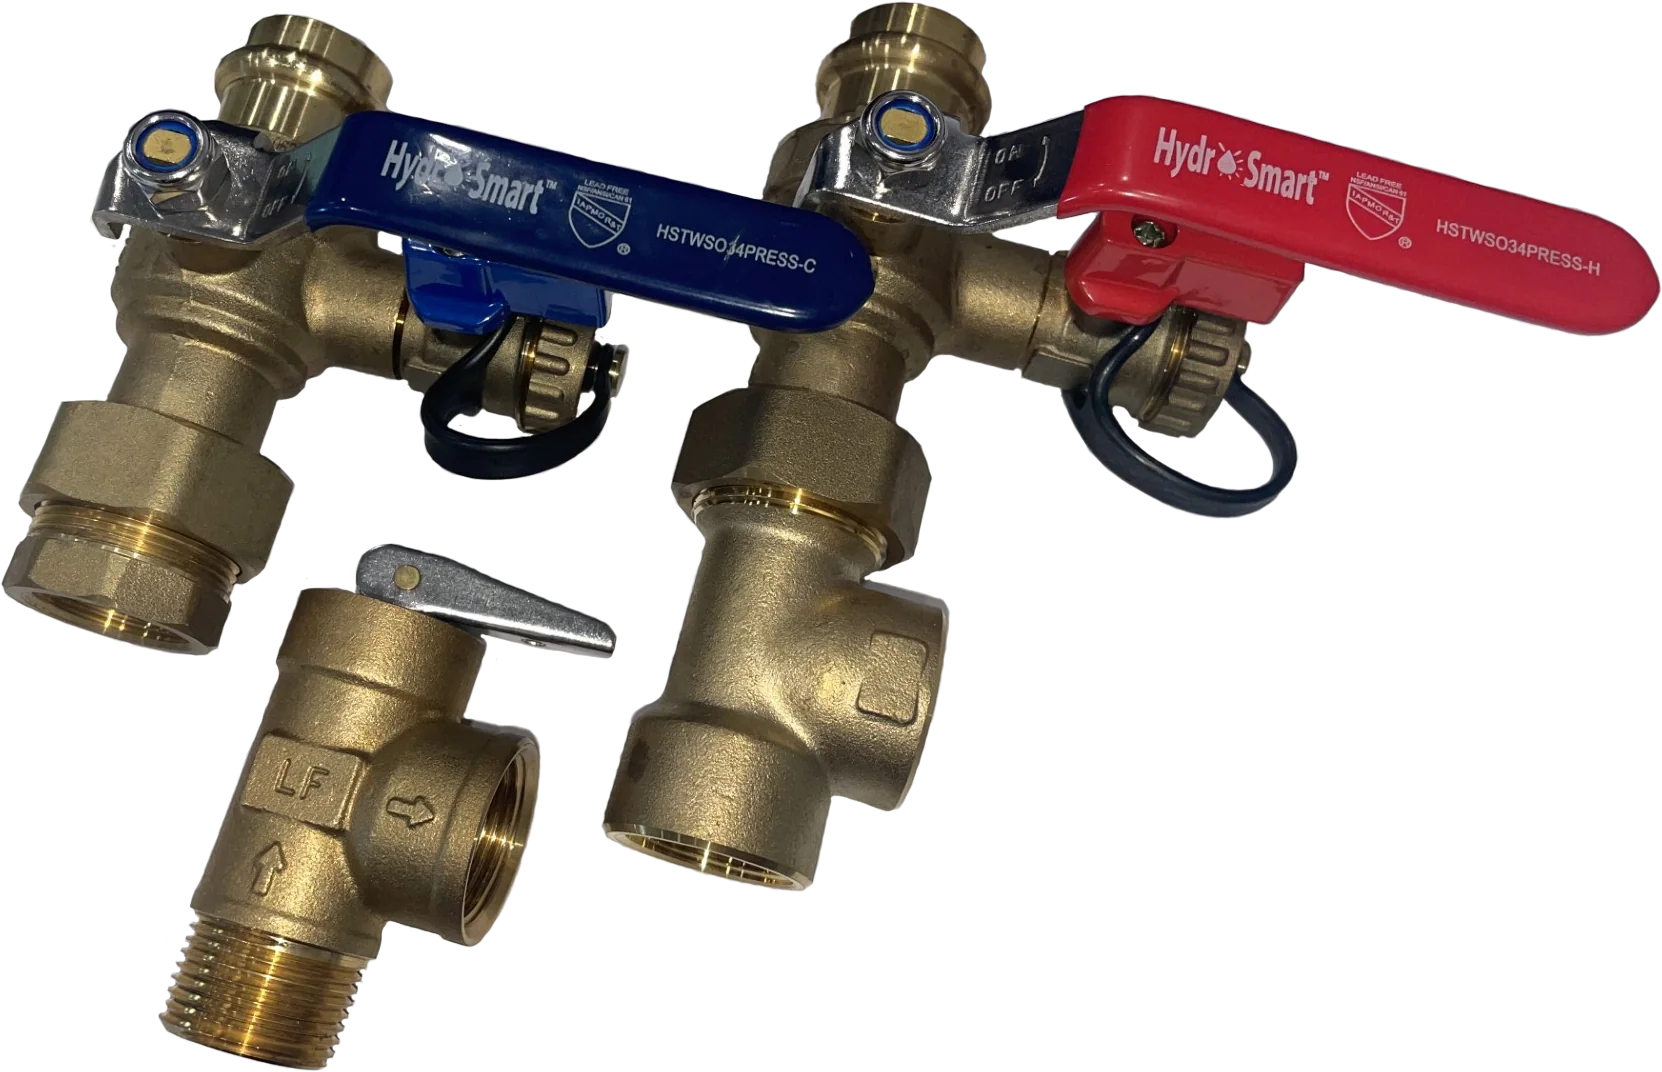
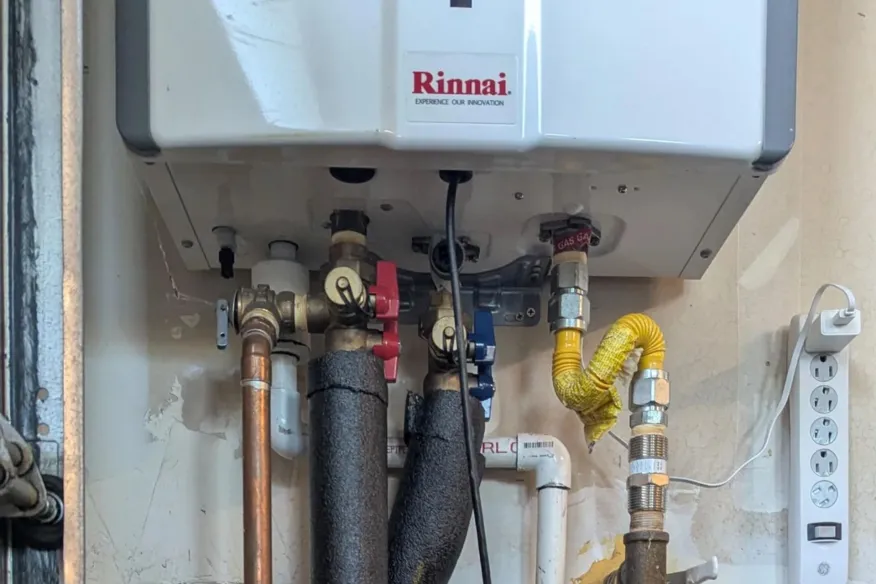
Many tankless installs use a valve kit with isolation valves and unions for flushing. Those unions and threaded adapters are among the most common drip sources.
What you will see: A slow drip at a brass union nut, a threaded adapter, or a connection right below the unit.
Try this first:
- Check tightness gently. If you do this, use two wrenches and back up the stationary fitting so you do not twist piping or stress the heater connections. Do not overtighten.
- Look for a failed gasket inside the union connection. Unions typically seal with a washer or gasket, not thread tape.
Fix level: Homeowner-friendly if you are comfortable shutting water off, relieving pressure, and re-seating or replacing a union washer. If you see cracked plastic parts, heavy corrosion, or you cannot get the union to seal, call a plumber.
2) Relief valve discharge dripping
Tankless heaters have a relief valve. Depending on the model, it may be a temperature and pressure (T&P or TPR) relief valve or a pressure-only relief valve. The details vary by manufacturer and jurisdiction.
What you will see: Water dripping from the relief valve outlet or its discharge pipe.
Code note: Many areas require the discharge to be piped to an approved termination point. Follow the manufacturer instructions and local code. An open outlet pointing down may be noncompliant in some locations.
Likely causes:
- High water pressure in the home (this is often tied to a pressure-reducing valve, also commonly called a PRV).
- Thermal expansion issues in a closed system.
- A fouled or failing relief valve that cannot fully seat.
What to do: Do not cap or plug a relief discharge. If it is dripping regularly, treat it as a safety issue. A pro may need to test household pressure, confirm expansion control where required, and replace the relief valve if needed.
3) Condensate line, trap, or condensate pump problems
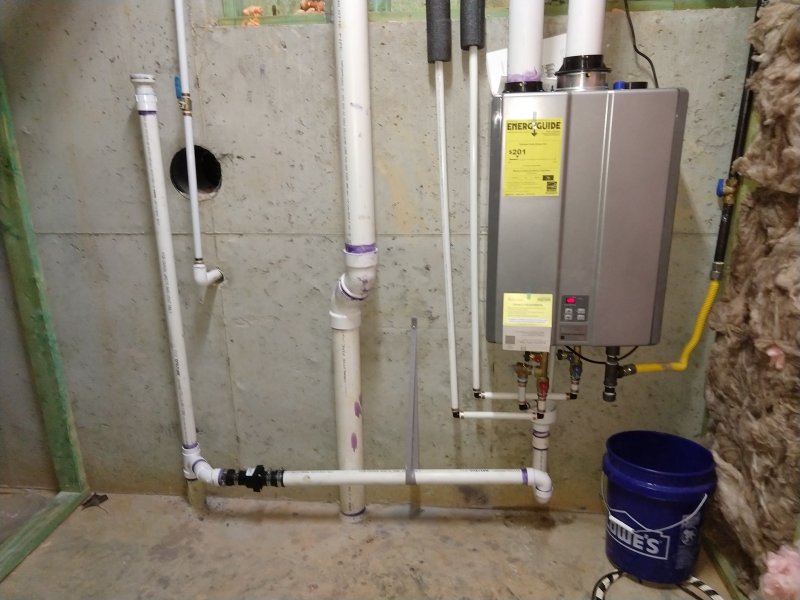
Condensing tankless heaters create water that must drain. If the line is kinked, disconnected, clogged, or incorrectly sloped, you can get water around the unit that looks like a leak.
What you will see: Water around the condensate connection, dripping from the bottom of the unit, or pooling near a condensate pump reservoir.
Fixes to consider:
- Check the hose routing for sags and kinks. Gravity drains need consistent slope.
- Inspect the connection at the unit and at the drain termination for looseness.
- Clean a clogged trap only if your manual allows homeowner access. Some traps are service parts with specific reassembly requirements.
- If you have a pump, verify the pump has power, the float is not stuck, and the discharge tubing is not blocked.
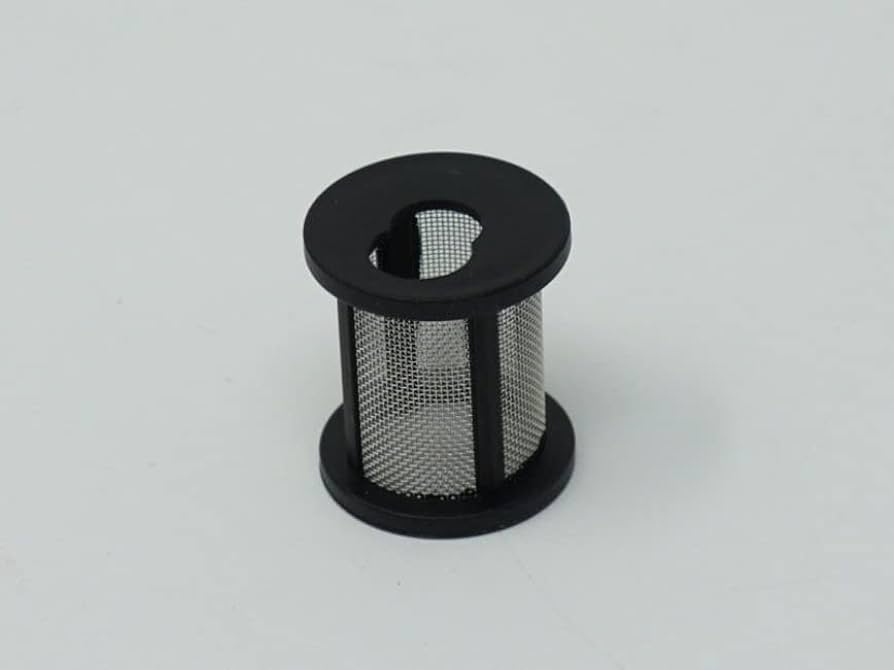
4) Inlet screen or filter cap weeping
Some tankless units have a small inlet screen or filter that is serviceable. If it was recently cleaned, a loose cap or pinched O-ring can create a slow leak that looks like it is coming from the bottom of the unit.
What you will see: Dampness around the filter housing, cap, or a small service plug on the cold inlet side.
What to do: Shut off water, relieve pressure, then confirm the cap is seated properly and the O-ring is clean and not nicked. If you are not sure which part you are looking at, stop and call a technician. Small parts in the wrong place love to become big leaks later.
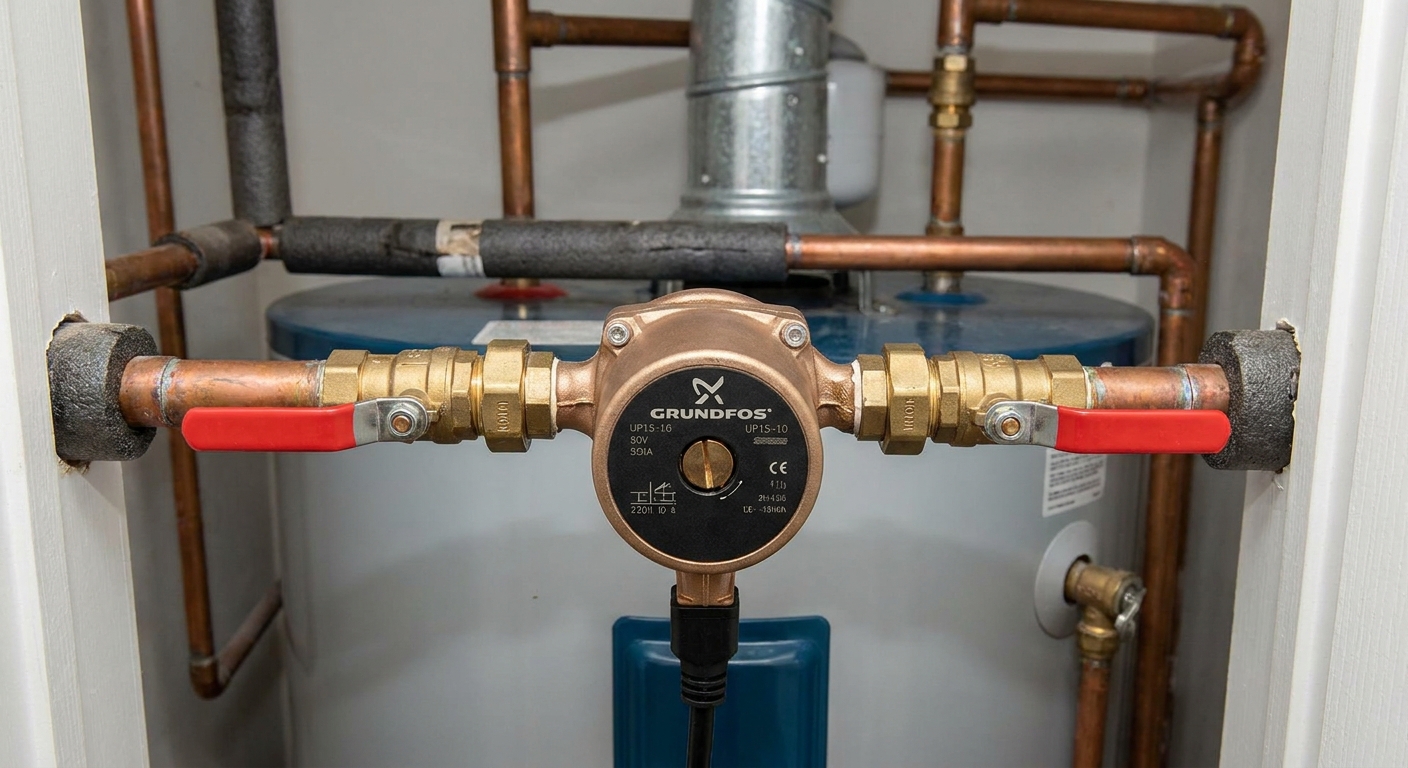
5) Recirculation lines or external pumps
If you have a recirculation system, you have more fittings, more valves, and sometimes an external pump. That also means more places for a drip to start, especially at check valves, pump unions, and crossover valves under sinks.
What you will see: A wet pump body, seepage at small threaded fittings, or a drip that only appears when the recirc pump runs.
What to do: Dry the area and use the paper towel test while the pump is running. If the pump housing is leaking, replacement is usually the fix.
6) Internal leak at the heat exchanger
This is the one that earns my raised eyebrow. A cracked heat exchanger or internal water path issue can leak inside the cabinet and drip out the bottom. Causes can include freeze damage, scale buildup, corrosion, or manufacturing failure.
What you will see: Drips appear to originate from inside the unit’s case, not from any external plumbing connection. You may also notice error codes, inconsistent hot water, or unusual noises.
What to do: Turn the unit off, shut off the water supply, and call a qualified technician. Internal repairs often involve parts replacement, combustion checks on gas units, and sometimes warranty work.
7) Freeze damage
Tankless units can be freeze-protected, but only within certain temperature limits and only if the unit has power. Those limits vary by model and installation, so check your manual. Pipes and fittings connected to the heater are still vulnerable.
What you will see: A sudden leak after a cold snap, often from a split copper line, cracked valve body, or fractured fitting.
What to do: Shut off water, thaw the area safely, and have a pro evaluate damage. If the unit was without power during freezing weather, mention that when scheduling service.
8) Drain and flush ports left slightly open
If your unit has service valves for flushing, there are usually small drain ports with caps. A cap that is cross-threaded, missing an O-ring, or left loose can cause a persistent drip.
What you will see: Dripping from a small capped port on the service valve assembly.
Fix: With water off and pressure relieved, check that the cap is seated correctly and the washer or O-ring is intact. Replace the cap or seal if damaged.
If the water is a mystery
Check 1: Pipes above the unit
Water can come from a pipe, valve, or fitting above and then travel down the heater casing. Run a dry towel along the pipes and valves above the heater. Start high and work down until you find the first wet point.
Check 2: HVAC condensate nearby
Tankless heaters are often installed near HVAC equipment, floor drains, or condensate pumps. If your air conditioner is running, make sure the water is not from an overflowing HVAC condensate pan or a disconnected HVAC drain.
Check 3: Rain intrusion on outdoor units
Outdoor tankless units can sometimes collect wind-driven rain or drainage from above. If the drip only happens during storms, check for water entry points around the unit, the wall penetration, and the area above the installation. If you suspect vent or cabinet intrusion, get a technician involved so you do not create a combustion or corrosion problem.
Can I keep using it?
If it is a condensate routing issue and water is clearly coming from the condensate line or pump, you may be able to use hot water briefly while you correct the drain routing, as long as water is not getting into electrical components.
If it is a pressurized leak from a fitting, valve, pump, or inside the cabinet, continuing to run the unit can turn a minor seep into water damage fast. Also, a gas appliance plus water where it should not be is not a fun mystery to keep around.
What not to do
- Do not seal a relief valve discharge with a cap, plug, or tape.
- Do not ignore recurring dripping because it is small. Small drips become big stains.
- Do not open the cabinet and poke around a gas appliance if you are not qualified to do so.
- Do not add thread tape to a union that seals with a gasket.
When to call a pro
Call a qualified plumber or tankless service technician if:
- The leak appears to be inside the unit or from the heat exchanger area.
- The relief valve is discharging more than a one-time burp.
- You see corrosion, mineral buildup, or melted parts at connections.
- You have error codes, repeated shutdowns, or combustion concerns on a gas unit.
- The unit is under warranty and you want to avoid accidental warranty issues.
FAQ
Why is my tankless water heater leaking from the bottom?
Common causes include a loose union or fitting below the unit, a condensate drain issue on a condensing model, a weeping inlet filter cap or O-ring, or an internal leak that is draining out of the cabinet. Dry the area, run hot water, and use the paper towel test to pinpoint the first wet spot.
Is water dripping from the condensate line normal?
On condensing tankless units, producing condensate is normal. What is not normal is condensate dripping where it can damage materials, backing up due to a clog, or leaking from a loose connection. Condensate should drain reliably to an appropriate drain or pump discharge.
My relief valve is dripping. Do I just replace it?
Sometimes a relief valve fails and needs replacement, but it can also be warning you about high pressure, a pressure-reducing valve issue, or expansion problems in a closed system. Because it is a safety device, it is smart to have a pro assess the cause before simply swapping parts.
Could descaling stop a leak?
Descaling helps with scale buildup that can cause performance problems and sometimes contributes to component stress over time, but it usually does not stop an active leak at a fitting, valve, pump, or cracked part. If you see mineral crust at a joint, you likely need resealing or part replacement, not just flushing.
The 30-Second Cheat Sheet
Essential takeaways for: Tankless Water Heater Leaking? Causes and Fixes
First, decide: condensate or true leak
- Condensing unit + drip only when running often means condensate or a drain issue.
- Drip even when not running usually means a pressurized plumbing leak.
Shut it down now if
- Water is spraying or running steadily
- Water is near wiring, outlets, or inside the cabinet
- You smell gas or suspect combustion problems
Shut-off order: power off, cold water valve off, gas off if needed.
Most common drip points
- Service-valve unions and threaded adapters under the unit
- Relief valve discharge dripping
- Condensate line, trap, or condensate pump on condensing models
- Inlet filter O-ring or cap weeping after service
- Internal leak from heat exchanger or freeze damage
Fast troubleshooting
- Dry everything.
- Run hot water 3 to 5 minutes.
- Touch joints with a dry paper towel to find the first wet spot.
- Watch condensate tubing while the unit runs.
Call a pro if
- The leak is inside the case or you suspect a heat exchanger issue
- The relief valve is discharging repeatedly
- You see corrosion, heavy mineral buildup, or cracked parts
- Error codes or repeated shutdowns accompany the leak
💡 Tip: Scroll up to read the full article for detailed, step-by-step instructions.
⬆️ Back to top
About Grit
Content Creator @ Grit & Home
Grit is Grit & Home’s little blue clay courier, delivering big questions about the place you call home. Expect practical ideas, a raised eyebrow, and a satchel full of curiosity.