If your tankless water heater is giving you lukewarm showers, you are not alone. Tankless units are awesome when they are dialed in, but they are also pickier than old-school tank heaters. With a tank, you are usually troubleshooting stored hot water (thermostat, dip tube, sediment, failed element). With tankless, you are troubleshooting real-time heat, which means flow rate, fuel delivery, venting, and scale can all knock the temperature down.
Below are six fixes you can try in a logical order, plus a few tankless-only gotchas I wish someone had warned me about earlier.
Quick expectation check: Tankless heaters are rated by gallons per minute at a given temperature rise (Delta T). In winter, incoming water is colder, so the same unit delivers fewer truly hot gallons per minute than it did in summer. If your groundwater is icy and you are trying to run a big shower plus a second fixture, “not hot enough” can be a sizing reality, not a broken heater.
First: Quick safety check
- If you smell gas, leave the area and contact your gas utility immediately.
- Let the unit cool before removing any front cover.
- Know your type: gas tankless and electric tankless fail differently. Gas units involve combustion and venting. Electric units are all about amperage, breakers, and heating elements.
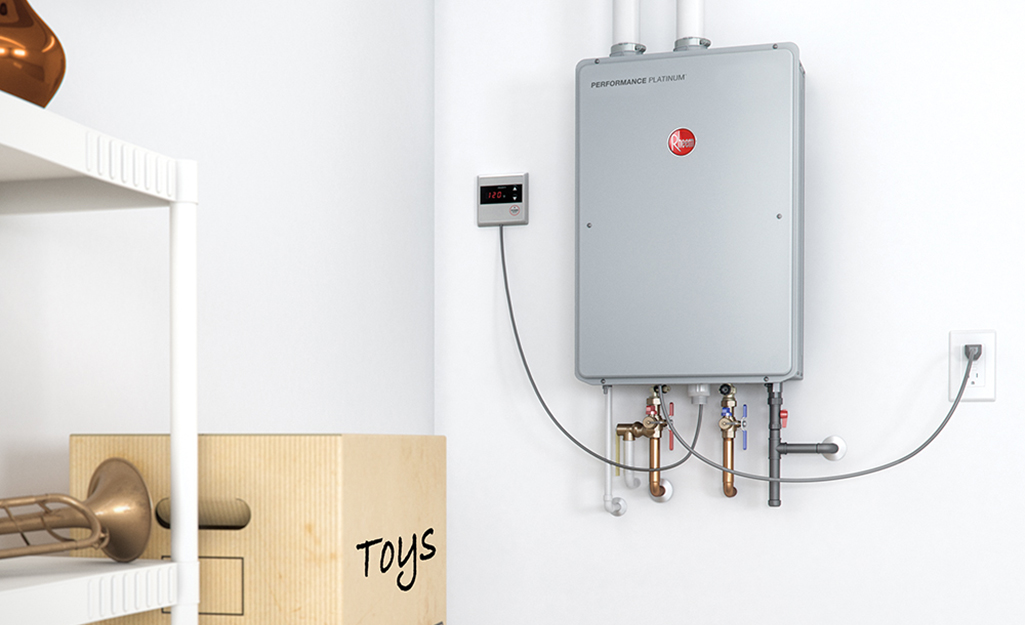
- Find the model label (usually behind the front cover or on the side). You will want it for error codes and filter location.
Fix 1: Reduce hot flow (but not too much)
Here is the big contrast vs. a tank heater: a tank can deliver stored hot water fast for a while. A tankless can only heat what passes through it, and if you push too much water through, it will not have enough time or burner power to raise the temperature.
What to try
- Open the hot tap less and see if the temperature improves once it stabilizes. That can take anywhere from a few seconds to a minute or two depending on pipe length, recirculation, and how quickly your unit ramps.
- Do not reduce flow below the minimum activation flow: most tankless heaters need a minimum flow to turn on, often around 0.4 to 0.7 GPM (check your manual). If you throttle too far, the burner or elements can shut off and you will get the classic warm then cold “sandwich.”
- Test one fixture at a time while troubleshooting. Run one shower or one sink only.
- Clean the faucet aerator and showerhead screen if they are gritty or partially plugged. Also note that some ultra low-flow fixtures can drop you near the unit’s minimum activation threshold, which can cause cycling or temperature hunting.
Why this works
Tankless heaters are rated by how many gallons per minute they can heat at a certain temperature rise. Lower flow usually means a higher temperature rise, but only as long as you stay above the unit’s minimum activation flow.
Fix 2: Check setpoint and modes
This is the easiest win, and it gets missed a lot after a power outage, service visit, or new remote controller install.
What to check
- Setpoint temperature: many units default to 120°F. Some are intentionally locked at 120°F unless you change a dip switch or installer setting (you might see labels like Temp Lock or Max Temp).
- Operating mode: look for settings like Eco, Comfort, Vacation, or Recirculation that can change how quickly the unit delivers stable hot water.
- Mixing valve: if you have a thermostatic mixing valve downstream, it can fail or be set too low, blending too much cold into the hot line.
DIY note: If you have small kids or elderly family members, be cautious raising setpoints. Scald risk is real. 120°F is a common safety target.
Fix 3: Check error codes
Tank heaters are mostly dumb boxes. Tankless units are little computers with sensors, and they often store error codes that point straight at the problem.
What to do
- Look at the display for a current code, or check the manual for how to pull recent code history.
- Write down the exact code and what was happening (shower running, dishwasher on, cold weather, etc.).
Common “not hot enough” code categories
- Ignition or flame failure (gas): the unit may light briefly, then shut down, giving you warm then cold.
- Overheat or restricted flow: often points to scale, a clogged inlet filter, or a kinked line. It can also be sensor-related, or (on some models) related to airflow or internal pump behavior. Your manual will be more specific than any general list.
- Sensor issues: inlet thermistor, outlet thermistor, or flow sensor can misread and reduce burner output.
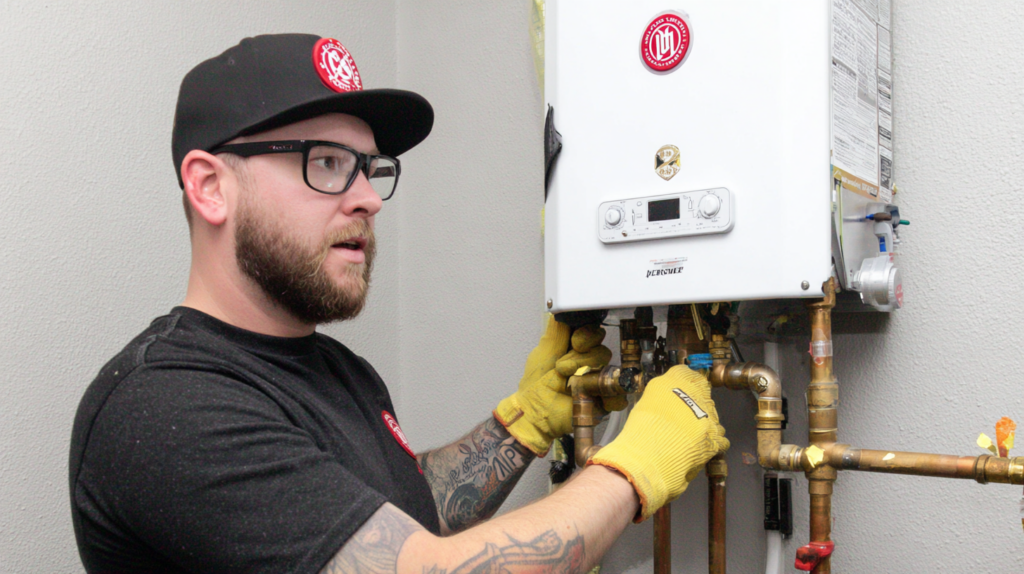
Fix 4: Clean the inlet filter
Most tankless heaters have a small screen filter where the cold water enters the unit. When it clogs with grit, it can reduce flow enough to cause temperature swings, short cycling, or just weak heating.
Steps (general process)
- Turn off power to the unit (and gas shutoff for gas models).
- Close the cold-water supply valve to the heater.
- Open a hot faucet nearby to relieve pressure.
- Remove the inlet filter screen (location varies by brand, check your manual).
- Rinse and gently brush debris off the screen, then reinstall.
- Restore water, purge air at a hot faucet, then restore power and gas.
My mistake from early on: I skipped the relieve pressure step once and got a face full of water. Not dangerous, just a good reminder that plumbing likes to surprise you.
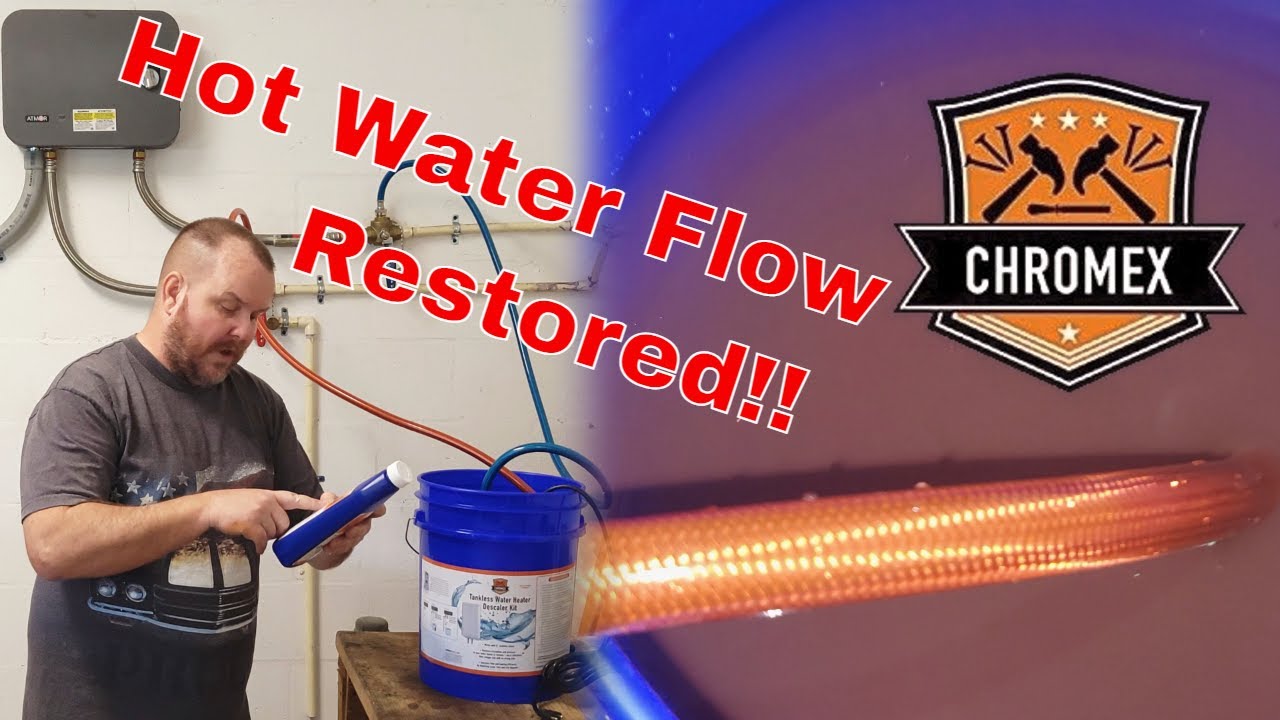
Fix 5: Descale the unit
If you have hard water, mineral scale builds inside the heat exchanger like cholesterol in an artery. The heater can still run, but heat transfer drops, and output temperature suffers, especially at normal shower flow rates.
Signs descaling will help
- Water temperature slowly got worse over months, not overnight.
- You see hard-water evidence elsewhere: white crust on faucets, spots on dishes.
- The unit is louder than it used to be (kettling or rushing sounds).
What you need
- A small submersible pump
- Two hoses (often a tankless flush kit)
- A bucket
- Manufacturer-approved descaling solution (best) or plain white vinegar (works for many people, but some manufacturers prefer specific products and may warn against long exposure)
Basic descaling overview
- Shut off power and fuel.
- Close the hot and cold service valves, then open the service ports.
- Circulate solution through the unit for 45 to 90 minutes (follow the manufacturer guidance).
- Flush with fresh water, then return valves to normal and purge air.
Important: descaling is much easier if your install has isolation and service valves. If your unit does not have them, you can still maintain it, but it is usually a plumber job to add the valve kit.
Thrifty tip: If you are on well water or very hard municipal water, consider adding a softener or at least a scale prevention cartridge. Descaling once is fine. Descaling every few months gets old fast.
Fix 6: Check fuel, power, venting
If your flow is reasonable, filters are clean, and scale is under control, the next suspects are the ones homeowners cannot always fix safely. This is where tankless troubleshooting differs most from tanks, especially for gas models.
Gas tankless: common causes
- Gas supply issue: undersized gas line, partially closed shutoff valve, failing regulator, or low supply pressure. The heater cannot reach full fire, so the outlet temp lags.
- Dirty burner or fan: combustion quality drops, unit may derate.
- Venting problems: improper vent size, excessive vent length, blocked intake or exhaust, or a failing exhaust fan. Many units will limit output or shut down if airflow is wrong.
- Condensate drain issues (condensing models): a clogged condensate line or trap can trigger faults or reduced operation.
Electric tankless: common causes
- One failed heating element: you get warm water, just not hot.
- Breaker or wiring issue: one of multiple breakers can trip, leaving the unit running at partial power.
- Voltage drop: especially on long runs or undersized conductors.
- Design limit: some electric units simply cannot deliver very hot water at high flow in cold climates without large amperage capacity. Not a fun answer, but it matters.
What you can do safely
- Confirm the gas shutoff handle is fully parallel to the pipe (open).
- Check that intake and exhaust terminations outside are clear of lint, snow, leaves, or nests.
- For electric units, check all dedicated breakers are on, and reset once if tripped.
Do not adjust gas valves or regulators, and do not open sealed combustion areas. Stop and call a licensed tech if you suspect gas pressure problems, venting corrections, combustion issues, control board failures, or anything beyond basic external checks.
Quick compare: tank vs tankless
- Tank heater: usually thermostat setting, failed element (electric), bad gas control valve (gas), dip tube issues, or sediment reducing capacity.
- Tankless heater: usually flow-rate limit, minimum activation flow cycling, clogged inlet filter, mineral scale, sensor or error code condition, fuel delivery limits, or venting and airflow problems.
Not the heater: plumbing causes
Before you buy parts, rule out these common culprits:
- Cross-over mixing: a single-handle faucet cartridge or a shower valve can leak cold into the hot line, making the whole house feel lukewarm. A quick test is to shut off the cold supply to the heater (briefly) and see if water still flows at a hot tap. A brief spurt is normal as the lines depressurize. What you are looking for is sustained flow. Note: if you have a recirculation loop, a crossover valve under a sink, check valves, mixing valves, or multiple heaters, this test can be misleading. When in doubt, a plumber can isolate sections and find the crossover fast.
- Anti-scald shower valve limit: many shower valves have a rotational limit stop that caps max temperature. If only the shower is lukewarm, this is a prime suspect.
My troubleshooting order
- Test one fixture at a time and reduce flow to see if it gets hotter (stay above minimum activation flow).
- Check setpoint and any controller modes (Eco, Comfort, Vacation, Recirc, Temp Lock).
- Pull the error code and look it up for your model.
- Clean the cold-water inlet filter.
- Descale the unit if you have hard water or gradual performance loss (use manufacturer-approved solution when possible).
- Inspect vent terminations and confirm fuel or power basics, then call a pro if needed.
If you work through that list, you will fix the majority of not hot enough complaints without guessing, and you will have solid notes ready if you do end up calling for service.
About Marcus Vance
Content Creator @ Grit & Home
Marcus Vance is a lifelong DIY enthusiast and self-taught home renovator who has spent the last decade transforming a dilapidated 1970s ranch into his family's dream home. He specializes in budget-friendly carpentry, room-by-room renovations, and demystifying power tools for beginners. Through his writing, Marcus shares practical tutorials and hard-learned lessons to help homeowners tackle their own projects with confidence.