Make it a recon mission, not a lecture
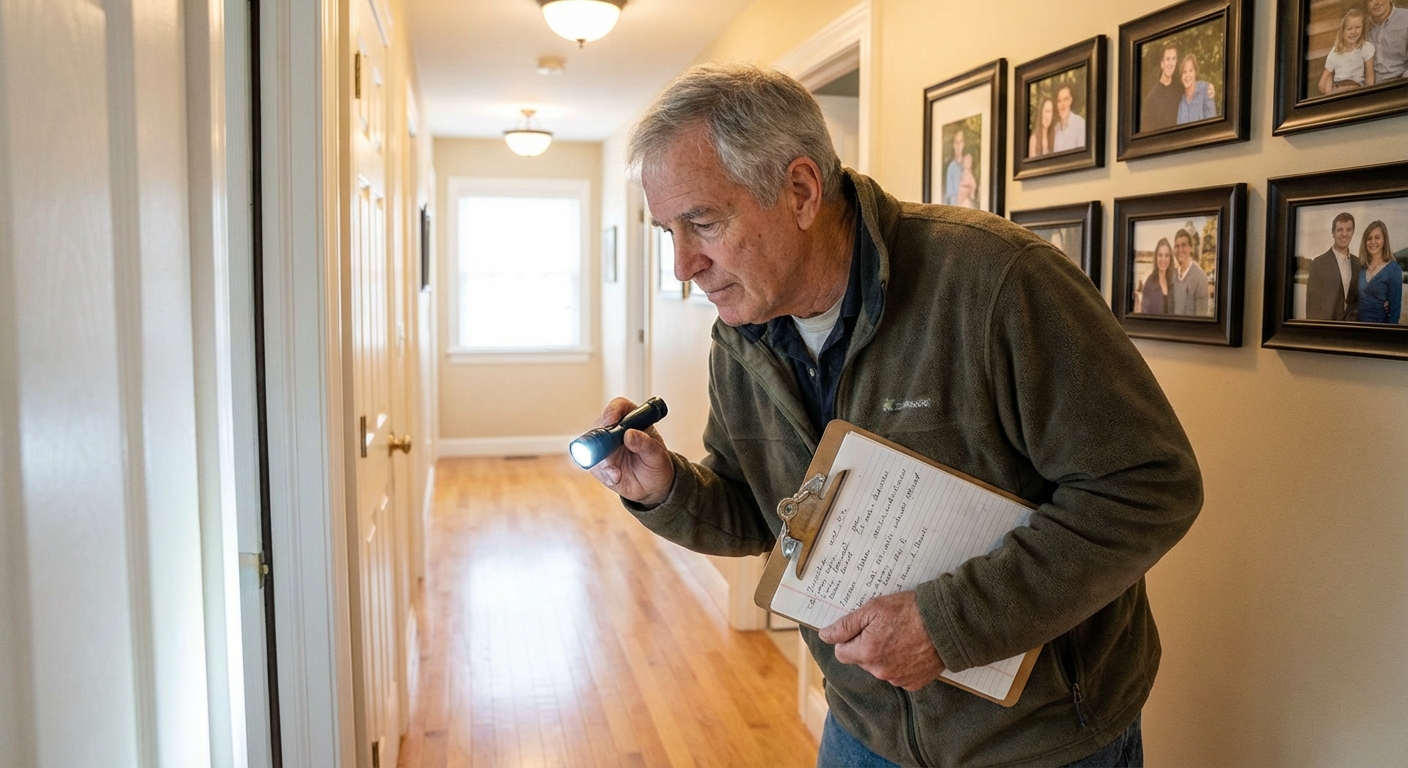
I grew up holding the flashlight for my dad under the sink, so I get it. Home safety can feel like somebody is judging your house, your habits, or your independence. Let’s flip the script.
This is a Senior Home Safety Audit built like a DIY Recon Mission. Your goal is simple: find Safety Traps, neutralize the easy ones with low-budget gear, then plan the high-value upgrades when you are ready.
Independence First. You are not “making your home older.” You are making it easier to live in, longer, on your terms.
Your kit: 10 minutes to prep
Before you start, grab a few basics. This keeps the audit quick and prevents the classic DIY mistake of bouncing around the house and forgetting what you saw.
- Phone flashlight (and a charger)
- Notepad or notes app
- Painter’s tape to mark hazards
- Measuring tape for thresholds and stair treads
- Slip-resistant socks or shoes for the walk-through
Recon rule: Do two passes. One in daylight. One after dark. Most falls happen when visibility and balance are both working against you.
The map: go room by room
Start at the front door and walk a loop: entry, hallways, living room, kitchen, bedroom, bathroom, stairs, garage, and outdoor paths. As you go, label each Safety Trap as:
- Red: high risk, easy to trip or slip, fix now
- Yellow: moderate risk, schedule it
- Green: safe for now, re-check in 6 months
Quick checks while you walk
- Smoke and CO alarms: test buttons, replace batteries, and confirm you have alarms on each level and near bedrooms
- Emergency numbers: make sure they are easy to find, especially for guests or caregivers
Safety Trap #1: Midnight Tunnels
Midnight Tunnel is my name for any dark route you take half-asleep: bedroom to bathroom, bed to hallway, hallway to kitchen. Your eyes are adjusting, your brain is foggy, and one shadow can hide a shoe, a pet toy, or the edge of a rug.

Quick wins that work
- Motion-sensor LED strip lights along baseboards or under a bed frame. Look for warm white (less harsh at night) and a removable adhesive backing.
- Motion-sensor night lights in outlets, especially at hallway corners.
- Keep the path wide. If you have to “thread the needle” between a bench and a basket, that is a tunnel.
Marcus confession: I once installed a bright overhead light on a bathroom switch thinking I was helping. Everyone hated it at 2 a.m. Low, motion-triggered lighting is the sweet spot.
Recon test: Do a lights-off walk with your phone flashlight pointed at the floor. Any moment you feel unsure is a Red zone.
Safety Trap #2: Area Rug Trap
Area rugs are cozy. They are also one of the easiest ways to create a surprise curl, slide, or snag. If a rug shifts when you kick it, it is not decor. It is a trap.
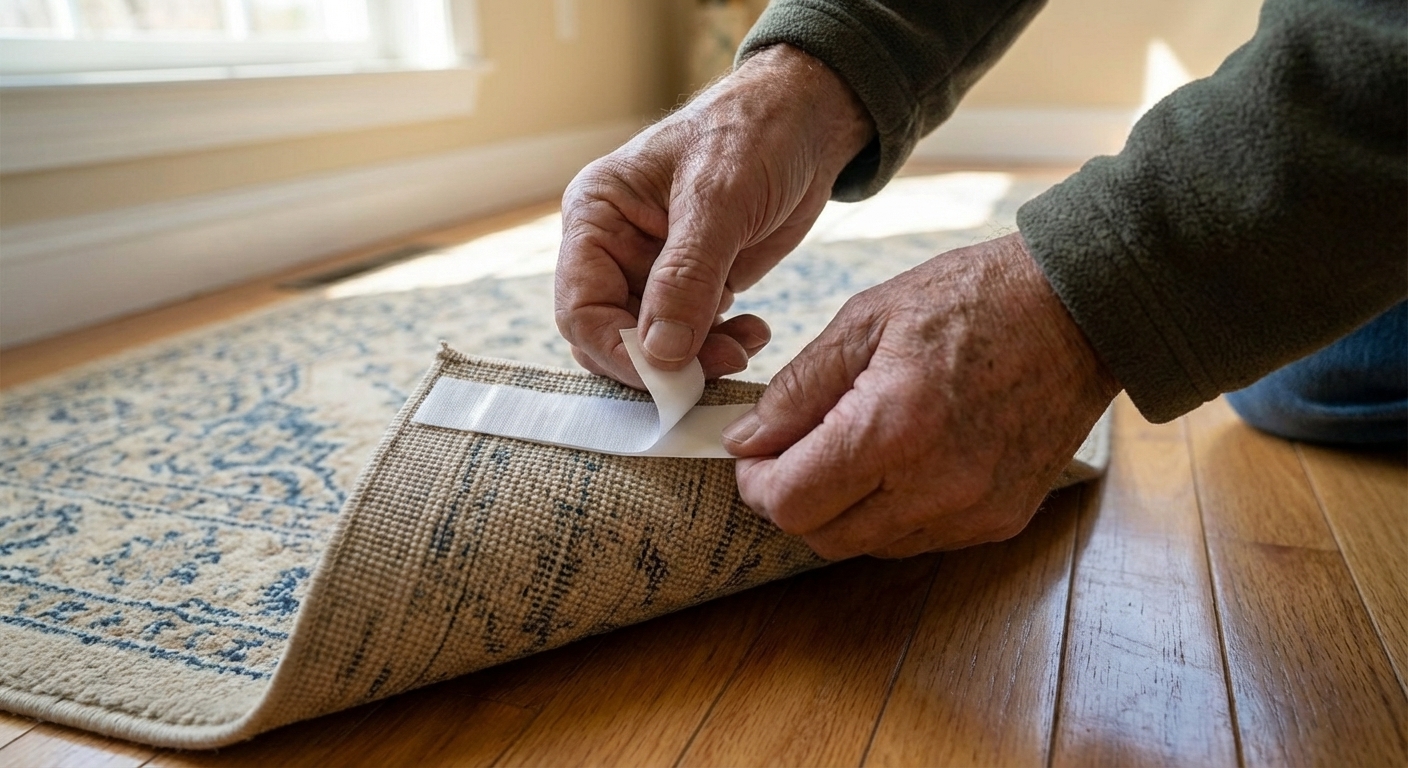
Low-budget neutralizers
- Rug grippers or rug tape on all corners and along edges that curl.
- Non-slip rug pad cut to fit, especially on hardwood or tile.
- Grip tape on transitions where a rug meets a threshold or where a runner ends at the top of stairs.
Recon rule: If you cannot secure it in 5 minutes, roll it up and store it until you can. Pride is not worth a fall.
Safety Trap #3: Threshold Ambush
That tiny lip between rooms feels harmless until it catches a toe. Pay special attention to transitions between carpet and hard flooring, and to exterior door thresholds.
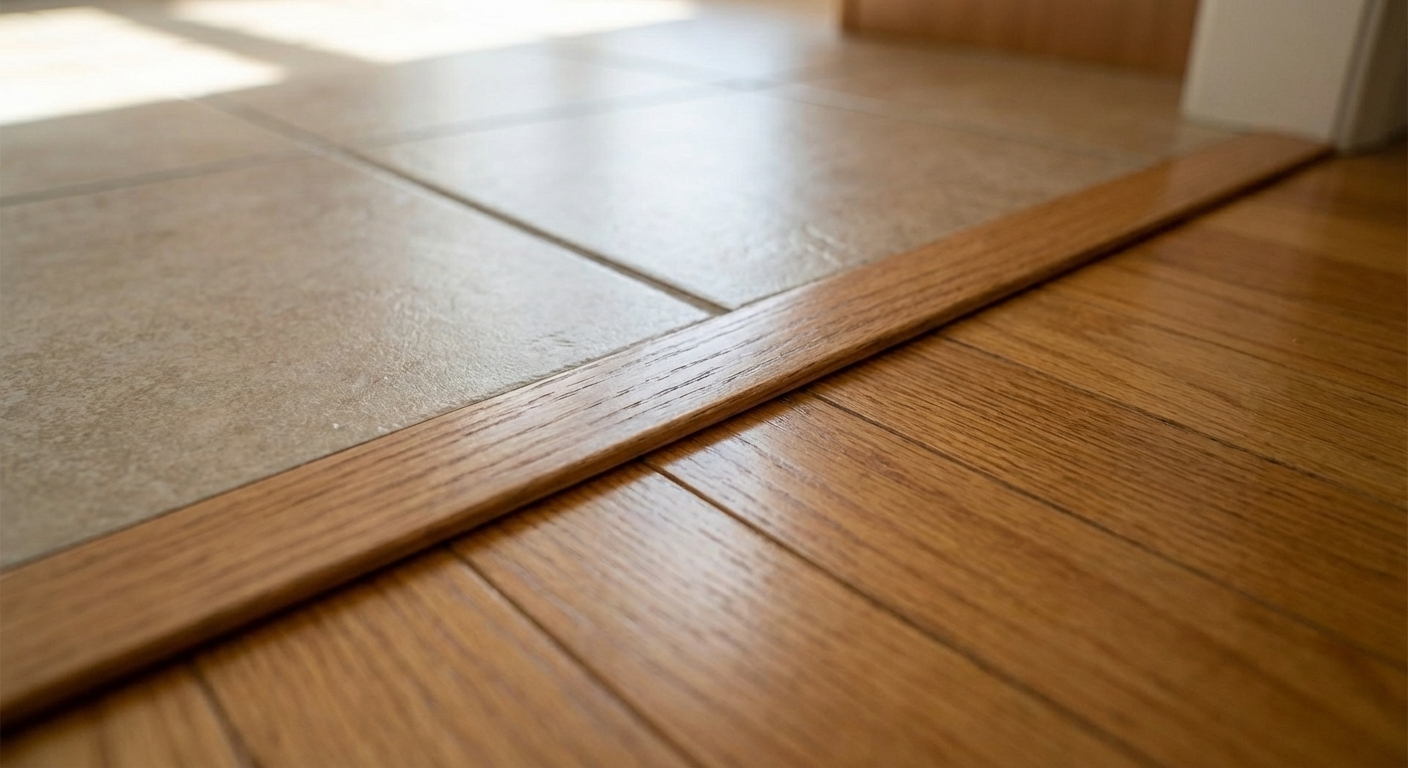
Fixes with basic tools
- Install a low-profile transition strip that ramps instead of creating a bump.
- Replace broken thresholds and add weatherstripping at the same time.
- Mark edges with a subtle contrasting tape temporarily if vision is a factor.
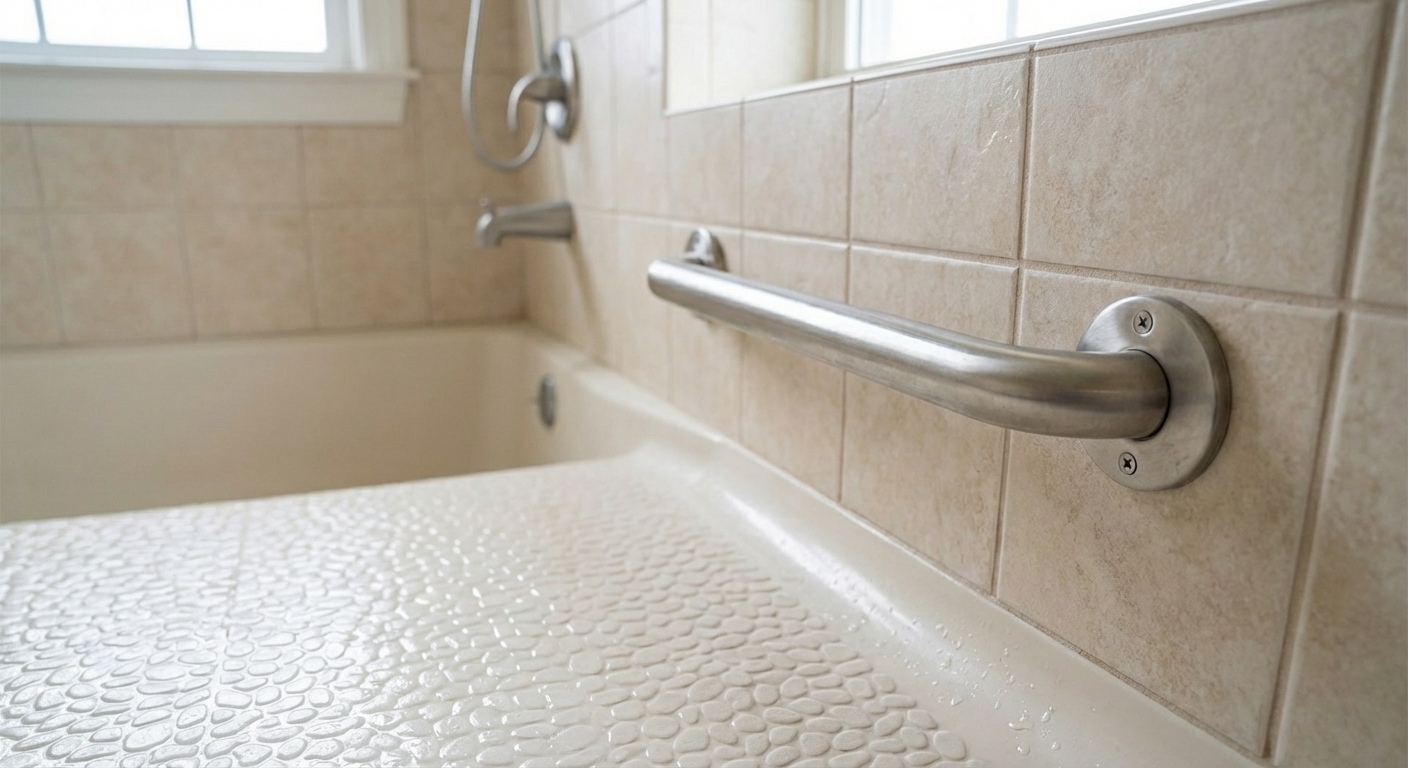
Safety Trap #4: Bathrooms
Bathrooms are where slips become serious fast. The mission is traction, stable support, and a clear path.
Do this first
- Non-slip adhesive treads for tubs and shower floors, or a non-slip mat that drains well.
- Handheld shower head with an on-off pause, so you can rinse while seated.
- Raise the toilet seat with a secure riser if standing is difficult.
About grab bars
Not all bars are created equal. Towel bars are not grab bars. Suction-cup bars can be helpful as a reminder, but they are not the same as a properly anchored bar.
- Best: bars anchored into studs or with rated wall anchors designed for grab bars
- Placement: where you naturally reach when stepping in, turning, and stepping out
Recon test: Stand where you enter the tub or shower and mime the movement slowly. Where does your hand go looking for help? That is the install location.
Safety Trap #5: Stairs
Stairs demand lighting, grip, and consistency. One loose tread or one dim bulb is enough to turn a normal day into a long recovery.
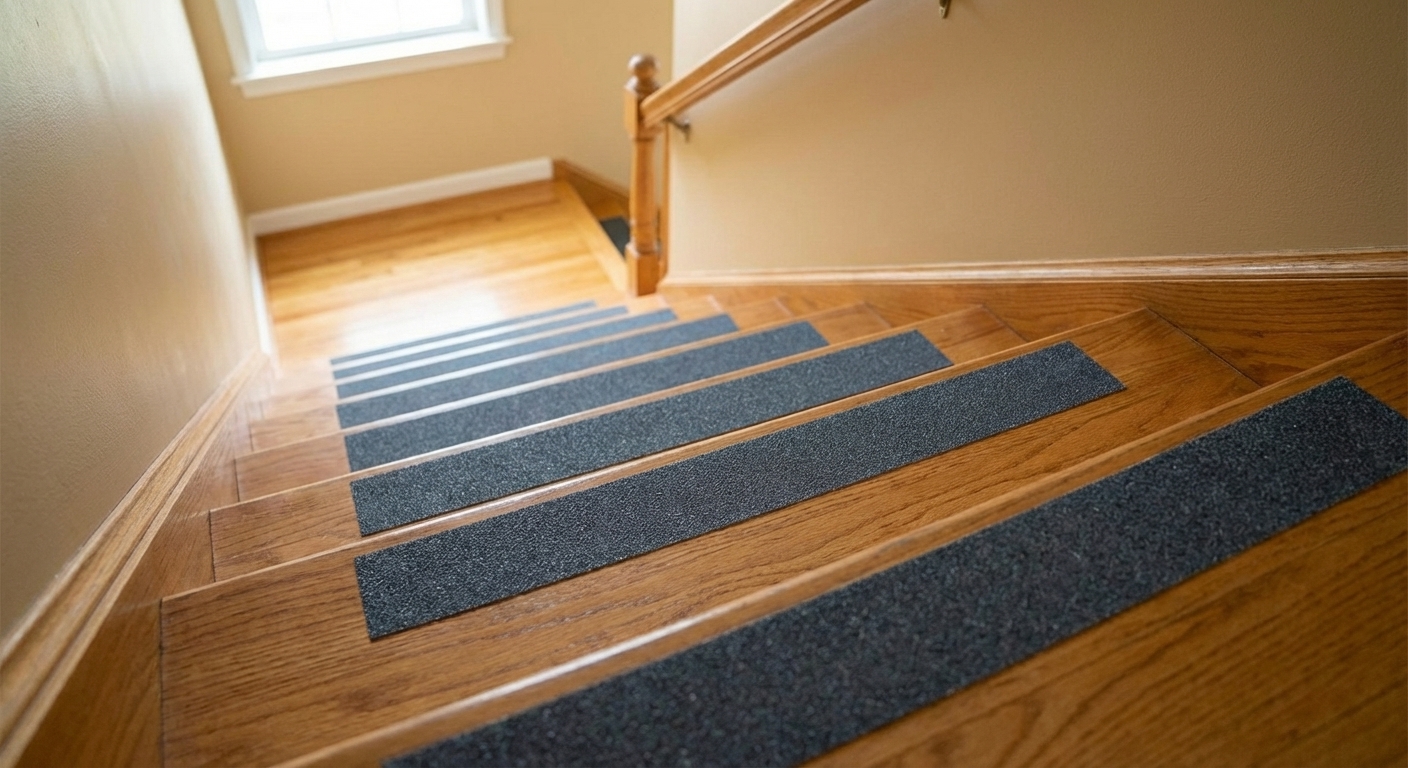
Fast upgrades
- Replace burnt bulbs with bright, warm LEDs and add a second switch if you often enter from the other end.
- Grip tape or tread covers on slick steps.
- Handrail check: tighten brackets, confirm the rail is continuous and easy to grip.
- Clear the landing. No baskets, no shoes, no “temporary” storage.
Outside recon
Many falls happen before you ever reach the mailbox.
- Uneven pavers and cracked sidewalks: mark with tape now, repair or re-level soon.
- Entry steps: add a second handrail if there are multiple risers.
- Glare at dusk: add motion lighting at the driveway, porch, and side gate.
- Hose and cords: use a hose reel and keep extension cords off walkways.
The bridge: quick wins to upgrades
Once you knock out the low-budget fixes, you will start seeing patterns. Maybe the bathroom is the risk center. Maybe stairs. That is when you consider the bigger, lasting upgrades.
High-impact projects
- Barrier-free shower with a true low or zero threshold, proper slope, and a slip-resistant floor
- Walk-in tub when bathing is a priority and space allows
- Widened doorways or lever handles for easier access
- Comfort-height toilet and a better vanity layout for knee and hip comfort
2026 funding angle
Here is where a lot of homeowners leave money on the table. In 2026, there is growing momentum around Medicare Advantage supplemental benefits that can include fall prevention support and, in some cases, limited home modification help. There are also tax-side strategies that can reduce out-of-pocket cost for qualified accessibility work.
Two important notes: coverage and eligibility depend on your plan, your location, and how the modification is documented. Policies change, and details vary. Use this section as a starting checklist, not final financial advice.
How to pursue Medicare Advantage home modification benefits
- Call your plan and ask about “home safety modifications,” “fall prevention,” or “in-home safety benefits.”
- Ask what documentation is required. Some plans require an assessment or a letter of medical necessity.
- Get itemized quotes for the exact scope: barrier-free shower conversion, grab bars, anti-scald valve, non-slip flooring, or walk-in tub.
- Confirm approved vendors if your plan has a network requirement.
Tax deductions for accessibility upgrades
Depending on your situation, certain home improvements made primarily for medical care or accessibility may qualify as a medical expense. This is often discussed under IRS Publication 502 (Medical and Dental Expenses). Ask your tax pro how it applies to your specific project and paperwork.
- Keep receipts and invoices with clear descriptions of the accessibility purpose.
- Request an itemized contract separating safety features from cosmetic work.
- Ask what counts as a potentially deductible medical expense in your case, and what documentation they want before you start.
Recon tip: Even if you are paying cash, itemization is power. It helps with plan reimbursement, tax documentation, and apples-to-apples comparison between contractors.
Your one-page mission log
If you want high-intent results, you need a clean list you can act on. Here is the exact format I use when I am planning a renovation weekend.
- Red (fix this week): Midnight Tunnel lighting, loose rugs, slick tub floor, cluttered stair landing
- Yellow (schedule): transition strips, second handrail, brighter stair lighting, lever handles
- Green (monitor): stable furniture, clear walk paths, working smoke and CO alarms
- Big upgrade candidates: barrier-free shower, walk-in tub, bathroom layout change
- Funding next steps: call plan, request requirements, collect quotes, save itemized invoices
When to bring in a pro
DIY is powerful, but some projects deserve an experienced hand.
- Call a licensed pro for: shower waterproofing, plumbing valve work, electrical circuits, structural stair repairs
- Ask for: proof of insurance, itemized scope, timeline, and warranty in writing
- Choose: contractors who regularly do accessibility work, not just “bath remodels”
If you are planning a barrier-free shower or walk-in tub, treat it like a safety system, not a luxury purchase. The install quality matters as much as the product.
Wrap-up
The best part of this recon mission is that it builds momentum. You fix one rug, light one hallway, tighten one rail, and suddenly the whole house feels calmer and more predictable.
Start with the Reds. Log the Yellows. Then, if the bathroom is telling you it is time, use the Medicare Advantage benefits conversation and the tax documentation angle to make the bigger upgrade financially realistic.
Your home has your history in it. This mission is about keeping you in the driver’s seat for what comes next.
About Marcus Vance
Content Creator @ Grit & Home
Marcus Vance is a lifelong DIY enthusiast and self-taught home renovator who has spent the last decade transforming a dilapidated 1970s ranch into his family's dream home. He specializes in budget-friendly carpentry, room-by-room renovations, and demystifying power tools for beginners. Through his writing, Marcus shares practical tutorials and hard-learned lessons to help homeowners tackle their own projects with confidence.