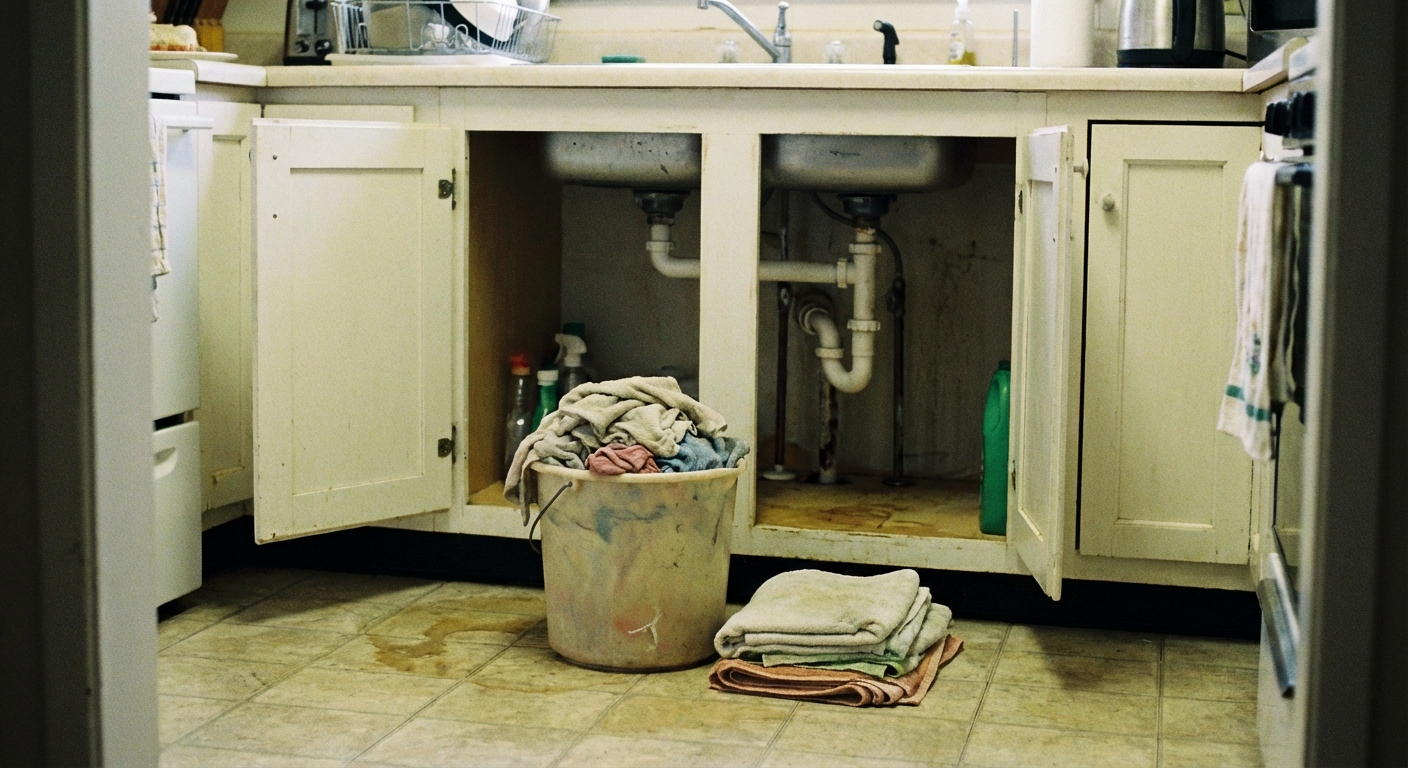
Nothing turns a normal evening into a minor crisis like a kitchen sink that will not drain. The good news is many clogs are soft, fairly close to the drain, and totally DIY-friendly. I have cleared plenty with nothing more than hot water, a little baking soda and vinegar, and a plunger.
Below is the exact escalation path I use at my own 1970s ranch. Start at Step 1 and only move on if the sink is still slow or backed up. That keeps the mess and effort to a minimum.

Before you start
Quick safety and setup
- Skip chemical drain cleaners. They can damage older plumbing, and they are a problem if you later need to open the trap. If you already used one, do not remove the P-trap until you can flush thoroughly and protect yourself (gloves and eye protection).
- Turn off the garbage disposal switch if you have one. Never put hands in the disposal. If the disposal is the issue, check for a reset button underneath and confirm it is not jammed (power off first).
- Scoop out standing water into a bowl or bucket so your next steps work better.
- Plug the second basin if you have a double sink. A wet rag works.
- Protect your dishwasher. If your dishwasher is connected to the sink/disposal, plunging can push dirty water backward. If you can safely access it, pinch off or clamp the dishwasher drain hose temporarily (or have someone hold it up high in a loop) before you plunge.
- Keep kids and pets out of the splash zone and set a towel down. This job gets messy fast.
What you will likely need
- Dish soap
- Kettle or pot for hot water (or just your hottest tap water)
- Baking soda and white vinegar
- A sink plunger (cup plunger, not a flange toilet plunger)
- Bucket and old towels
- Adjustable pliers or slip-joint pliers (helpful but not always required)
- A basic hand-crank drain snake (optional, for the last step)
- Gloves and eye protection (recommended)
Step 1: Hot water flush
If your clog is from grease, soap scum, or a thick film in the pipe, heat is your friend. This step is also low risk and easy to repeat.
How to do it
Remove as much standing water as you can.
Confirm what your drain pipes are. If you have PVC (common in many homes), skip boiling water. Standard PVC is typically rated around 140 F, and near-boiling water can soften pipe or fittings. Use the hottest tap water instead.
Add a small squirt of dish soap into the drain. This helps break up grease.
Run very hot water in two to three stages, pausing 20 to 30 seconds between flushes. If your plumbing is metal (and your sink can handle it), you can use very hot water from a kettle, but do not use a rolling boil. Also be cautious with porcelain or fireclay sinks, since sudden heat can cause thermal shock.
What success looks like
The water level drops noticeably and you can run hot tap water for a minute without backing up.
If it does not work
Move on. If the clog is food debris or something fibrous, hot water alone usually will not cut it.
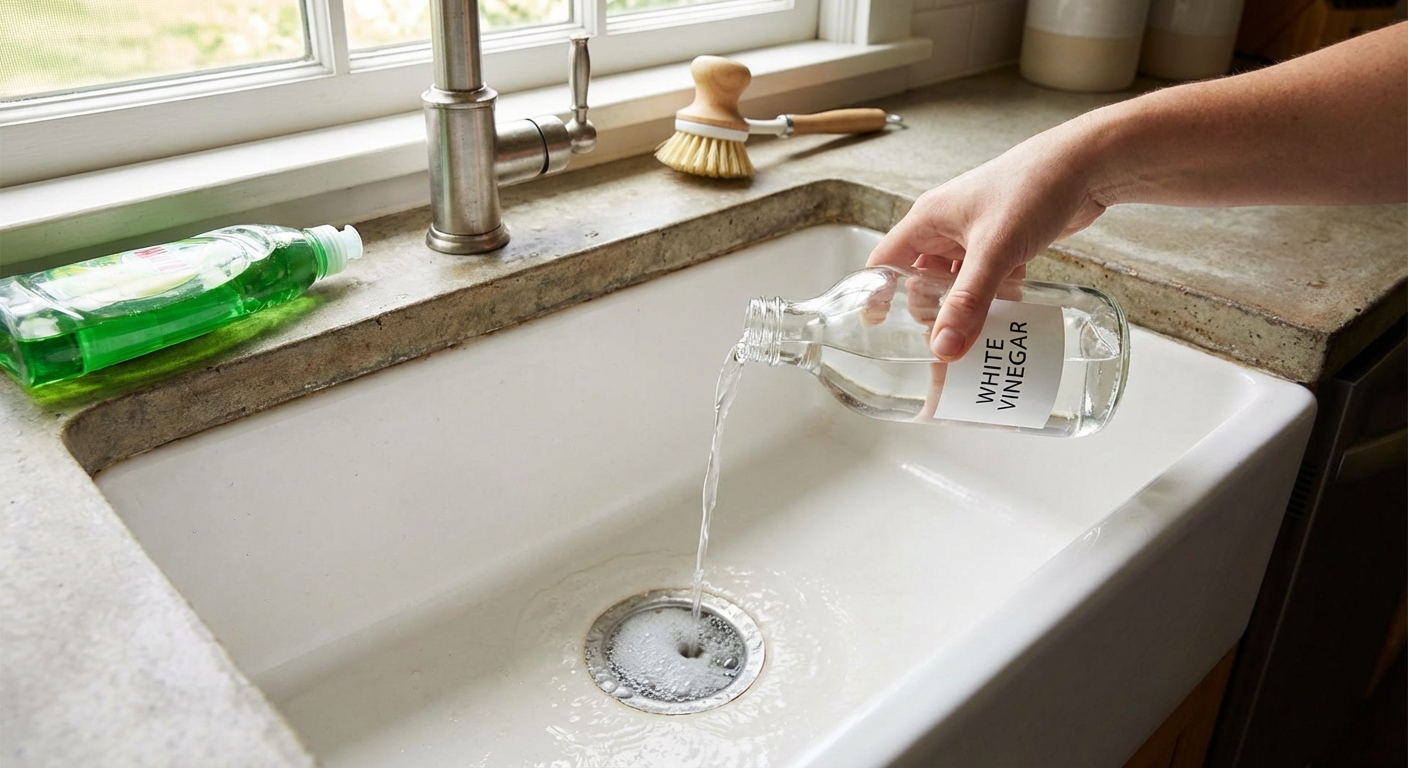
Step 2: Baking soda and vinegar
This one is gentle, cheap, and worth trying before you get more hands-on. It is not magic, but it can help with mild buildup and odors. The fizzing is mostly agitation, and it tends to work best when you follow it with a hot water flush.
How to do it
Dump in about 1/2 cup of baking soda down the drain.
Pour in about 1/2 to 1 cup of white vinegar. You should hear fizzing.
Cover the drain with a stopper or a wet rag for 10 to 15 minutes. You are not building real pressure in an open plumbing system, but covering helps keep the bubbling focused at the opening and reduces the mess.
Finish with very hot tap water for a minute or two.
Common mistake I made early on
I used to rinse immediately because I got impatient. Let it sit. The waiting is half the point.
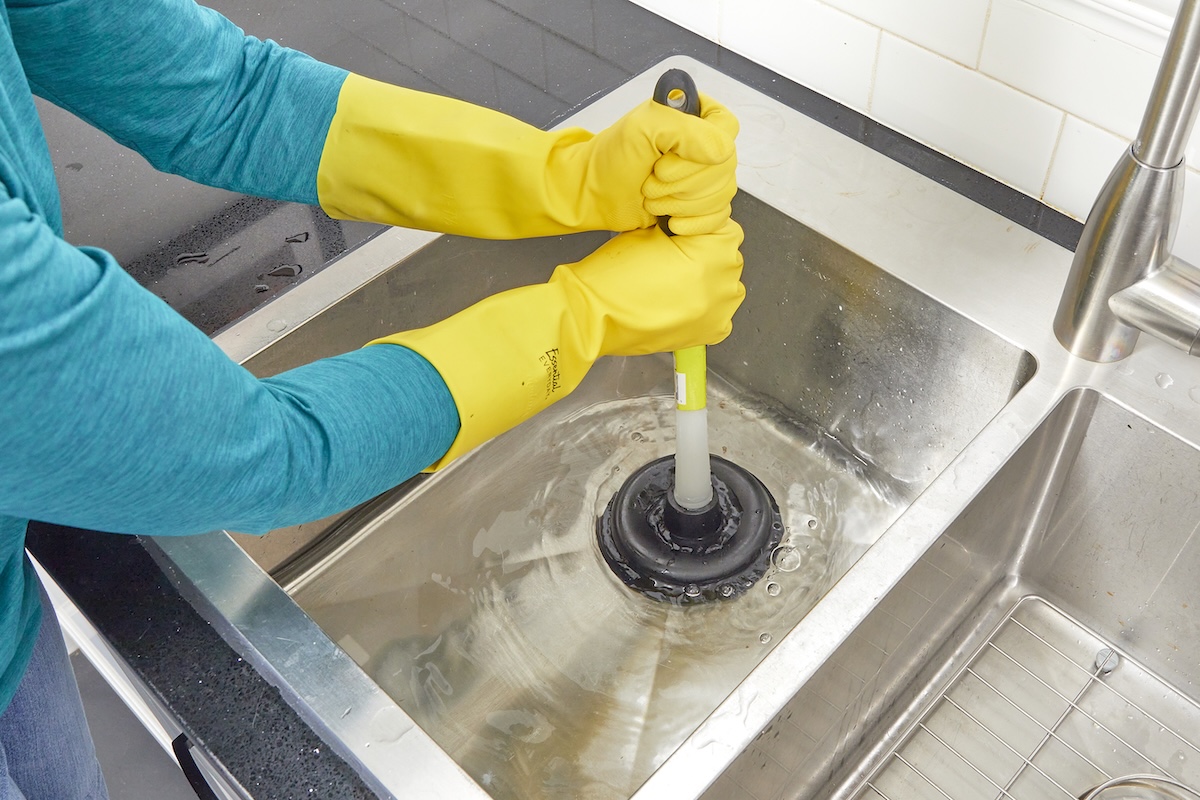
Step 3: Plunge the sink
A plunger is not just for toilets. Used correctly, it is one of the fastest ways to clear a stubborn clog without disassembling anything.
Set up for success
- Add water until the plunger cup is fully submerged. Plunging works on water pressure, not air.
- Plug the other drain in a double-basin sink, and cover the overflow opening (if your sink has one) with a wet rag.
- Protect the dishwasher drain hose if one is connected. Plunging can send dirty water back toward the dishwasher. Clamp or pinch off the hose temporarily if you can safely reach it.
- Center the plunger directly over the drain opening to get a good seal.
How to plunge
Press down gently at first to establish a seal.
Pump firmly 15 to 20 times without breaking the seal.
Pull up quickly on the last stroke.
Test the drain with hot water for 30 seconds.
If you have a garbage disposal
First, figure out what kind of problem you have. If the disposal just hums or will not spin, that is a jam, not a drain clog. Turn power off and address the jam (reset button, or the proper wrench/hex method for your model). If it runs but the sink will not drain, you likely have a clog.
For plunging, I usually plunge the side without the disposal if possible, while the disposal side is plugged. Some disposals do not transfer pressure as efficiently because of internal baffles, but this method still clears a lot of common backups.
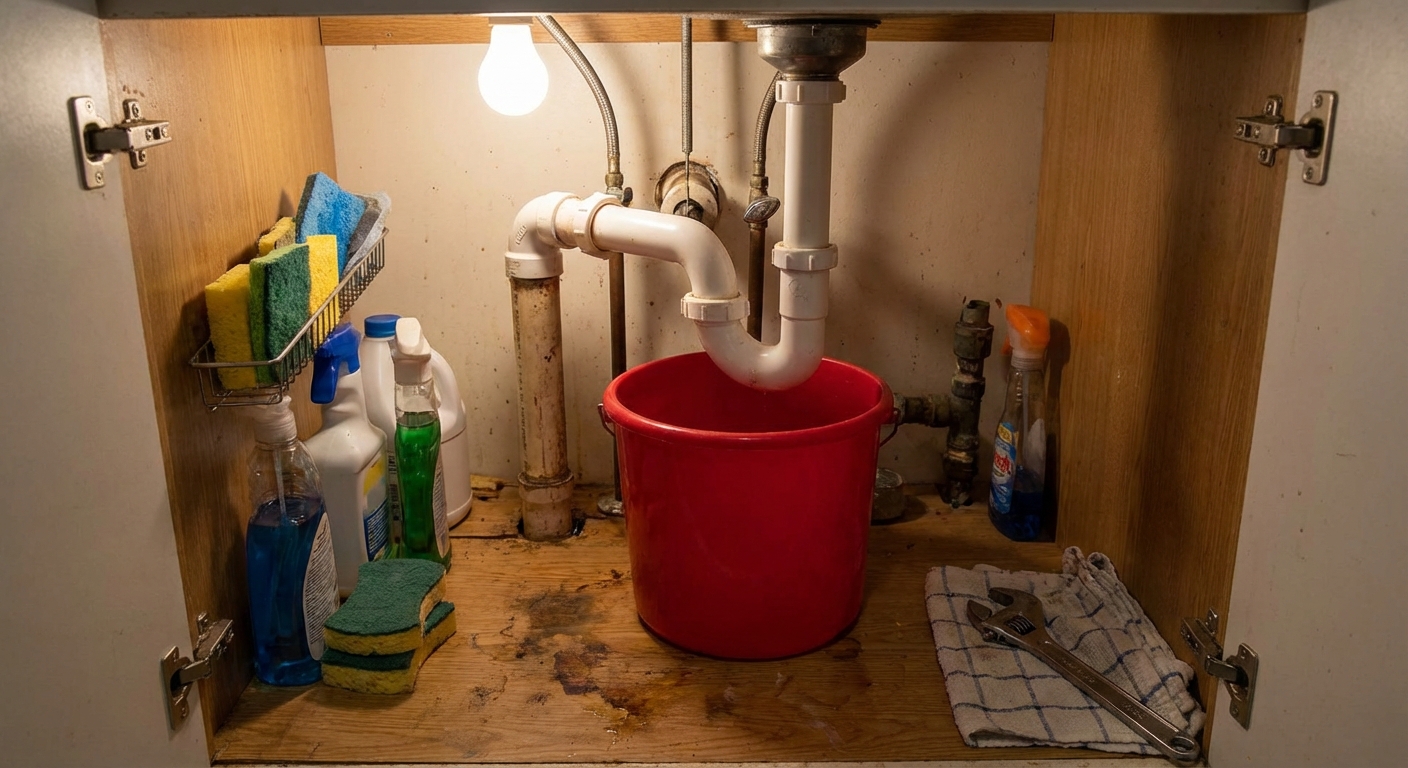
Step 4: Clean the P-trap
If the sink is still clogged, it is time to check the P-trap. That U-shaped section under your sink is designed to hold water (to block sewer gas), and it is also a very common place for gunk to collect.
What you need
- Bucket
- Towels
- Gloves (recommended)
- Eye protection (recommended)
- Pliers (sometimes)
How to remove and clean it
Clear out the cabinet so you can work comfortably.
Take a quick photo of the setup before you loosen anything. It helps a lot during reassembly.
Place a bucket under the P-trap and lay towels around it. You will spill some water. That is normal.
Loosen the slip nuts on both sides of the trap (usually hand-loose, sometimes needs pliers). Turn them counterclockwise.
Lower the trap carefully and dump the contents into the bucket.
Clean the trap with a bottle brush or old toothbrush. Pull out any food, labels, or buildup.
Inspect the washers inside the slip nuts. If they are cracked or flattened, plan to replace them soon. They are cheap.
Reinstall the trap the same way it came off. Hand-tighten first, then a small snug with pliers if needed. Do not muscle it.
Run water and check for leaks for a full minute.
If the trap is clean but the sink is still clogged
The blockage is likely farther down the line in the wall branch drain or trap arm. That is where the snake comes in.
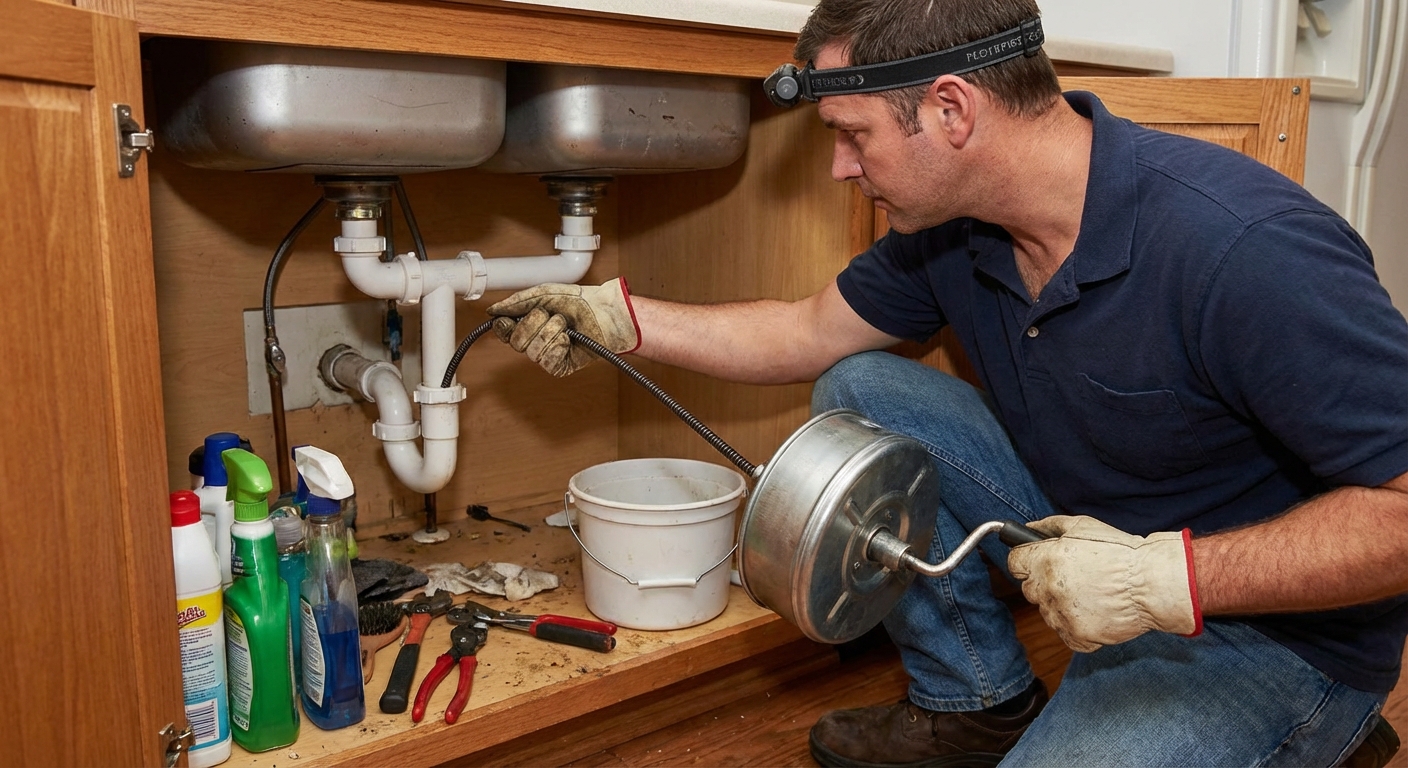
Step 5: Use a drain snake
A small hand-crank drain snake is one of those tools that pays for itself the first time you use it. You do not need a big powered auger for most kitchen sink clogs.
Where to snake from
The easiest method is usually to remove the P-trap and snake into the pipe that goes into the wall. You are aiming for the clog beyond the trap.
How to snake the drain
With the P-trap removed, insert the snake into the wall pipe.
Feed it slowly while turning the handle clockwise. Do not force it. Let the cable work.
When you feel resistance, you might be at the clog, or you might be at a bend. Back the cable up a few inches, keep gentle rotation, and try again. Pushing harder is how you kink cables and damage pipes.
Retract the snake and wipe it off as you go. Expect gunk. This is the job.
Repeat once or twice until resistance is gone.
Reinstall the P-trap and flush with hot water for several minutes.
Tips that make snaking easier
- Short strokes beat long shoves. Work the clog gradually.
- Keep the cable turning. That is what helps it bite and move forward.
- Have a trash bag ready for what comes back out.
When to call a plumber
I love DIY, but I also love not flooding my kitchen. Call a pro if:
- The clog returns within a day or two repeatedly (could be a deeper blockage or venting issue).
- Multiple fixtures are backing up at once (sink plus tub, for example), which can point to a main line problem.
- You see active leaking from corroded metal pipes or cracked fittings.
- You used chemical drain cleaner and cannot safely clear the line.
- Your home has very old plumbing and you are not sure what material you are working with.
- The dishwasher backs up into the sink (or the sink backs up into the dishwasher) every time it drains. This can point to a clog downstream of the dishwasher tie-in, or a blocked/disconnected dishwasher connection at the disposal.
Prevent future clogs
The easiest clog to fix is the one you never create. A few small habits keep kitchen drains flowing.
Daily and weekly habits
- No grease down the drain. Pour it into a can or jar, let it cool, then trash it.
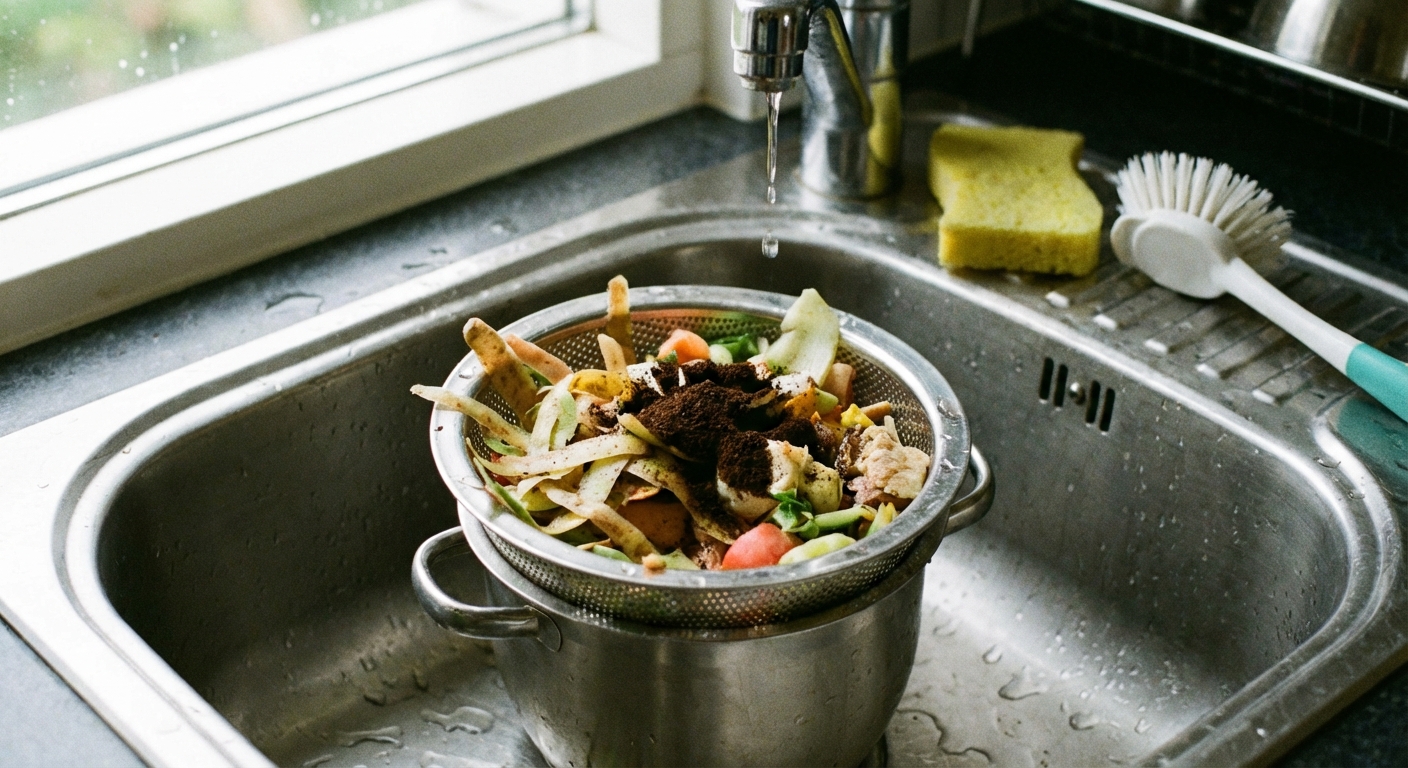
- Use a sink strainer to catch food scraps. Empty it into the trash, not the disposal.
- Run hot water for 15 to 30 seconds after doing dishes, especially after anything oily.
- Once a week, do a hot water flush with a small squirt of dish soap.
Garbage disposal best practices
- Use a strong flow of cold water while grinding and keep it running for a bit after. It helps move food particles through. Either way, keep grease out of the disposal.
- Feed slowly in small batches.
- Avoid fibrous foods like celery, corn husks, onion skins, and lots of potato peels. They love to tangle and pack up.
Quick troubleshooting
- Slow drain, no standing water: buildup starting. Try hot water and dish soap, then baking soda and vinegar.
- Standing water that drains eventually: partial blockage. Plunge next.
- Completely blocked and gurgling: likely a solid clog. Check the P-trap, then snake.
- Bad smell but drains fine: trap sludge. Cleaning the P-trap often fixes this fast.
- Disposal hums but will not spin: likely a jam, not a clog in the pipe.
If you work through these steps in order, you will clear the majority of everyday kitchen sink clogs with stuff you already have at home. And the next time it happens, it will feel a lot less like an emergency and a lot more like a 20-minute chore.
About Marcus Vance
Content Creator @ Grit & Home
Marcus Vance is a lifelong DIY enthusiast and self-taught home renovator who has spent the last decade transforming a dilapidated 1970s ranch into his family's dream home. He specializes in budget-friendly carpentry, room-by-room renovations, and demystifying power tools for beginners. Through his writing, Marcus shares practical tutorials and hard-learned lessons to help homeowners tackle their own projects with confidence.