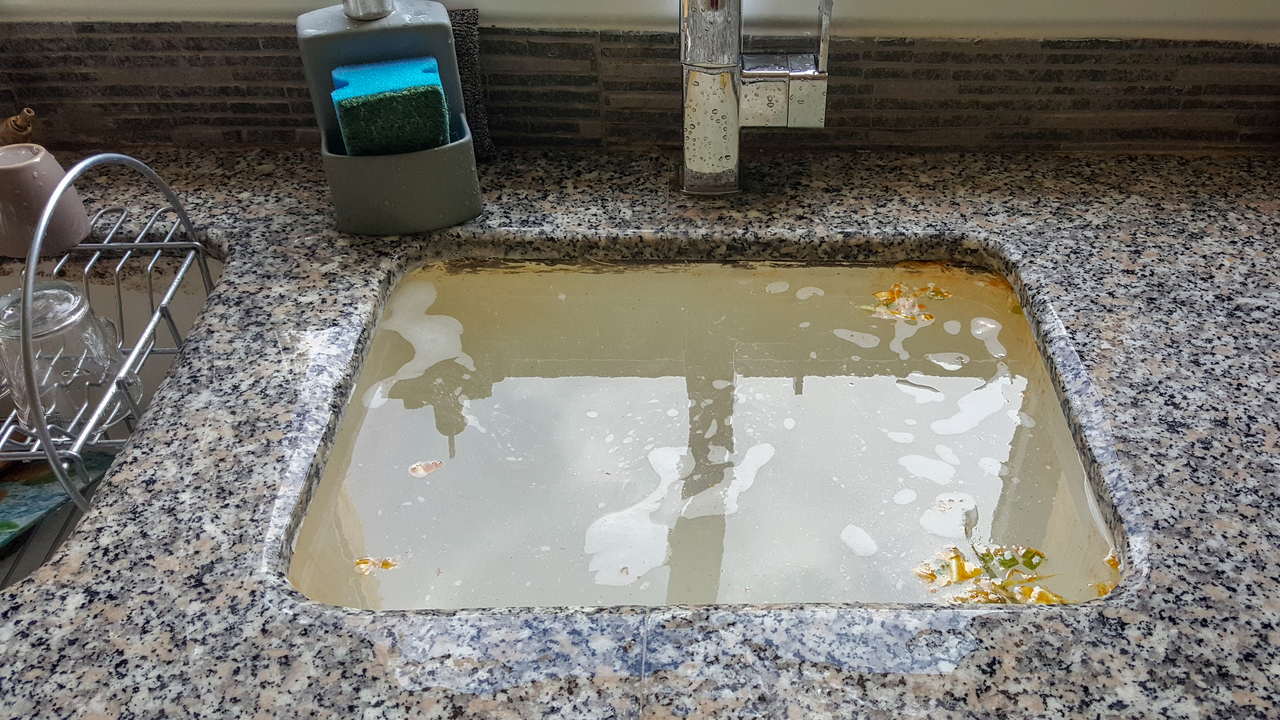
When a kitchen sink backs up, it always seems to happen at the worst possible moment. The good news: most kitchen clogs are just grease, soap scum, and food gunk hanging out in the trap or the branch line just past it. You can clear a lot of those without special tools and without pouring harsh chemicals down your drain.
I am going to walk you through a simple escalation ladder. Start with the gentlest method, test the drain, then move to the next. In many cases, you will be back to a fast draining sink before you ever think about calling a plumber.
Before you start
Quick safety and setup
- Skip chemical drain cleaners . They can damage rubber and plastic components, accelerate corrosion, and they make the next steps dangerous if you have to open the plumbing. The risk is higher with older pipes and unknown plumbing conditions.
- Unplug anything under the sink. If you have a disposal, switch it off and unplug it. Water and electricity should not mingle.
- Clear the cabinet. Put a towel down and set a bucket or mixing bowl underneath the P-trap.
- Know what you are dealing with. If the sink is fully blocked and the dishwasher is backing up too, that often points to a clog downstream of where they connect. The methods below still apply, you may just need to snake a little farther.
Two fast checks (do these first)
- Clean the obvious stuff. Pull out and rinse any strainer basket, stopper, or gunky splash guard. Sometimes the clog is basically right there.
- If you have a garbage disposal: with power off, check for a jam or a lodged object. Press the reset button on the bottom of the unit and test again. If it hums but does not spin, it may be jammed.
How to tell if your clog is likely DIY-friendly
Most DIY clogs show these signs: the sink drains slowly, gurgles, or backs up after running water for a bit. If you see water coming up in a different fixture (like a nearby bathroom sink) or multiple drains in the house are sluggish, that can be a main line issue. At that point, stop before you flood something and consider pro help.
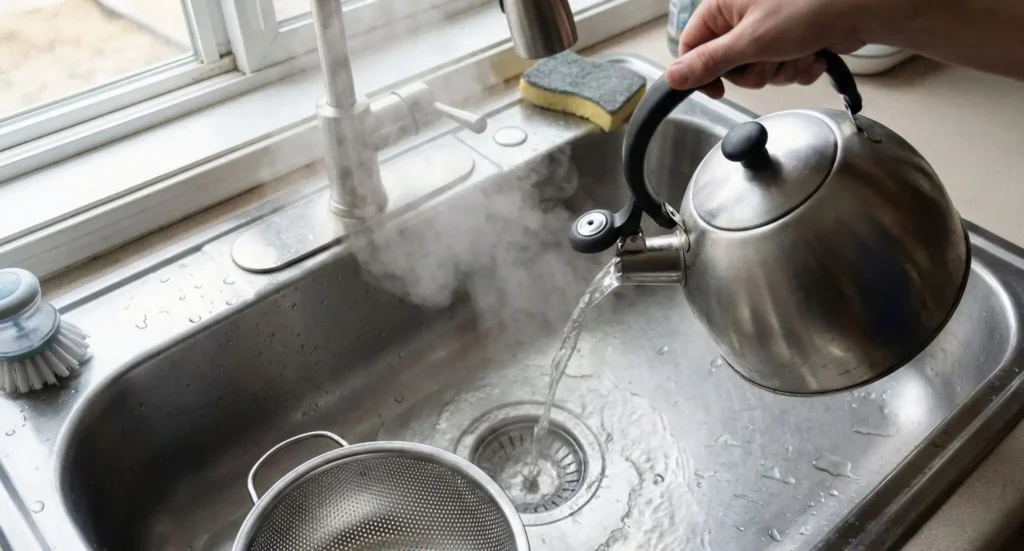
Method 1: Hot water flush
If your clog is mostly grease and soap buildup, heat is your best cheap weapon.
What you need
- Kettle or large pot
- Access to hot water for flushing
Steps
- Remove standing water. If the sink is full, bail out as much as you can into a bowl and pour it into a toilet or a utility sink.
- Boil water. Bring a kettle or pot to a full boil.
- Pour in two stages. Pour about half the boiling water straight into the drain. Wait 30 to 60 seconds. Then pour the rest.
- Test with hot tap water. Run hot water for a minute. If it starts to clear, keep the hot water running to wash loosened gunk through.
When to avoid boiling water
- If you have PVC pipes, brief exposure is usually fine, but repeated boiling water can stress or soften plastic over time. If you are unsure, use very hot tap water instead.
- If you suspect a PVC trap is already warped, loose, or leaking, skip boiling water and move to the mechanical methods below.
- If you have recently used any chemical drain cleaner, do not add heat and do not proceed to opening pipes. Flush with cool water and wait.
Method 2: Baking soda and vinegar
This is not magic, but it can help break up minor buildup and deodorize the drain. I like it as a second step because it is safe, cheap, and easy. Just do not expect it to dissolve a serious grease plug.
What you need
- 1/2 cup baking soda
- 1 cup white vinegar
- Hot tap water
- Drain stopper or a damp rag
Steps
- Get the drain as empty as possible. If water is standing, bail it out first.
- Add baking soda. Pour it directly into the drain.
- Add vinegar. Pour in the vinegar and quickly cover the drain with a stopper or rag. You want the fizzing action to work in the pipe, not bubble in the sink.
- Wait 15 to 30 minutes. For stubborn slow drains, you can wait up to an hour.
- Flush with hot water. Run hot tap water for a full minute.
My mistake to save you from: I used to do this with a sink full of water and wonder why nothing happened. The reaction has to happen down in the drain line, not in a basin full of dishwater.

Method 3: Plunge it right
A plunger is not just for toilets. Used correctly, it is one of the fastest ways to pop a clog loose, especially if the blockage is in the trap or just beyond it.
What you need
- A standard cup plunger (flat bottom)
- Duct tape or a wet rag (for sealing the second basin)
- Optional: a helper for double sinks
Steps
- Block the other opening. If you have a double-bowl sink, seal the other drain with a stopper or a wet rag. If one side has a disposal, plug that side. The goal is pressure, not air leaks.
- Add enough water to cover the plunger cup. About 1 to 2 inches is usually enough.
- Set the plunger over the drain. Push down gently first to seal, then plunge firmly.
- Do 10 to 15 plunges. Keep the seal. You should feel resistance and hear the water moving.
- Test the drain. Lift the plunger and see if the water rushes down. If it partially improves, repeat another round.
If the dishwasher is backing up too
Plunging can sometimes push gunk toward the dishwasher branch line. If the dishwasher drains into this sink, also check the dishwasher hose connection, and make sure you have a proper high loop (or an air gap if your setup uses one). If you have an air gap on the counter, pop the cap and clean it out.

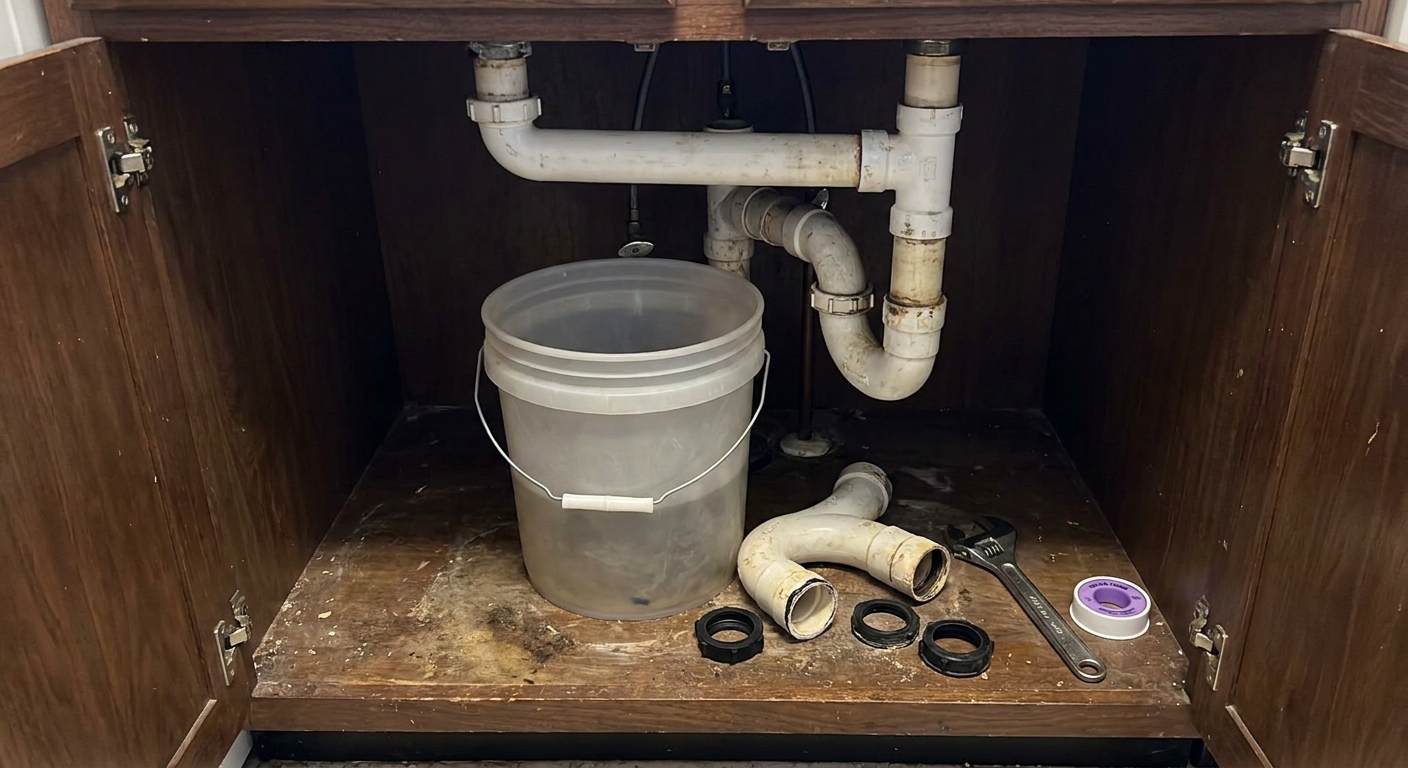
Method 4: Clean the P-trap
If you have never taken off a P-trap, do not worry. This is one of those DIY rites of passage that feels scarier than it is. The trap is the curved section of pipe under your sink. It holds a bit of water to block sewer gas, and it also catches a lot of the stuff that clogs kitchen drains.
What you need
- Bucket or deep bowl
- Old towel
- Channel-lock pliers (optional, often hand-tight works)
- Small brush or old toothbrush
- Flashlight
- Soap for handwashing afterward
Steps
- Put the bucket under the trap. You will get water. That is normal.
- Loosen the slip nuts. Most kitchen traps have two or three plastic nuts you can loosen by hand. If they are tight, use pliers gently.
- Remove the trap. Wiggle it free and tip it into the bucket.
- Clean it out. Pull out food bits, grease, and sludge. Scrub the inside with a brush and rinse it in the bucket, not the sink.
- Check the trap arm and wall pipe. Shine a flashlight into the straight section leading into the wall. If you see a blockage right there, pull it out with a gloved finger or the end of a brush.
- Reassemble. Make sure the washers are seated correctly, then hand-tighten the nuts. Snug is enough. Overtightening can crack plastic.
- Test for leaks. Run water for a minute and watch each connection.
Hygiene note
P-trap sludge is exactly as gross as it looks. Wash your hands thoroughly after, and wipe down anything the bucket or trap dripped on.
If you have very old metal pipes
If you open the cabinet and the pipes look thin, flaky, badly corroded, or patched, be gentle. Old chrome plated traps and galvanized sections can crumble when you put torque on them. That is a good moment to stop and consider replacement or call a plumber.
If you have a garbage disposal
You may have an extra connection from the disposal to the drain line. The trap is still removable, but there can be more fittings. Take a quick phone photo before you loosen anything so reassembly is stress-free.
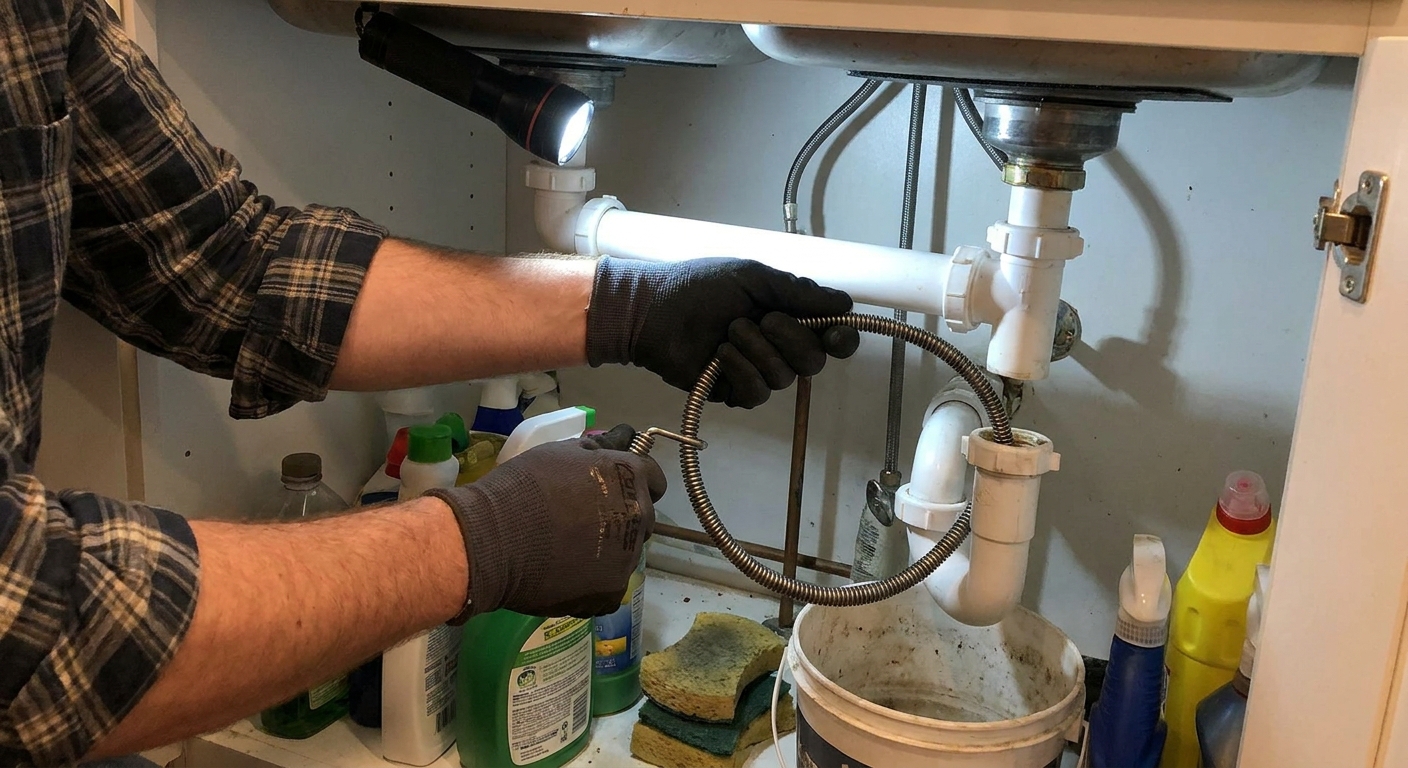
Method 5: Use a drain snake
If the trap is clear and you still have a slow drain or a full blockage, the clog is likely farther down the line. A basic hand-crank drain snake, also called an auger, is the next step. This is the one tool that feels fancy, but it is cheap and useful to keep around.
What you need
- Hand drain snake (15 to 25 feet is plenty for most kitchens)
- Gloves
- Bucket and towel
- Rags and basic disinfectant for cleanup
Where to snake from
The easiest place is usually with the P-trap removed. Feed the snake into the pipe going into the wall. That keeps you from fighting tight bends and it keeps the mess contained.
Steps
- Insert the snake slowly. Push it into the wall pipe until you feel resistance.
- Work the clog. Turn the handle clockwise while gently pushing. When it catches, you will feel it bite into the clog.
- Pull back and clean the cable. Withdraw a foot or two, wipe it off into the bucket, then feed again.
- Repeat until the line feels clear. You should eventually feel the resistance ease up.
- Flush with water. Reinstall the trap, then run hot water for a couple minutes to carry loosened debris away.
- Clean up. Wash the snake, the bucket, and your gloves. Then wash your hands.
What not to do
- Do not force it. If you jam the snake hard, you can damage older pipes or punch through weak fittings.
- Do not snake through a disposal. Snake from the trap connection instead. Disposals have internal parts that can catch the cable.
If nothing works
Here is when I stop and consider calling in help:
- The sink clogs again immediately after you clear it.
- Multiple fixtures in the house drain slowly at the same time.
- You see leaking, corroded, or brittle pipes that might not survive more DIY tugging.
- You suspect a grease plug far down the line, especially in older homes.
At that point, a plumber can camera the line, jet it, or address a bigger issue like a sagging section of pipe.
Prevent future clogs
This is the part nobody wants to read, but it is how you avoid doing this again next month.
Daily and weekly habits
- Do not pour grease in the sink. Let it cool in a can or jar, then toss it in the trash.
- Scrape plates first. The drain is not a food disposal. Even with a garbage disposal, rice, pasta, coffee grounds, and potato peels are repeat offenders.
- Use a sink strainer. The cheapest little mesh basket you can buy prevents the biggest clogs.
- If you use a garbage disposal, run cold water while it is grinding . Cold water helps keep fats solid so they can get chopped up and flushed away. Keep the water running for 10 to 20 seconds after you turn the disposal off.
- Run hot water after dishwashing. A 15 to 30 second hot rinse after dishes helps wash away soap and residue.
Monthly maintenance that actually helps
- Hot water flush: Run very hot water for a minute, then another minute with a small squirt of dish soap to help lift grease.
- Baking soda rinse: A few tablespoons of baking soda followed by hot water can keep odors down.
A quick word on disposals
Garbage disposals are great at chopping, not removing. They still rely on your plumbing to carry everything away. Feed small amounts, use plenty of water, and avoid fibrous or starchy foods that turn into paste. When the disposal is actively running, use cold water. Save the hot water for your general flushing and cleaning routines.

About Marcus Vance
Content Creator @ Grit & Home
Marcus Vance is a lifelong DIY enthusiast and self-taught home renovator who has spent the last decade transforming a dilapidated 1970s ranch into his family's dream home. He specializes in budget-friendly carpentry, room-by-room renovations, and demystifying power tools for beginners. Through his writing, Marcus shares practical tutorials and hard-learned lessons to help homeowners tackle their own projects with confidence.