
🚨 In a DIY emergency or rush?
Skip the details and jump straight to our 30-second cheat sheet for the most crucial info.
The first time my click-lock vinyl started clicking, I did what most of us do. I blamed the dog, then the kids, then the house settling. A week later I noticed a gap at the end of a plank that absolutely was not there at install. That is when I learned a hard truth: vinyl plank flooring problems months later are usually not “vinyl being vinyl.” They are clues.
This is a troubleshooting guide for an already-installed click-lock vinyl plank floor that is now gapping, buckling, peaking, or clicking. We will separate normal seasonal movement from real failure, and I will tell you which situations can be fixed by re-locking a section versus which ones require pulling planks up.
One quick reality check before we get into it: warranties and successful fixes often hinge on the same basics. Check your manufacturer’s installation guide for required expansion gap, approved underlayment rules, temperature range, and subfloor flatness tolerance. Brands vary, and your floor will not care what a generic internet article says if the manual calls for something different.
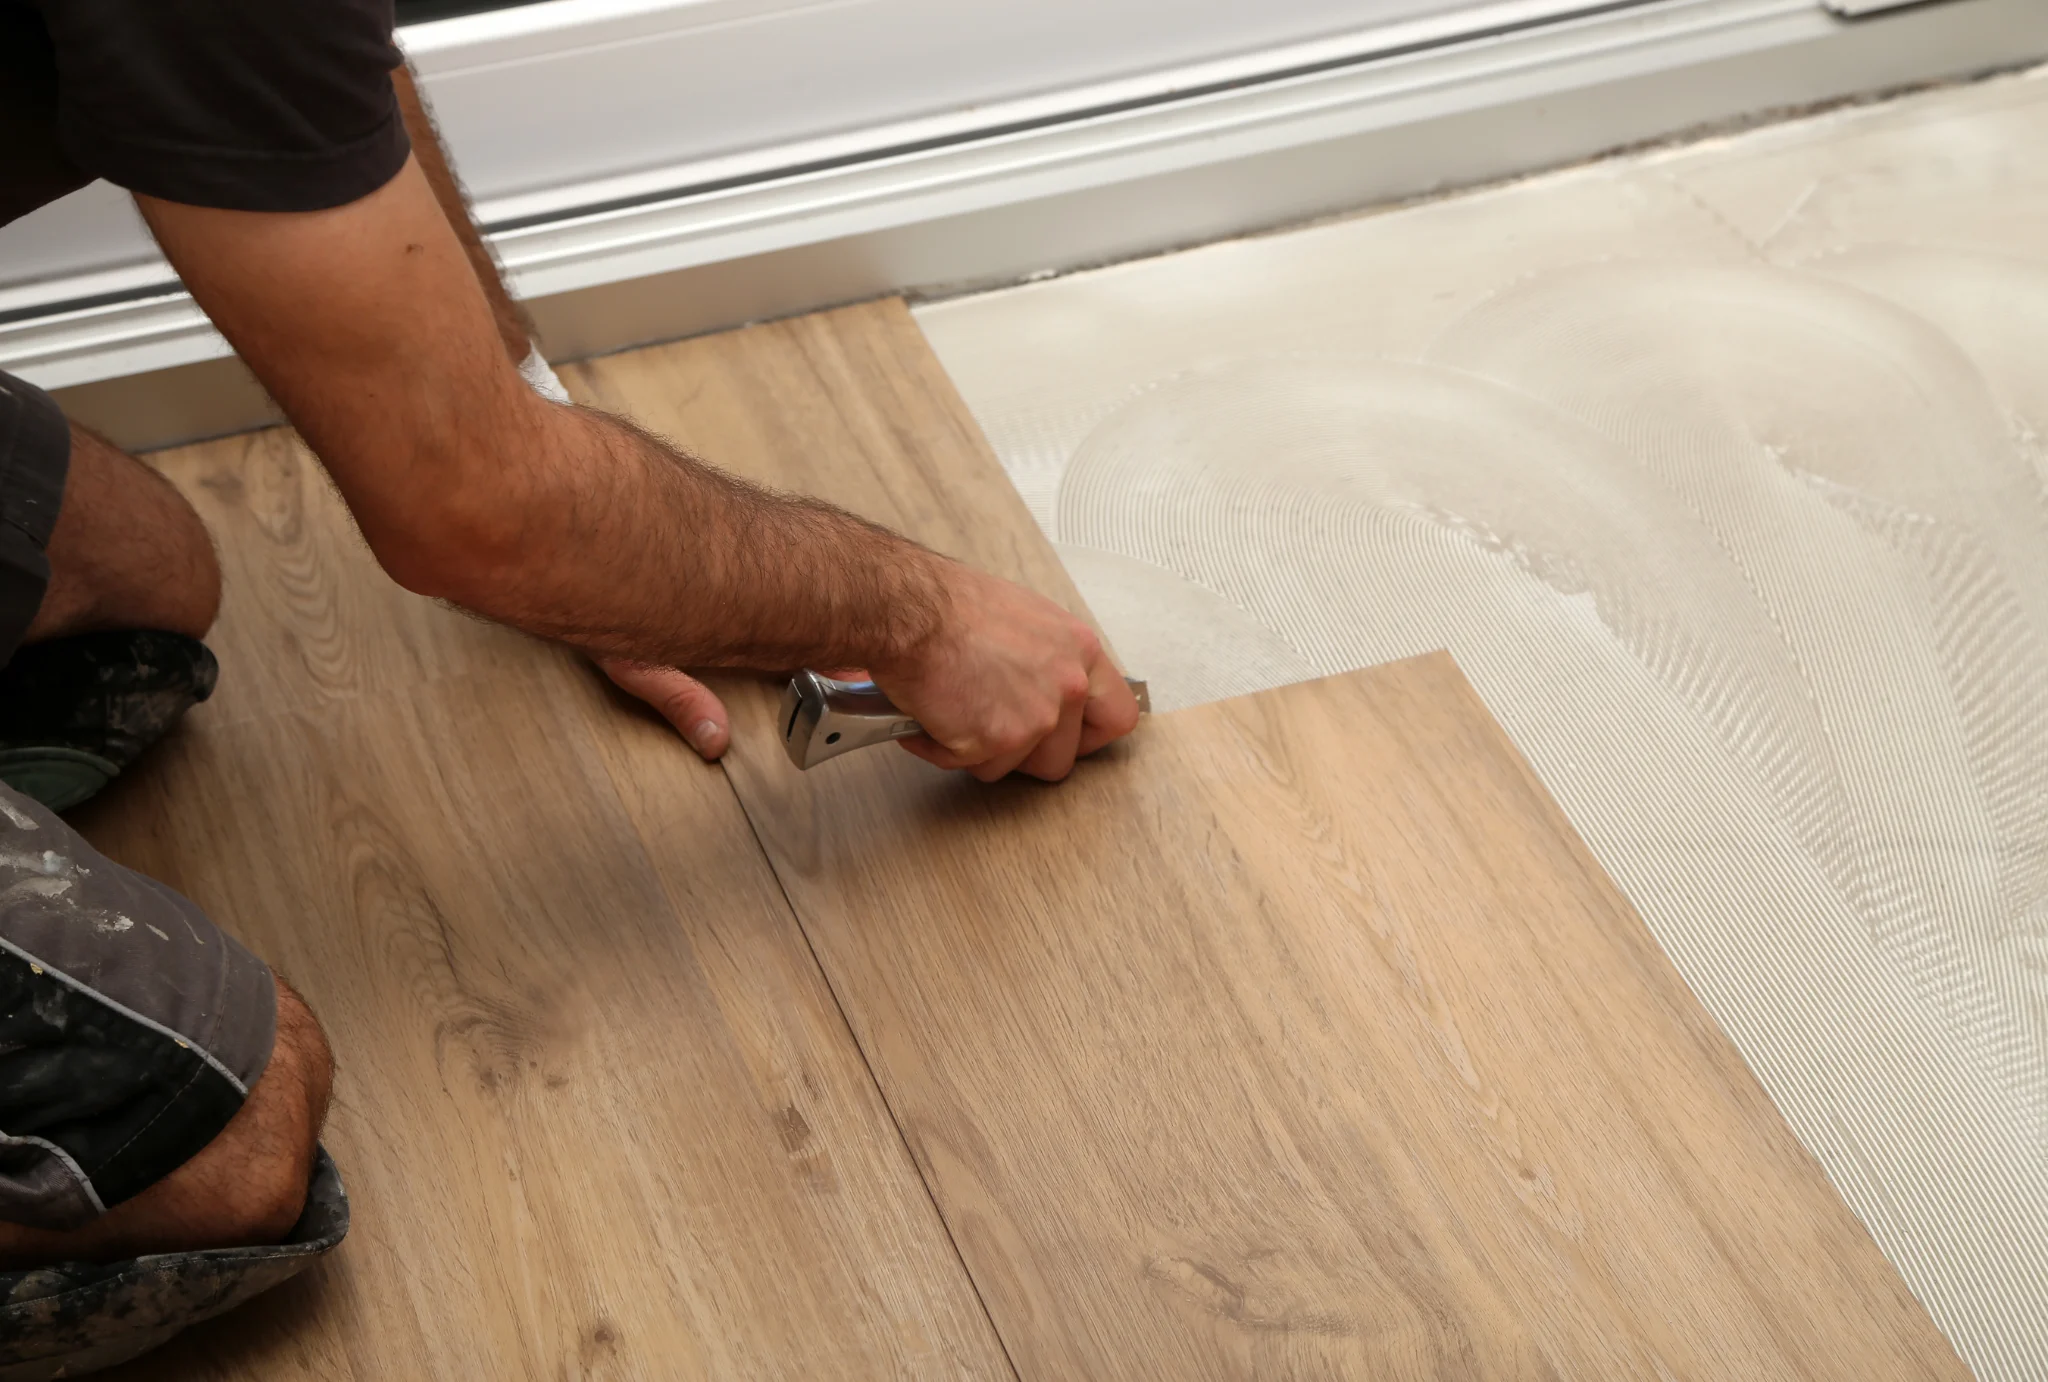
Fast diagnosis
Pick the symptom that best matches what you see or feel. Then confirm it with the checks underneath.
- Small gaps that come and go (often during cold weather): can be temperature-related movement, but it can also be a joint that was never fully seated.
- Gaps that keep getting bigger or show up in a line: often broken click joints, movement under the floor, or an installation that is not acting like a floating floor.
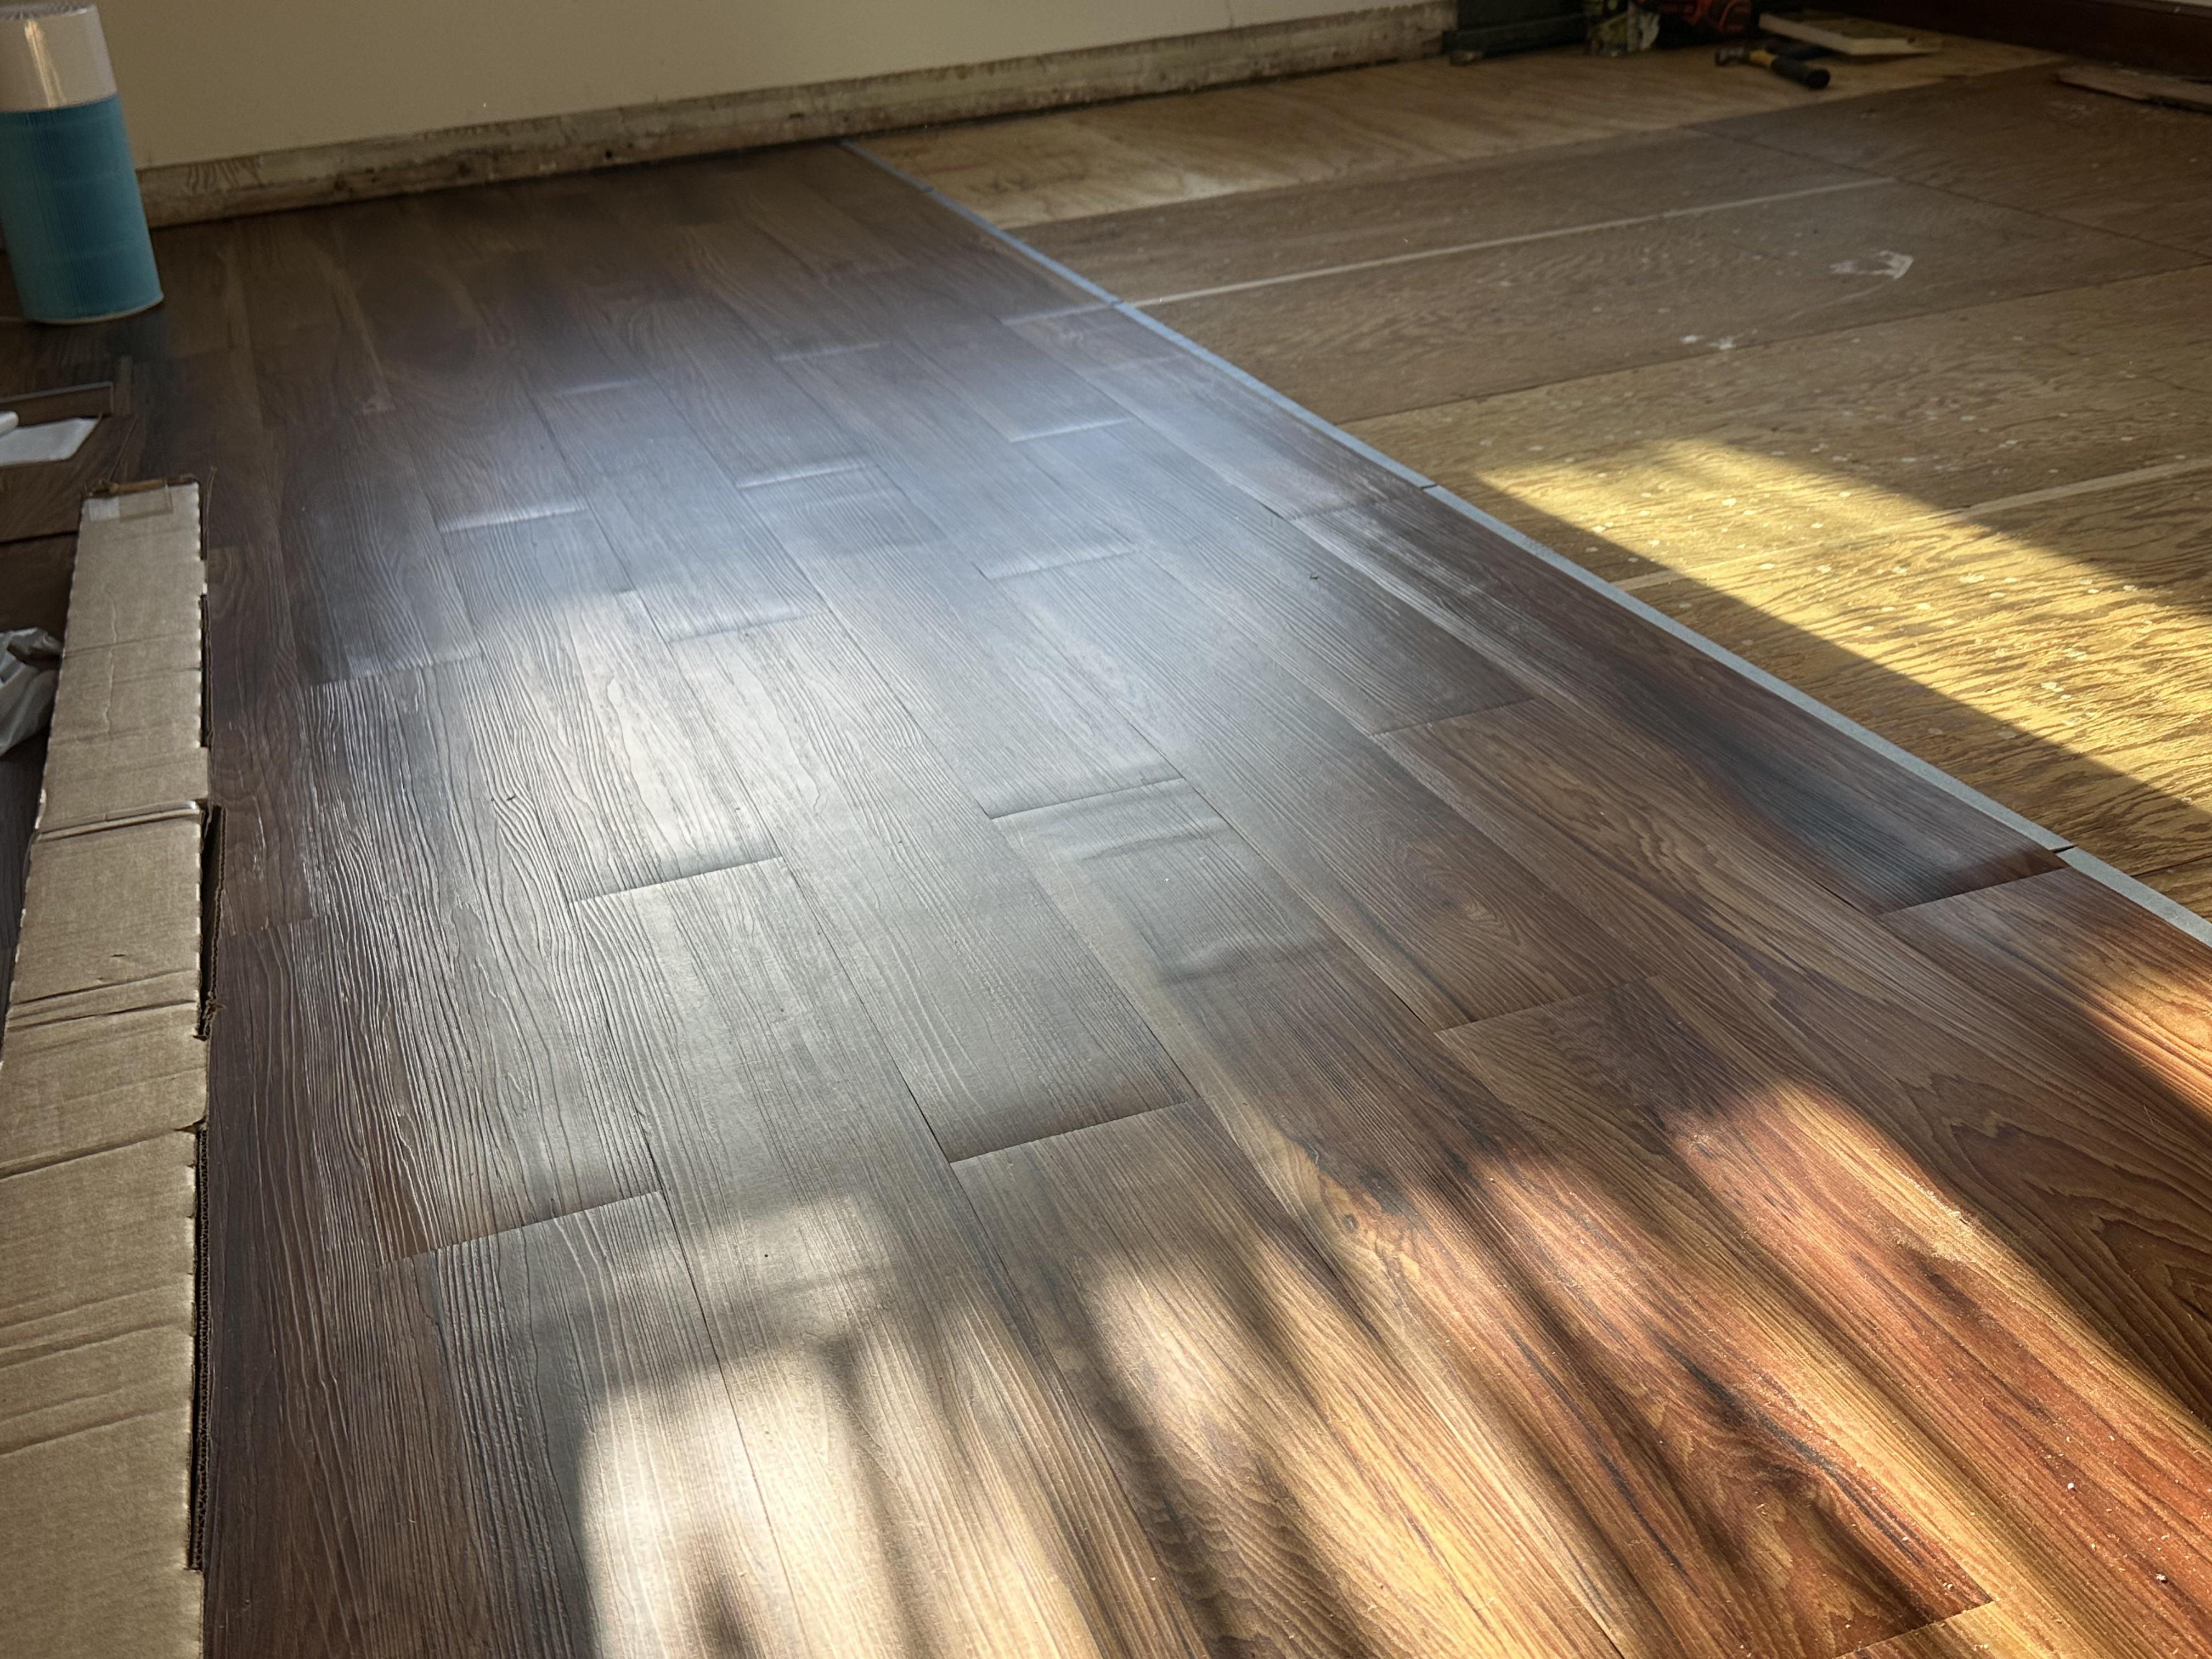
- A raised ridge or “tent” through the middle: classic compression. The floor is trying to expand and has nowhere to go.
- Buckling or waves (especially after a spill or humid season): often moisture from above or below, or an out-of-flat subfloor that is letting the floor flex and unlock.
- Clicking, crunching, or popping when you walk: commonly debris in joints, underlayment issues, vertical movement from low spots, or a plank edge rubbing because expansion space is missing.
Seasonal gaps vs real failure
Vinyl plank is more dimensionally stable than wood, but it still moves with temperature swings. Humidity changes usually affect the house and subfloor more than the vinyl itself, but those changes can still show up as noise, movement, and joint stress on a floating floor.
Normal movement
- Gaps are tiny, often hairline at the ends.
- They show up more during cold snaps or when indoor conditions swing, and they improve when the home returns to a steady temperature.
- No planks feel loose when you step near the joint.
- No obvious ridges, lifting edges, or “soft spots.”
Failure movement
- Gaps are consistent and repeatable, especially in a line across the room.
- The same joints re-open after you push them closed.
- You can feel a lip (one plank slightly higher than the next), or hear clicking in the same place.
- You see buckling, peaking, or trim being pushed outward.
If you are not sure which camp you are in, start with moisture checks. Moisture is the one cause that can turn a small annoyance into a full tear-out if you ignore it.
Three checks first
1) Look for moisture events
Ask yourself what changed in the last few months:
- Dishwasher leak, fridge line leak, pet accident, plant spill that sat overnight
- Basement humidity spike, dehumidifier failed, sump pump issues
- New humidifier, new HVAC settings, windows left open during rainy weather
If there is any chance of water, do not jump straight to re-locking. You need to confirm the subfloor is dry first, or you are just masking the symptom.
2) Read the trim
Trim tells the truth. You are looking for signs the floor is pushing:
- Quarter round bowed outward
- Baseboard nails popped
- Caulk line split at the top of the baseboard
Those are common when the floor is pinched with no expansion gap or when heavy objects are trapping it.
3) Find the anchor point
Floating floors need to float. If anything pins the floor, movement shows up somewhere else.
- Heavy kitchen island sitting on top of the planks
- Cabinets installed after the floor and trapping it
- Very heavy furniture on felt pads that still does not slide
- Door jambs or trim cut too tight so the floor cannot move underneath
Cause #1: Missing expansion space
If you have a ridge in the middle of the room or edges that are pushing up, expansion space is the first suspect. Even rigid core products need perimeter clearance, and every manufacturer has a minimum. When the floor warms up and expands, it compresses. The weakest spot rises.
Quick definitions, since people use these words interchangeably: peaking is usually a sharper ridge (compression), while tenting is the same idea described visually. Buckling is often broader waves that can involve moisture, uneven support, or compression.
How to confirm it
- Remove a floor vent cover and look at the edge. Is the plank tight to the metal boot?
- Pull one small piece of quarter round in the problem area and look for a gap between plank and drywall.
- Check doorways. Are the planks jammed tight under the casing or metal transition?
What you can fix without a full tear-out
If the floor is otherwise intact and the joints are not broken:
- Create clearance at the perimeter by removing quarter round and trimming back the edge where it is tight. An oscillating multi-tool is handy for this kind of careful trimming.
- Relieve pressure points at vents and door jambs where the plank is binding.
- Then give it time. Sometimes the ridge relaxes over a few days once the floor can move again.
When it has to come up
- Joints are shattered or permanently deformed at the ridge
- Planks are bowed and will not lay flat even after you create clearance
- The floor was pinned under cabinets, islands, or a heavy fixed structure that cannot be changed
My rule of thumb: if you can relieve the pinch and the planks are still square and undamaged, you often can save it. If the click edges are chewed up, no amount of “floating” will make a broken locking profile lock again.
Cause #2: Moisture under or over the floor
Moisture can show up two ways: from above (spills, leaks) or from below (concrete moisture vapor, crawlspace humidity). Vinyl is relatively moisture-resistant, but moisture can still:
- warp OSB or plywood so the floor loses support
- break down some underlayments and attached pads
- cause odor and mold issues that force a tear-out
- stress click joints as the subfloor swells and changes shape
How to confirm it
- Smell test: musty odor near the problem zone is a red flag.
- Check nearby walls and trim for swelling or staining.
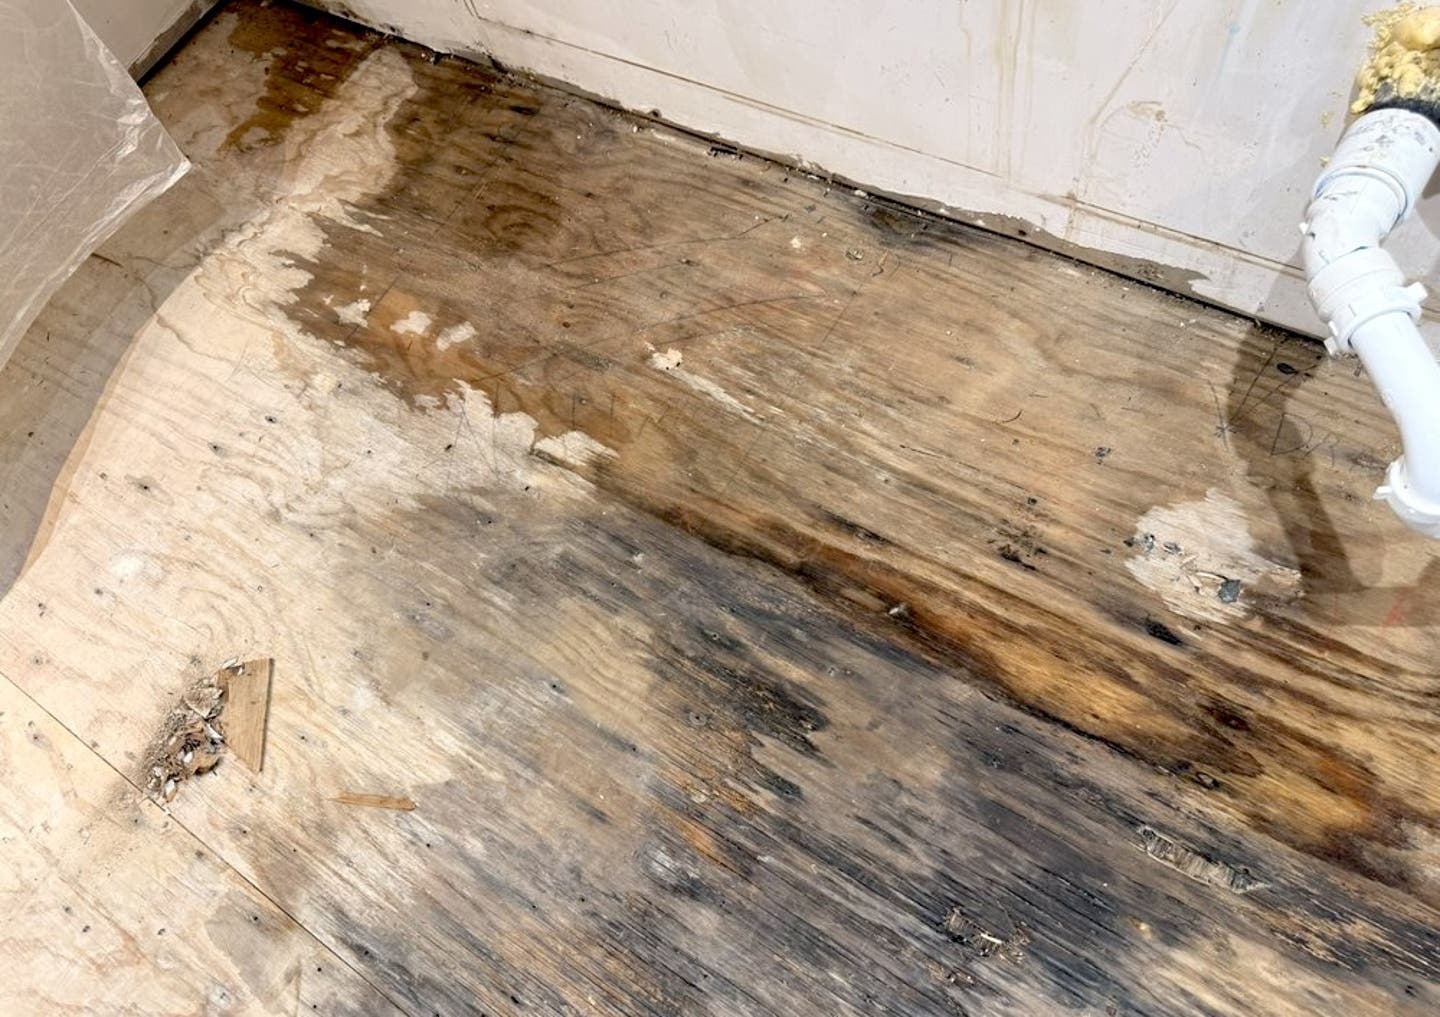
- If you can, lift a plank at the nearest wall and inspect the underlayment and subfloor for discoloration.
- On slab: condensation under rugs or plastic mats can be a clue, but it is not a real moisture test.
If you suspect slab moisture, the reliable path is manufacturer-approved testing (commonly in-slab RH probes or calcium chloride testing). Surface signs can point you in a direction, but they do not measure vapor drive.
What you can sometimes re-lock
If it was a minor spill that dried quickly and the subfloor is still flat:
- Pull up only the affected run back to the wet area
- Dry thoroughly
- Replace any damaged underlayment or planks with swollen edges
- Reinstall and re-lock
When you should plan on pulling up more
- Subfloor is cupped, swollen, or crumbly (common with OSB)
- You see black staining, mold, or persistent odor
- Click joints are failing in multiple directions because the floor is no longer flat
- On concrete, you suspect ongoing vapor drive and the system does not have the right vapor control for your slab
If there is ongoing moisture, fixing joints is like reattaching drywall over a leaking pipe. It will fail again.
Cause #3: Temperature swings and acclimation
Acclimation gets oversold sometimes in casual advice, but the core issue is real: temperature matters. If the product sat in a cold garage then went straight onto the floor, months later what you are seeing may be the floor finding its true size.
Follow your manufacturer’s acclimation and installation temperature requirements. My point is that a stable indoor range and proper perimeter clearance often matter more than a vague “leave it in the room for a few days” rule.
Clues it is temperature-driven
- Problems started right after a season change (first hot spell or first cold spell)
- Floor is tight near large windows with direct sun
- Gaps show up across wide open areas, not just one joint
What to do now
- Stabilize indoor temperature and humidity for a couple weeks. Consistency matters more than perfection.
- Make sure the floor is not pinched at edges, vents, and doorways.
- If you have both gaps and clicking, check subfloor flatness and joint damage next. Temperature swings alone rarely cause loud clicking unless something else is going on.
Cause #4: Broken click joints
Click-lock relies on small lips and angles staying sharp and intact. That locking profile is the “shape” that holds the planks together. Once it is damaged, the floor may look fine for a while, then gradually unzip under foot traffic.
How joints get broken after install
- Floor installed over low spots or humps. The planks flex, the joint takes the load, and eventually snaps.
- Heavy rolling loads (fridge moved, rolling chair with small casters) without protection.
- Planks forced together with too much angle or too much hammering during install, weakening the lock.
- Debris in the joint that prevented full engagement.
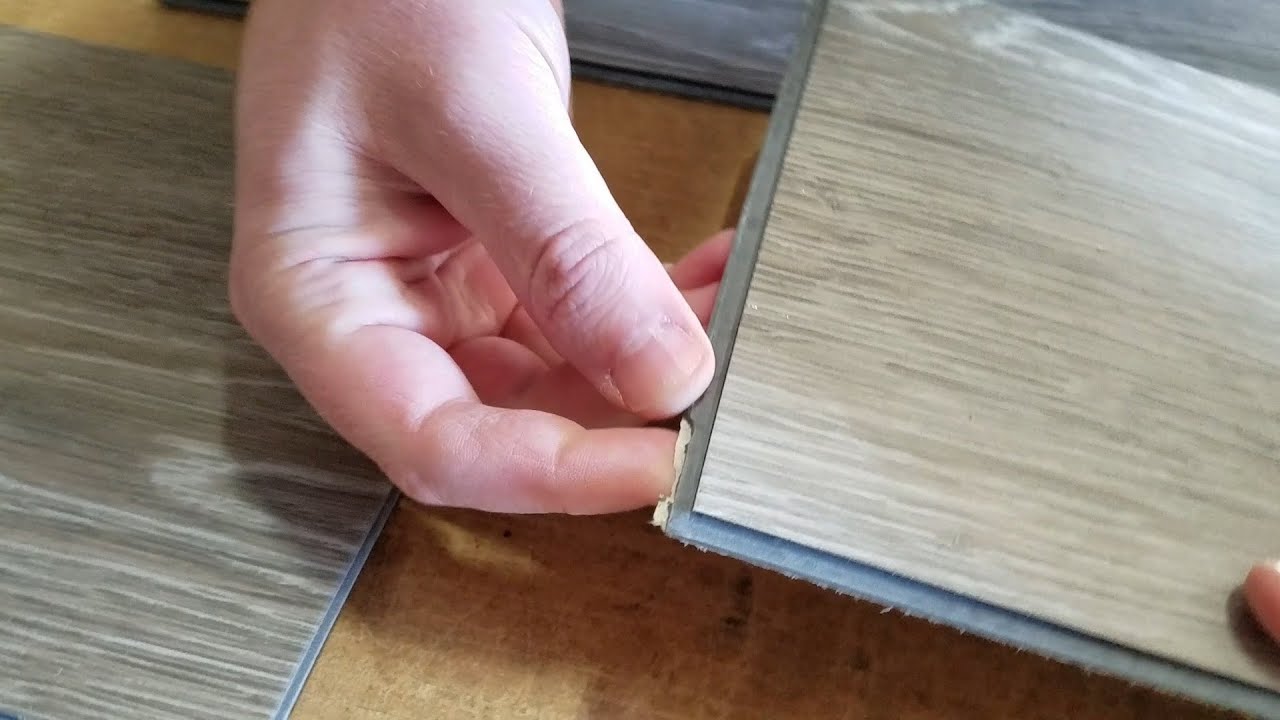
How to confirm a broken lock
- Gap returns immediately after you push the planks together.
- You can step near the joint and feel it open and close.
- When you look closely, one plank end sits slightly higher, like it is riding on the damaged profile.
Can it be re-locked?
Sometimes. If the lock is not broken and the joint just was not fully seated, you can often re-lock by removing planks back to the problem and reinstalling correctly.
If the lock is broken, re-locking is temporary at best. You will usually need to replace that plank. Because click-lock floors assemble in sequence, replacement commonly means pulling up an entire run back to the nearest wall or transition to get to it cleanly.
Cause #5: Out-of-flat subfloor
This is the sneaky one. Click-lock vinyl can bridge small imperfections, but if the subfloor is outside tolerance, the floor flexes every time you walk. Flex leads to sound. Sound leads to joint failure.
Flatness tolerances vary by brand and product thickness. If you still have your installation manual, this is where it earns its keep.
Signs the floor is flexing
- Clicking happens in the same footsteps path
- You feel a slight dip or “trampoline” effect
- Gaps appear in high-traffic areas first
Quick tests you can do
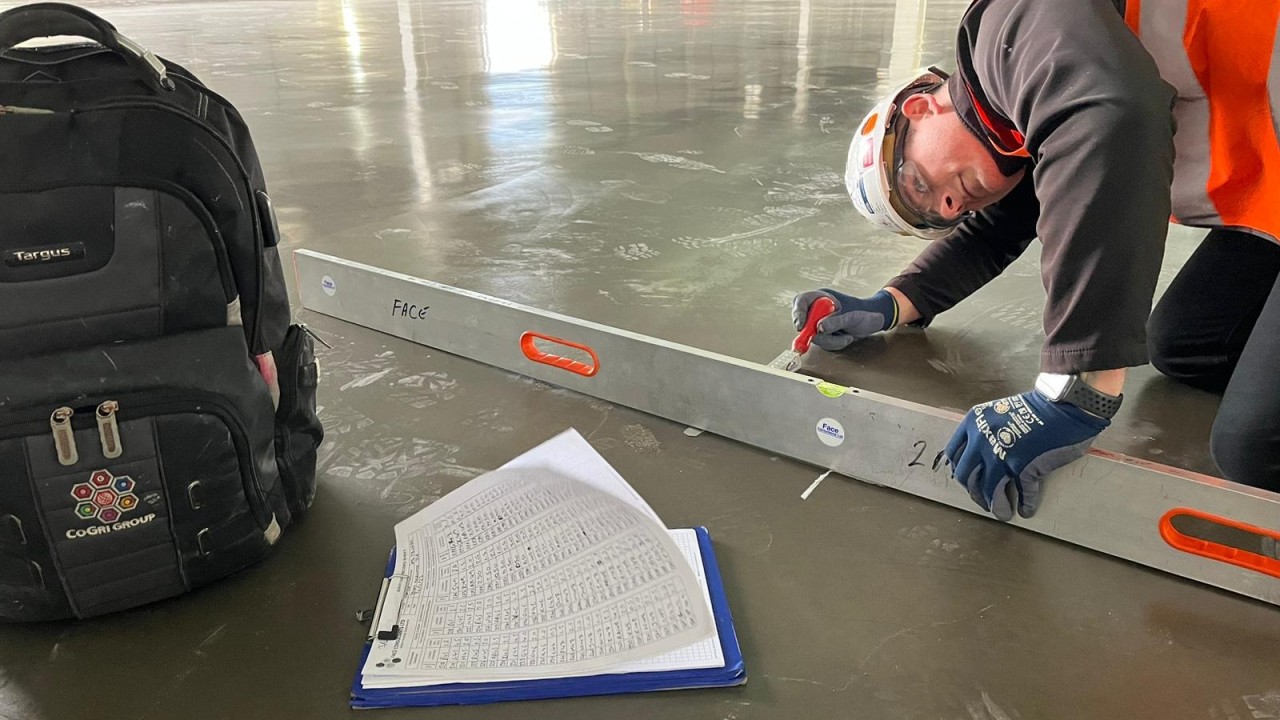
- Lay a long straightedge, level, or known-straight board across the area and look for rocking or daylight.
- Pay attention to transitions between rooms. If one room is fine and the other clicks, the subfloor condition might change at that doorway.
What fixes it
True flatness issues usually mean the floor has to come up in the problem zone so you can address the subfloor with patching, sanding, fastening, or panel repair. Trying to quiet it from the top almost never lasts.
Cause #6: The floor is pinned
Click-lock vinyl is designed to move as one big sheet. If it is pinned anywhere, it will either open gaps somewhere else, or buckle in the middle under compression.
Common pinches
- Transition strips screwed down through the planks
- Quarter round nailed into the floor instead of the baseboard
- Planks jammed tight under metal door thresholds
- Kitchen appliances that fit too tight between cabinets and trap the floor
What you can do
- Make sure transitions are installed so the floor can move under them. Typically the track or fasteners anchor to the subfloor, not through the floating field, with a gap left for movement per the transition system and flooring manual.
- Reinstall quarter round so it traps the floor visually but does not clamp it.
- Relieve tight jamb cuts so the plank can slide a bit under trim.
Cause #7: Wrong underlayment
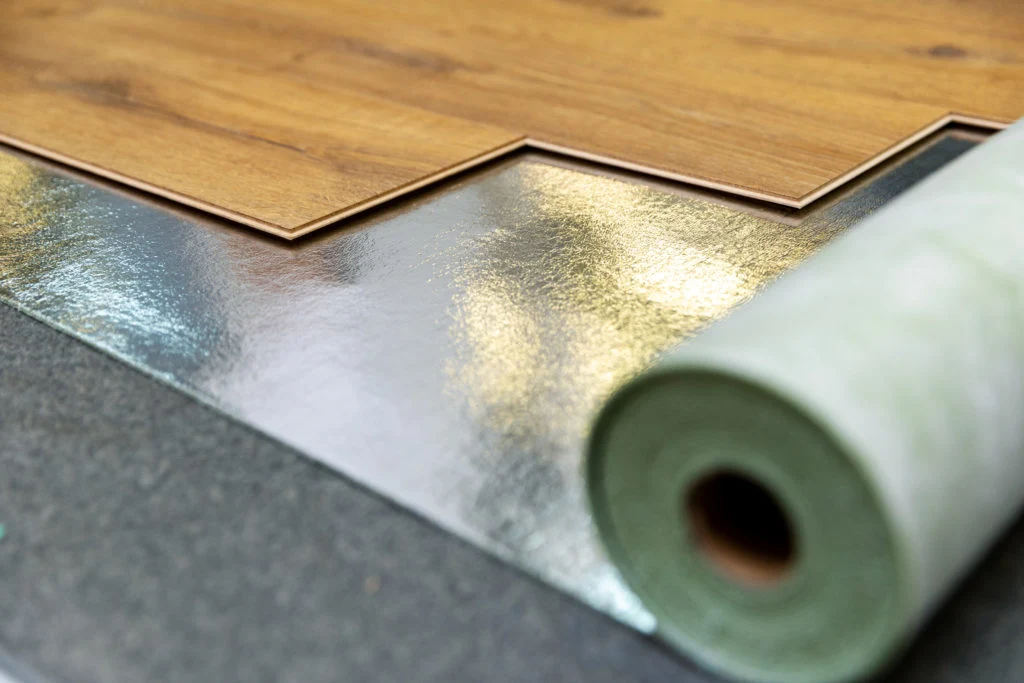
This one surprises people because it feels like “extra cushion” should help. But many click LVP products, especially ones with an attached pad, either do not allow additional underlayment or require a very specific type and thickness.
If you add a soft or thick underlayment under a click system that was not designed for it, the floor can feel bouncy. That bounce means more vertical movement at the seams, more clicking, and eventually more joint damage.
Clues this is your problem
- Clicking is widespread, not just one spot
- The floor feels slightly spongy underfoot
- Problems started soon after installation and got worse with traffic
- You know an extra underlayment was added under a pad-attached product
What fixes it
Usually the fix is not a surface trick. It is pulling up the floor in the affected area, removing the unapproved underlayment, and reinstalling over the correct substrate system. It is annoying, but it is better than repeatedly chasing gaps and broken locks.
Re-lock vs pull up
Here is how I decide whether I am attempting a surgical fix or planning to pull a larger area. If you already identified a pinch point above, treat that first or you will be right back here.
Good candidates for re-locking a section
- Gaps are localized and you can trace them to one short run
- No signs of moisture
- No peaking ridge
- Planks are not visibly damaged at the locking edges
- The floor is generally flat underfoot
Usually requires pulling up planks
- Peaking or tenting through the field of the room
- Moisture damage to subfloor or underlayment
- Broken click profiles
- Large areas clicking because of subfloor flatness
- Wrong underlayment, especially under pad-attached LVP
- Floor pinned under cabinets, an island, or fixed built-ins
If you attempt a re-lock
I am keeping this high-level because every brand’s locking profile behaves a little differently, and forcing it is how locks get broken. Also, some click systems do not disassemble cleanly without damaging planks, especially on the long-side lock. Set expectations before you start pulling.
The goal is to disassemble cleanly and reassemble without stressing the joint.
Tools that help
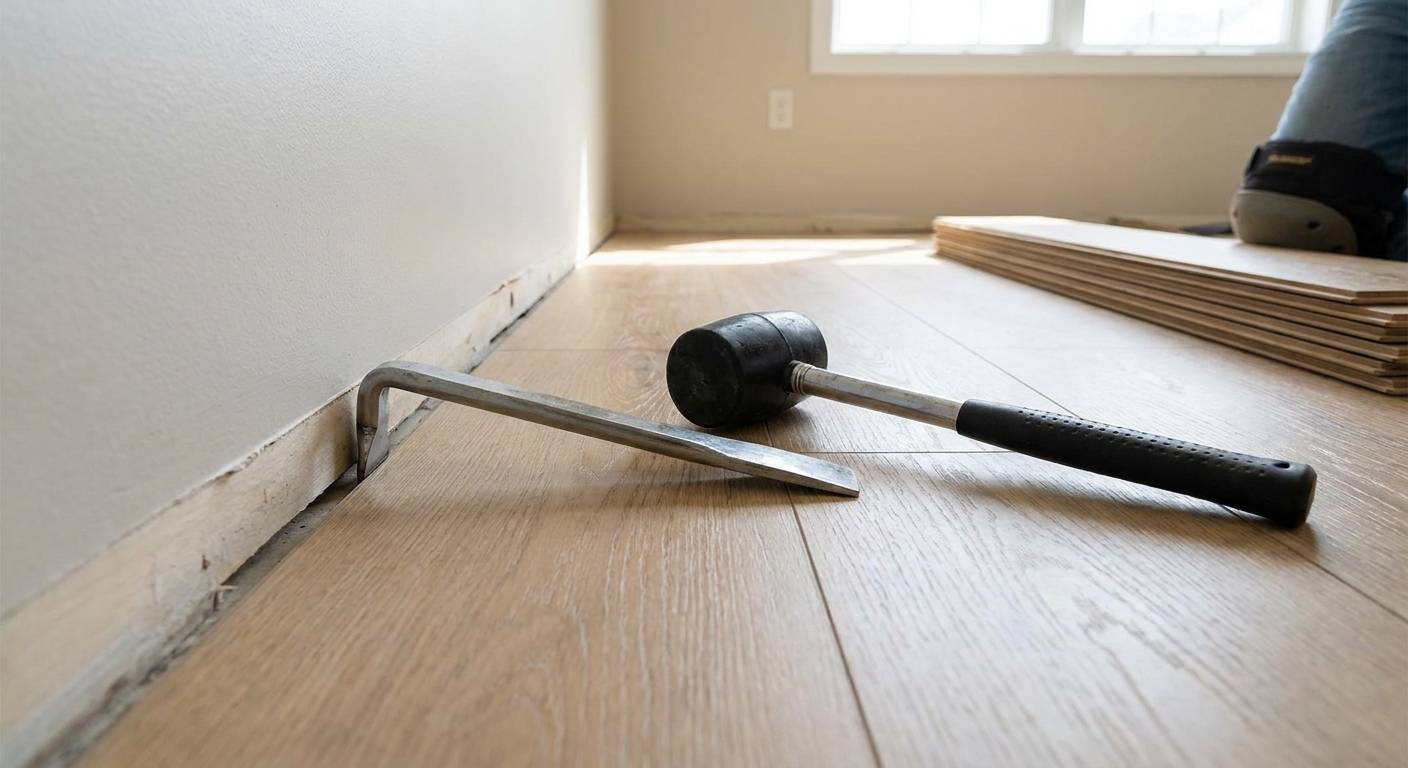
- Pull bar and tapping block made for vinyl or laminate
- Rubber mallet
- Suction cup (handheld) for manipulating planks
- Oscillating multi-tool (for relieving pinch points, not for “fixing” joints)
- Vacuum with a crevice tool (for grit in seams)
Process overview
- Start at the nearest wall or transition that lets you unlock in reverse order.
- Disassemble back to the problem joint without bending planks sharply.
- Clean debris from tongues and grooves. Grit can keep a joint from fully seating.
- Inspect the lock. If you see chips or missing material, plan on replacing that plank.
- Reinstall forward, making sure end joints are fully engaged and rows are straight.
If you find yourself needing to hammer harder and harder to “make it go,” stop. That is usually the moment a good joint becomes a broken joint.
One more note: if you have been “kicking” gaps closed, do it with the right tool instead. A floor gap tool, tapping block, and pull bar are safer than literal kicking, which can crush the locking profile.
Prevent it next time
- Protect against rolling loads: Use plywood sheets when moving appliances, and use chair mats designed for LVP or wider, softer casters.
- Keep grit down: Dirt and sand act like sandpaper in the joints. Entry mats and regular vacuuming help more than people think.
- Keep conditions steady: Sudden temperature swings and sun-heated zones near big windows are where problems often show up first.
When to call a pro
I am all for DIY, but these scenarios are worth experienced eyes:
- You suspect an active leak or slab moisture issue
- Buckling is severe and you cannot identify a pinch point
- The floor runs under large built-ins and would require complex disassembly
- You have widespread joint failure across multiple rooms
A flooring pro can also document conditions if you are pursuing a product warranty. Just know that many warranties hinge on subfloor moisture, flatness, and expansion clearance.
FAQ
Why does my vinyl plank floor click when I walk on it?
Clicking is usually the sound of movement: planks rubbing at joints, the floor flexing over a low spot, the wrong underlayment creating bounce, or debris under the plank edges. If the clicking is localized, it is often a flatness or joint seating issue. If it is widespread, look at subfloor tolerance, underlayment compatibility, and whether the floor is pinned.
Can I fix gaps without taking the floor apart?
Sometimes you can temporarily reduce a small gap, but a real, persistent gap is usually either a joint that never fully locked or a joint that is damaged. Lasting fixes typically require disassembly to the problem area and re-locking or replacing a plank.
Is buckling the same as peaking?
People use the words interchangeably, but I think of peaking as a sharper ridge caused by compression, and buckling as broader waves or lifting that can involve moisture, uneven support, or compression. Either way, you are looking for what is forcing the floor to move or lift.
Do I have to remove baseboards to fix expansion space?
Not always. Often you can remove quarter round only, then check the edge gap. If the plank is tight to drywall, you may need to trim the plank edge back slightly. Baseboard removal helps when you need more working room or want a cleaner finish afterward.
What is vapor drive?
Vapor drive is moisture vapor moving up through a concrete slab or other materials due to differences in moisture and pressure. It can cause flooring problems even when the surface looks dry, which is why proper slab moisture testing matters.
The 30-Second Cheat Sheet
Essential takeaways for: Vinyl Plank Flooring Gapping, Buckling, or Clicking?
Quick triage
- Small gaps that come and go: can be temperature-related seasonal movement, but can also be a marginal lock. Monitor and recheck in a couple weeks.
- Gaps that keep returning: likely a joint that is unseated, damaged, or the floor is flexing.
- Raised ridge or tenting: usually missing expansion space or the floor is pinned.
- Waves after a leak or humid spell: suspect moisture and subfloor swelling.
- Clicking underfoot: floor movement from out-of-flat subfloor, debris in seams, wrong underlayment, or pinched perimeter.
Check these first
- Moisture: any leaks, spills, basement humidity, slab vapor signs.
- Expansion clearance: look at vents, doorways, and behind quarter round for tight edges.
- Anchor points: islands, cabinets, thresholds, or quarter round nailed into the floor.
- Underlayment: if your planks have an attached pad, added underlayment can cause bounce, noise, and joint failure.
Re-lock vs pull up
- Try re-locking if: no moisture, no ridge, locks look intact, problem is localized.
- Plan to pull up if: peaking ridge, wet or swollen subfloor, broken click edges, widespread clicking from flatness, wrong underlayment, or the floor is pinned under built-ins.
Stop and reassess if
- You need excessive force to seat joints
- The same joints reopen within days
- You find chipped or missing material on the locking profile
💡 Tip: Scroll up to read the full article for detailed, step-by-step instructions.
⬆️ Back to top
About Marcus Vance
Content Creator @ Grit & Home
Marcus Vance is a lifelong DIY enthusiast and self-taught home renovator who has spent the last decade transforming a dilapidated 1970s ranch into his family's dream home. He specializes in budget-friendly carpentry, room-by-room renovations, and demystifying power tools for beginners. Through his writing, Marcus shares practical tutorials and hard-learned lessons to help homeowners tackle their own projects with confidence.