If your wall-mounted range hood fan suddenly stopped, the fix is often something boring and cheap like a tripped breaker, a loose plug in the cabinet, or a grease-caked filter choking the airflow. The trick is checking things in the right order so you do not pull the hood down off the wall just to discover the outlet was dead.
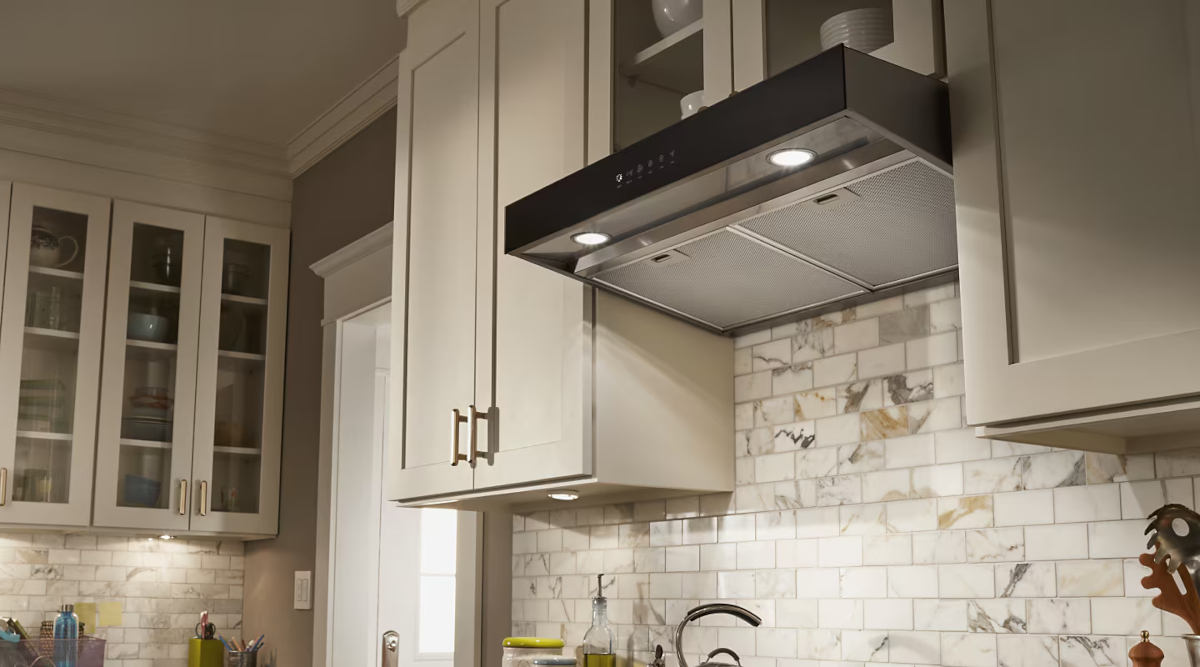
This guide is for ducted under-cabinet hoods and wall canopy hoods with their own blower and controls. It is not for over-the-range microwaves, which have a different blower setup and access points.
Safety first
Range hoods combine electricity, sharp sheet metal, and grease. Take the extra minute to make it safe.
- Kill power at the breaker before opening any wiring compartment or removing access panels.
- Let bulbs cool before touching lens covers or sockets.
- Wear gloves. Hood edges and blower housings love to bite.
- Use a stable step stool. You will be reaching overhead and pulling filters down.
Stop and call a pro if you smell burning, see melted wiring, the breaker keeps tripping, or you hear grinding from the blower.
If your hood is hardwired and you are not comfortable working inside an electrical junction box, stop after the basic power checks and call an appliance tech or electrician.
Quick diagnosis
Before you troubleshoot, pin down the symptom. It tells you where to start.
- Completely dead (no lights, no fan): power issue, outlet, breaker, wiring, control board.
- Lights work, fan does nothing: switch, control board, thermal fuse or protector, capacitor or motor (depends on design).
- Fan runs but airflow is weak: filters, grease buildup, backdraft damper stuck, duct blockage, wrong duct size.
- Fan hums but will not spin: seized blower wheel, bad capacitor (if equipped), failing motor.
- Runs for a bit then shuts off: motor’s internal thermal overload or a hood thermal protector cycling, often made worse by grease buildup, blocked duct, or a tired motor. Some protectors reset after the unit cools.
Step 1: Confirm power
Check the breaker, GFCI, and AFCI
Many hoods share a kitchen circuit, or they plug into a receptacle in the cabinet above the hood. Start here:
- Check your electrical panel for a tripped breaker. Flip it fully off, then back on.
- Look for a tripped GFCI outlet in the kitchen that might feed the hood outlet. Press “Reset.”
- If your home has AFCI or dual-function breakers, a nuisance trip can look like a “dead hood,” too. Reset it the same way.
Verify the outlet is live
If the hood plugs into an outlet, unplug it and plug in a lamp or phone charger.
- If the outlet is dead, you have an electrical problem upstream, not a hood problem.
- If the outlet works, move to the hood itself.
Hardwired hood? Check for a wall switch
Some installs have a dedicated wall switch or a disconnect. Make sure it is on. Also note that some hoods plug into a switched receptacle, so a wall switch can quietly control the outlet in the cabinet.
Step 2: Do a real reset
Modern hoods often have electronic controls that can glitch after a power blip.
- Turn the hood off.
- Shut off the breaker for 2 to 5 minutes.
- Restore power and test fan speeds and lights.
If the hood has a touch panel, wipe it clean and dry first. Grease film plus moisture can make touch controls act erratically.
Step 3: Clean filters and grease
If the fan “works” but it is not pulling smoke, or it sounds strained, assume grease is restricting airflow until proven otherwise.
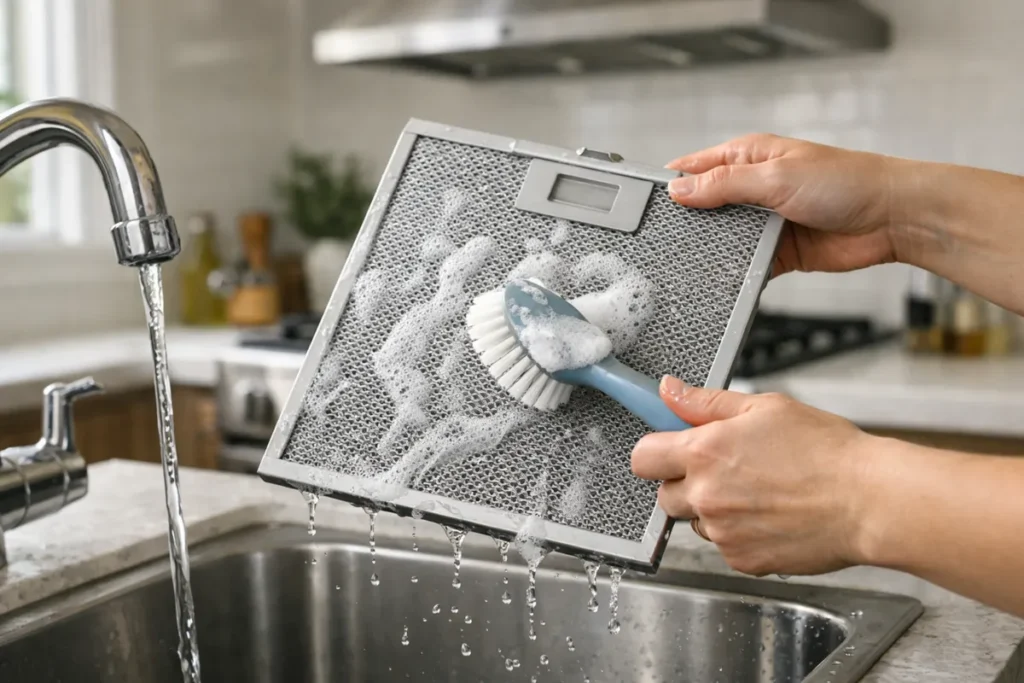
Remove and clean the filters
- Metal baffle filters: soak in hot water with degreaser or dish soap, scrub, rinse, and fully dry.
- Aluminum mesh filters: these clog easily. Hand wash gently. Some can go in the dishwasher, but they may discolor.
- Charcoal filters: only used on ductless setups. Replace, do not wash.
You can run the hood very briefly with filters removed as a quick test. Expect it to be louder, and avoid doing this while actively frying since splatter and airborne grease can get pulled into the blower or duct.
Degrease the blower intake area
With the filters down, look up inside. If you see a thick mat of grease around the blower intake, that grease can slow the wheel and trap heat.
- Wipe with a degreaser and warm water.
- Do not soak wiring or the control board.
- Dry everything before restoring power.
Step 4: Check damper and duct
A wall hood can have a perfectly good motor and still move almost no air if the duct is blocked or the damper is stuck.
Quick note: If your hood is ductless (recirculating), you will not have an exterior vent cap and may not have a duct damper. Skip the exterior duct checks and focus on filters, fan, and control issues.
Look for a stuck backdraft damper
Most ducted hoods have a flap damper at the top of the hood or in the duct collar. It is basically a little door that stops outside air from falling back into your kitchen.
- With power off, reach up and gently move the flap. It should swing freely.
- Grease can glue it shut, especially if the hood is rarely used.
- Foil tape, screws, or misaligned duct can also bind it.
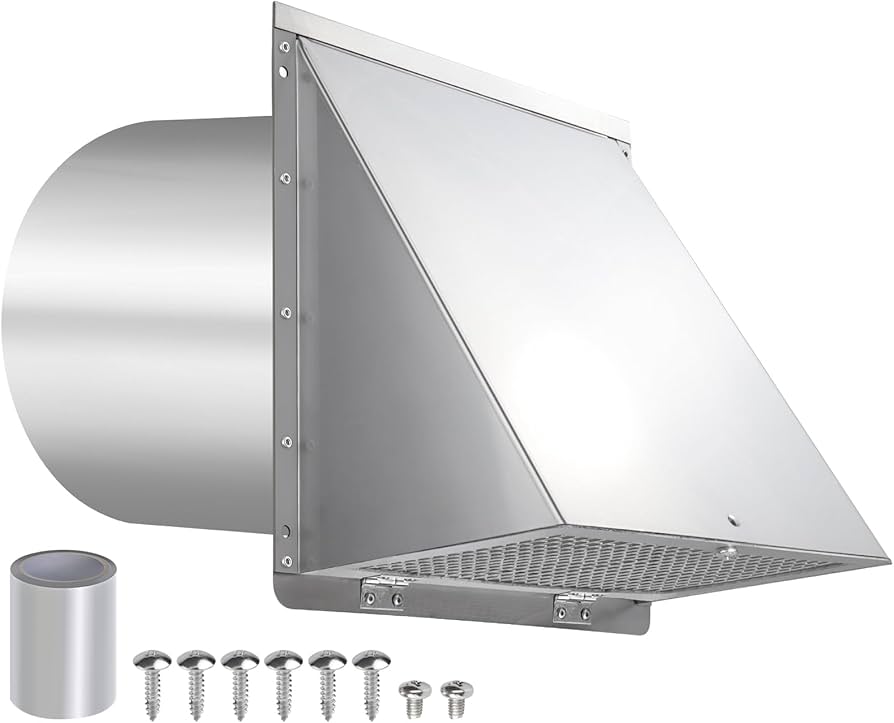
Inspect the exterior vent cap
Go outside and check the wall cap or roof cap.
- Make sure the flap opens when the hood runs.
- Clear lint, grease residue, bird nests, or insulation scraps.
Confirm duct size and routing basics
This is less “repair” and more “why has my hood always been weak?”
- Long duct runs, too many elbows, and undersized ducting kill airflow.
- Flexible duct is a last resort. It traps grease and restricts flow.
Step 5: Lights work but fan is dead
This is the most common “mystery” situation. You have power, you have lights, but the blower will not kick on.
Listen for any sound
- No sound at all: switch, control board, or a safety device like a thermal fuse or thermal protector.
- Hums but does not spin: capacitor (if equipped), seized blower wheel, failing motor.
- Starts only on high: often points to a weak capacitor or a worn motor on certain multi-speed designs, but it is not universal.
Check the fan switch or speed control
Older hoods use a mechanical rocker or slider switch. Newer ones use an electronic board.
- If a mechanical switch feels crunchy, loose, or inconsistent, it may be burnt.
- If it is electronic, look for unresponsive buttons or random behavior, which points to a control board or touch panel issue.
If you are comfortable using a multimeter, you can test continuity on a mechanical switch with power off. If not, this is a good handoff point for a pro.
Inspect the blower wiring connections
Grease and vibration can work connections loose over time.
- Cut power at the breaker.
- Remove filters and any access panel needed to see the blower wiring harness.
- Look for loose spade connectors, melted insulation, or scorch marks.
Fan works but lights do not?
Quick detour if your problem is the opposite.
- If your hood uses replaceable bulbs, try known-good bulbs first and check the socket for heat damage.
- If it has an LED light module, an LED driver, or a light control board, those components can fail and may need replacement as an assembly.
Step 6: Free a stuck blower wheel
If the hood hums, that often means the motor is getting power but cannot turn the wheel. Grease buildup is the usual villain.
How to check the wheel
- Turn off power.
- With filters removed, try spinning the blower wheel by hand.
- It should rotate smoothly. If it feels sticky, gritty, or locked, clean and inspect.
Clean the blower wheel
Some wheels can be removed with a set screw. Others require dropping the blower assembly. Take photos as you go.
- Scrape heavy grease with a plastic putty knife.
- Use degreaser and a brush to clean the blades.
- Make sure the wheel is dry and balanced before reinstalling.
Step 7: Capacitor issues
If your model uses a run capacitor, a failed capacitor can keep the motor from starting or make it run weakly. Not every hood uses this setup, but many multi-speed blower motors do.
- Common symptoms: humming, slow start, only runs on one speed, or trips the breaker.
- Capacitors can hold a charge. If you are not experienced, do not poke around. A tech can confirm and replace quickly.
If your hood is older and the rest is in good shape, replacing a capacitor can be a very cost-effective win.
Step 8: Thermal cutoff
Some hoods have a thermal fuse or thermal protector that opens if the unit overheats. A thermal protector may reset after cooling, which can make the problem feel random.
Overheating can come from:
- Grease-packed filters and blower housing
- Blocked duct or stuck damper
- Failing motor drawing too much current
If your hood runs for a few minutes then shuts off, clean the airflow path first. If it still overheats, the motor or control board may be on the way out.
Step 9: Control board and touch panel
On newer wall canopy hoods, the control board is the brain. If it goes, the symptoms can be weird.
- Buttons do nothing or only work sometimes
- Fan speed changes on its own
- Lights flicker while fan is dead
- Unit is totally dead despite power present
Before replacing a board, check for obvious issues like grease intrusion on the board area or a loose ribbon cable to the touch panel. If the board is visibly burned or corroded, replacement is usually the move.
Also worth doing: look up your model number and find the manual. Many include an exploded parts diagram and sometimes a wiring diagram, which makes ordering the right part a lot less exciting.
Repair vs replace
I love fixing things, but I also love not throwing good money after bad. Consider replacement if:
- The hood is a bargain model and needs a motor plus a control board.
- Parts are discontinued or cost more than 50 to 70 percent of a comparable new hood.
- The blower housing is badly rusted or grease damage is severe.
- You have chronic poor performance due to an undersized hood for your cooking style, and you were unhappy even when it worked.
If you do replace it, take a minute to verify duct size, duct route, and CFM range for your cooktop. A slightly better hood that is installed with a clean, smooth duct run can feel like a whole kitchen upgrade.
Quick checklist
- Breaker on and outlet live (including GFCI and AFCI checks)
- Power reset for 2 to 5 minutes
- Clean and fully dry filters
- Degrease intake area
- Check damper flap (ducted hoods)
- Inspect exterior vent cap for blockage (ducted hoods)
- Listen: silent vs humming vs weak airflow
- Spin blower wheel by hand with power off
- Look for loose or burned connectors
- Consider capacitor (if equipped) or control board based on symptoms
Tell me three details
If you want to troubleshoot with me, reply with:
- Your hood brand and model number (usually inside the filter area)
- Whether the lights work
- What the fan does: nothing, hums, runs weak, or shuts off after a bit
Those three answers usually cut the problem list in half.
About Marcus Vance
Content Creator @ Grit & Home
Marcus Vance is a lifelong DIY enthusiast and self-taught home renovator who has spent the last decade transforming a dilapidated 1970s ranch into his family's dream home. He specializes in budget-friendly carpentry, room-by-room renovations, and demystifying power tools for beginners. Through his writing, Marcus shares practical tutorials and hard-learned lessons to help homeowners tackle their own projects with confidence.