
🚨 In a DIY emergency or rush?
Skip the details and jump straight to our 30-second cheat sheet for the most crucial info.
The first time my water heater drain valve refused to open, I did what most of us do: I assumed I was missing a simple step. Then I put a little more muscle into it and immediately pictured myself snapping a cheap plastic spigot off a full tank of hot water. That mental image was enough to make me slow down and do it the right way.
If your drain valve is stuck shut, won’t turn, or turns but won’t pass water, you are usually dealing with mineral sediment (scale) packed into the valve, a failed plastic valve, or both. The good news is that most of the fix is careful shutdown and pressure control, then either clearing the clog or replacing the valve entirely.
Quick note so the right people keep reading: This is for tank-style water heaters. Tankless units do not have this same bottom drain valve setup.
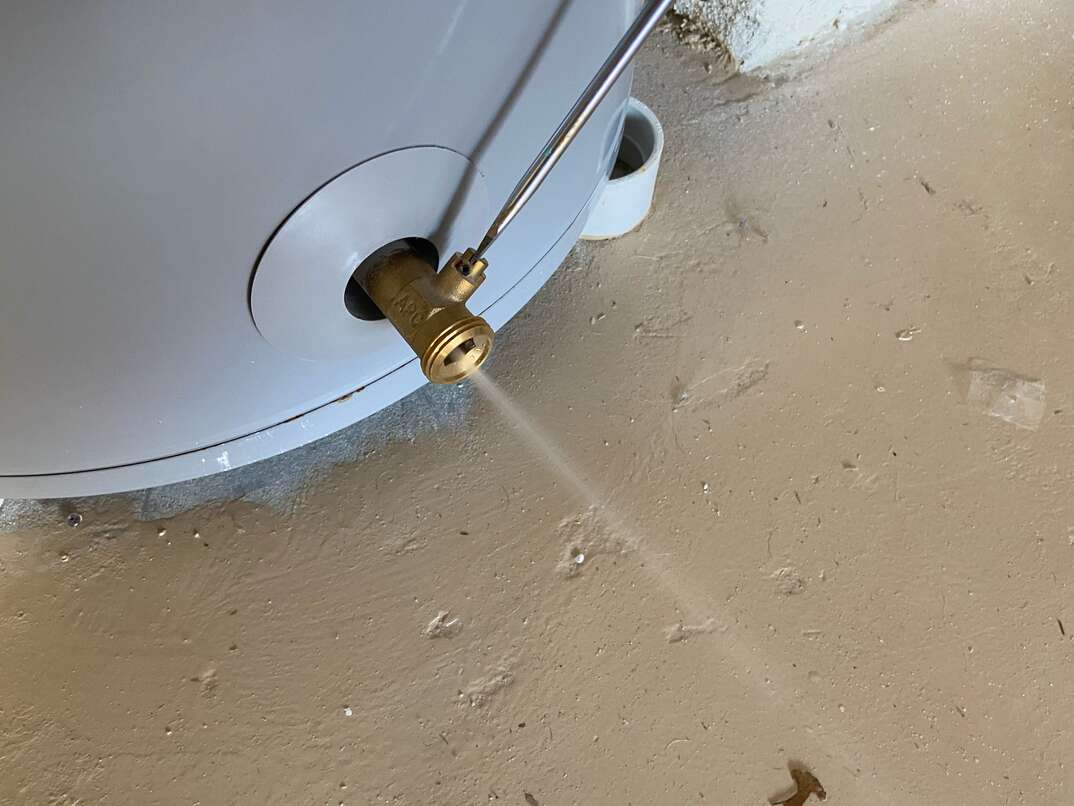
Before you touch the valve: make it safe
A water heater is basically a pressurized hot water tank, sitting at house water pressure. You want three things before you start: no heat being added, reduced temperature, and a way for air to enter the tank once you try to drain.
1) Turn off the heat source
- Electric water heater: Turn OFF the breaker labeled “water heater.” Do not rely on just the thermostat dial. The heating elements can burn out if exposed during draining.
- Gas water heater: Set the gas control valve to OFF (or to PILOT if you are only doing a quick service and your manufacturer allows it). If you smell gas at any point, stop and call your gas utility or a plumber.
2) Let the water cool (longer is better)
If you can wait, give it at least 30 to 60 minutes, and more if the heater was recently running hot. Cooling time depends on your setpoint, tank size, and recent hot water use.
My practical move is to test hot water temperature at a faucet before I put my hands anywhere near the drain. If you cannot wait, wear gloves, long sleeves, and eye protection and keep people and pets away from the work area.
3) Shut off the cold-water supply to the heater
Close the cold inlet valve above the tank. This prevents the heater from continuously refilling while you are trying to diagnose a blockage.
4) Relieve pressure and let air in
Open a hot water faucet at a sink or tub somewhere in the house. Leave it open while you work. This breaks the vacuum and helps the tank drain once flow starts.
My rule: If water spits or surges when you crack a drain connection, you still have pressure. Keep that hot faucet open and go slower.
One more thing: Some people lift the T&P (temperature and pressure) relief valve to vent a heater. I do not recommend that as your go-to move. Those valves sometimes do not reseat cleanly afterward, and then you have a new problem. Vent through a hot faucet instead.
Tools and supplies that actually help
You might not need everything here, but these are the items that have saved me the most time when a drain valve is clogged with sediment.
- Garden hose (a short one is easier to control)
- Bucket and towels
- Work gloves and safety glasses
- Adjustable wrench or tongue-and-groove pliers
- Screwdriver (for some drain valve handles)
- Penetrating oil (metal valves only, used sparingly and externally)
- Small stiff wire or zip tie (for probing clogs)
- Short piece of small tubing (optional) and a wet/dry shop vac (optional but very effective)
- Replacement drain valve (brass full-port recommended) and PTFE thread tape
Penetrating oil caution: If you use it, keep it on the outside only, like a metal handle pivot point. Do not spray it where it can work its way into the waterway. If the valve is plastic, oil is not the answer anyway.
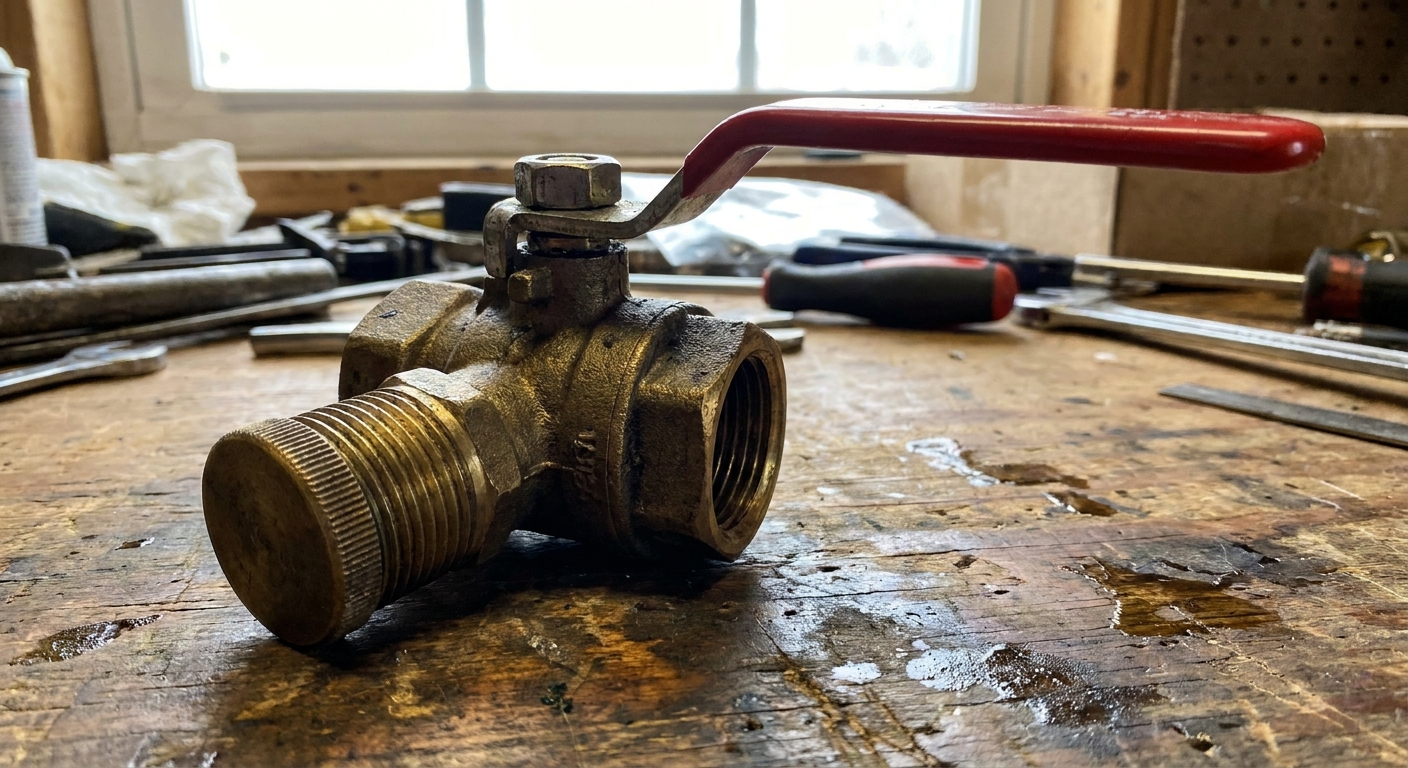
Quick diagnosis
If the handle will not move
This is a seized valve problem. On older metal drain valves, mineral buildup can lock threads. On many newer heaters, the factory drain is plastic and the handle can strip or snap. Either way, forcing it is where DIY goes sideways.
If the valve opens but no water comes out
This is the classic sediment plug. Scale and grit settle at the bottom of the tank and pack into the narrow passage of a standard drain valve.
If you get a trickle that stops
You likely loosened the plug but debris shifted and re-blocked the opening. Clearing usually works, but replacement is often the better long-term move.
Try this first: get flow without removing the valve
These steps are the least risky because you are not unthreading anything from the tank. Work slowly and assume the water might still be hot.
Quick re-check before you touch the drain: heat source OFF, cold supply OFF, and a hot faucet in the house OPEN.
Step 1: Attach a hose and route it safely
Screw a garden hose onto the drain valve and run it to a floor drain, sump pit, or outside where hot water will not damage plants, grass, or finishes. Keep the hose run as straight as possible. Kinks stop flow and can fool you into thinking the valve is blocked.
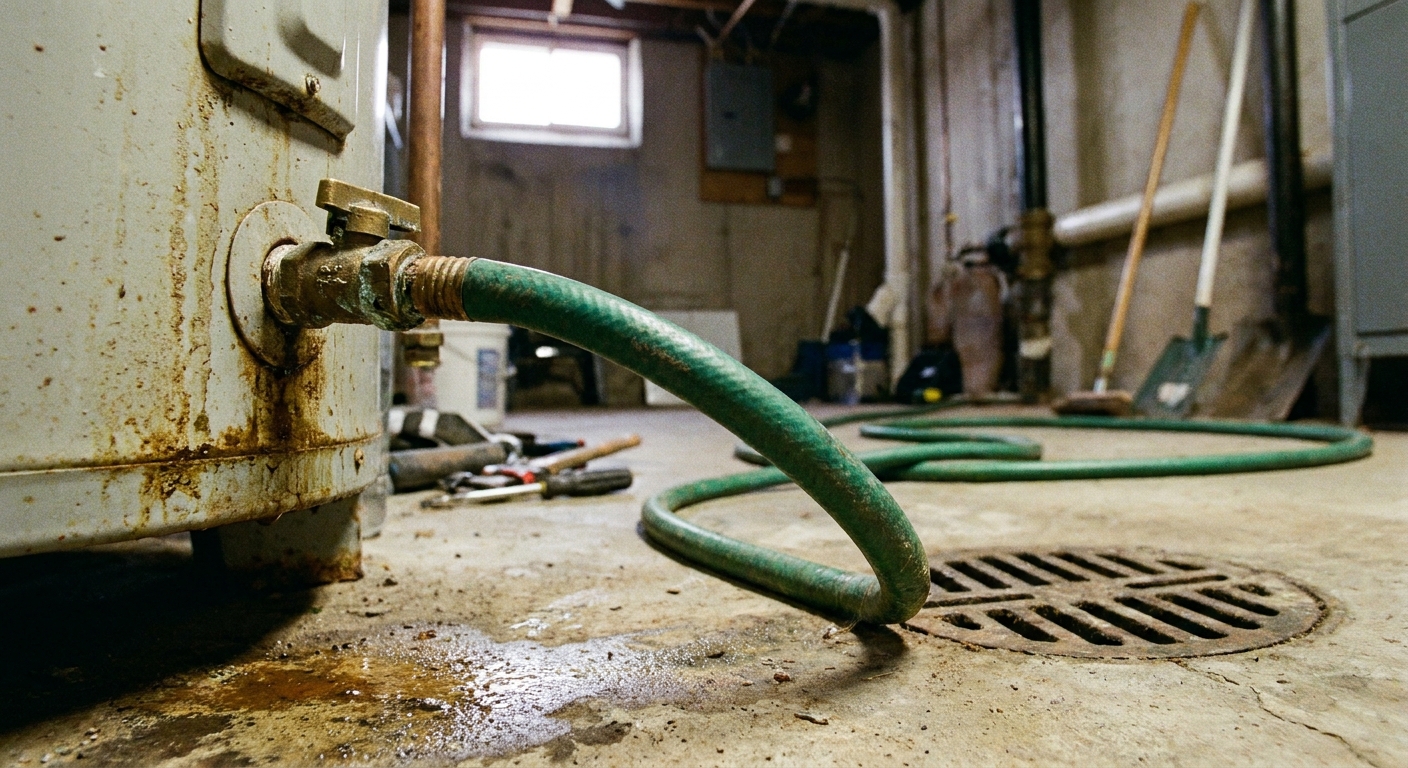
Step 2: Open the drain valve fully
Open the valve all the way, not halfway. Crack-open positions can trap grit, so go full open.
Step 3: “Burp” the valve
With the drain valve open and the hose routed, make sure a hot faucet in the house is still open. If you have no flow, close the drain valve, wait a few seconds, then open it again. That on-off action sometimes dislodges the first chunk of sediment.
Step 4: Probe the clog carefully
If you can access the outlet safely, you can try to break up the blockage right at the drain opening.
- Turn the drain valve OFF first.
- Remove the hose.
- Use a stiff wire, straightened coat hanger tip, or a zip tie to gently probe into the outlet.
- Reattach hose, open valve again.
Important: Do not jam the wire hard. You are not trying to punch through the tank. You are just breaking up the sediment plug at the valve throat.
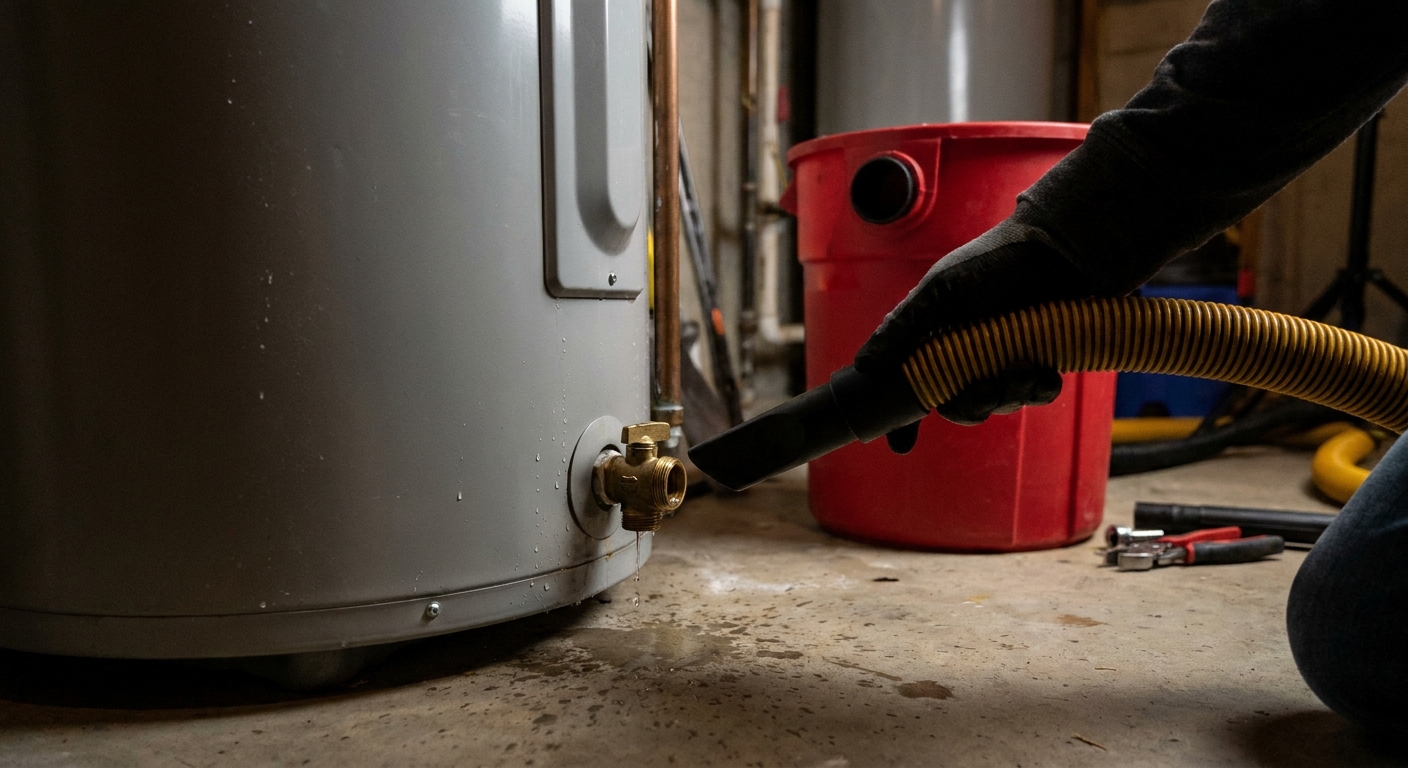
Step 5: Use suction (my favorite trick when it’s really packed)
If you have a wet/dry shop vac, it can pull sediment out from the valve without having to remove the valve.
- Keep the heater off, cold supply off, and a hot faucet open.
- Set the shop vac to wet pickup.
- Hold the vac hose tight to the drain outlet (or to the end of the garden hose if you cannot seal at the valve).
- Open the drain valve briefly while the vac is running.
You will often hear it grab grit, then flow starts.
After it flows: a simple flush
Once you have steady flow, this is the quick flush routine I use when the goal is “get the junk out” without turning it into an all-day project.
- Keep the drain open and let it run until it goes from cloudy to clearer.
- Pulse the cold supply in short bursts: open the cold inlet valve for 5 to 10 seconds, then close it again. This stirs sediment and helps push it toward the drain.
- Repeat the pulse a few times, watching the discharge. If the drain slows or stops, close the drain, wait a moment, then reopen.
- Close the drain valve when you are satisfied.
- Open the cold supply fully to refill.
- Leave a hot faucet open until water runs steady with no sputtering, then close it.
- Restore power or gas only after the tank is full.
This is also where a full-port replacement valve earns its keep. Bigger opening, fewer clogs.
If the valve is stripped, broken, or still clogged: replace it
If your valve handle is rounded off, the plastic body looks stressed, or you cannot restore flow, replacement is the clean solution. A better valve also makes future maintenance easier.
Choose the right replacement
- Best upgrade: A brass full-port quarter-turn drain valve with a hose-thread outlet. “Full-port” means a larger opening that is less likely to clog.
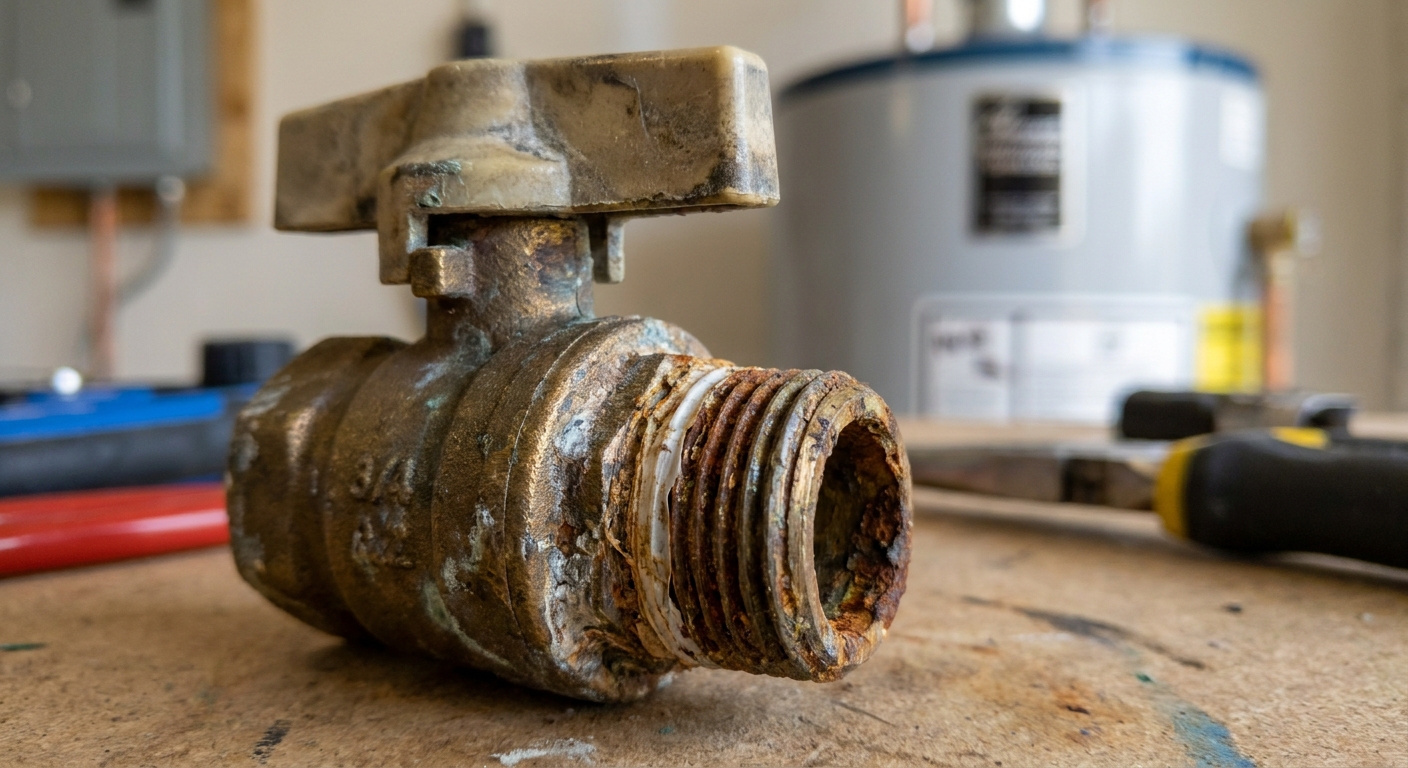
- Thread type: Many tank drains are 3/4 inch NPT where the valve threads into the tank, and the outlet is typically 3/4 inch garden hose thread for your hose. That said, some brands and drain assemblies vary, so verify before you buy.
- Parts reality: Some “upgrades” are an all-in-one drain valve. Others are a small combination of parts, like a 3/4 inch nipple plus a ball valve plus a hose bib. Either can work if it is rated for hot potable water and you can make it fit without stressing the tank threads.
If you are not sure what you have, take a clear photo of the existing drain valve and bring it to the hardware store. I have done this more times than I care to admit.
Replacement steps (slow and controlled)
You do not need to fully drain the tank to change the drain valve, but you do need the water level below the drain opening.
Read this twice: Once the old valve is out, you can have a surprising amount of water coming at you fast. Have the new valve pre-taped, in reach, and know where the main water shutoff is.
- Confirm power or gas is OFF.
- Close the cold supply above the tank.
- Open a hot faucet in the house to relieve pressure and prevent vacuum lock.
- Attach a hose and drain water until it slows, then stops. If your valve will not flow at all, place a shallow pan or bucket under the valve area and protect the floor.
- Remove the old valve. Use a wrench or pliers on the hex portion (if present). Turn counterclockwise. Support yourself so you are not yanking the tank piping.
- Be ready for water. Even with the level lowered, expect some spill as you unthread the valve.
- Install the new valve immediately. Wrap the new valve’s male threads with PTFE tape (typically 3 to 6 wraps, clockwise as you face the threads). Thread it in by hand first to avoid cross-threading, then snug with a wrench. Do not over-tighten.
- Close the new drain valve.
- Refill the tank. Open the cold supply valve. Keep the hot faucet open until you get a steady stream of water with no sputtering, then close the faucet.
- Check for leaks around the new valve.
- Restore power or gas only after the tank is full.
Little lesson from my own mistakes: The fastest way to ruin your day is turning the breaker back on while the tank is still full of air. Always purge air at a hot faucet first.
Make the next drain easier
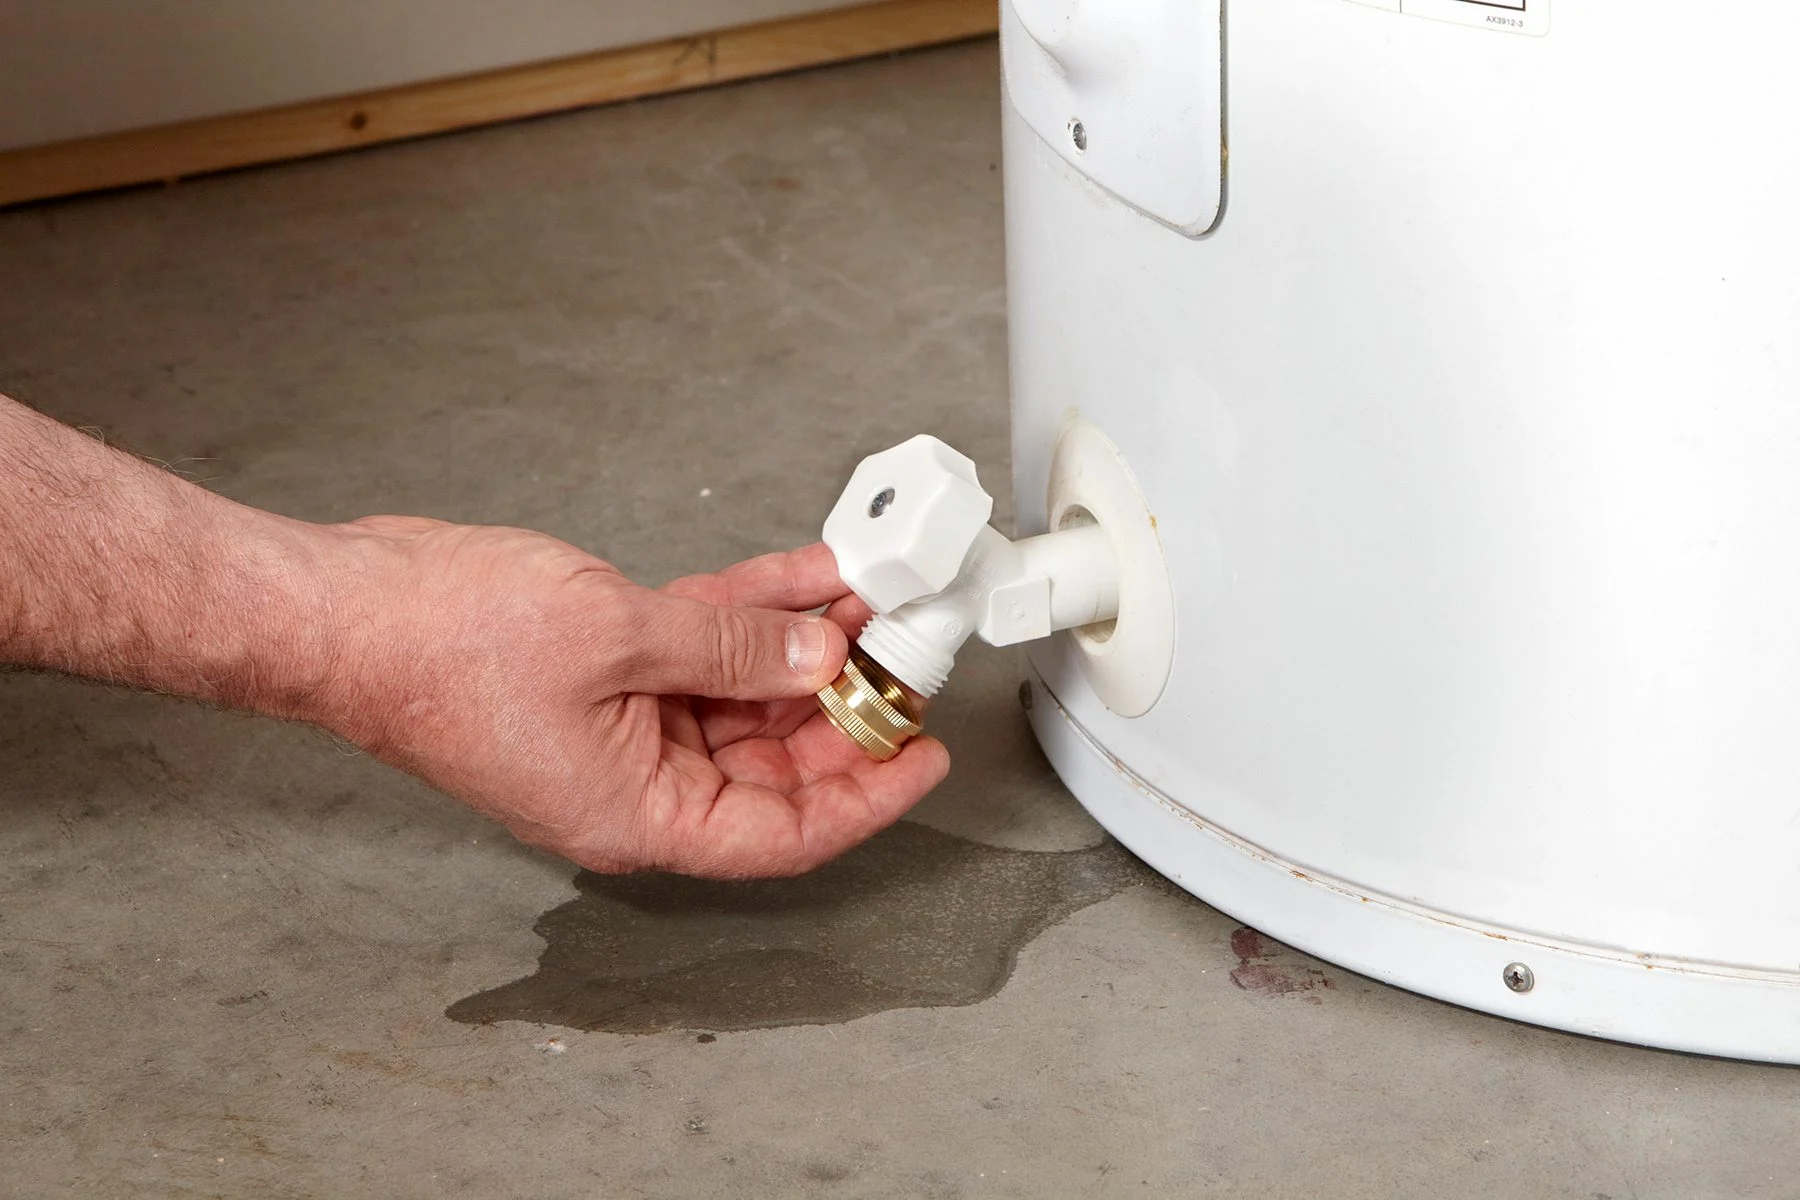
Many stock drain valves are small, plastic, and clog-prone. If you are going through the effort of fixing a stuck drain today, it is the perfect time to upgrade.
What I look for in a replacement:
- Quarter-turn operation (ball valve) instead of multiple turns
- Full-port opening for better sediment passage
- Standard garden hose threads that do not feel like they will strip the third time you use them
This swap does not replace routine flushing. It just removes the biggest headache that prevents you from flushing at all.
When to stop and call a pro
I am all for DIY, but water heaters have a short list of situations where the smartest move is tapping out.
- You see corrosion, wet insulation, or rust trails around the drain port
- The drain valve threads feel like they are binding or grinding, suggesting cross-threading or tank damage
- Gas unit: you smell gas, the burner area is wet, or you are not comfortable relighting per manufacturer instructions
- Electric unit: wiring looks scorched, or you are not confident the breaker is correctly identified
- The tank is very old and already leaking somewhere else
Sometimes a stuck drain valve is just the first symptom of a heater that is nearing end-of-life.
FAQ
Why won’t my water heater drain valve open even with a hose attached?
Most often it is sediment packed into the valve opening. The hose does not cause the clog, it just reveals it. Make sure a hot faucet is open to vent the tank, then try the on-off “burp” method, probing, or shop vac suction.
Can I use penetrating oil on the drain valve?
On a metal valve handle or stem, a small amount can help if applied to the outside only, like a pivot point. Avoid plastic valves and avoid spraying anywhere it could migrate into the waterway. If the valve is plastic and feels brittle, replacement is usually the safer call.
Do I need to drain the whole water heater to replace the drain valve?
No, but you do need the water level below the drain opening, and you must relieve pressure by opening a hot faucet. Also be prepared for a fast spill once the old valve is out, and have the new one ready to thread in immediately.
My valve turns but the handle just spins. Now what?
That is common with plastic drain valves that strip internally. If you cannot get it to open reliably, replacement is the fix.
After replacing the valve, why is my heater not making hot water?
On electric units, the most common DIY mistake is restoring power before the tank is completely refilled and purged of air. Confirm the tank is full by running a hot faucet until all air stops, then restore power.
The 30-Second Cheat Sheet
Essential takeaways for: Water Heater Drain Valve Won’t Open?
Do this first (safety)
- Turn OFF power at the breaker (electric) or set gas control to OFF (gas).
- Close the cold-water supply to the heater.
- Open a hot faucet in the house to relieve pressure and let air in.
- Know where your main water shutoff is, just in case.
If the drain valve opens but won’t flow
- Attach a garden hose, route it safely, and open the drain valve fully.
- Try “burping” the valve: close it, wait a few seconds, open again.
- Probe the outlet gently with a zip tie or stiff wire, then try again.
- Optional but effective: use a wet/dry shop vac to suck sediment from the drain outlet while the valve is briefly opened.
If the valve is seized, stripped, or plastic and failing
- Replace it with a brass full-port ball valve style drain with a hose-thread outlet (commonly 3/4 inch NPT into the tank, but verify your model).
- Have the replacement prepped and ready before you remove the old one (taped threads, tools in hand).
- Refill the tank and purge air at a hot faucet before restoring heat.
Do not do this
- Do not force a plastic drain valve. Snapping it can flood the area fast.
- Do not turn the breaker back on (electric) until the tank is full and air is purged.
- Do not rely on lifting the T&P valve as your main vent. It can leak afterward.
Call a pro if
- You see rust trails, active leaks, or heavy corrosion at the drain port.
- You smell gas or are not comfortable working around the burner and gas valve.
- The valve is seized and you are not confident you can control the spill while swapping it.
💡 Tip: Scroll up to read the full article for detailed, step-by-step instructions.
⬆️ Back to top
About Grit
Content Creator @ Grit & Home
Grit is Grit & Home’s little blue clay courier, delivering big questions about the place you call home. Expect practical ideas, a raised eyebrow, and a satchel full of curiosity.