When a water heater quits, it always seems to happen at the worst possible time. Before you assume the tank is dead, walk through these six common fixes. I have used this exact checklist on my own 1970s ranch more than once, usually while trying to keep the kids from discovering just how cold a shower can get.
Good news: Many “no hot water” problems come down to a handful of parts and settings you can check safely in under an hour. (A full element swap or a stubborn sediment flush can take longer, so give yourself some cushion.)
Before you start
- Confirm the type: This guide is for tank-style gas or electric water heaters. If you have a tankless unit or a heat pump water heater, the troubleshooting steps and error codes are different.
- Read the label: Find the data plate and the lighting or wiring instructions on the unit. If your heater has a status light, the error code chart is usually on the access panel or in the manual.
- Warranty note: If the unit is under warranty, check the fine print before replacing parts yourself. Some manufacturers want service performed (or at least documented) a specific way.
First: quick safety checks
If you have a gas water heater
- If you smell gas: Do not touch switches, do not light anything, and do not try to relight the pilot. Leave the house and contact your gas utility or emergency services.
- Know your shutoffs: Locate the gas shutoff valve (typically on the gas line near the heater) and the cold-water supply valve above the tank.
- Vent and flame safety: Keep combustibles away from the burner area and make sure the area is well ventilated.
If you have an electric water heater
- Turn off power at the breaker before opening any access panels.
- Verify power is off with a non-contact voltage tester before touching wires.
- Breaker tip: Many water heaters use a double-pole (240V) breaker. If it is half-tripped, you can end up with a confusing “kind of on” situation. Flip it fully OFF, then back ON.
If you are ever unsure, it is completely reasonable to stop and call a licensed plumber or electrician. Water, gas, and electricity are not a “learn by guessing” trio.
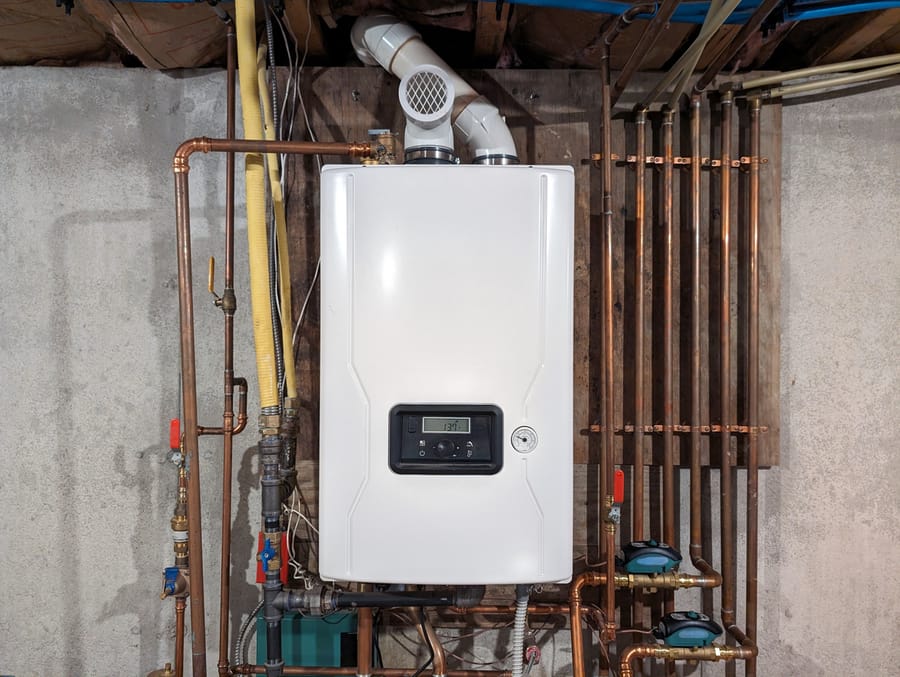
Identify your type: gas or electric
This dictates which fixes apply.
- Gas: You will see a gas line going into a control valve and a burner compartment at the bottom. Some units have a small sight glass to view the pilot flame or a status light that blinks error codes.
- Electric: No gas line and usually two rectangular access panels on the side of the tank (upper and lower), each covering a thermostat and heating element.
Quick check: is it just one fixture?
Before you start taking panels off, do this fast test:
- Hot at sinks but cold at the shower: Often a shower anti-scald cartridge is stuck, or a mixing valve is misbehaving.
- Whole house is lukewarm: A tempering valve (whole-home mixing valve) near the heater can fail and blend too much cold into the hot line.
- Only one faucet is weird: That is usually a fixture issue, not a water heater issue.
Fix #1: Relight a pilot (gas)
If your gas water heater has no hot water at all, the pilot light being out is one of the first things to check. This applies to many standard atmospheric-vent tank heaters. If you have a power-vent unit (with a blower) or a sealed combustion setup, follow the model-specific instructions and error codes.
How to check
- Look for a status light (some units blink an error code) and, if your model has it, a sight glass near the burner area.
- If your heater provides a view window or indicator and you do not see a flame, and the heater is not firing, the pilot may be out.
How to relight (general process)
Follow the lighting instructions printed on your heater. The exact steps vary, but typically you:
- Turn the control knob to OFF and wait at least 5 minutes to clear any gas.
- Turn to PILOT, press and hold the knob, and use the igniter (or a long lighter if your model requires it).
- Keep holding the knob for 30 to 60 seconds after ignition so the safety sensor can heat up.
- Turn to ON and set temperature.
If the pilot will not stay lit, jump to Fix #2. That is often the real culprit.
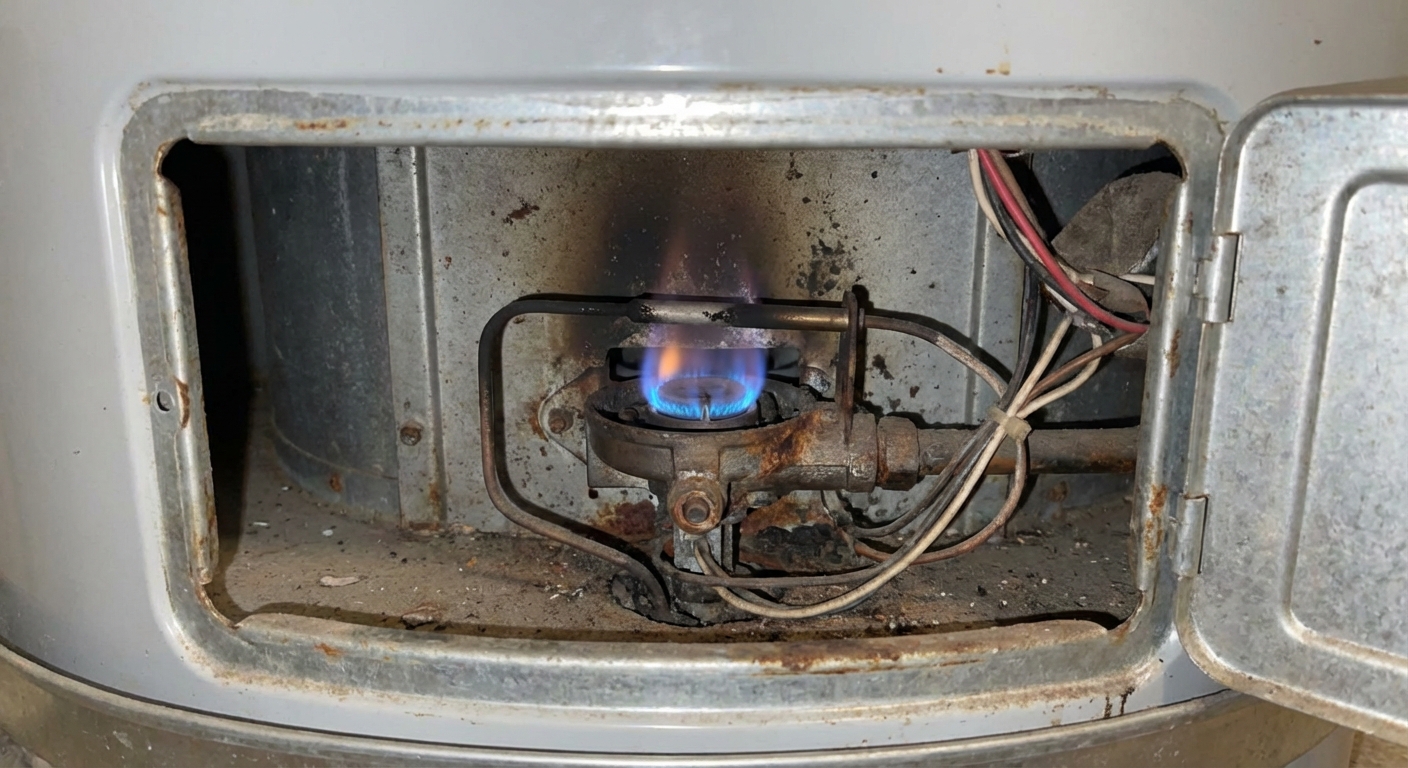
Fix #2: Thermocouple or sensor (gas)
Older gas water heaters often use a thermocouple. Many newer models use a thermopile or an integrated flame sensor/pilot assembly. They all do the same basic job: they “prove” flame is present so the gas valve can stay open.
Classic symptom: you relight the pilot, it looks fine for a moment, then goes out when you release the knob.
What to look for
- Pilot lights, but won’t stay lit.
- Pilot flame is weak or not hitting the sensor (could also be a dirty pilot or burner).
- Status light shows a fault code related to flame sensing (check your model’s chart).
What to do
- Turn the gas control to OFF.
- Let the burner area cool.
- Inspect the sensor tip placement and cleanliness (and whether the pilot flame is actually contacting it).
- If it is damaged or old, replace it with the correct part for your exact model. Bring the model number, or the old part, when you shop.
- After reassembly: restore gas, then check any disturbed fittings for leaks using a soap-and-water solution. Bubbles mean a leak. If you are not confident, stop and call a pro.
When to call a pro: If you are uncomfortable working around the burner compartment, if the gas control valve is suspected, or if your model’s relighting steps are not crystal clear.
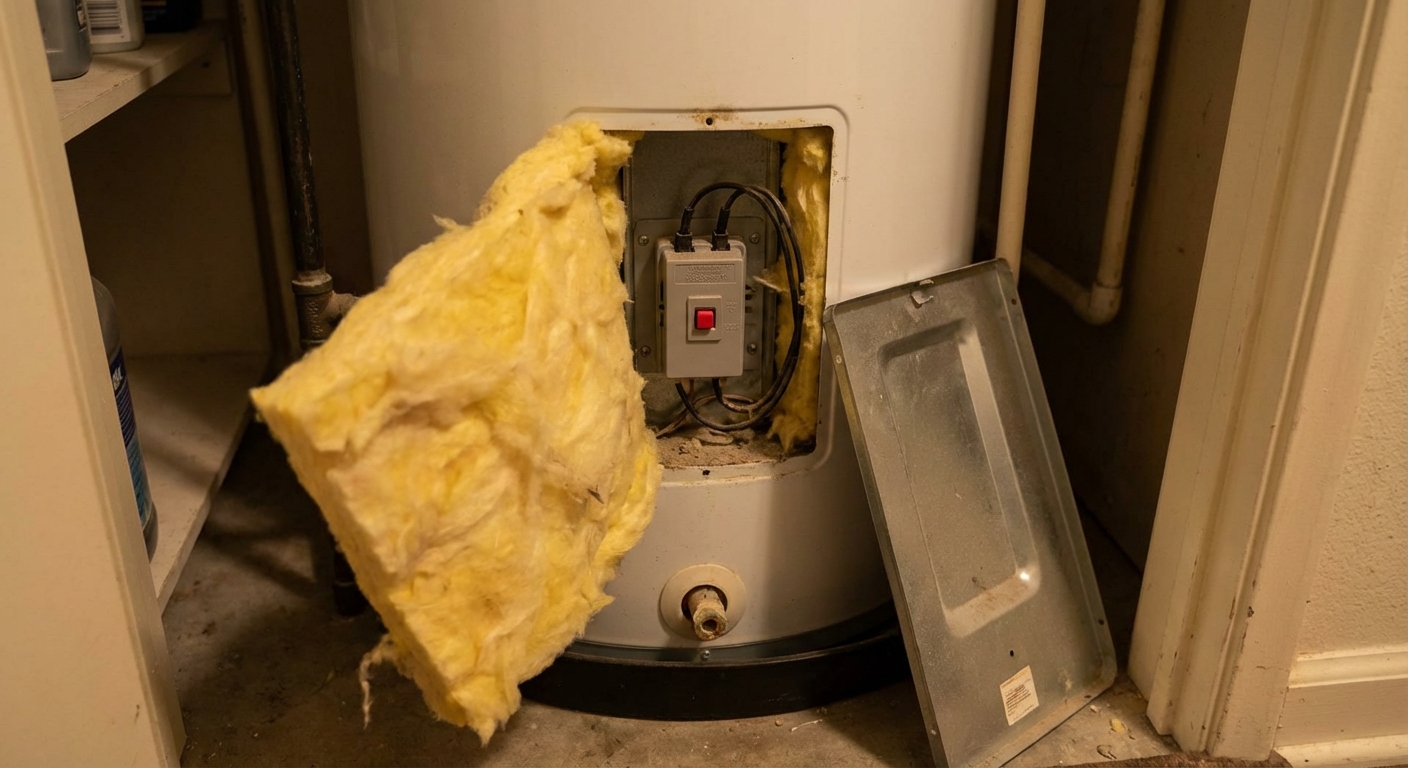
Fix #3: Reset high limit (electric)
Electric water heaters have a safety cutoff called the high-limit reset. If it trips, you often get no hot water because power to the heating elements is interrupted.
Steps
- Turn OFF the water heater breaker.
- Remove the upper access panel on the tank.
- Peel back insulation carefully to find the thermostat. Look for a small red reset button.
- Press the button firmly. If it clicks, it was tripped.
- Reinstall insulation and the panel before turning the breaker back on.
Important: If the reset keeps tripping, do not keep resetting it and hoping for the best. That is usually a sign of a failing thermostat, a shorted element, or a loose or overheated wire connection.
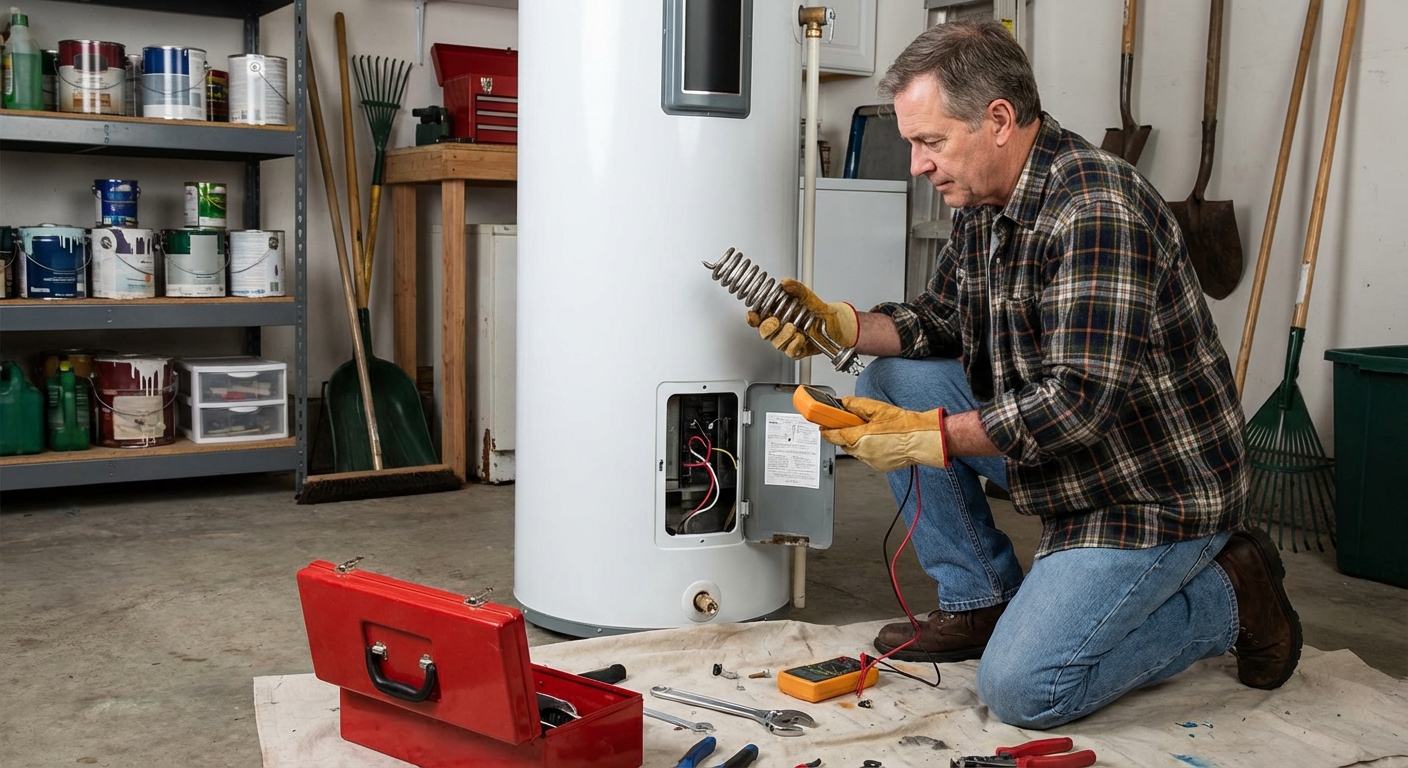
Fix #4: Replace an element (electric)
Electric water heaters typically have two heating elements (upper and lower). If one fails, you might get lukewarm water. If the upper element fails, you can end up with no hot water at all.
Common symptoms
- Breaker is on, reset is not tripped, but water stays cold.
- Water is only warm for a very short time (often a lower element issue).
High-level replacement overview
- Turn off power at the breaker and confirm with a tester.
- If you are able to verify it safely, confirm the unit is actually getting proper power (many are 240V). If you are not comfortable testing voltage, skip this and call an electrician.
- Shut off the cold-water supply to the heater.
- Attach a hose and drain the tank below the level of the element you are replacing.
- Remove the access panel, insulation, and element wires.
- Use an element wrench to remove the element, install a matching replacement with a new gasket, then refill the tank fully before restoring power.
My hard-learned rule: Never turn power back on until the tank is completely full and air is purged. Dry-firing a new element can burn it out in seconds.
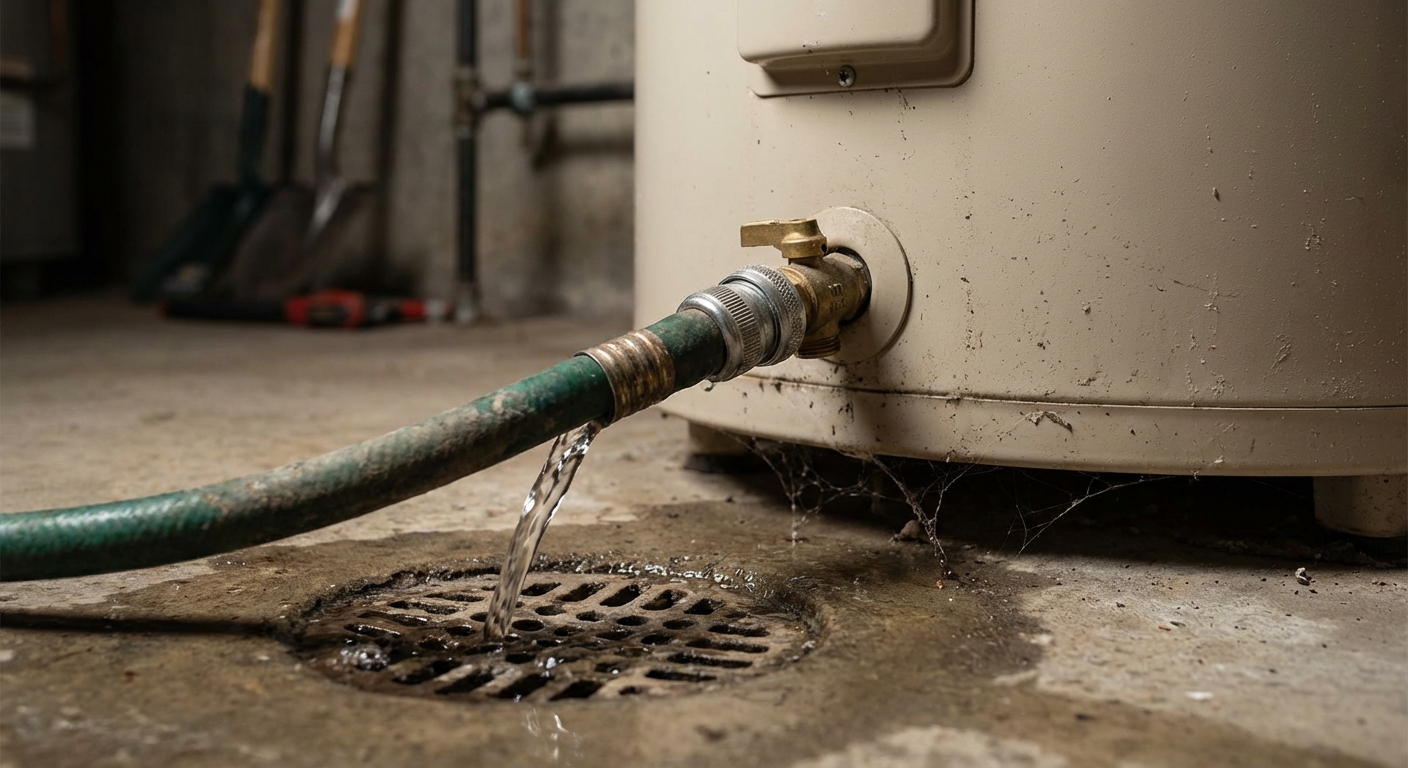
Fix #5: Flush sediment (gas or electric)
Sediment can insulate the heat source from the water, reduce capacity, and cause performance issues. It is famous for causing popping and rumbling, but heavy buildup can also contribute to slow recovery and cooler water.
How to do a basic flush
- Power off: Set gas to PILOT or OFF, or turn off the electric breaker.
- Shut off the cold-water supply valve above the tank.
- Connect a garden hose to the drain valve at the bottom and run it to a safe drain area. Make sure the hose is secure. The water can be hot.
- Open a nearby hot faucet to prevent vacuum lock.
- Open the drain valve and let water run until it looks clearer.
- Close the drain, open cold supply, and let the tank refill. Run a hot faucet until air stops sputtering.
Note: If your drain valve is clogged with sediment, you may get a weak trickle or nothing at all. At that point it can turn into a bigger job, and a plumber might be the efficient choice.
Fix #6: Check thermostats (gas or electric)
Sometimes the simplest answer is the right one. Thermostats can be set too low, get bumped, or fail.
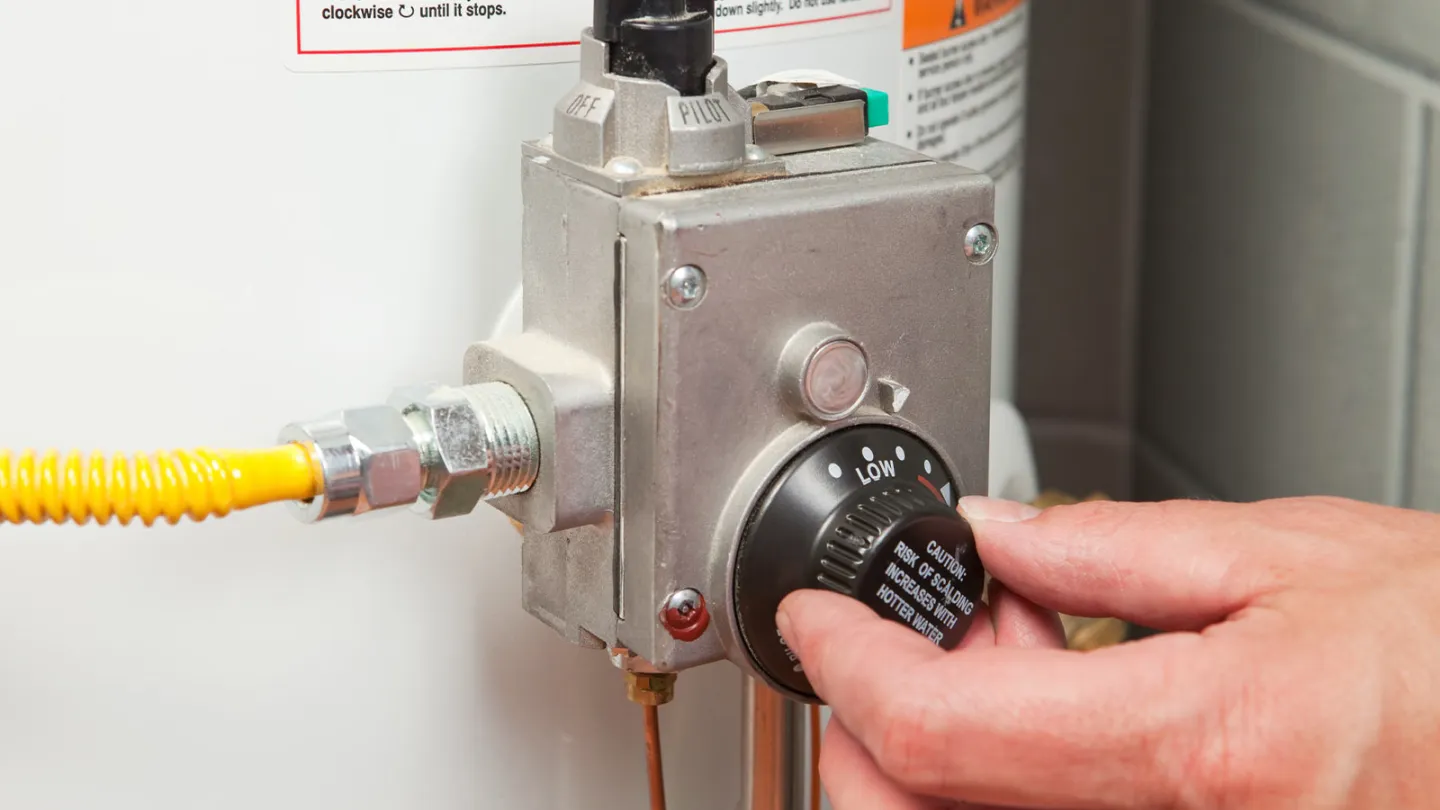
Gas thermostat check
- Look at the temperature dial on the gas control valve. Set it around 120°F for most homes.
- If the pilot is lit but the burner never fires, it could be a failing gas control valve thermostat, but it can also be other model-specific safeties (FVIR shutdown, clogged intake screen, high-limit trip, pressure switch issues on power-vent units). Check the status light and the manufacturer’s diagnostics for your model.
Electric thermostat check
- With power off, open the upper and lower access panels.
- Confirm both thermostats are set to the same target temperature, commonly 120°F.
- Look for loose wires or heat damage at the terminals. If you see scorching or melted insulation, stop and call a pro.
- If a thermostat is defective, the heater may not heat properly. Consider replacement only if you are comfortable and can match parts correctly.
Scalding warning: Temperatures above 120°F increase burn risk, especially for kids and older adults. If you need hotter water for dishwasher performance, consider other solutions like appliance settings or a properly installed mixing valve rather than cranking the tank temperature way up.
When to call a pro
- You smell gas or suspect a venting issue.
- The pilot will not stay lit after basic checks and a sensor replacement (thermocouple, thermopile, or pilot assembly depending on model).
- Breakers trip repeatedly, wiring looks damaged, or you see signs of overheating at an electric unit.
- There is leaking around the tank body, not just fittings. Tank leaks usually mean replacement time.
- Your unit is under warranty and you want to avoid accidentally voiding coverage.
If you tell a plumber, “I have a gas unit, pilot is out and won’t stay lit,” or “electric unit, reset tripped and keeps tripping,” you will often get a faster, more accurate service call. Clear symptoms save money.
Quick troubleshooting order
If you just want the fastest path, here is the order I recommend:
- Confirm it is a tank-style heater and verify power or gas is on.
- Check if it is a single fixture issue (especially the shower) or whole-house.
- Gas: check status light and pilot, then relight if applicable. Electric: check breaker (flip fully off then on) and the reset button.
- Gas: suspect thermocouple, thermopile, or flame sensor if the pilot will not stay lit (match parts to your model). Electric: suspect a heating element if reset and breaker are fine but water is cold.
- Flush sediment if performance has been declining over time.
- Verify thermostat settings and use model-specific diagnostics if the burner will not fire or errors persist.
Work one fix at a time and you will avoid the classic DIY mistake of changing three things and not knowing which one actually solved the problem.
About Marcus Vance
Content Creator @ Grit & Home
Marcus Vance is a lifelong DIY enthusiast and self-taught home renovator who has spent the last decade transforming a dilapidated 1970s ranch into his family's dream home. He specializes in budget-friendly carpentry, room-by-room renovations, and demystifying power tools for beginners. Through his writing, Marcus shares practical tutorials and hard-learned lessons to help homeowners tackle their own projects with confidence.