🚨 In a DIY emergency or rush?
Skip the details and jump straight to our 30-second cheat sheet for the most crucial info.
What a pressure tank does
A modern well system with a bladder or diaphragm tank is basically a spring-loaded water battery. The compressed air inside the tank acts like a spring. The pump fills the tank, the tank stores pressurized water, and you get steady flow while the pump rests.
Here is the normal cycle in plain English:
- You open a faucet. Water comes out of the tank first, and pressure slowly drops.
- At cut-in pressure (often 30 or 40 psi), the pressure switch tells the pump to start.
- The pump runs and refills the tank.
- At cut-out pressure (often 50 or 60 psi), the switch shuts the pump off and the tank carries the load again.
If your pump is turning on and off every few seconds, the system is not getting a healthy run time. That is called short cycling , and it is hard on pumps, switches, and controls.

Signs of a waterlogged tank
Waterlogged gets used two ways:
- Old-style tanks with no bladder literally lose their air cushion and fill with water.
- Bladder or diaphragm tanks are usually not truly waterlogged. Instead, the air charge is low or the bladder has failed, which makes the tank act waterlogged.
Common symptoms I see homeowners describe:
- Pump short cycles when you run water, especially with small draws like handwashing.
- Pressure swings fast between strong and weak.
- Gauge behavior changes fast: pressure rises fast while the pump runs, then drops fast when you open water.
- Tank sounds solid when you knock on it, with little or no hollow sound near the top.
- Air sputters at faucets (less common with bladder tanks, but can happen in odd failure modes).
One more clue: if the pump starts every time someone flushes a toilet or takes a quick sip at the sink, the tank is not providing enough usable drawdown.
Safety first
Before you touch anything, treat this like two separate hazards: pressurized water and live electricity.
- Shut off power to the well pump at the breaker before opening covers on a pressure switch or control box.
- Confirm power is off with a non-contact tester and, ideally, a multimeter if you know how to use one.
- Relieve water pressure before checking pre-charge. A tank must be at 0 psi water pressure to set air charge correctly. Drain until no flow and confirm the gauge reads 0. If a valve isolates the tank, you may need to open the right faucet or drain point so the tank can actually depressurize.
- Never stand over a pressure switch while energizing if you suspect it is arcing or failing.
If you see burned wiring, melted insulation, water dripping onto electrical parts, or you are unsure of the wiring, this is the point where calling a well pro or electrician is the smart move.
Tools that help
- Tire pressure gauge (digital or dial) that reads 0 to 100 psi
- Air pump or small compressor
- Adjustable wrench or nut drivers for switch cover
- Flashlight and paper towels
- Soapy water in a spray bottle (for checking air leaks at the Schrader valve)
- Optional: clamp meter or multimeter if you are qualified
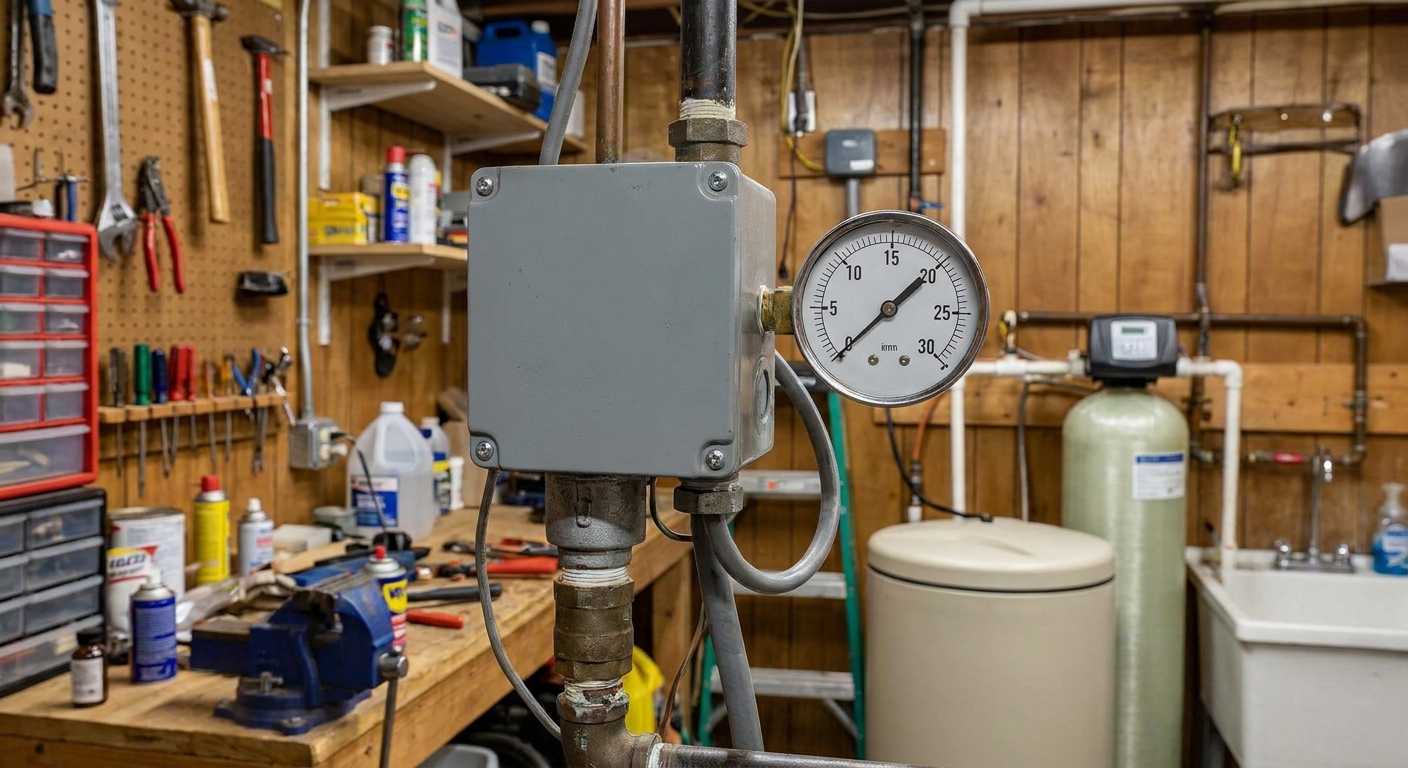
Step 1: Check cut-in and cut-out
This first test is simple and tells you whether the switch and gauge are behaving in the right neighborhood.
How to do it
- Turn power on and make sure the system is in normal operating mode.
- Open a nearby faucet or hose bib and watch the pressure gauge fall.
- Note the pressure where the pump clicks on. That is your cut-in.
- Close the faucet and watch pressure rise.
- Note the pressure where the pump clicks off. That is your cut-out.
What you should see
Most homes are set up as 30/50 or 40/60 (cut-in/cut-out). Not always, but often.
What the readings mean
- Cut-in and cut-out look normal, but cycling is rapid: tank drawdown is likely low (air charge problem, bladder problem, tank too small), or the pressure switch is chattering.
- Pump never reaches cut-out: could be a weak pump, clogged intake or jet/nozzle (shallow well jet), low well yield, a leak, or a pressure switch issue. Restrictions can also do it, but it depends on location. A restriction between the pump and the tank tee or pressure switch sensing point can prevent reaching cut-out. A restriction after the tank (like a dirty faucet aerator) usually changes flow at fixtures more than system pressure at the switch.
- Gauge is jumpy or sticky: the gauge could be lying to you. If it is unreadable, missing, or suspect, replacing it early can save hours.
Step 2: Pre-charge rule
Bladder tanks have an air pre-charge that must match your pressure switch setting.
Rule: Set the tank air pressure to 2 psi below cut-in when the tank is at 0 psi water pressure.
- If you have a 30/50 switch, set pre-charge to 28 psi.
- If you have a 40/60 switch, set pre-charge to 38 psi.
That 2 psi cushion helps the bladder start moving water before the switch turns the pump on, which prevents rapid on-off behavior.
One caveat that keeps this bulletproof: some tank manufacturers specify slightly different targets in certain setups, so if you can read the tank label or manual, follow that.
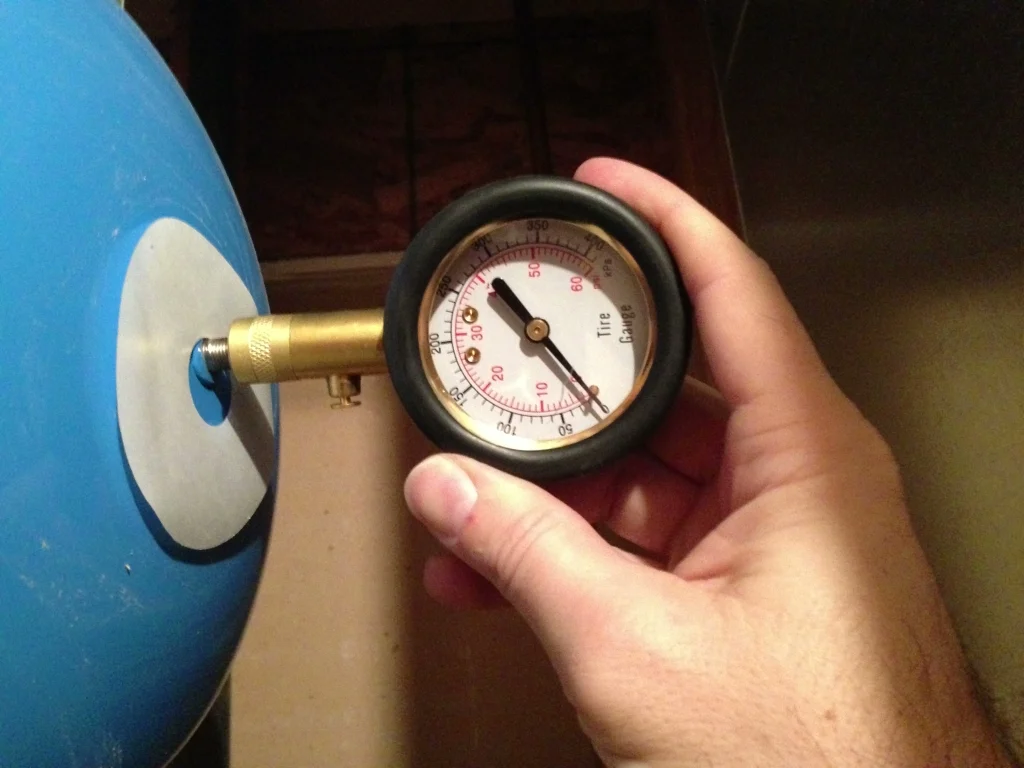
Step 3: Schrader valve test
On most bladder tanks, the air valve looks like a tire valve stem. It is usually on the top or upper side of the tank.
Quick test
- Turn off power to the pump.
- Open a faucet and drain pressure to 0 psi (confirm the gauge reads zero).
- Remove the Schrader cap.
- Briefly press the valve core with a small tool.
Interpret the result
- Air comes out: good sign. Proceed to pre-charge measurement.
- Water comes out: the bladder or diaphragm has failed. The tank is effectively done.
- Nothing comes out: the tank may be at zero air, the valve is clogged, or the tank is in rough shape. Try measuring with a tire gauge and add a little air to see if it holds.
If water comes out of the Schrader valve, I consider that a stop troubleshooting and plan replacement moment. You can sometimes limp along, but short cycling will chew up the pump.
Step 4: Set pre-charge
How to set it
- Power off to the pump.
- Drain water pressure to 0 psi by opening a faucet until flow stops and the gauge reads zero. If the tank is isolated by a valve, make sure you are draining the tank side, not just a downstream line.
- Use a tire gauge at the Schrader valve to read the tank’s air pressure.
- Add or release air to reach cut-in minus 2 psi (or the tank label spec).
- Close the faucet, restore power, and let the system refill.
What you want afterward
- Longer pump run times
- Fewer starts per minute
- Steadier pressure at fixtures
My mistake from my first well house: I tried to set pre-charge while the tank was still under water pressure. The reading looked fine, but it was totally wrong. Always drain to zero first.
If it still short cycles
Tap test (non-definitive)
With the pump off and pressure drained, gently tap the tank from top to bottom with your knuckles. This is a rough clue, not a final verdict.
- A healthy tank often sounds more hollow toward the top and more solid toward the bottom.
- A failed bladder tank can sound solid almost everywhere because water has invaded the air side.
Warm pipes (sometimes)
Sometimes, with constant rapid cycling, piping near the tank tee can feel warmer than normal. I would not use that as a primary diagnostic test, but it can be one more hint that the pump is getting abused.
Tank will not hold air
If you set pre-charge correctly and it is low again a day or week later, suspect:
- A leaking Schrader valve core
- A pinhole leak in the tank shell
- A compromised bladder letting air migrate into the water side
Spray soapy water on the Schrader valve and look for bubbles.
Pressure switch checks
The pressure switch is the traffic cop. If it is dirty, pitted, clogged, or failing, it can cause weird cycling, failure to start, or even contact chatter that looks like short cycling.
What to inspect (power off)
- Kill power at the breaker.
- Remove the switch cover.
- Look for burn marks, melted plastic, insects, or loose wires.
- Check the small pipe or tube feeding the switch (often a nipple off the tank tee). Sediment can clog it and make the switch think pressure is different than reality.
Do not casually adjust springs
Many switches have two adjustment nuts. Turning them changes cut-in and cut-out and can quickly put you outside safe operating limits for your tank, plumbing, and pump.
If you adjust anything, take a photo first, make small changes, and re-check pressures with the gauge. If you are not comfortable doing that, replacing a faulty switch is often simpler and safer than guessing with adjustments.
Not the tank problems
1) Leaks near the tank
A slow leak can make the pump kick on more often. Check for:
- Water stains
- Green corrosion on copper
- Mineral crust on threaded joints
Dry everything with a towel, then come back 10 minutes later and look again.
2) Bad check valve or foot valve
If a check valve fails, pressure can leak back toward the well. Symptoms include:
- Pressure drops to cut-in with no water use
- Pump runs briefly at random times
- Air in water in some setups
This one often needs a pro because the check valve may be down in the well or at the pump and diagnosing it can involve pulling equipment.
3) Failing pump or low well yield
A pump that is worn or a well that is running low can cause the system to struggle to reach cut-out. That is not short cycling in the classic on-off-every-few-seconds sense, but homeowners sometimes lump it together as the pump keeps running.
If the pump runs for a long time and cannot hit cut-out, stop and investigate. Running a pump against low water can damage it fast.
4) Restrictions and filters
A plugged cartridge filter can absolutely cause pressure issues, and in some layouts it can even keep the system from reaching cut-out. The key is where the restriction is compared to where the pressure switch senses pressure.
- If the restriction is between the pump and the tank tee or pressure switch, it can affect whether the switch ever sees cut-out.
- If the restriction is after the tank (downstream), you usually feel it as weak flow at fixtures.
If your filter is overdue, swap it and re-test.
When to replace the tank
Replace the pressure tank (or have it replaced) if:
- Water comes out of the Schrader valve
- The tank will not hold air pre-charge
- The tank is heavily rusted at the base or seams
- You have verified switch settings and pre-charge, but drawdown is still tiny
Tank sizing matters. An undersized tank can make a healthy pump cycle too often. A practical rule of thumb is to aim for at least about 1 minute of pump run time per cycle. If you know your pump GPM, a well pro can help pick a tank that gives you enough drawdown to hit that target.
When to call a pro
I love DIY, but well systems are one place where I get very conservative. Call a licensed well contractor or pump tech if:
- You suspect a bad check valve or foot valve
- The pump is in the well and may need pulling
- You see arcing, burned contacts, or repeated breaker trips
- Your system uses a control box, VFD, or constant-pressure controller you are not familiar with
- The pump will not build pressure to cut-out and you cannot identify a simple restriction or leak
A pro can test amperage draw, measure flow rate, check for backflow, and confirm whether the pump is worn out or the well is under-producing.
Quick troubleshooting flow
- Short cycling? Check cut-in and cut-out on the gauge. If the gauge is missing or suspect, replace it.
- Power off, drain to 0 psi. Confirm the gauge reads 0 and the tank is not isolated by a closed valve.
- Test Schrader valve. If water comes out, plan on a new tank.
- If air only: set pre-charge to cut-in minus 2 psi (or tank label spec).
- Still cycling: inspect pressure switch contacts, check for clogged nipple, then look for leaks and possible check valve backflow.
If you want one best first move that fixes the most systems: verify the pre-charge the correct way, at zero water pressure. It is boring, but it is the foundation of everything else.
The 30-Second Cheat Sheet
Essential takeaways for: Well Pressure Tank Waterlogged or Pump Short Cycling?
Fast diagnosis
- Normal behavior: pressure drops to cut-in (often 30 or 40 psi), pump starts, rises to cut-out (often 50 or 60 psi), pump stops.
- Short cycling: pump turns on and off every few seconds during water use. Usually low tank drawdown from bad or low air charge, a failed bladder, or (less commonly) a pressure switch that is chattering.
Safety
- Turn off breaker before opening a pressure switch.
- To set tank pre-charge, drain system pressure to 0 psi first and confirm the gauge reads 0.
3 must-do checks
- Read cut-in and cut-out on the pressure gauge while running water. If the gauge is missing, unreadable, or clearly wrong, replace it early.
- Schrader valve test: with power off and water pressure at 0, briefly press the valve core. If water comes out, bladder is blown and the tank needs replacement.
- Set pre-charge: at 0 psi water pressure, set tank air to cut-in minus 2 psi (30/50 switch → 28 psi, 40/60 → 38 psi). Quick note: some manufacturers specify slightly different targets, so check the tank label or manual if available.
If it still cycles
- Inspect pressure switch for burned contacts, chatter, and a clogged nipple or line feeding the switch.
- Look for leaks at the tank tee and fittings.
- If pressure drops with no water use, suspect a bad check valve or foot valve.
Call a pro when
- You suspect a check valve or foot valve problem or anything requiring pulling the pump.
- You have arcing, melted wiring, breaker trips, or an unfamiliar control box or VFD.
- The pump cannot reach cut-out and keeps running.
💡 Tip: Scroll up to read the full article for detailed, step-by-step instructions.
⬆️ Back to topAbout Marcus Vance
Content Creator @ Grit & Home
Marcus Vance is a lifelong DIY enthusiast and self-taught home renovator who has spent the last decade transforming a dilapidated 1970s ranch into his family's dream home. He specializes in budget-friendly carpentry, room-by-room renovations, and demystifying power tools for beginners. Through his writing, Marcus shares practical tutorials and hard-learned lessons to help homeowners tackle their own projects with confidence.